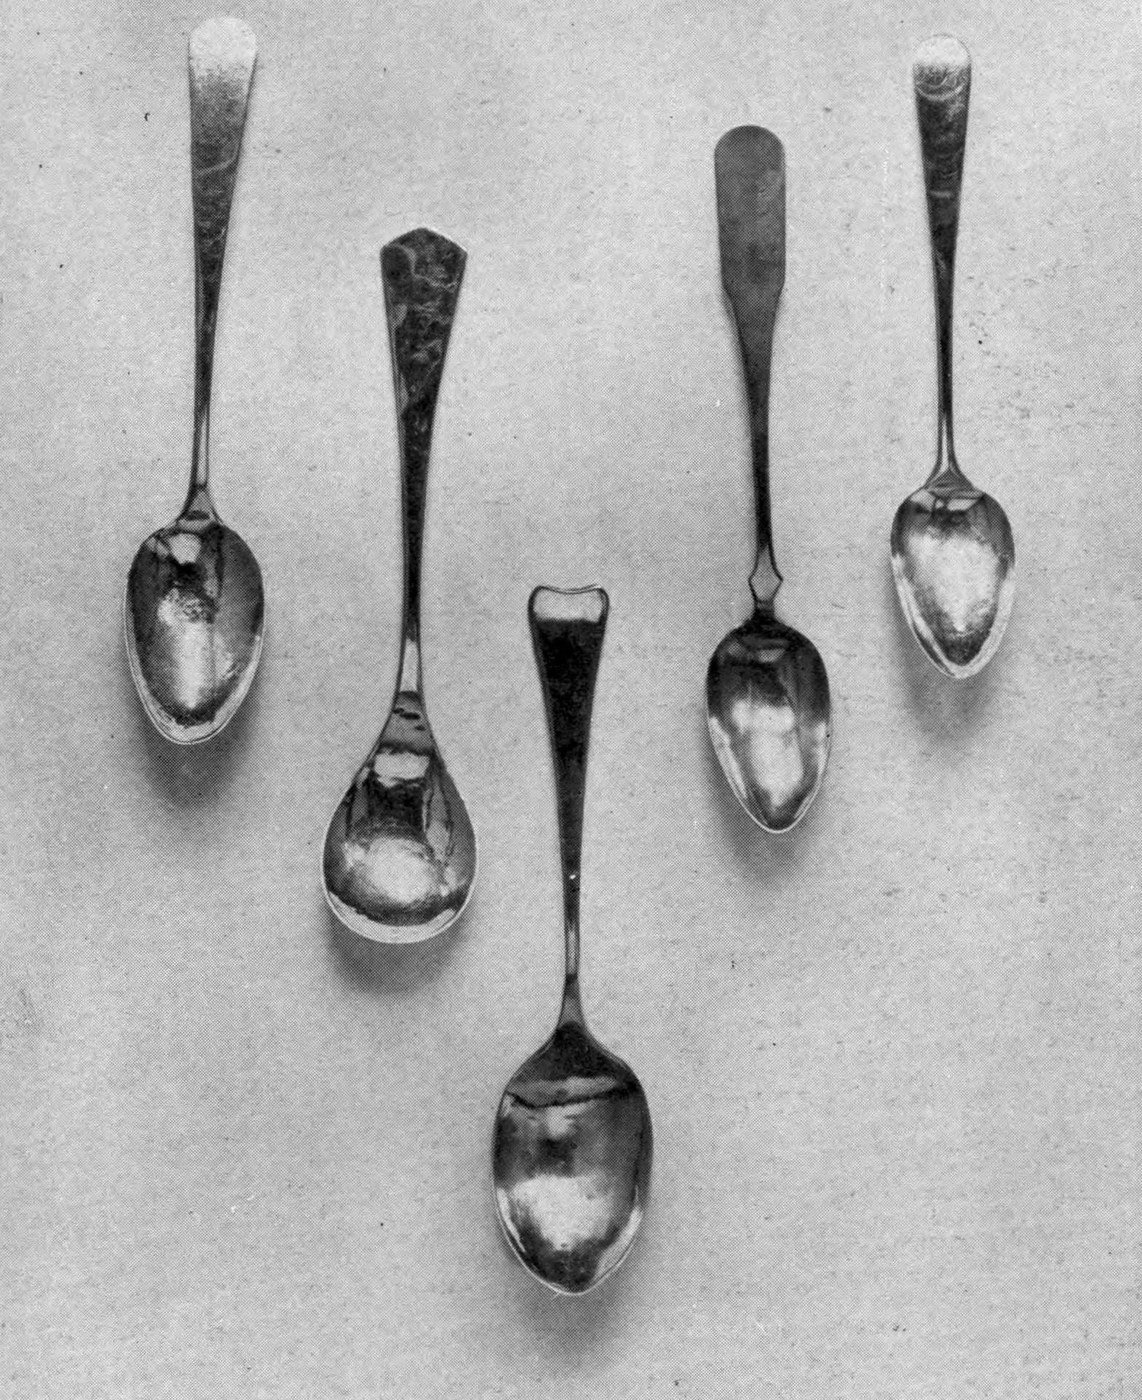


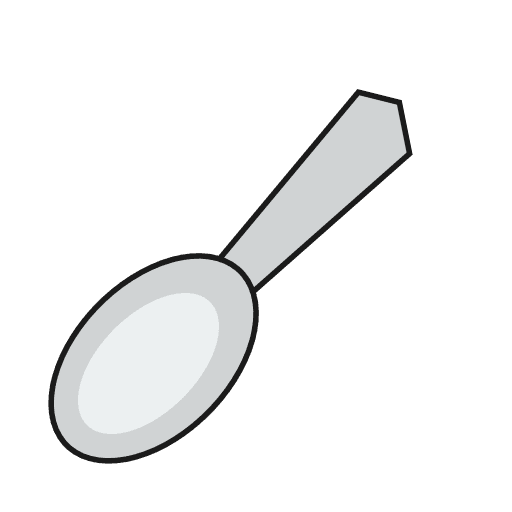
Teaspoon Forged from a Silver Bar (Payne 1914)
Instruções
Cut the silver bar
Cut the silver bar
Materiais para este passo:
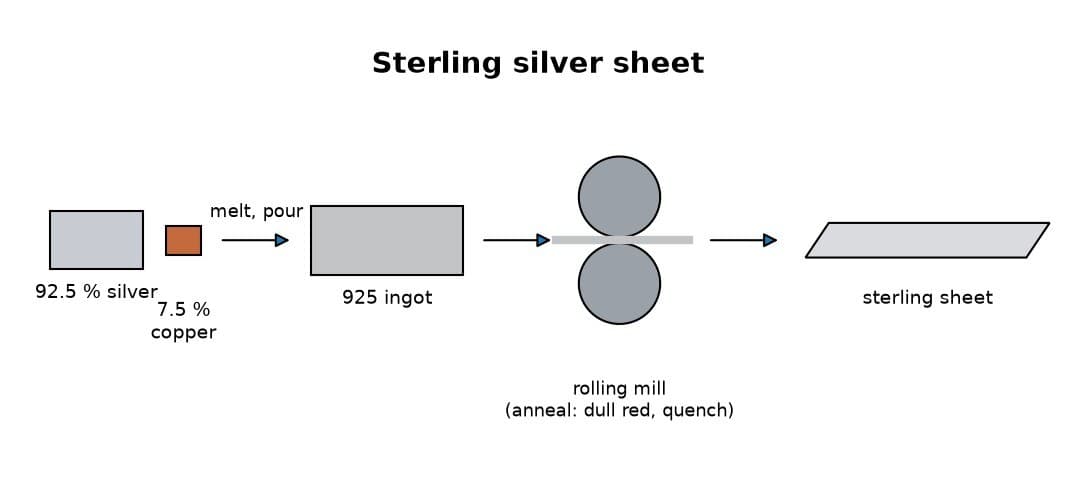
 Placa de prata de lei1 piece 4 × ½ × ⅛ in
Ferramentas necessárias:
 Ponta de traçar
 Serra de joalheiro
Forge out the bowl
Forge out the bowl
Ferramentas necessárias:
 Bico de Bunsen
 Tenazes
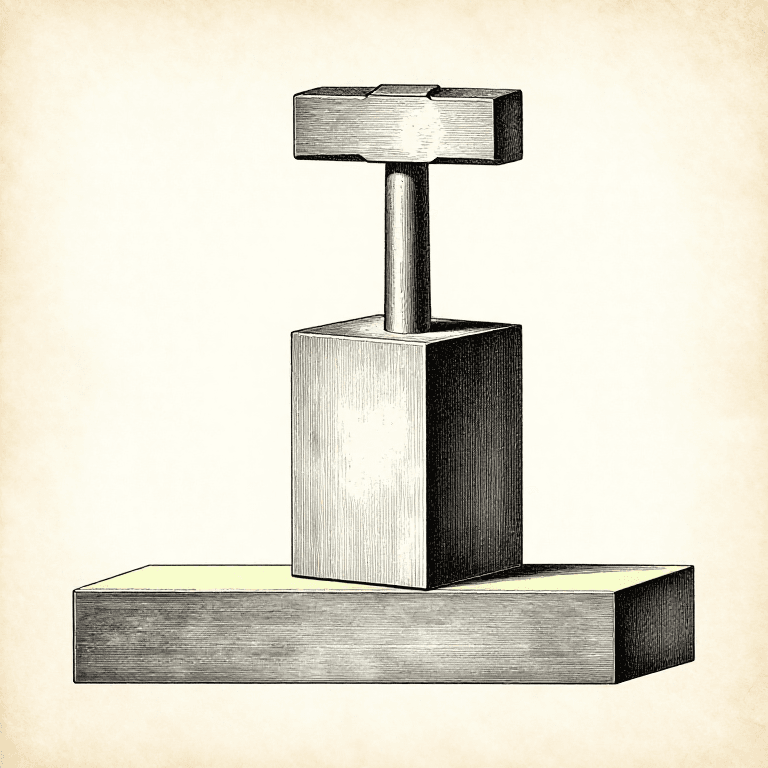
 Bigorna
 Martelo
Work bowl, then shank and handle
Work bowl, then shank and handle
Ferramentas necessárias:
BigornaMarteloAnneal and repeat
Anneal and repeat
Materiais para este passo:
 Água1 as required
Ferramentas necessárias:
Bico de BunsenTenazes Recipiente de vidro
Trim with shears and file
Trim with shears and file
Ferramentas necessárias:
 Tesoura de chapa reforçada
 Limas (lima de mão)
Polish out the file marks
Polish out the file marks
Ferramentas necessárias:
 Pano de esmeril
Anneal to even the fire scale
Anneal to even the fire scale
Materiais para este passo:
Água1 as requiredFerramentas necessárias:
Bico de BunsenTenazesRecipiente de vidroPlanish with smooth hammers
Planish with smooth hammers
Ferramentas necessárias:
 Martelo de aplanarBigorna
 Estaca
Final polish with rouge
Final polish with rouge
Ferramentas necessárias:
 Pano de polir joias
 Vermelho de joalheiro
Ferramentas necessárias
14- Referência
- Referência
- Referência
- Referência
- Referência
- Referência
- Referência
- Referência
- Referência
- Referência
- Referência
- Referência
- Referência
- Referência
Este projeto faz
Blueprints relacionados
Estes blueprints compartilham conhecimento — técnicas, materiais ou princípios
CC0 Domínio Público
Este blueprint é liberado sob CC0. Você é livre para copiar, modificar, distribuir e usar este trabalho para qualquer finalidade, sem pedir permissão.
Apoie o Maker comprando produtos através do Blueprint, onde ele ganha uma Comissão Maker definida pelos vendedores, ou crie uma nova versão deste Blueprint e inclua-o como conexão no seu próprio Blueprint para compartilhar receita.