ARTE
BELEZA E BEM-ESTAR
ARTESANATO
CULTURA E HISTÓRIA
ENTRETENIMENTO
MEIO AMBIENTE
COMIDA E BEBIDAS
ENGENHARIA REVERSA
CIÊNCIAS
ESPORTES
TECNOLOGIA
TECNOLOGIA VESTÍVEL
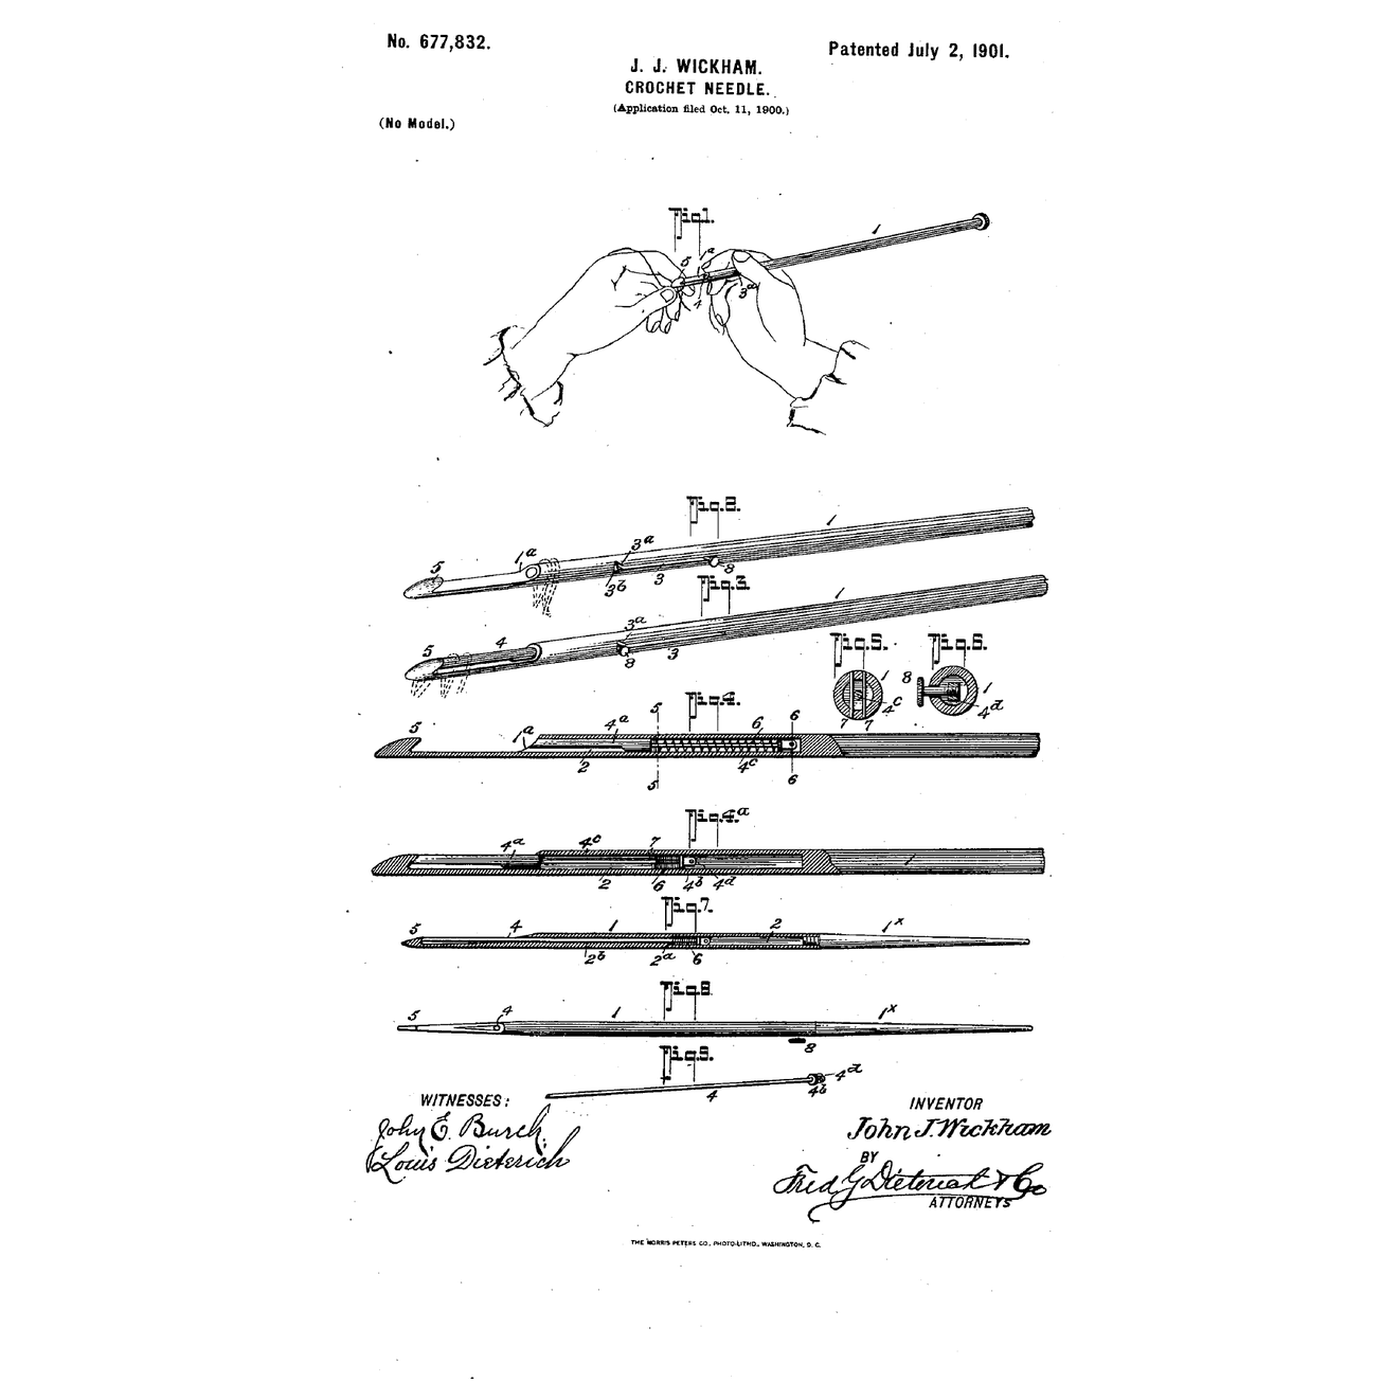


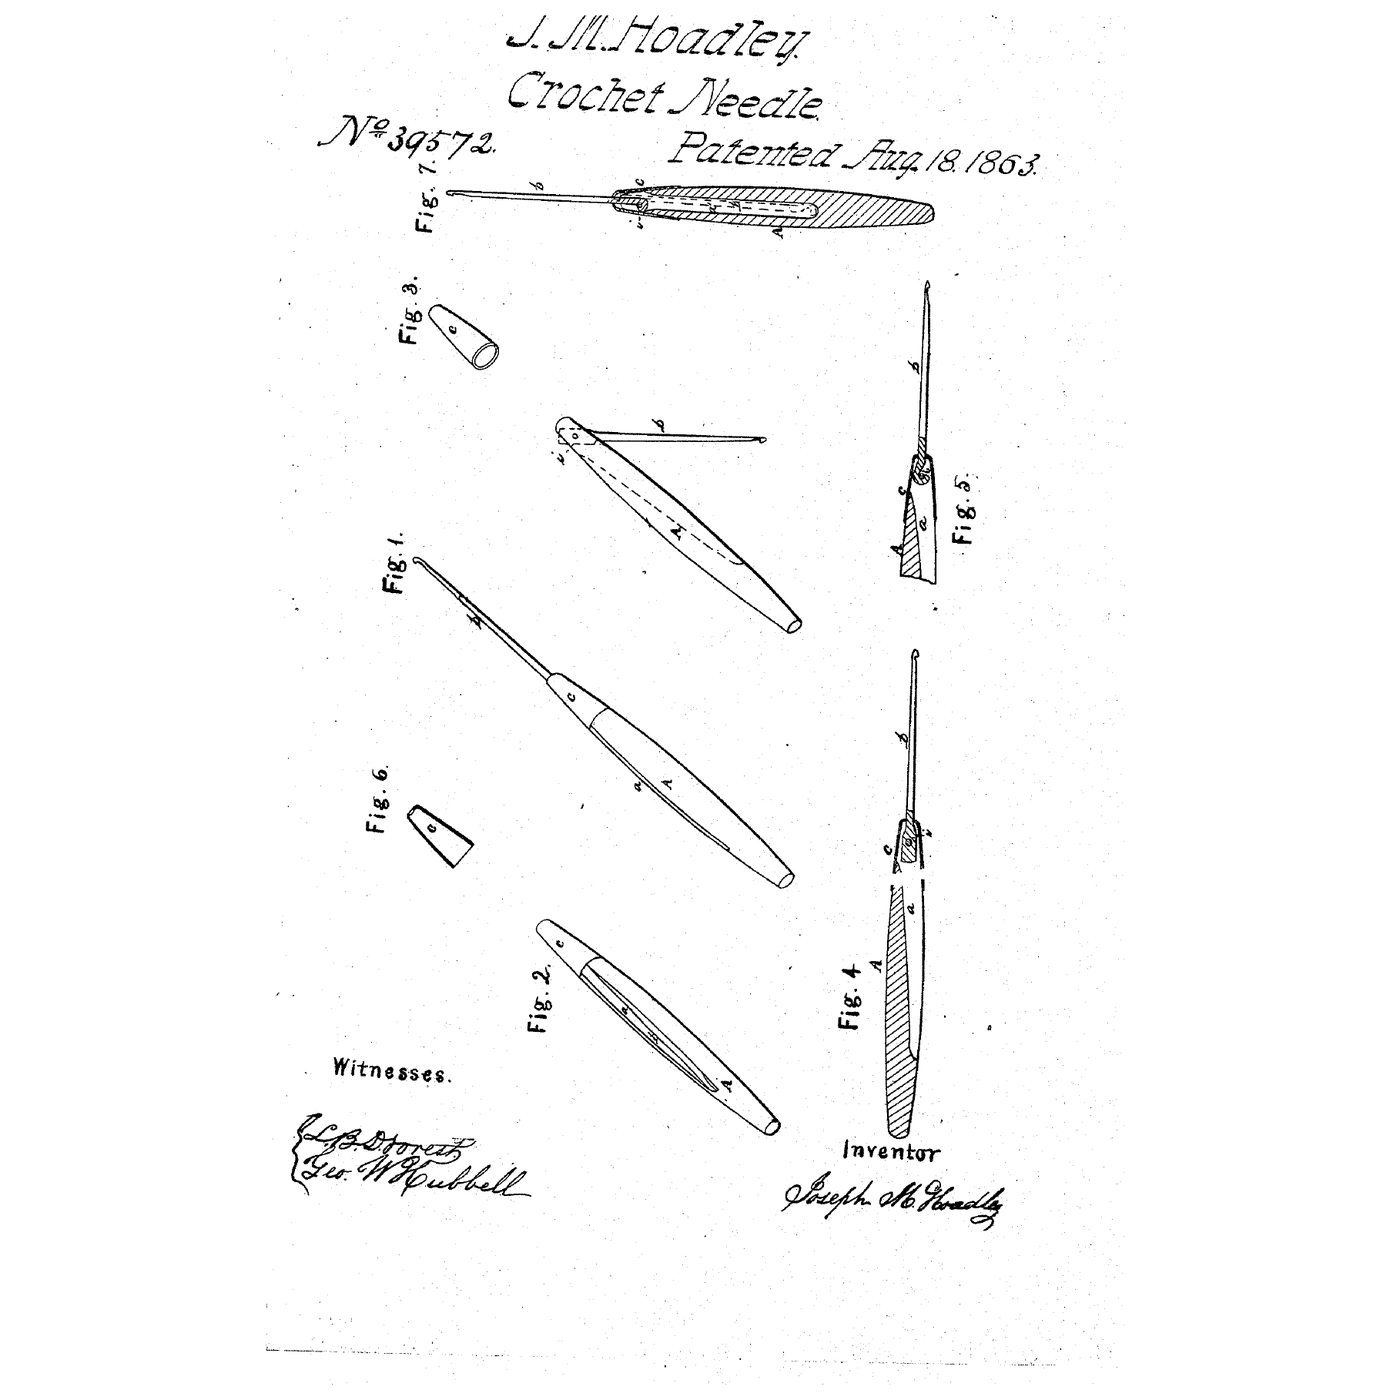
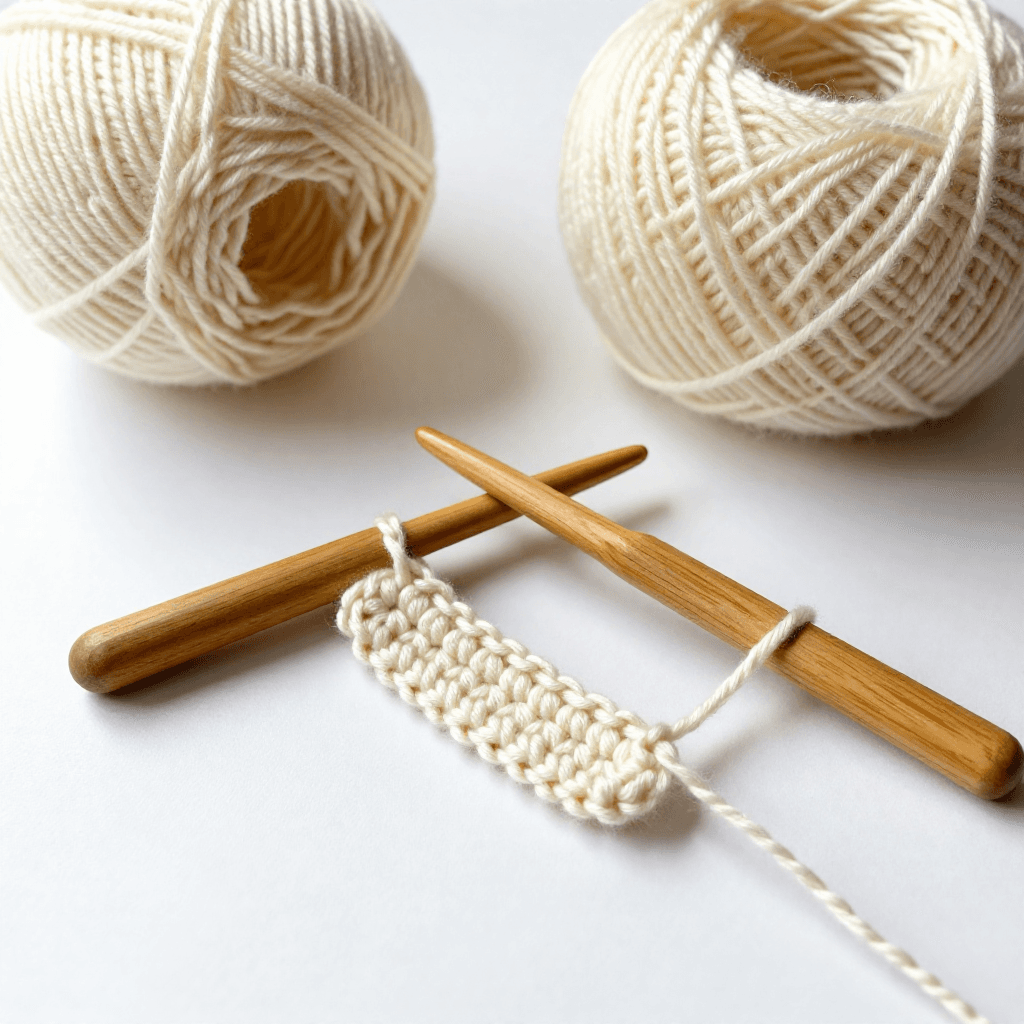
The Bridge-Closed Crochet Needle: A Sliding Bolt Covers the Barb While the Loop Is Drawn Through
Drawing the hook of a crochet needle back through the loops on it takes care: the barb catches in the loops, disarranging the stitches or breaking the thread, most often in worsted and other fluffy yarn.
John J. Wickham of Washington, District of Columbia, received US 677,832, dated 2 July 1901, for a crochet needle with "a movable member adapted to be slipped into position and form, as it were, a 'bridge' for extending over the hook or barbed end of the needle". The bridge slides in a bore behind the hook, is held back by a spring, and is pushed forward by a finger-piece in a side slot, where a shoulder at the end of the slot holds it.
This rung works out the force the lock must hold, then builds a large needle with a spring bridge and a locking slot, and crochets with the bridge open and closed.
Avançado
About 5 hours
Instruções
1
1
Spring force at the lock
Spring force at the lock
A carregar o notebook Jupyter…
2
2
A hook closed by a latch before it
A hook closed by a latch before it
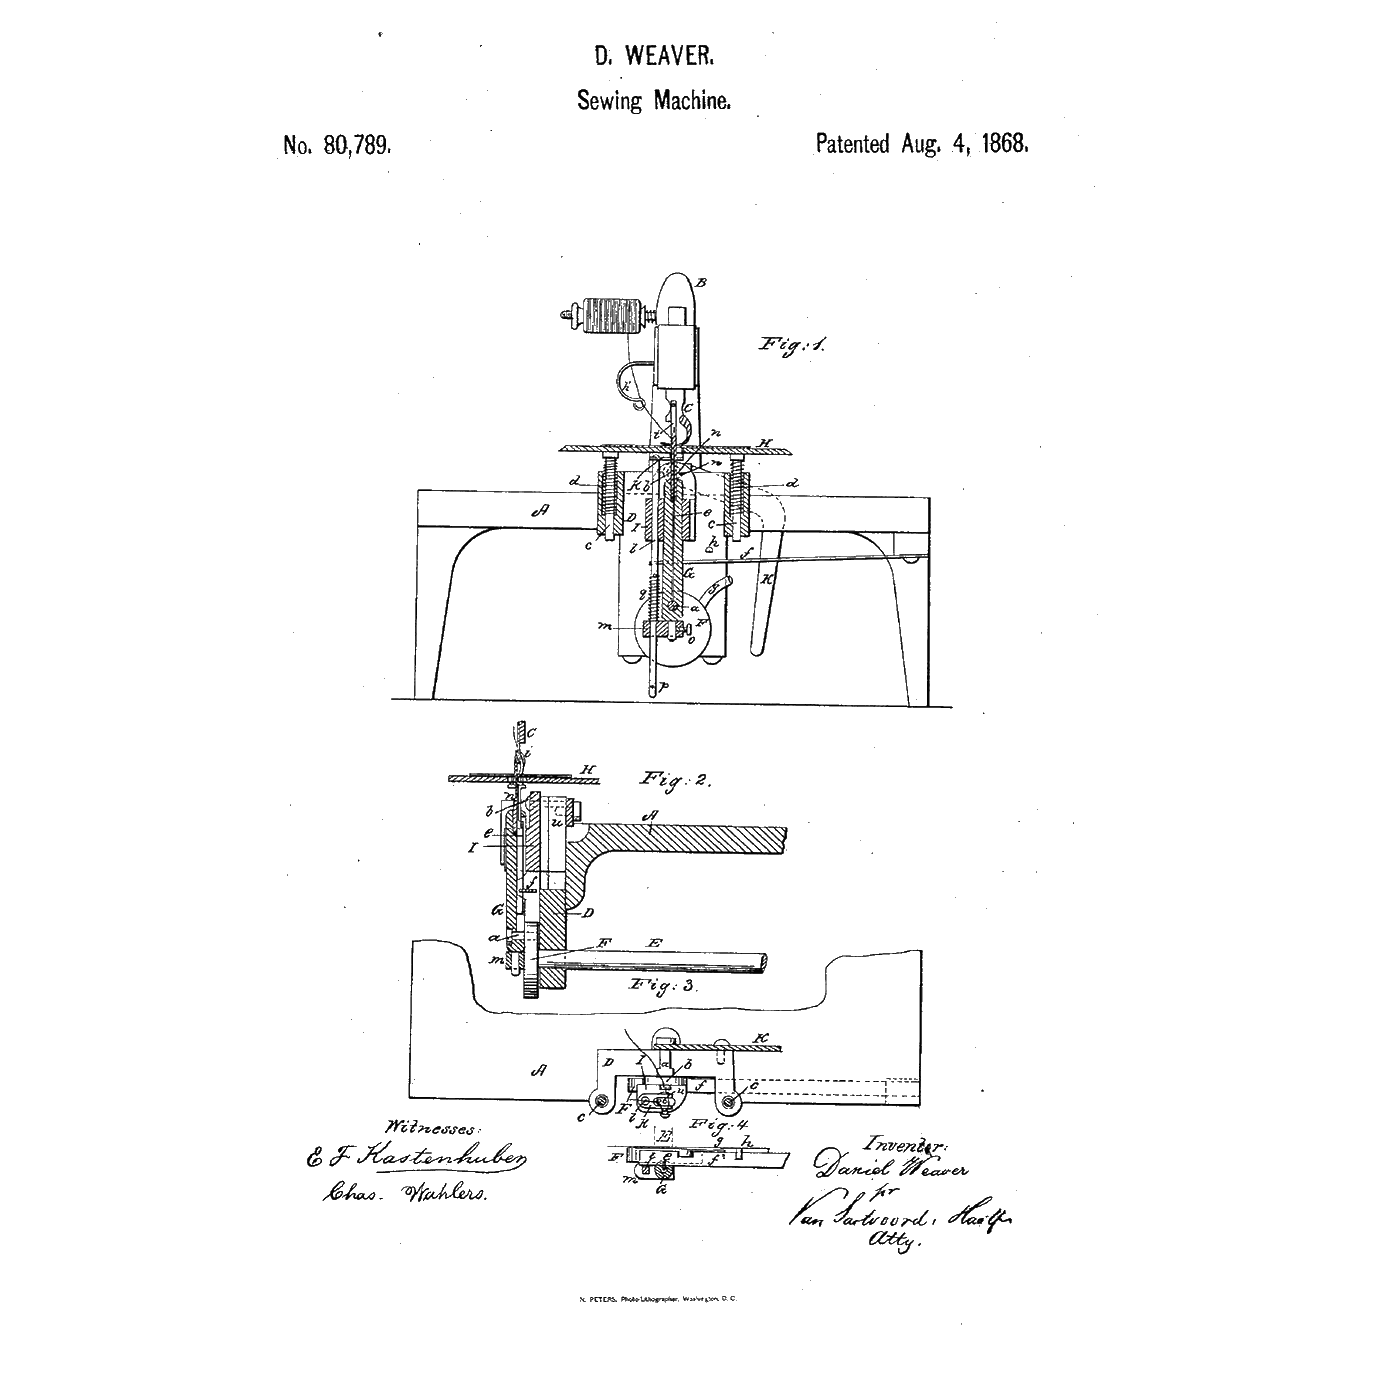
The embedded blueprint closes a hook needle's latch with the cloth itself, so it draws its loop down without catching. Wickham closes a hand crochet needle's barb with a sliding bridge moved by the finger.
3
3
Read US 677,832
Read US 677,832
"In the drawings, 1 designates the crochet needle, having the ordinary external shape, and the front end of the needle has a longitudinal bore 2, beginning at the tapered or reduced part 1a thereof and extending into the handle-portion of the needle to a predetermined point, and the inner end of the said bore merges with a horizontal elongated slot 3."
"In use the bridge is normally held back by the spring 6, the user, after throwing the required number of loops or stitches about the needle end and having picked the thread with the needle end that is to be pulled through the said loops, presses the finger-piece 8 forward until the bridge-piece covers the barbed end of the needle, at which time the finger member 8 will engage with the lock-shoulder of the slot 3 and hold the bridge-piece in position"
4
4
Build the needle and crochet with it
Build the needle and crochet with it
**Needle.** Cut 20 cm of 12 mm aluminium rod. File its front 2 cm down along one side to a 5 mm shank, leaving a step, and at the end of the shank file a hook with a throat about 3 mm deep, the barb pointing back toward the step. With the rod in the vise, drill a 4 mm hole 7 cm deep from the step, parallel to the shank and in line with the barb. Over the bore's last 3 cm drill a row of 3 mm holes through the side into it and file them into a slot. At the slot's front end file a short notch turning off at an angle, ending in a shoulder.
**Bridge.** Cut 7 cm of 4 mm steel rod and file its front end to the slope of the step. File 2.5 cm down to 2.5 mm, leaving the last 5 mm full size as a head, and drill and tap that head M3. Slide a compression spring 25 mm long over the thin part, push the bridge in until its front is flush with the step, and drive two 1.5 mm pins across the bore in front of the spring, beside the thin part. Screw an M3 screw through the slot into the head as the finger-piece, and file until the bridge slides about 15 mm forward over the barb and springs back.
**Test.** Measure the push that closes the bridge with the spring scale. Then crochet 20 stitches of fluffy yarn twice, drawing each loop through with the bridge open and then closed over the barb, and count the loops that catch.
Materiais para este passo:
 Vareta de alumínio0.2 metro
 Varão de aço macio0.1 metro
 Sortido de molas de compressão1 peça
 Pino cilíndrico de aço2 peças
 Parafusos de máquina1 peça
 Fio1 peça
Ferramentas necessárias:
 Serra de arco para metais
 Torno de bancada
 Limas (lima de mão)
 Jogo de limas de agulha
 Berbequim sem fios
 Jogo de brocas
 Jogo de machos e cossinetes
 Martelo
 Paquímetro digital de 6 polegadas
 Dinamómetro de mola
 Conjunto de agulhas de croché
 Óculos de segurança transparentes
5
5
A bridge that sticks, will not lock or will not return
A bridge that sticks, will not lock or will not return
Bridge-closed crochet needle troubleshooting.
Flow
Loading...
6
6
History and honest limits
History and honest limits
**John J. Wickham** of Washington, District of Columbia, filed US 677,832 on 11 October 1900; it is dated 2 July 1901. His bridge 4 has a bolt-like part 4a the size of the bore, tapered in the plane of the needle's taper, and a reduced shank 4c whose shoulder 4b takes the rear end of the spring 6; the spring's front end bears on stop-pins 7 through the handle. The finger-button 8 screws through the slot 3 into the shank, and the slot ends in an angled portion 3a and a lock-shoulder 3b. A second form, for silk or linen thread, has a two-piece body whose rear part screws on so the bridge and spring can be put in from behind. He noted that an ordinary needle can be converted by boring it and cutting the slot. His claims cover the sliding bridge with its spring, finger member and detent.
**Honest limits.** A large aluminium needle for thick yarn stands in for his, and the bridge's head and pins are simplified. The notebook takes the spring as linear; its rate and strokes are examples. Your caught loops are the result.
Materiais
6- 0.2 metroReferência
- 0.1 metroReferência
- Referência
- 2 peçasReferência
- 1 peçaReferência
- 1 peçaReferência
Ferramentas necessárias
12- Referência
- Referência
- Referência
- Referência
- 1 vendor sell this, none ship to you yetReferência
- Referência
- Referência
- Referência
- Referência
- Referência
- Referência
- Referência
Blueprints relacionados
Estes blueprints compartilham conhecimento — técnicas, materiais ou princípios

CC0 Domínio Público
Este blueprint é liberado sob CC0. Você é livre para copiar, modificar, distribuir e usar este trabalho para qualquer finalidade, sem pedir permissão.
Apoie o Maker comprando produtos através do Blueprint, onde ele ganha uma Comissão Maker definida pelos vendedores, ou crie uma nova versão deste Blueprint e inclua-o como conexão no seu próprio Blueprint para compartilhar receita.