ARTE
BELEZA E BEM-ESTAR
ARTESANATO
CULTURA E HISTÓRIA
ENTRETENIMENTO
MEIO AMBIENTE
COMIDA E BEBIDAS
ENGENHARIA REVERSA
CIÊNCIAS
ESPORTES
TECNOLOGIA
TECNOLOGIA VESTÍVEL
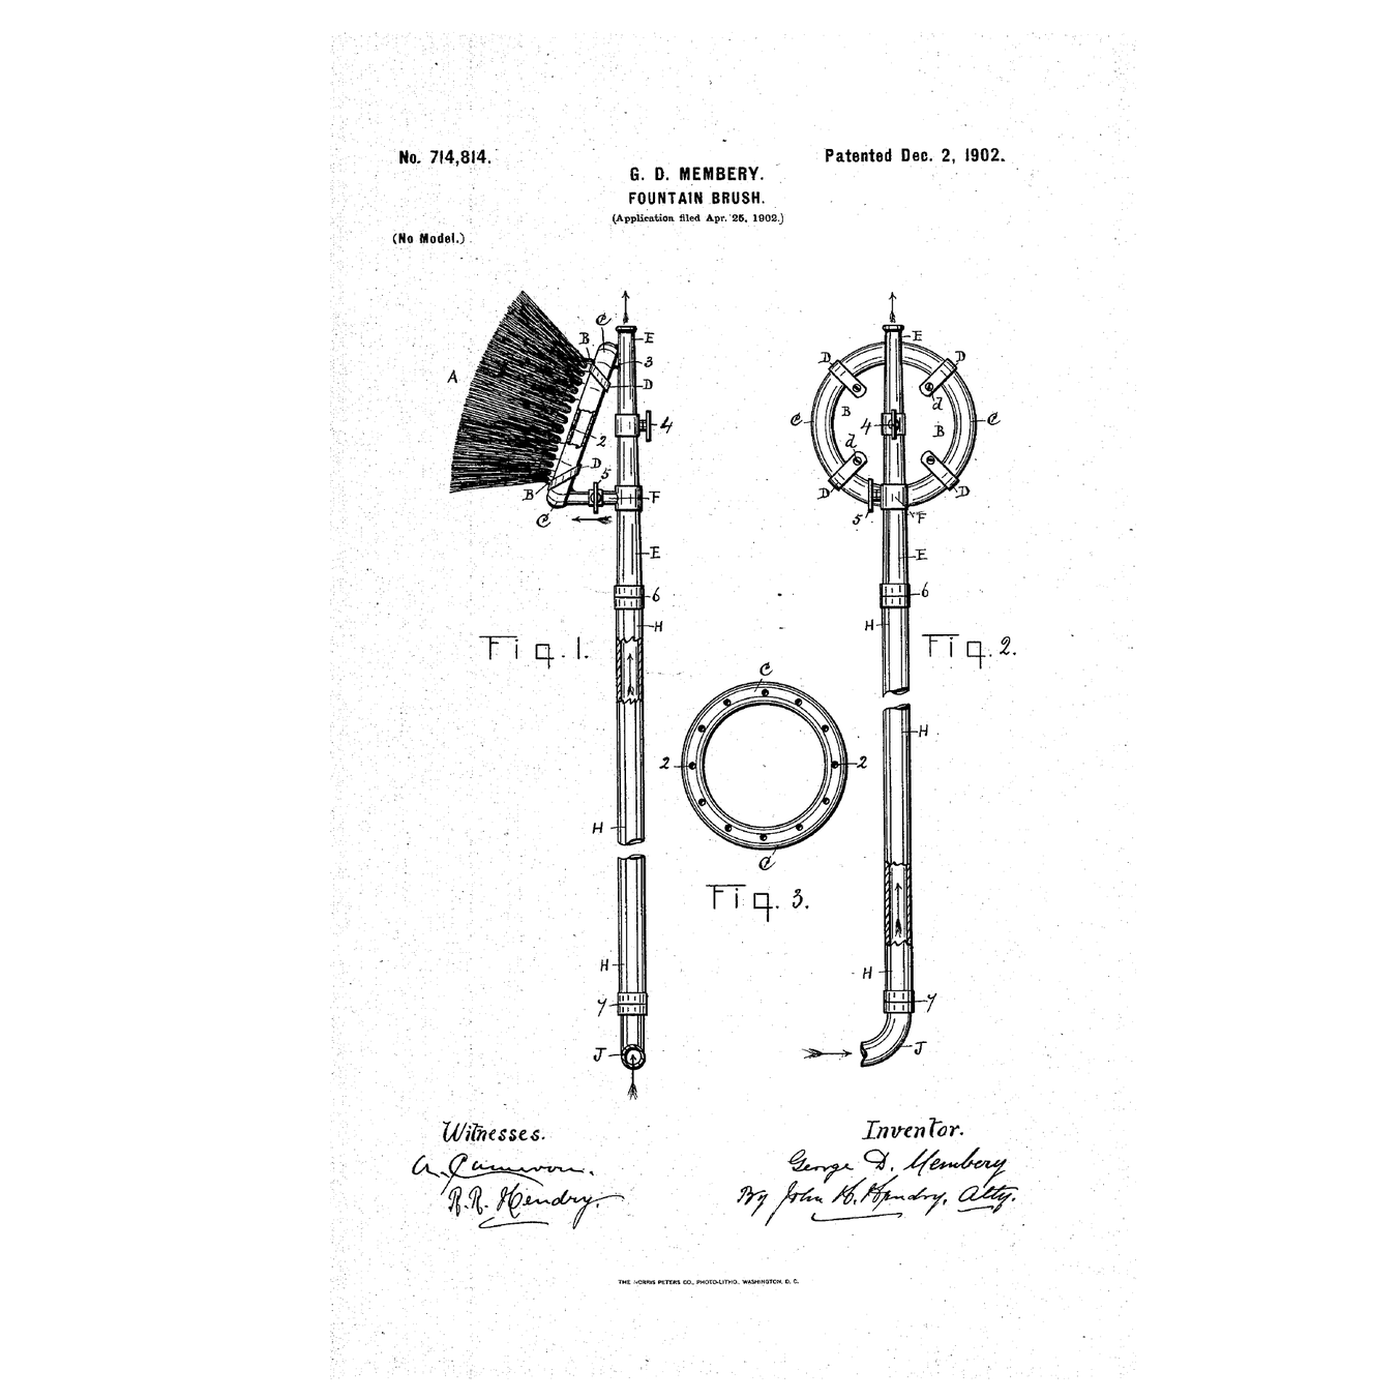


The Long-Handled Fountain Brush: A Ring of Holes Wets the Bristles From the Ground
Washing an upper window or a railway car means a ladder, a bucket and a brush that dries out.
George D. Membery of Hamilton, Ontario, received US 714,814, dated 2 December 1902, for a fountain brush "with handle adapted for the outside of windows, railway-cars, buggies, and the like": a circular brush fixed to a perforated circular tube, set oblique on a nozzle at the top of a hollow handle fed by a hose, with one tap for the ring and one for the nozzle's end.
This rung works out how much pressure the handle's height costs, then bends a copper ring, fixes a brush to it on a copper handle and measures the flow at the bristles.
Intermediário
About 4 hours
Instruções
1
1
Pressure lost up the handle
Pressure lost up the handle
A carregar o notebook Jupyter…
2
2
Water through a ring of holes before it
Water through a ring of holes before it
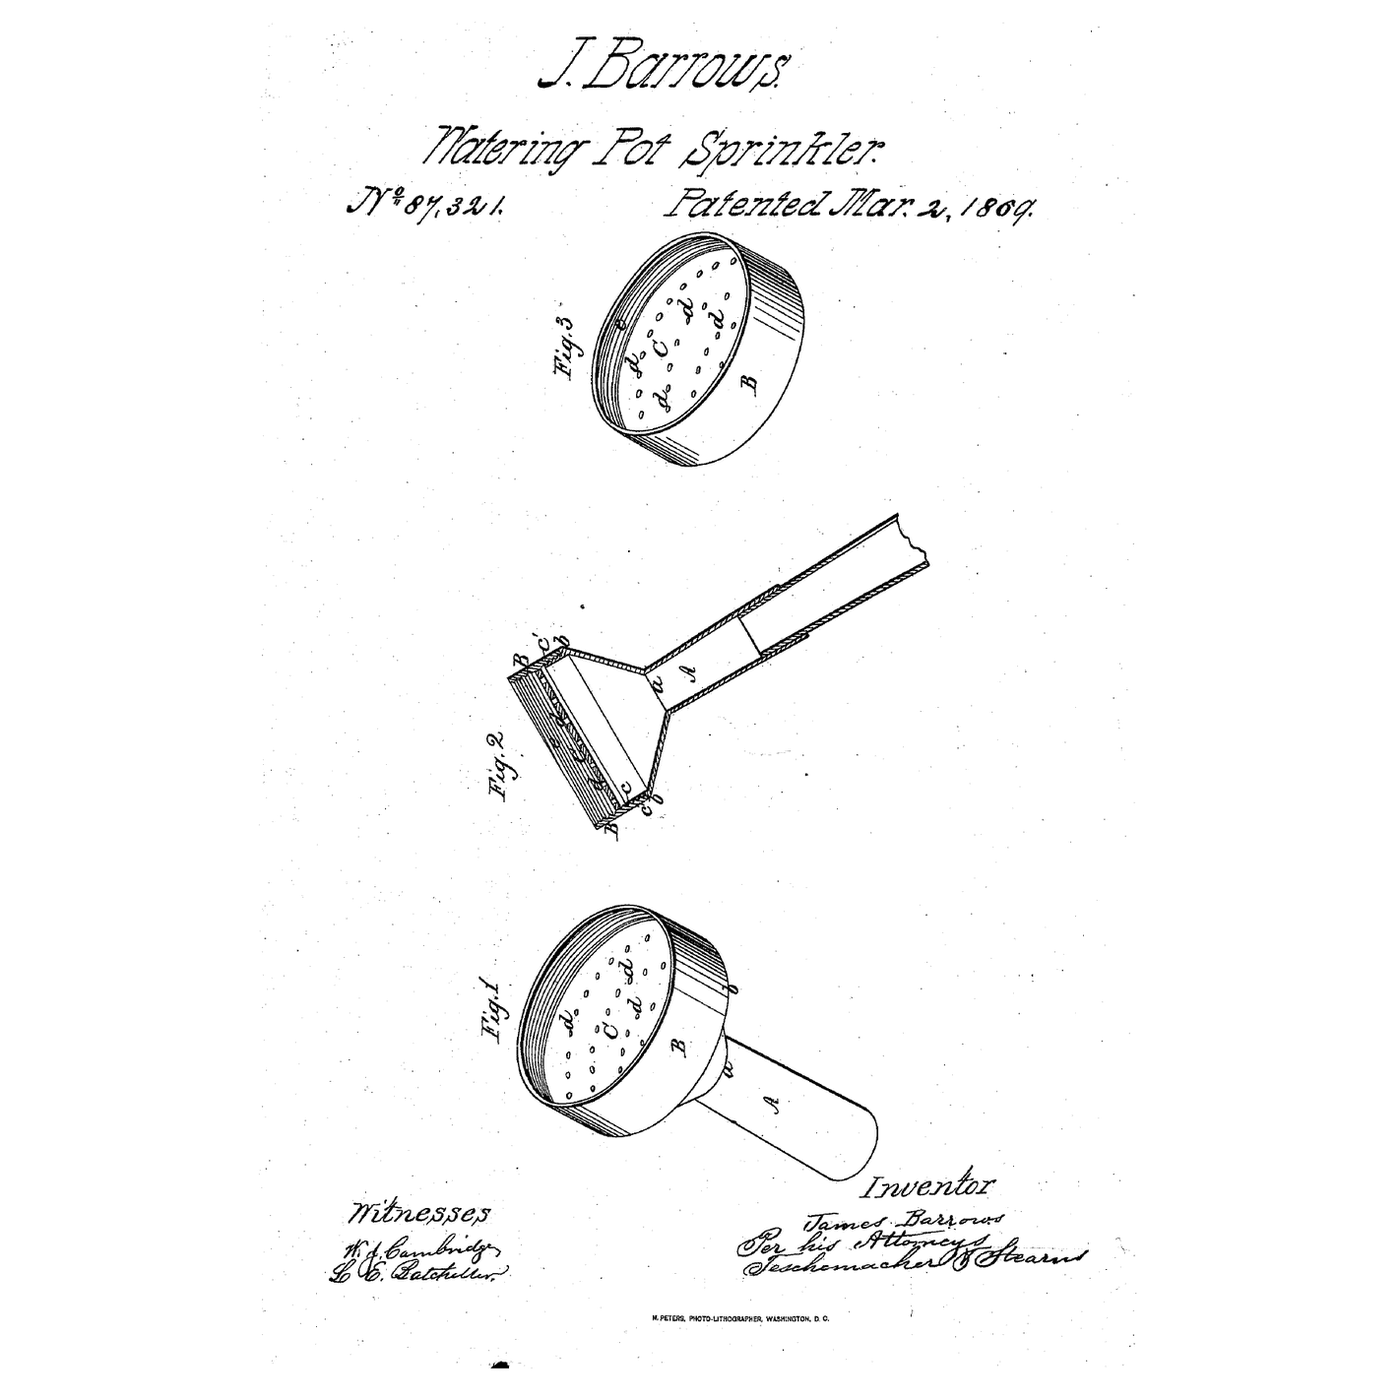
The embedded blueprint sprinkles through a perforated rose. Membery bends the perforations into a ring behind a brush and feeds it up a hollow handle.
3
3
Read US 714,814
Read US 714,814
"The brush is preferably in oblique position to the handle H in order to allow the operator to stand a desirable distance from the object being washed and sprayed. The length of the handle H may be from six to twelve feet, more or less, as desired to suit the purpose set forth."
"The water flows through the hose J, thence through the handle H and into the nozzle E, thence through the pipe connection F and into the circular tube C and out through the apertures 2 of the tube C, and thence on and between the hairs of the brush A, thus saturating the brush with water, which is regulated by means of the tap 5."
4
4
Bend the ring
Bend the ring
Uncoil 500 mm of soft copper tubing and bend it by hand round a 140 mm paint tin into a ring, the two ends side by side. Cut them square with the tube cutter.
Materiais para este passo:
 Tubagem de cobre1 peça
Ferramentas necessárias:
 Corta-tubos
 Fita métrica
5
5
Drill the ring
Drill the ring
Mark 12 points evenly round the ring's front and drill each 1.5 mm. Deburr inside with a blown-through rinse.
Ferramentas necessárias:
 Marcador permanente
 Berbequim sem fios
 Jogo de brocas
 Óculos de segurança transparentes
6
6
Join the ring to the feed
Join the ring to the feed
Push both ring ends into a tee from the brass fittings and tighten. Fit 60 mm of 10 mm copper tube in the tee's third port and bend it 60° so the ring sits oblique to the handle.
Materiais para este passo:
 Acessórios de latão1 peça
 Tubo de cobre de 10 mm1 peça
Ferramentas necessárias:
 Chave inglesa ajustávelCorta-tubos
7
7
Tie on the brush
Tie on the brush
Lay the scrub brush's back across the ring, bristles away, and bind it on with four cable ties.
Materiais para este passo:
 Escova de esfregar1 peça
 Abraçadeiras de cabo1 peça
8
8
Fit the handle and tap
Fit the handle and tap
Cut 1.8 m of 15 mm copper tube for the handle. Join the feed to its top through a reducer and the ball valve, and fit a hose connector at its foot. Seal threads with PTFE tape.
Materiais para este passo:
 Tubo de cobre1 peça
 Válvula de esfera1 peçaAcessórios de latão1 peça
 Fita de PTFE para roscas1 peça
Ferramentas necessárias:
Corta-tubosChave inglesa ajustável9
9
The build in 3D
The build in 3D
FreeCAD model of this build, not of the patent: a 140 mm ring of 10 mm tube with 12 holes of 1.5 mm, a tee and 60° feed, a 150 × 50 mm brush, and a 15 mm handle shown 450 mm long with its ball valve.
10
10
Measure the flow
Measure the flow
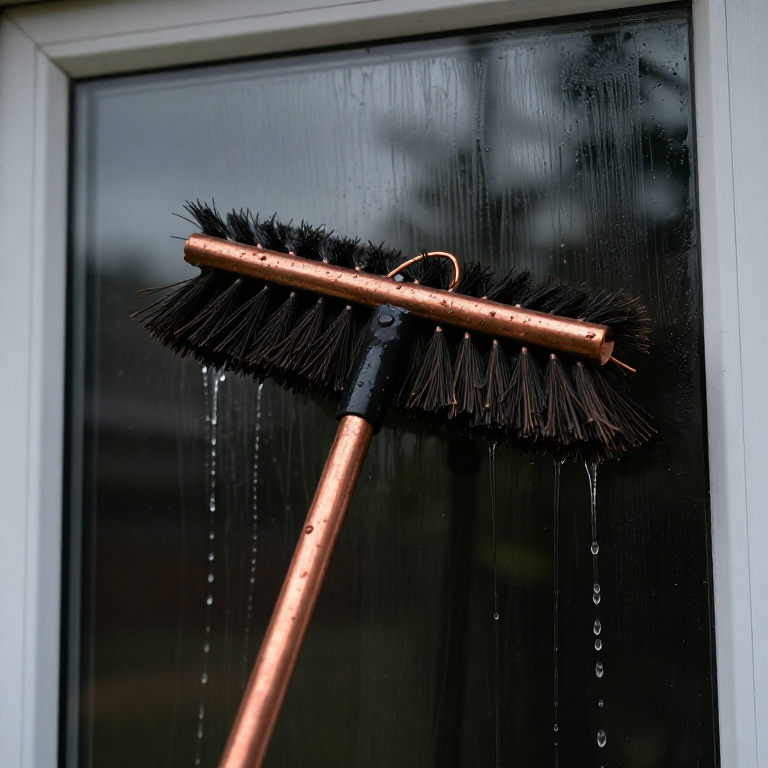
Connect the garden hose and open the ball valve fully. Hold the brush over the jug for 30 s and read the litres; repeat with the handle held upright and with it level, and compare.
Materiais para este passo:
 Mangueira de jardim1 peça
 Água1 peça
Ferramentas necessárias:
 Jarro medidor
 Cronómetro
11
11
A brush that drips, leaks or stays dry
A brush that drips, leaks or stays dry
Long-handled fountain brush troubleshooting.
Flow
Loading...
12
12
History and honest limits
History and honest limits
**George D. Membery** of Hamilton, Ontario, filed US 714,814 on 25 April 1902; it is dated 2 December 1902. The brush's base is held to the tube by bands screwed to its rear side. The nozzle has its own tap 4, so water may also leave the nozzle's end; either tap may be opened or closed alone.
**Honest limits.** Our build has no separate nozzle and uses a rectangular scrub brush where his is circular. The notebook ignores friction in the hose and handle. Your measured flows are the result.
Materiais
10- 1 peçaReferência
- 1 peçaReferência
- 1 peçaReferência
- 1 peçaReferência
- 1 peçaReferência
- 1 peçaReferência
- 1 peçaReferência
- 1 peçaReferência
- Mangueira de jardim10% de comissão1 peçaReferência
- 1 peçaReferência
Ferramentas necessárias
9- Referência
- 1 vendor sell this, none ship to you yetReferência
- Referência
- 1 vendor sell this, none ship to you yetReferência
- Referência
- Referência
- Referência
- Referência
- Referência
Ficheiros de design
1Blueprints relacionados
Estes blueprints compartilham conhecimento — técnicas, materiais ou princípios

CC0 Domínio Público
Este blueprint é liberado sob CC0. Você é livre para copiar, modificar, distribuir e usar este trabalho para qualquer finalidade, sem pedir permissão.
Apoie o Maker comprando produtos através do Blueprint, onde ele ganha uma Comissão Maker definida pelos vendedores, ou crie uma nova versão deste Blueprint e inclua-o como conexão no seu próprio Blueprint para compartilhar receita.