ARTE
BELEZA E BEM-ESTAR
ARTESANATO
CULTURA E HISTÓRIA
ENTRETENIMENTO
MEIO AMBIENTE
COMIDA E BEBIDAS
ENGENHARIA REVERSA
CIÊNCIAS
ESPORTES
TECNOLOGIA
TECNOLOGIA VESTÍVEL
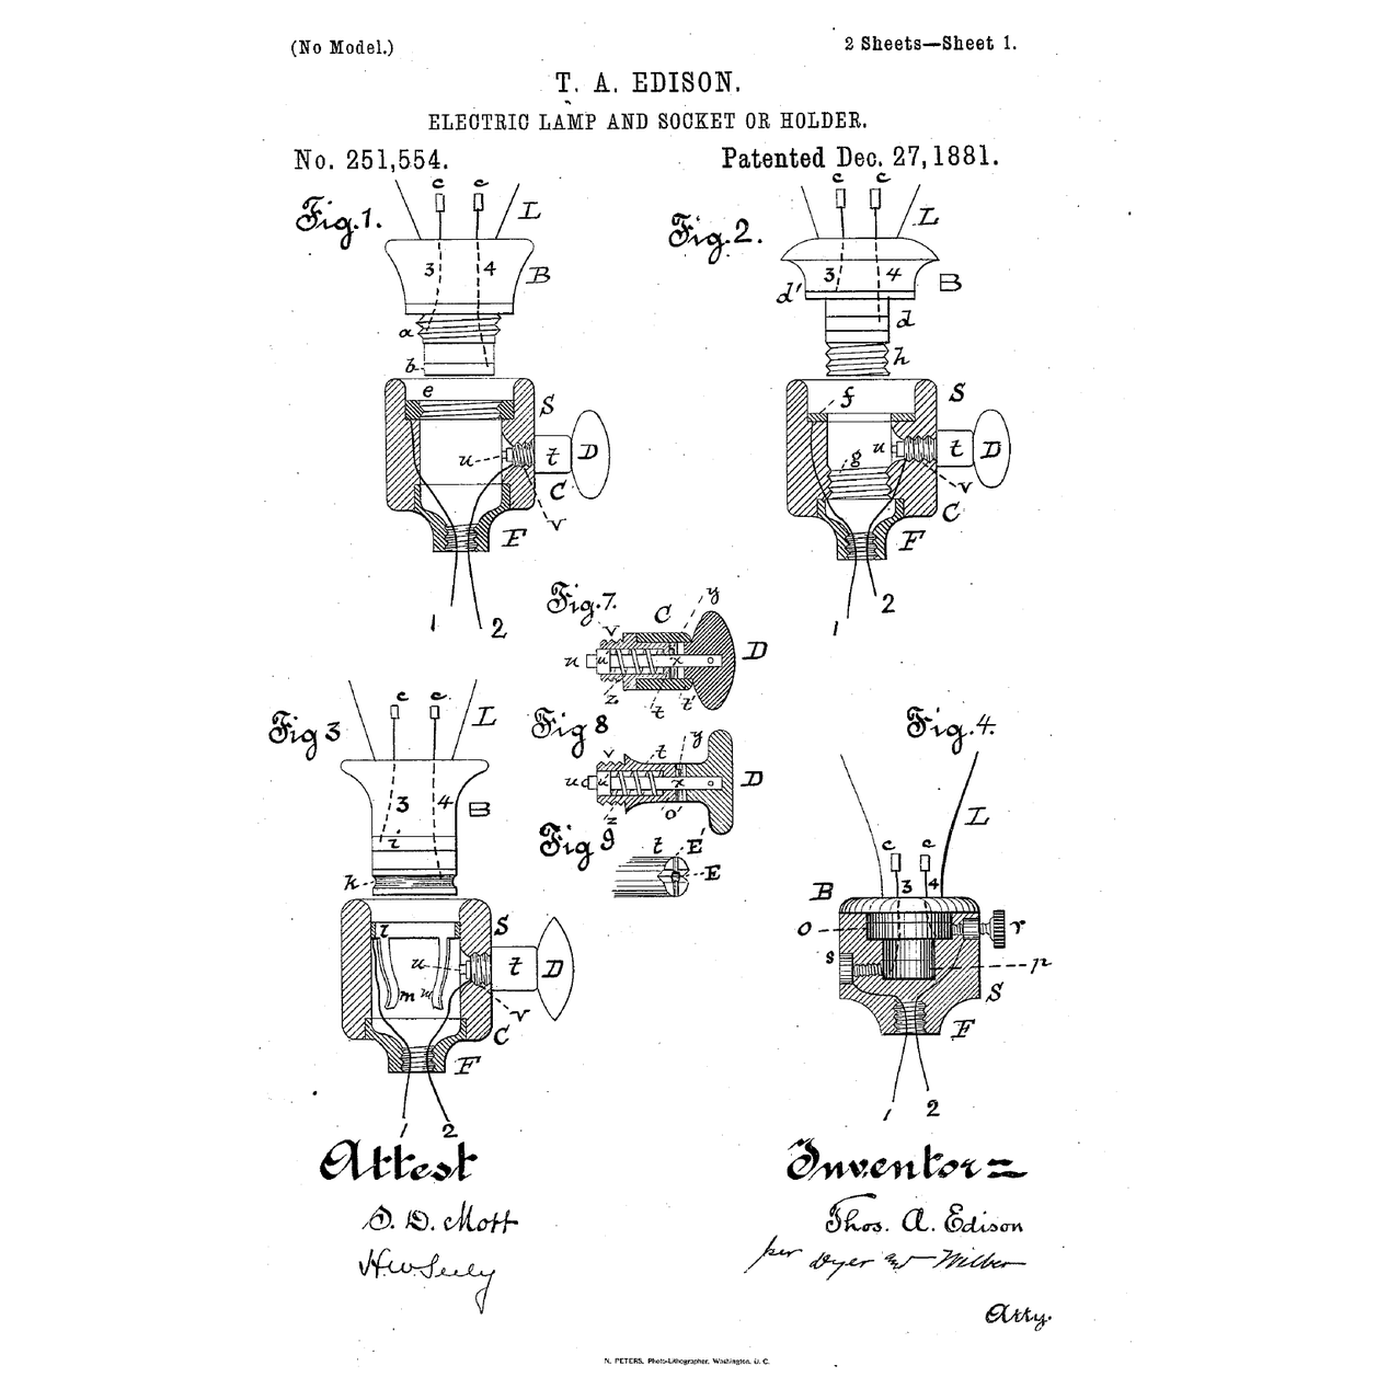


The Screw Lamp Socket: Fitting a Bulb Makes the Circuit
An electric lamp burns out and must be replaced — by anyone, quickly, without tools and without touching bare wires. Its base has to hold it, connect it and let it go again.
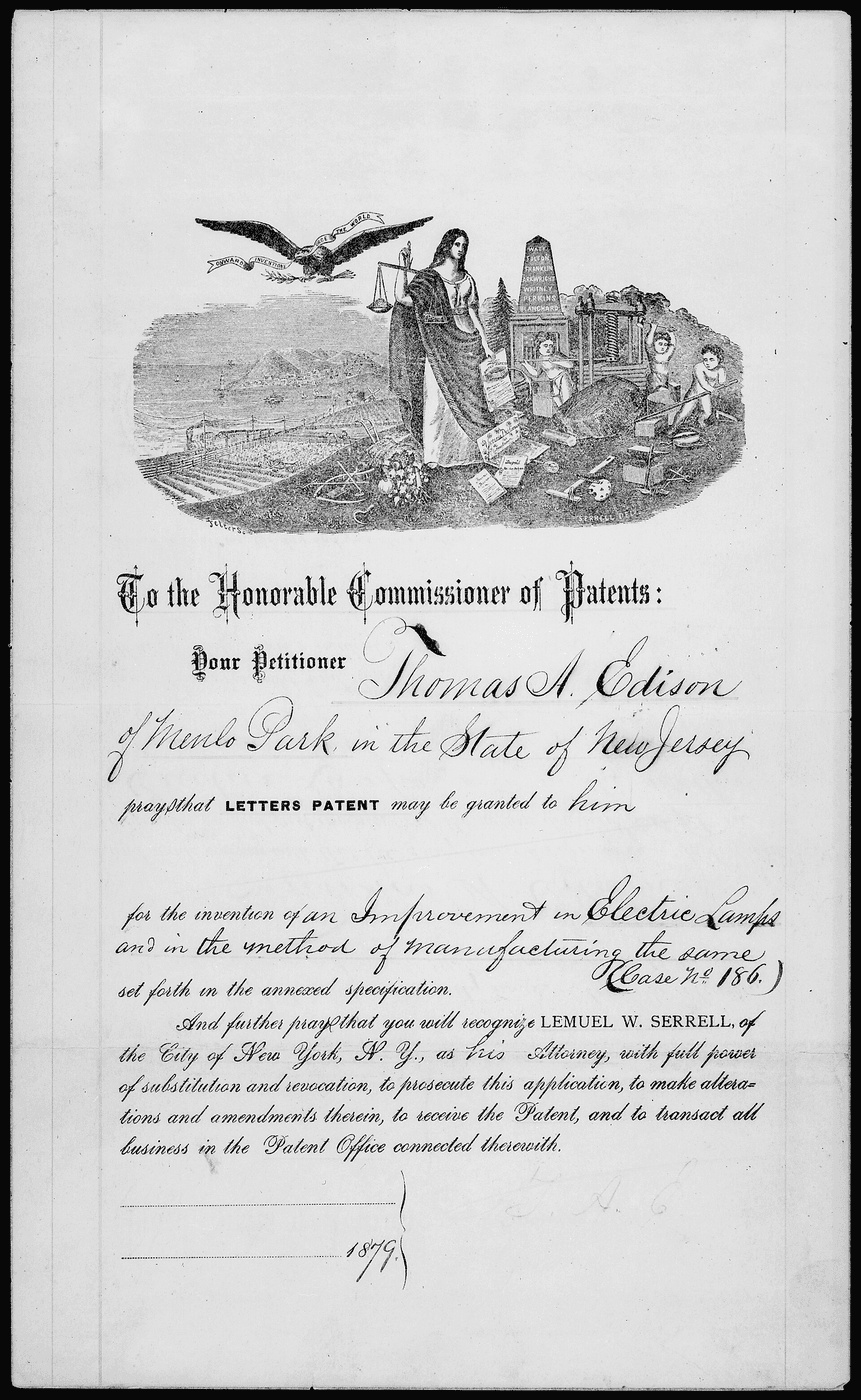
Thomas A. Edison of Menlo Park, assignor to the Edison Electric Light Company, filed US 251,554 on 26 March 1881; it is dated 27 December 1881, for an "Electric Lamp and Socket or Holder". The lamp's neck carries two metal bands, one formed as a screw thread; the socket has a matching threaded band inside and a circuit-controller, and screws itself onto an ordinary gas fixture. Screwing the lamp in makes both connections at once; the controller switches the current.
This rung works out how the thread presses the contacts and why a loose one heats, and wires a low-voltage socket.
Iniciante
About 2 hours
Instruções
1
1
Seating force and contact heating
Seating force and contact heating
A carregar o notebook Jupyter…
2
2
The lamp the socket holds
The lamp the socket holds
The socket was made for the carbon-filament lamp. The embedded blueprint covers it.
3
3
Read US 251,554
Read US 251,554
"In a system of electric lighting where the lamps used consist of an incandescing conductor hermetically sealed in a glass inclosing globe it is desirable that the lamp and its supporting-socket should be so constructed that the lamp may be readily removed from or placed in the socket, and that at the same time by the act of placing in or removing the lamp from the socket the appropriate circuit connections to the conductor be formed, subject, however, and only, to the control of a suitable circuit-controller".
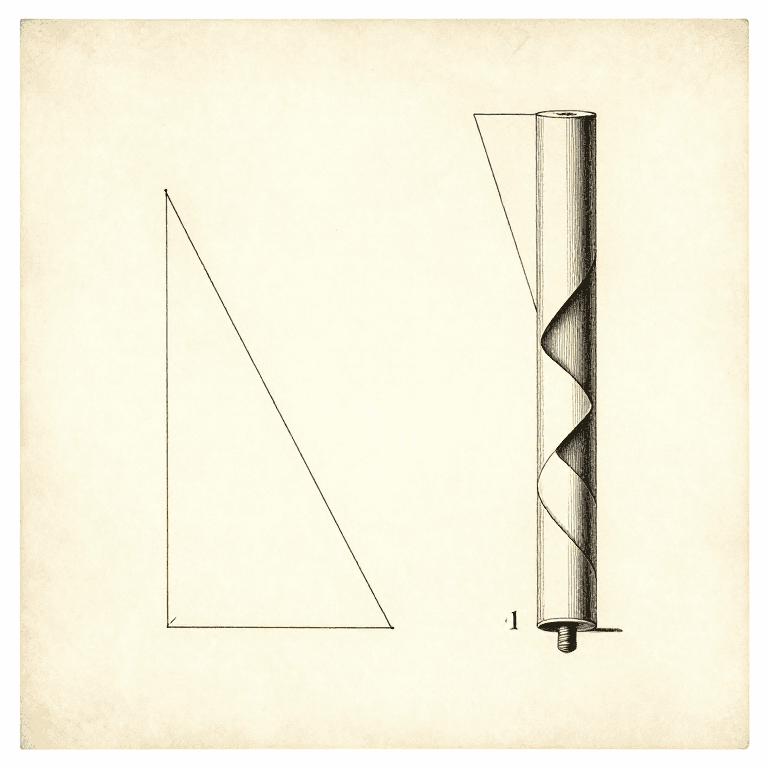
The socket is of insulating material, hollowed to receive the neck at one end and "formed with a screw-thread at the other end, by which it may be attached to any ordinary gas-fixture, chandelier, or bracket." "Upon the interior of the socket is a metal band, which may be formed into a female screw-thread", joined to one conductor; "One or two turns of the screw-thread is sufficient". When the lamp is in place one neck band touches the socket's band, and the other is in position to be touched by the circuit-controller. Instead of a thread, a concave band held by curved spring fingers is also described.
4
4
Twist in, circuit made
Twist in, circuit made
Espaço de trabalho Blockly
Loading Blockly workspace...
5
5
Wire a low-voltage socket
Wire a low-voltage socket
Use only low voltage: a screw-base 12 V lamp and socket, a 12 V battery or power supply, and a switch. With the multimeter, trace which of the socket's two terminals goes to the threaded shell and which to the centre contact. Wire the switch into the centre-contact lead, fit the lamp and switch it on.
Loosen the lamp half a turn until it flickers; measure the voltage across the loose contact while it is lit and compare with the notebook's heating. Never do this on mains wiring.
Materiais para este passo:
 Casquilho de lâmpada1 peça
 Fios de ligação1 peça
 Botão de pressão1 peça
Ferramentas necessárias:
 Multímetro
 Fonte de alimentação de corrente contínua
 Chave de fendas
6
6
A socket that flickers
A socket that flickers
Lamp socket troubleshooting.
Flow
Loading...
7
7
History and honest limits
History and honest limits
**Thomas A. Edison** of Menlo Park, New Jersey, assignor to the **Edison Electric Light Company**, filed US 251,554 on 26 March 1881; it is dated 27 December 1881.
**Honest limits.** Thread size, friction, lamp current and contact resistances in the notebook are examples; the patent gives no dimensions.
Materiais
3- 1 peçaReferência
- desdeR$8.24
- desdeR$2.61
Ferramentas necessárias
3- Referência
- Chave de fendas10% de comissãoReferência
Blueprints relacionados
Estes blueprints compartilham conhecimento — técnicas, materiais ou princípios

CC0 Domínio Público
Este blueprint é liberado sob CC0. Você é livre para copiar, modificar, distribuir e usar este trabalho para qualquer finalidade, sem pedir permissão.
Apoie o Maker comprando produtos através do Blueprint, onde ele ganha uma Comissão Maker definida pelos vendedores, ou crie uma nova versão deste Blueprint e inclua-o como conexão no seu próprio Blueprint para compartilhar receita.