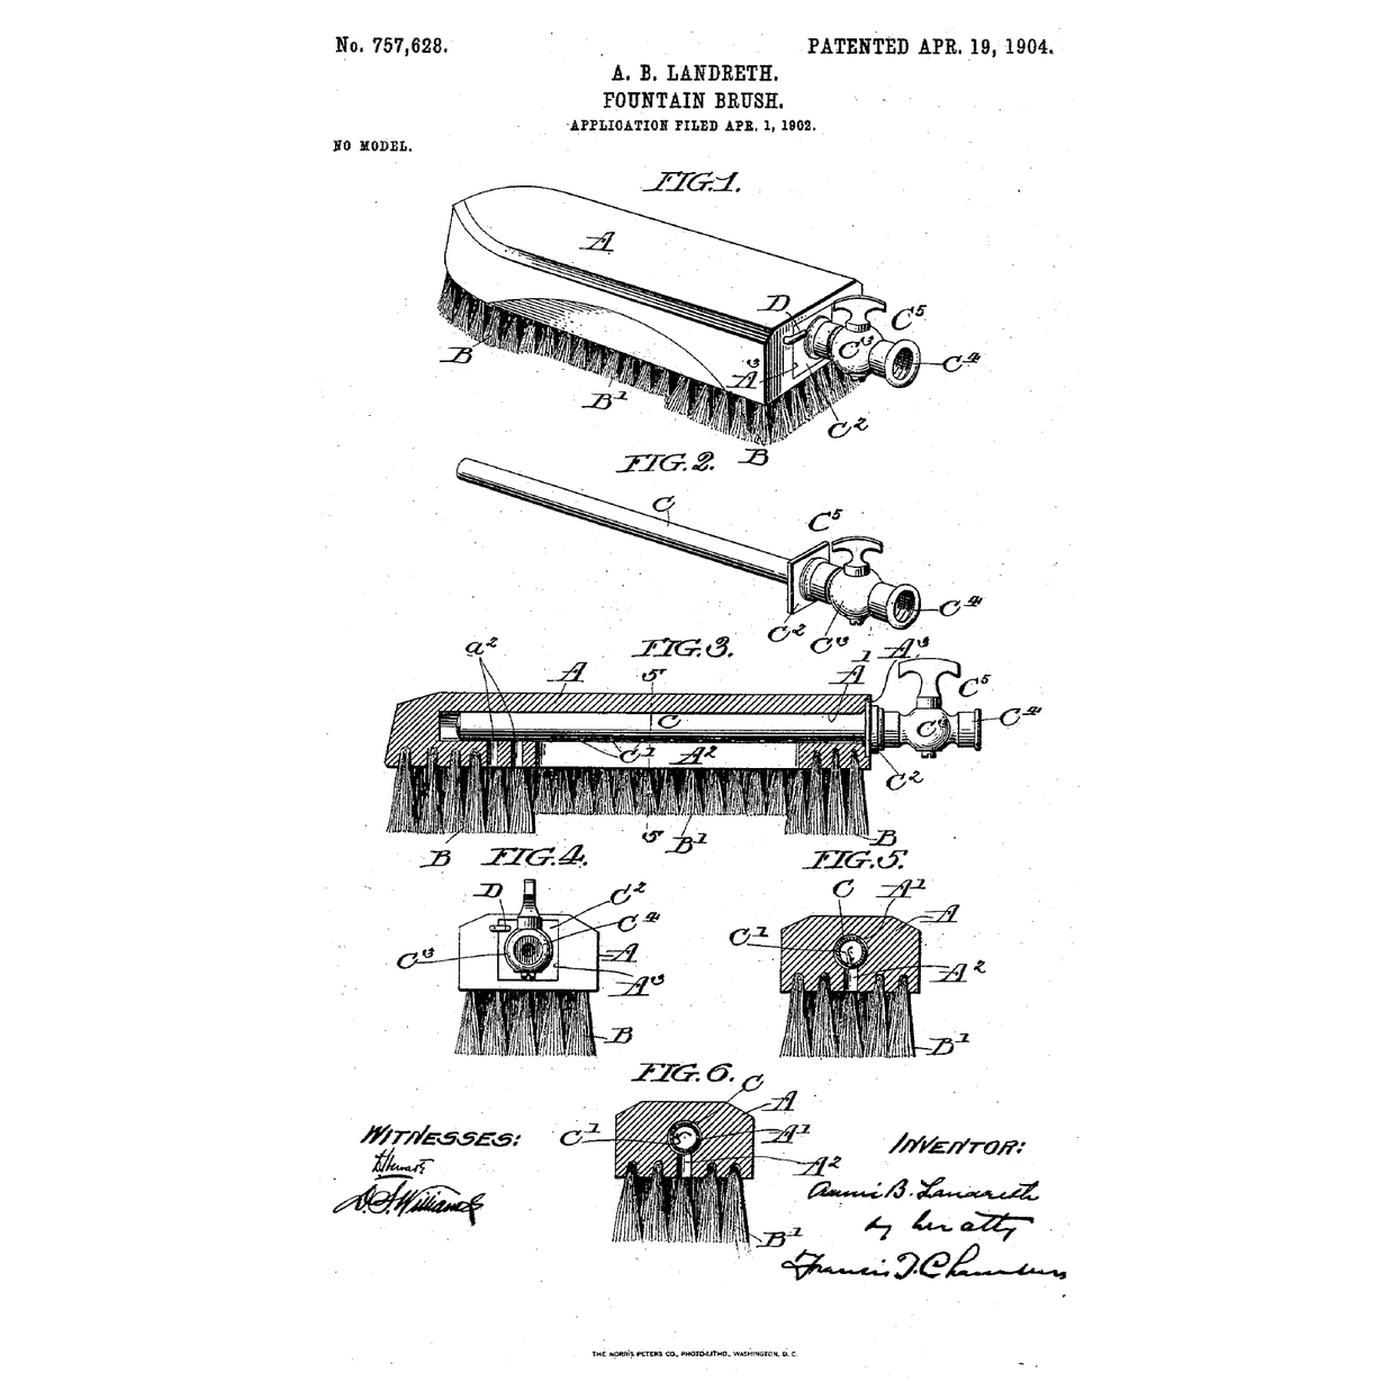


The Tube-in-the-Back Fountain Brush: Turn the Tube and the Jets Become a Soak
Instruções
Jet against soak
Jet against soak
A scrubbing brush improved before it
A scrubbing brush improved before it
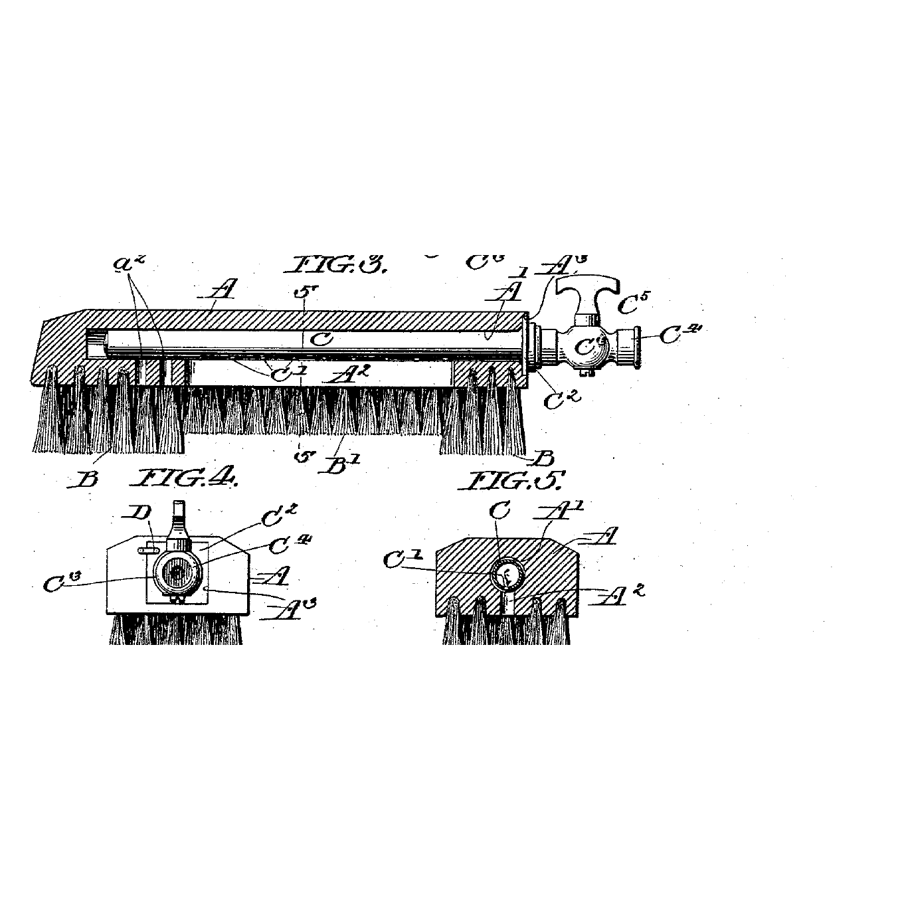
Read US 757,628
Read US 757,628
Bore the back
Bore the back
Materiais para este passo:
 Escova de esfregar1 peça
Ferramentas necessárias:
 Torno de bancada
 Berbequim sem fios
 Conjunto de brocas de ponta de centrar
 Régua
Régua Óculos de segurança transparentes
Drill the openings
Drill the openings
Ferramentas necessárias:
Berbequim sem fios Jogo de brocas
 Marcador permanente
Cut the square depression
Cut the square depression
Ferramentas necessárias:
 Conjunto de formões para madeira
 MarteloRégua
Make the tube
Make the tube
Materiais para este passo:
 Tubo de cobre de 10 mm1 peça
 Solda de canalização sem chumbo1 peça
 Fluxo de canalização1 peça
Ferramentas necessárias:
 Corta-tubosTorno de bancada
 Maçarico a propanoBerbequim sem fiosJogo de brocas
 Luvas resistentes ao calor
Solder on the square plate
Solder on the square plate
Materiais para este passo:
 Chapa de latão1 peçaSolda de canalização sem chumbo1 peçaFluxo de canalização1 peça
Ferramentas necessárias:
 Tesoura de chapaBerbequim sem fiosJogo de brocasMaçarico a propanoLuvas resistentes ao calor
Fit the tap and button
Fit the tap and button
Materiais para este passo:
 Válvula de esfera1 peça
 Acessórios de latão1 peça
 Fita de PTFE para roscas1 peçaChapa de latão1 peça
 Parafuso para madeira n.º 8 x 1"1 peça
Ferramentas necessárias:
 Chave inglesa ajustável
 Conjunto de chaves de fendas
The build in 3D
The build in 3D
Compare the two settings
Compare the two settings
Materiais para este passo:
 Mangueira de jardim1 peça
 Água1 peça
Ferramentas necessárias:
Régua Jarro medidor
 Cronómetro
A brush that sprays, leaks or will not lock
A brush that sprays, leaks or will not lock
Flow
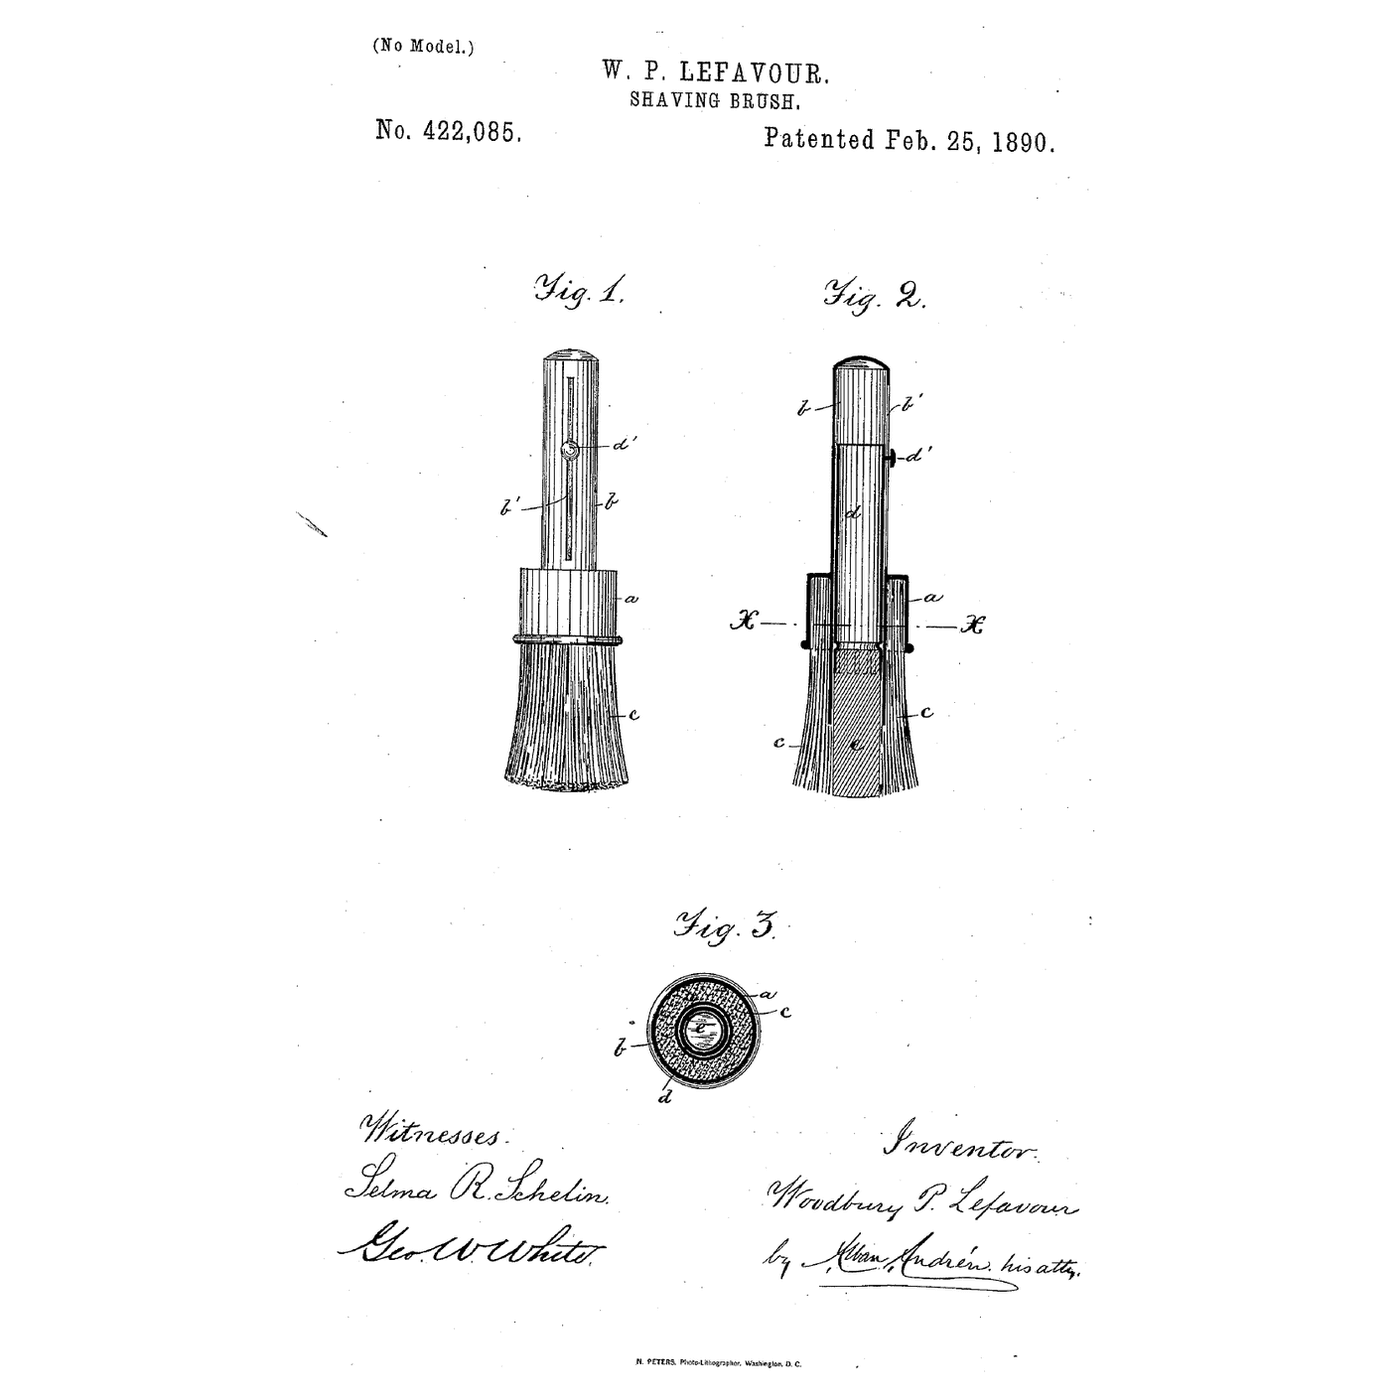
History and honest limits
History and honest limits
Materiais
11- 1 peçaReferência
- 1 peçaReferência
- Referência
- 2 peçasReferência
- 1 peçaReferência
- 1 peçaReferência
- 1 peçaReferência
- 1 peçaReferência
- Referência
- Mangueira de jardim10% de comissão1 peçaReferência
- 1 peçaReferência
Ferramentas necessárias
17- Referência
- 1 vendor sell this, none ship to you yetReferência
- Referência
- Referência
- Referência
- Referência
- Referência
- Referência
- Referência
- Referência
- Referência
- Referência
- Referência
- Referência
- Referência
- Referência
- Referência
Ficheiros de design
1Blueprints relacionados
Estes blueprints compartilham conhecimento — técnicas, materiais ou princípios


CC0 Domínio Público
Este blueprint é liberado sob CC0. Você é livre para copiar, modificar, distribuir e usar este trabalho para qualquer finalidade, sem pedir permissão.
Apoie o Maker comprando produtos através do Blueprint, onde ele ganha uma Comissão Maker definida pelos vendedores, ou crie uma nova versão deste Blueprint e inclua-o como conexão no seu próprio Blueprint para compartilhar receita.