ARTE
BELEZA E BEM-ESTAR
ARTESANATO
CULTURA E HISTÓRIA
ENTRETENIMENTO
MEIO AMBIENTE
COMIDA E BEBIDAS
ENGENHARIA REVERSA
CIÊNCIAS
ESPORTES
TECNOLOGIA
TECNOLOGIA VESTÍVEL



The Twisted Nematic LCD
Schadt and Helfrich, 1970. Every other display in this batch makes light; the LCD is a valve in front of a backlight. Rod-shaped molecules line up with a rubbed surface and twist a quarter-turn between two plates, carrying polarised light round with them — the cell is clear. A few volts stand the molecules up, the twist vanishes, the light is blocked. A valve costs power only to switch, which is why the LCD won. You will build a working cell.
Avançado
6 hours
Instruções
1
1
The molecule whose shape is the whole device
The molecule whose shape is the whole device
5CB — 4-cyano-4'-pentylbiphenyl — is the first room-temperature liquid crystal (Gray, 1972), and almost every early LCD uses it or a relative. Its shape is the device: a rigid biphenyl rod so the molecules line up (the nematic phase), a floppy pentyl tail so it stays liquid, and a polar cyano end that is the handle the electric field grabs to switch it. Rigid enough to align, floppy enough to flow, polar enough to steer.
2
2
The twist, and why it needs two polarisers
The twist, and why it needs two polarisers
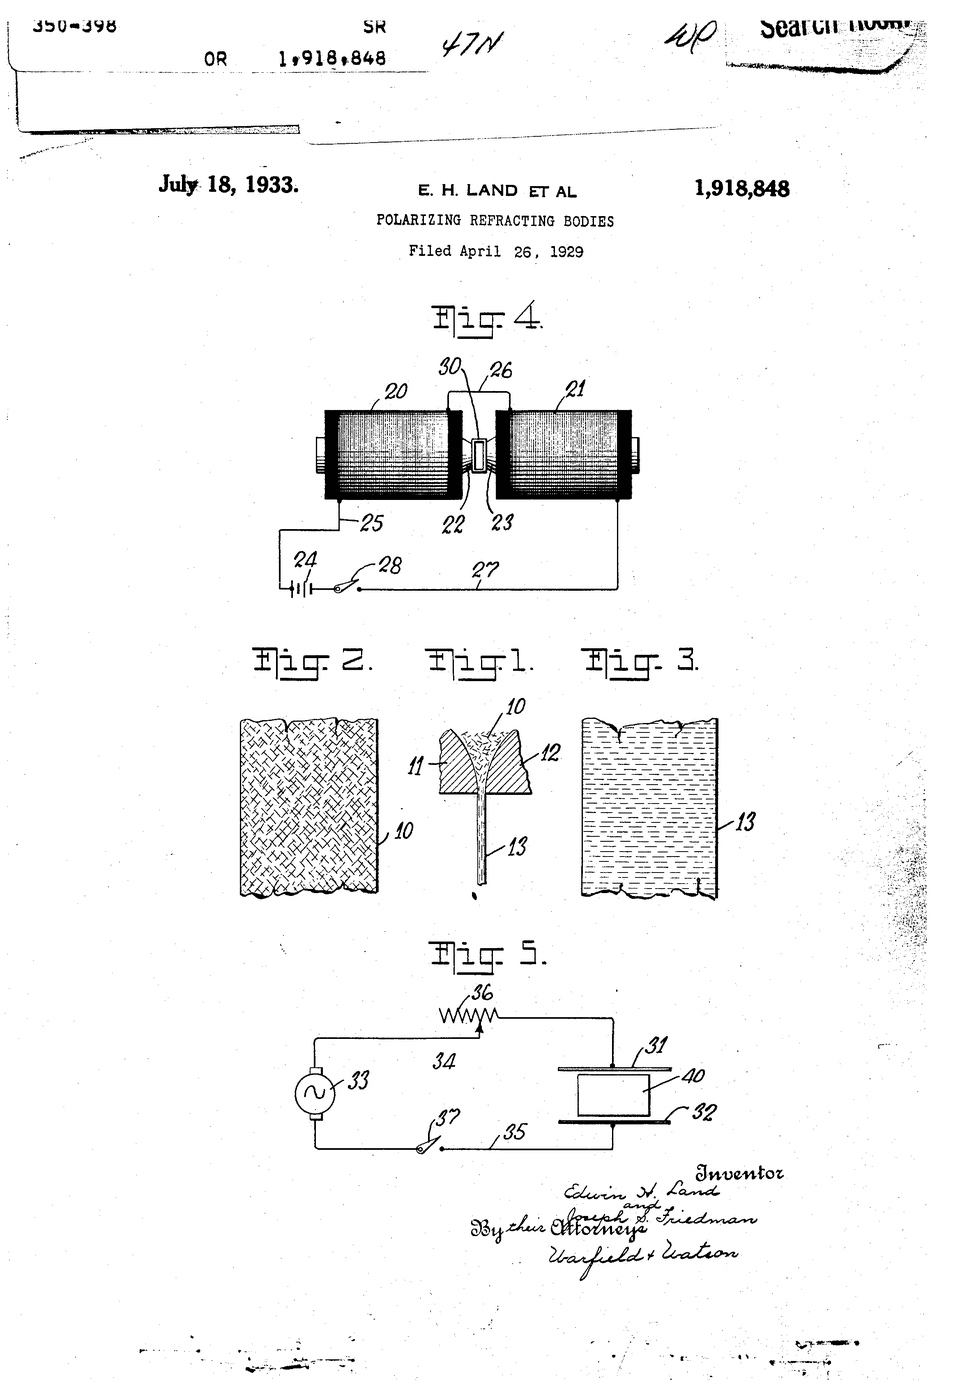
A liquid-crystal cell does nothing visible without a polariser each side — it rotates polarisation, which the eye cannot see. The plates are rubbed at 90 degrees, so the molecules form a quarter-turn helix that guides polarised light round to pass the crossed rear polariser: bright. A few volts stand the molecules up, the helix dies, the light is blocked: dark. Read the embedded polariser blueprint first.
3
3
Build a working cell and rub the alignment layer
Build a working cell and rub the alignment layer
A real build. Two ITO-coated glass plates (find the conductive side with a meter, ~hundreds of ohms). Wipe a thin PVA or polyimide film on each and RUB firmly one way — the grooves align the molecules. Assemble conductive faces in, rubbing directions at 90 degrees, ~10 um spacers, three edges sealed. Draw in 5CB by capillary action (warm it above ~35 C so it flows), seal the last edge. Add a polariser each side, axes crossed.
Test: crossed polarisers, no volts = bright; touch 3-5 V AC to the two ITO faces and the lit area goes dark. Use AC, not DC — DC electrolyses and kills the cell in minutes.
Materiais para este passo:
 Lâmina de vidro com revestimento de ITO2 peças
 Cristal líquido 5CB1 ml
 Folha de filtro polarizador2 folhas
Ferramentas necessárias:
 Multímetro digital de laboratório
 Fonte de alimentação de bancada
 Conjunto de pinças de precisão
4
4
Measure the threshold voltage
Measure the threshold voltage
A carregar o notebook Jupyter…
Ferramentas necessárias:
 Computador de secretária
Materiais
3- Referência
- Referência
- 2 folhasReferência
Ferramentas necessárias
4- Referência
- Referência
- Referência
- Referência
Blueprints relacionados
Estes blueprints compartilham conhecimento — técnicas, materiais ou princípios

CC0 Domínio Público
Este blueprint é liberado sob CC0. Você é livre para copiar, modificar, distribuir e usar este trabalho para qualquer finalidade, sem pedir permissão.
Apoie o Maker comprando produtos através do Blueprint, onde ele ganha uma Comissão Maker definida pelos vendedores, ou crie uma nova versão deste Blueprint e inclua-o como conexão no seu próprio Blueprint para compartilhar receita.