ARTE
BELEZA E BEM-ESTAR
ARTESANATO
CULTURA E HISTÓRIA
ENTRETENIMENTO
MEIO AMBIENTE
COMIDA E BEBIDAS
ENGENHARIA REVERSA
CIÊNCIAS
ESPORTES
TECNOLOGIA
TECNOLOGIA VESTÍVEL
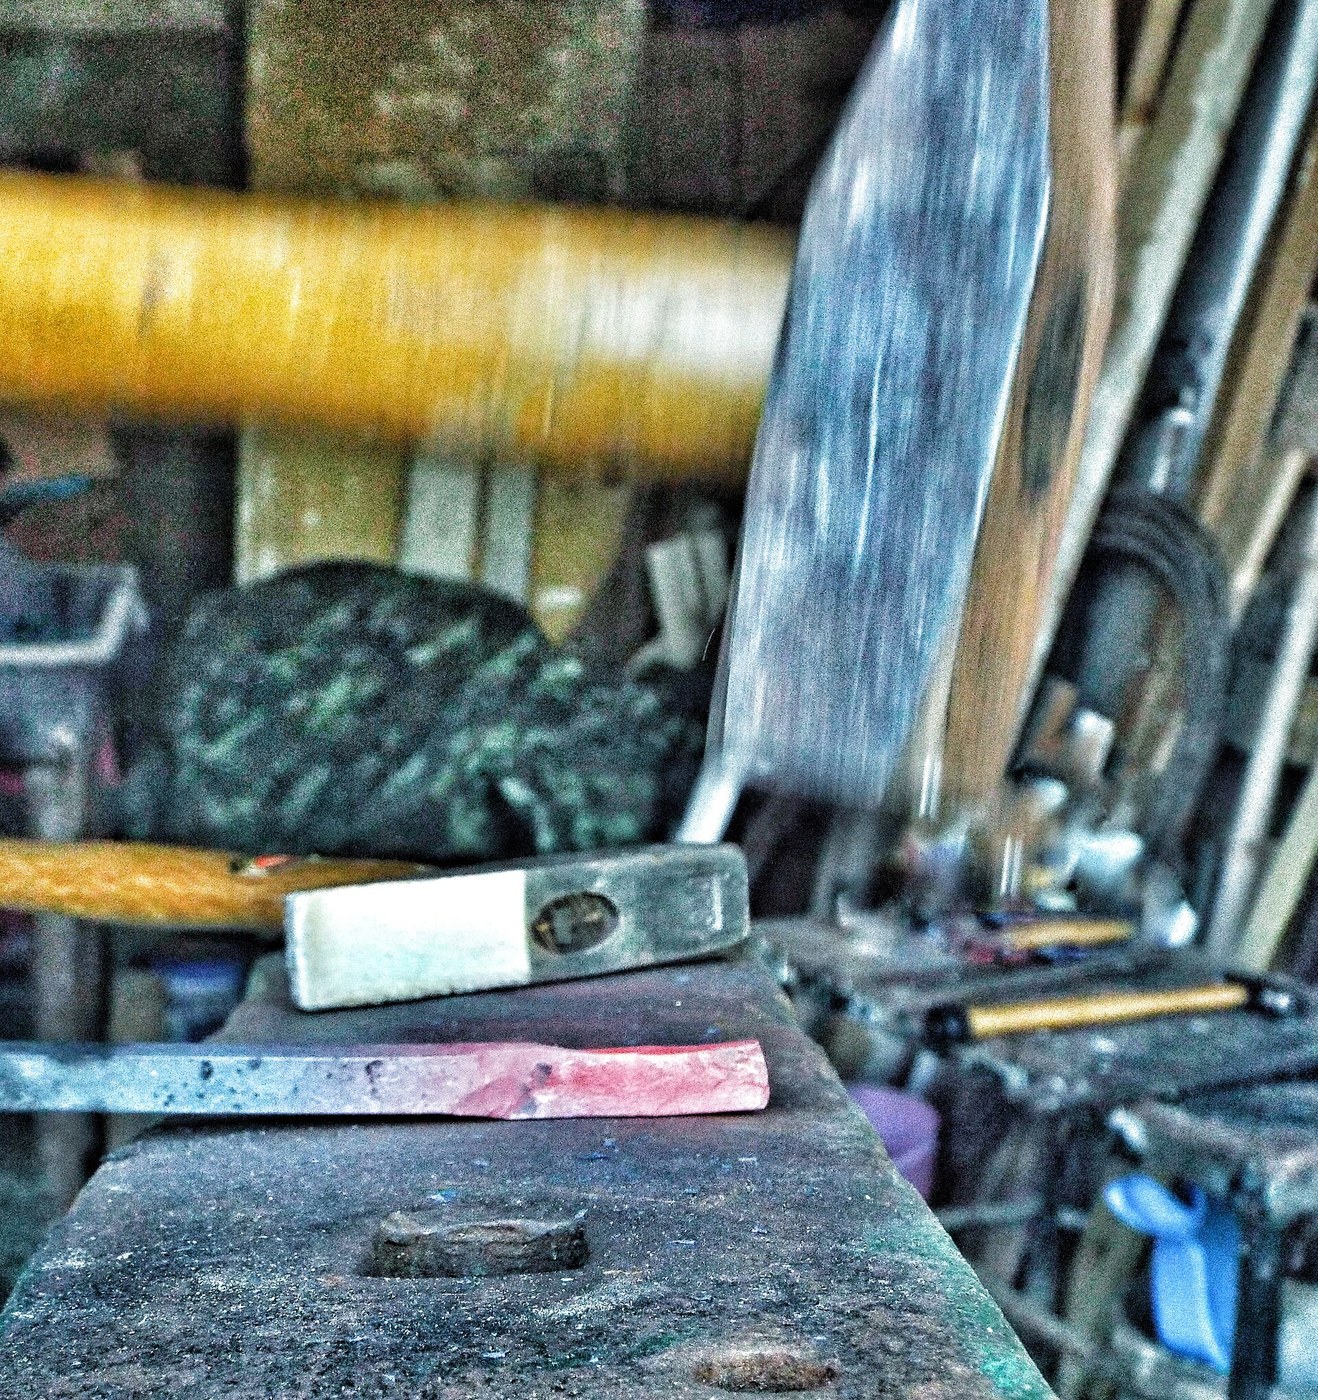


Wrought Iron Rod Drawn Down from Bar
Thin iron rod for nails, rivets and bolts is drawn out of thicker bar under the hammer: each blow makes it thinner and longer. A fuller speeds the work on thick stock; the square is knocked to eight sides, then rounded in a swage.
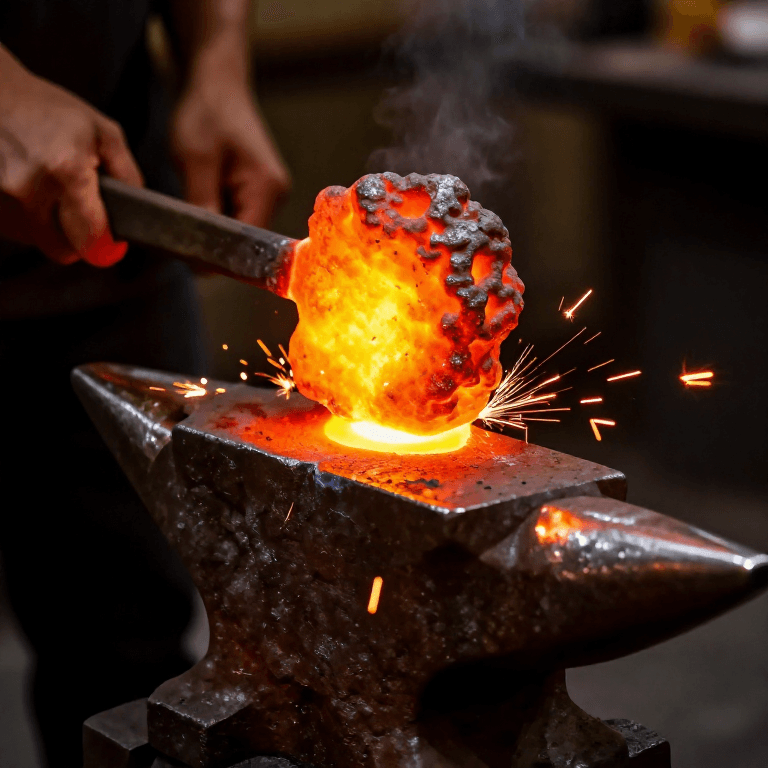
The picture: a hot bar end on the anvil under a swinging hammer.
Intermediário
An afternoon
Instruções
1
1
Heat the bar
Heat the bar
Bring the end of the wrought iron bar to a bright yellow-orange in the forge.
Materiais para este passo:
 Barra de ferro forjado1 kg
 Carvão vegetal1 as required
Ferramentas necessárias:
 Forja de ferreiro
 Tenazes de ferreiro
 Luvas de soldador
 Óculos de segurança
2
2
Fuller, then flatten
Fuller, then flatten
On thick bar, hammer a row of grooves across it with the fuller or the hammer's peen, then flatten the ridges with the face: the bar grows longer. Turn it a quarter turn and do the same on the next face.
Ferramentas necessárias:
 Fuller (ferramenta de acanalar)
 Bigorna
 Martelo de pena transversalTenazes de ferreiroLuvas de soldadorÓculos de segurança
3
3
Draw to size
Draw to size
Keep drawing on the anvil face, turning a quarter turn every few blows so it stays square. Work only while it glows; reheat as soon as it dulls.
Ferramentas necessárias:
Forja de ferreiroBigornaMartelo de pena transversalLuvas de soldadorÓculos de segurança4
4
Round it
Round it
Knock the corners down to eight sides, then roll and hammer it in a round groove of the swage block until it is round. Check the size with the caliper.
Ferramentas necessárias:
 Bloco de estamparMartelo de pena transversal
 Paquímetro digital de 6 polegadasLuvas de soldadorÓculos de segurança
5
5
Cut to lengths
Cut to lengths
Cut the rod hot on the hardy into lengths and let them cool in air.
Ferramentas necessárias:
 Talhadeira de bigornaBigornaMartelo de pena transversalLuvas de soldadorÓculos de segurança
6
6
How long the rod comes out
How long the rod comes out
A carregar o notebook Jupyter…
Materiais
2- Referência
- 1 as requiredReferência
Ferramentas necessárias
10- Referência
- Referência
- Referência
- Referência
- Referência
- Referência
- Referência
- Referência
- Referência
- Referência
Este projeto faz


Blueprints relacionados
Estes blueprints compartilham conhecimento — técnicas, materiais ou princípios
CC0 Domínio Público
Este blueprint é liberado sob CC0. Você é livre para copiar, modificar, distribuir e usar este trabalho para qualquer finalidade, sem pedir permissão.
Apoie o Maker comprando produtos através do Blueprint, onde ele ganha uma Comissão Maker definida pelos vendedores, ou crie uma nova versão deste Blueprint e inclua-o como conexão no seu próprio Blueprint para compartilhar receita.