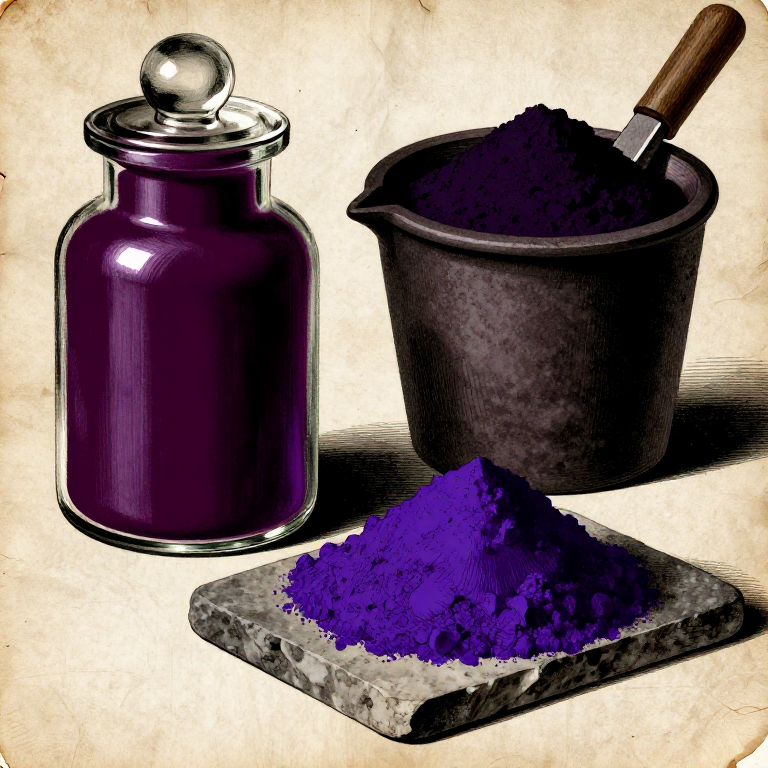


Making Manganese Violet — The Affordable Violet Pigment That Democratised the Palette
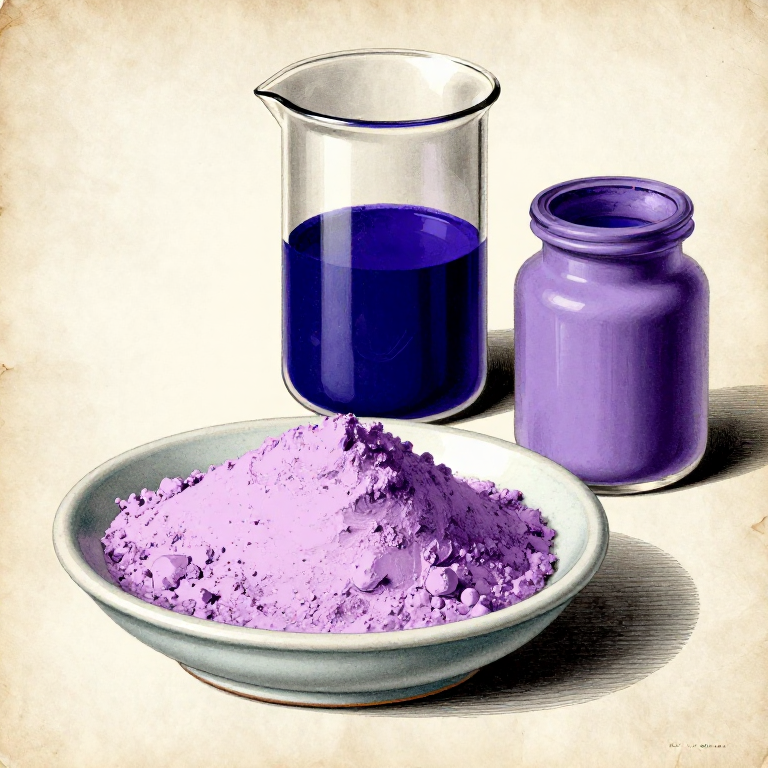
Manganese Violet (ammonium manganese(III) pyrophosphate, NH₄MnP₂O₇) was developed around 1868 by E. Leykauf in Nuremberg, filling a gap that had frustrated painters for centuries. Before its arrival, the only permanent violet available was Cobalt Violet — beautiful but ruinously expensive due to its cobalt content. Manganese Violet offered the same permanence at a fraction of the cost, making true violet accessible to every painter's palette for the first time.
The chemistry is a solid-state calcination: manganese dioxide and ammonium dihydrogen phosphate are ground together as dry powders, packed into a refractory crucible, and heated to 900–1000 °C over charcoal. At these temperatures, the manganese is oxidised from Mn(IV) to Mn(III), the phosphate reorganises into pyrophosphate, and an ammonium ion becomes trapped in the crystal lattice — giving the pigment its distinctive reddish-violet colour. The raw sinter is then ground, washed to remove soluble by-products, and mulled to painting fineness.
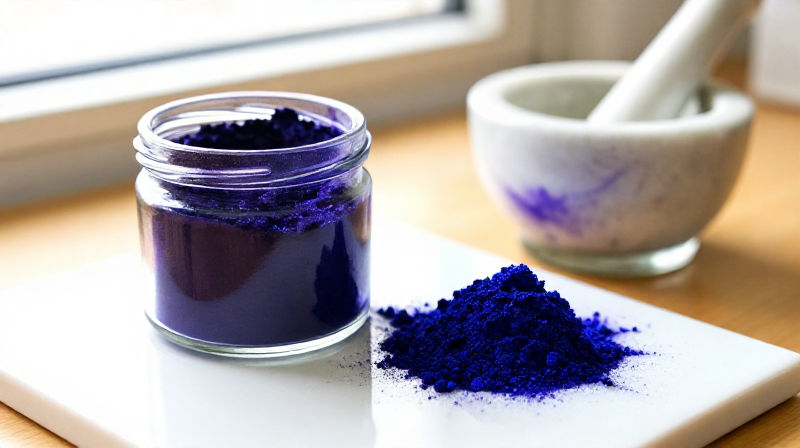
Manganese Violet (Pigment Violet 16, PV16) remains in production today. It is completely lightfast, stable in all media, and compatible with every other pigment — its only weakness is moderate tinting strength, requiring generous loading in oil or watercolour.
SAFETY WARNING: Manganese dioxide dust is harmful if inhaled — chronic inhalation can cause manganism, a serious neurological condition. The calcination releases ammonia gas, which is a respiratory irritant. Temperatures exceed 900 °C. Wear a P100 respirator, safety goggles, and leather gauntlets. Work outdoors or with forced ventilation. Never inhale kiln fumes.
Instructions
Don protective equipment
Don protective equipment
This process involves toxic manganese dust, ammonia fumes, and temperatures above 900 °C. Put on a P100 respirator (not a simple dust mask — manganese dust causes permanent neurological damage), chemical splash goggles, and leather gauntlet gloves. Work outdoors or in a well-ventilated area with forced draught. Keep a bucket of water nearby for emergencies.
Tools needed:
 P100/FFP3 Respirator with Acid Gas Cartridge
 Lab Safety Goggles (Chemical Splash)
 Leather Gauntlet Gloves
Weigh manganese dioxide
Weigh manganese dioxide
Weigh out 25 g of manganese dioxide (MnO₂) — a heavy black powder obtained from ground pyrolusite ore. This provides the manganese that gives the pigment its violet colour. Handle with care: do not create airborne dust. Tap the powder gently from the container rather than pouring.
Materials for this step:
 Pyrolusite Ore (manganese dioxide)25 g
Weigh ammonium dihydrogen phosphate
Weigh ammonium dihydrogen phosphate
Weigh out 55 g of ammonium dihydrogen phosphate (NH₄H₂PO₄) — white crystalline granules, also known as monoammonium phosphate (MAP). This supplies both the phosphate framework and the ammonium ion that become trapped in the crystal lattice. The slight excess over stoichiometric ensures complete reaction of all manganese.
Materials for this step:
 Ammonium Dihydrogen Phosphate55 g
Grind manganese dioxide to fine powder
Grind manganese dioxide to fine powder
Transfer the manganese dioxide to a porcelain mortar and grind firmly with the pestle until the powder passes through your fingers without any gritty particles. Finer grinding means more surface area for the solid-state reaction and a more uniform pigment. Keep the mortar still by placing it on a damp cloth to prevent sliding.
Tools needed:
 Mortar and Pestle (Porcelain)
Combine and mix dry powders
Combine and mix dry powders
Add the ammonium dihydrogen phosphate to the mortar containing the ground manganese dioxide. Grind and fold the two powders together for at least five minutes until the mixture is completely uniform — a dark grey powder with no visible streaks of white or black. Intimate mixing is critical: the reaction occurs between solid particles in direct contact, so any unmixed pockets will remain unreacted.
Pack mixture into refractory crucible
Pack mixture into refractory crucible
Transfer the mixed powder into a clay refractory crucible, pressing it down firmly with a flat tool to eliminate air pockets. The mixture should fill the crucible no more than two-thirds full — it will not expand significantly, but leaving headspace prevents spillage if the melt froths slightly during ammonia evolution. Place a loose-fitting lid or a broken pottery shard over the top to reduce oxidation.
Tools needed:
 Clay Crucible (refractory)
Prepare charcoal furnace
Prepare charcoal furnace
Set up the charcoal furnace outdoors on bare earth or fireproof bricks, well away from flammable materials. Load 5 kg of hardwood lump charcoal and light from below. Allow the charcoal to establish a deep bed of glowing coals before inserting the crucible — rushing this step means uneven heating and incomplete reaction.
Materials for this step:
 Charcoal5 kg
Tools needed:
 Charcoal Furnace (small)
Place crucible in furnace
Place crucible in furnace
Using long-handled crucible tongs, carefully lower the packed crucible into the centre of the glowing charcoal bed. Arrange coals around and over the crucible so it is buried in heat from all sides. The goal is to bring the crucible to temperature gradually — a cold crucible plunged into white-hot coals can crack from thermal shock.
Tools needed:
 Crucible Tongs (long-handled)
Initial heating — ammonia evolution phase
Initial heating — ammonia evolution phase
During the first 30–45 minutes, the mixture heats through 200–400 °C. The ammonium dihydrogen phosphate melts and begins decomposing, releasing ammonia gas (NH₃) — you will smell a sharp, pungent odour. Stay upwind. This phase is critical: the phosphate melt wets the manganese dioxide particles and begins the solid-state reaction. White fumes may be visible above the crucible.
Raise temperature to full calcination
Raise temperature to full calcination
Add more charcoal and work the bellows or forced-air supply to push the furnace temperature above 900 °C. At this temperature the charcoal glows bright orange-white and the crucible itself will glow dull red. The manganese is oxidised from Mn(IV) to Mn(III), the phosphate reorganises into pyrophosphate (P₂O₇⁴⁻), and the remaining ammonium ion locks into the crystal lattice — forming the violet-coloured compound.
Maintain calcination for three hours
Maintain calcination for three hours
Hold the furnace at 900–1000 °C for a full three hours, adding charcoal as needed to maintain temperature. Do not let the fire die down — incomplete calcination produces a dull brownish-purple powder instead of the vivid reddish-violet of the fully reacted pigment. The colour develops during this sustained high-temperature hold as the crystal structure matures.
Allow furnace to cool overnight
Allow furnace to cool overnight
After three hours at full temperature, stop adding fuel and let the furnace cool naturally with the crucible still buried in the coals. Do not quench or force-cool — rapid cooling can crack the crucible and may produce a different crystal phase with inferior colour. Leave overnight. The crucible should be cool enough to handle by hand the next morning.
Remove crucible and examine raw product
Remove crucible and examine raw product
Lift the cooled crucible from the furnace ash using tongs. The contents should be a hard, sintered cake — dark on the surface but violet when scratched or broken. If the interior is brown or black rather than violet, the calcination temperature was too low or the hold time too short. A successful firing produces a distinctly violet to reddish-violet sinter throughout.
Tools needed:
Crucible Tongs (long-handled)Break up sintered cake
Break up sintered cake
Turn the sintered cake out of the crucible onto a flat stone slab. Break it into coarse fragments with the pestle or a hammer — it will be hard and glassy in places. Wear the respirator during this step: manganese-containing dust is harmful. Collect all fragments; even the dull-looking surface crust contains usable pigment once ground and washed.
Tools needed:
 Flat Stone SlabMortar and Pestle (Porcelain)
Grind to coarse powder in mortar
Grind to coarse powder in mortar
Transfer the broken fragments to the porcelain mortar and grind to a coarse powder — aim for the texture of fine sand at this stage. The colour should now be clearly violet. Do not over-grind yet: the washing steps are more effective on coarser particles, and the final mulling will bring it to painting fineness afterwards.
Wash pigment with hot distilled water
Wash pigment with hot distilled water
Transfer the coarse powder to a glass beaker and add 300 ml of hot distilled water. Stir vigorously for two minutes to dissolve soluble by-products — excess ammonium phosphate, sodium salts, and any unreacted starting material. The wash water will be slightly cloudy. Allow the heavy pigment to settle for five minutes, then carefully decant the wash water.
Materials for this step:
 Distilled Water (1 Liter)500 ml
Tools needed:
 Heat-Resistant Glass Beaker (1 liter)
 Glass Stirring Rod (25cm)
Filter pigment
Filter pigment
Set up a glass funnel lined with filter paper over a clean beaker. Pour the pigment slurry through the filter, collecting the violet pigment on the paper. Rinse the beaker with a further 100 ml of distilled water and pour through the same filter to capture all pigment. The filtrate should run clear or very faintly tinted — if still cloudy, the pigment needs further washing.
Tools needed:
 Glass Funnel (Stemmed)
 Filter Paper (fine pore)
 Glass Beaker (Borosilicate, 500ml)
Second wash and filter
Second wash and filter
Return the filtered pigment cake to the beaker, add another 200 ml of hot distilled water, stir thoroughly, and filter again through fresh paper. This second wash removes the last traces of soluble salts that would cause efflorescence or colour shift in finished paintings. Two washes is the minimum; three is better if patience allows.
Materials for this step:
Filter Paper (fine pore)1 pieceDry washed pigment
Dry washed pigment
Spread the washed pigment cake on a clean glass plate or ceramic tile in a thin, even layer. Leave to dry in a warm, dust-free location for 24 hours. Do not oven-dry above 100 °C — excessive heat can alter the crystal structure and shift the colour toward brown. The pigment is ready for final grinding when it feels completely dry and crumbles easily between fingertips.
Final grinding with glass muller
Final grinding with glass muller
Transfer the dried pigment to a flat stone slab and grind with a glass muller using firm circular strokes. Add a few drops of distilled water to create a paste — this wet-mulling method produces a finer, more uniform particle size than dry grinding alone. Continue mulling for ten minutes until the paste feels perfectly smooth between the muller and the stone with no grit. The colour will deepen as particles are reduced.
Materials for this step:
Distilled Water (1 Liter)10 mlTools needed:
 Glass MullerFlat Stone Slab
Sieve through 120-mesh
Sieve through 120-mesh
Once fully dry again, pass the ground pigment through a 120-mesh sieve to remove any remaining coarse particles or lumite fragments. These oversize particles can be returned to the mortar for further grinding. The sieved powder is the finished pigment — a fine, free-flowing reddish-violet powder with excellent lightfastness and full compatibility with oil, egg tempera, watercolour, and acrylic binders.
Tools needed:
 120-Mesh Sieve
Store finished pigment
Store finished pigment
Transfer the sieved manganese violet pigment to a clean, dry glass storage jar with a tight-fitting lid. Label with the pigment name (Manganese Violet, PV16), the date of manufacture, and the batch weight. Store in a cool, dark place away from moisture. Properly stored, manganese violet pigment remains stable indefinitely — it does not degrade, oxidise, or change colour with age. Expected yield from this batch: approximately 25–30 g of finished pigment.
Tools needed:
 Glass Storage Jar with Lid
Materials
5- Placeholder
- Placeholder
- Placeholder
- 1 piecePlaceholder
Tools Required
16- Placeholder
- Placeholder
- Placeholder
- Placeholder
- Placeholder
- Placeholder
- Placeholder
- Placeholder
- Placeholder
- Placeholder
- Placeholder
- Placeholder
- Placeholder
- Placeholder
- Placeholder
- Placeholder
Connected Blueprint Materials
Related Blueprints
These blueprints share knowledge with this one — techniques, materials, or principles that connect them in the learning graph.
Related blueprints
Other builds that share materials, tools, or techniques with this one.
CC0 Public Domain
This blueprint is released under CC0. You are free to copy, modify, distribute, and use this work for any purpose, without asking permission.
Support the Maker by purchasing products through their Blueprint where they earn a Maker Commission set by Vendors, or create a new iteration of this Blueprint and include it as a connection in your own Blueprint to share revenue.