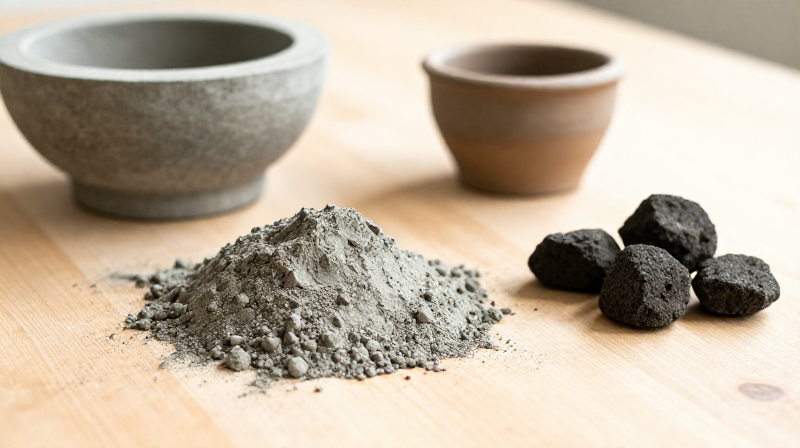


Making Portland Cement from Limestone and Clay — The Material That Built the Modern World
Portland cement is the most widely used manufactured material on Earth — over four billion tonnes are produced annually, more than any other substance except water. Every concrete road, bridge, dam, skyscraper, and foundation rests on this grey powder that hardens when mixed with water. The name 'Portland' comes from its resemblance, when set, to the prestigious Portland stone quarried on the Isle of Portland in Dorset.
In 1824, Joseph Aspdin, a bricklayer from Leeds, patented a process for making 'an improvement in the modes of producing an artificial stone.' He mixed finely ground limestone with clay, burned the mixture in a kiln, then ground the resulting clinker to a powder. The key insight was that limestone alone (burned to quicklime) only produces a non-hydraulic binder that cannot set underwater. But when clay — which provides silica (SiO₂) and alumina (Al₂O₃) — is intimately mixed with the limestone and fired to high temperature, calcium silicates form that react with water to produce a rock-hard, waterproof mass.
Aspdin's original process used temperatures of approximately 900–1000 °C — sufficient to form calcium silicates (belite, Ca₂SiO₄) but not the more reactive alite (Ca₃SiO₅) that forms at 1450 °C in modern rotary kilns. This lab-scale demonstration follows Aspdin's original approach, producing a genuine hydraulic cement that sets underwater — the defining property that distinguished Portland cement from all previous mortars and plasters.
SAFETY WARNING: The kiln reaches 900–1000 °C — severe burn risk. Cement powder is causite alkaline (pH 12–13) and causes chemical burns on prolonged skin contact. Limestone and clay dust are respiratory irritants. Wear full PPE including heat-resistant gloves for kiln work and a dust mask when grinding.
Instructions
Prepare protective equipment
Prepare protective equipment
Put on a P100 dust respirator, chemical splash goggles, heavy-duty nitrile gloves, and a lab coat. For the kiln stage, add heat-resistant gloves rated to at least 500 °C. Cement powder is strongly alkaline (pH 12–13) and causes chemical burns on prolonged skin contact — 'cement burns' are a well-known occupational hazard. Limestone and clay dust are respiratory irritants. Work outdoors or in a well-ventilated area for the kiln stage.
Tools needed:
 P100/FFP3 Respirator with Acid Gas Cartridge
 Chemical Splash Goggles
 Nitrile Rubber Gloves (Thick)
 Lab Coat
Weigh and crush the limestone
Weigh and crush the limestone
Weigh 60 g of crushed limestone (calcium carbonate, CaCO₃). Grind in a mortar to a fine powder — the finer the limestone, the more completely it reacts with the clay at high temperature. Portland cement requires a limestone:clay ratio of approximately 3:1 by weight. The limestone provides calcium oxide (CaO) after calcination — the dominant component of cement, making up about 65% of the final product.
Materials for this step:
 Calcium Carbonate (limestone, crushed)60 g
Tools needed:
 Digital Precision Scale
 Mortar and Pestle (Porcelain)
Weigh and prepare the clay
Weigh and prepare the clay
Weigh 20 g of clay — common pottery clay, brick clay, or kaolin all work. The clay provides silica (SiO₂, ~20% of cement) and alumina (Al₂O₃, ~5% of cement), plus smaller amounts of iron oxide (Fe₂O₃) that acts as a flux. If the clay is moist, dry it at 100 °C first, then crush to a fine powder. The clay particles must be intimately mixed with the limestone — in Aspdin's original process, the raw materials were ground together in a wet mill to achieve this intimacy.
Materials for this step:
 Clay20 g
Mix limestone and clay intimately
Mix limestone and clay intimately
Combine the powdered limestone and clay in the mortar and grind together thoroughly for 10 minutes. Add a small amount of water to form a thick paste — this helps achieve intimate mixing at the particle level. The paste should be uniform in colour with no visible streaks of pure white limestone or pure grey clay. This 'raw meal' is the precursor to cement clinker. In modern cement works, the raw materials are ground to a fineness where 90% passes through a 90-micron sieve — the more thorough the mixing, the more complete the reaction in the kiln.
Materials for this step:
 Distilled Water (1 Liter)20 ml
Form the raw meal into small pellets
Form the raw meal into small pellets
Roll the paste into small balls approximately 1–2 cm in diameter. These pellets allow air to circulate during firing, ensuring even heating throughout. If the paste is too wet, allow the surface to dry slightly before loading the kiln. In Aspdin's time, the raw meal was formed into bricks for kiln loading. Modern rotary kilns feed a continuous stream of fine powder — but pellets work well for a stationary kiln at lab scale.
Dry the pellets thoroughly
Dry the pellets thoroughly
Spread the pellets on a heatproof surface and dry at 100–150 °C for 1–2 hours until completely dry. Any residual moisture will turn to steam explosively when the pellets hit kiln temperature, causing them to shatter. The dried pellets should feel hard and light — significantly lighter than when wet. This stage corresponds to the pre-heater in a modern cement plant, where raw meal is dried and preheated before entering the rotary kiln.
Load pellets into the kiln crucible
Load pellets into the kiln crucible
Pack the dried pellets loosely into a deep refractory clay crucible. Do not pack tightly — air must circulate to ensure even heating and to allow CO₂ from limestone decomposition to escape. Place a loose-fitting lid on the crucible to retain heat while allowing gas to vent. The crucible must be rated to at least 1100 °C — fireclay or graphite-clay crucibles are suitable.
Tools needed:
 Clay Crucible (refractory)
Fire in the kiln to 900–1000 °C
Fire in the kiln to 900–1000 °C
Place the crucible in a charcoal furnace and raise the temperature to bright orange heat — 900–1000 °C. At this temperature, three things happen in sequence: first, water of crystallisation is driven from the clay (~200–600 °C). Second, limestone decomposes to quicklime: CaCO₃ → CaO + CO₂ (~700–900 °C). Third, the quicklime reacts with the silica and alumina from the clay to form calcium silicates: 2CaO + SiO₂ → Ca₂SiO₄ (belite). Maintain at peak temperature for 2 hours to ensure complete reaction.
Tools needed:
 Charcoal Furnace (small)
 Crucible Tongs (long-handled)
Cool the clinker slowly
Cool the clinker slowly
Remove the crucible from the furnace and allow it to cool slowly over several hours — ideally overnight. Rapid cooling (quenching) changes the crystal structure of the calcium silicates and can reduce the cement's setting properties. The cooled product is 'clinker' — hard, dark grey-green nodules that are recognisably different from the original pale pellets. The clinker should be dense and vitreous (glassy), not powdery or chalky — if it crumbles easily, the kiln temperature was insufficient.
Crush the clinker
Crush the clinker
Break the clinker into small fragments with a hammer or in the mortar. Cement clinker is extremely hard — harder than the original limestone — because the calcium silicates that formed at high temperature are tough, crystalline minerals. In modern cement plants, clinker is ground in massive ball mills consuming more electricity than any other step in the process. At lab scale, vigorous work with a mortar and pestle produces a usable fineness.
Tools needed:
Mortar and Pestle (Porcelain)Add gypsum and grind to final fineness
Add gypsum and grind to final fineness
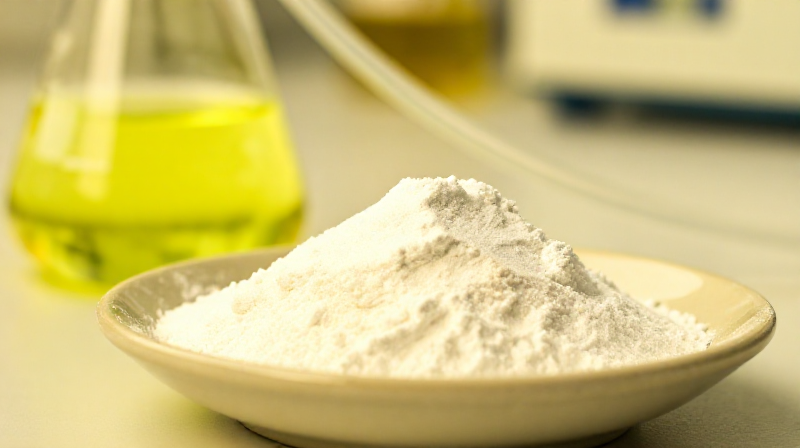
Weigh 3 g of gypsum (calcium sulfate dihydrate, CaSO₄·2H₂O) and add to the crushed clinker. Grind together to a fine, uniform grey powder. The gypsum is critical — without it, the tricalcium aluminate (C₃A) in the clinker reacts with water almost instantly, causing 'flash set' — the cement becomes a solid lump before it can be mixed and placed. Gypsum reacts with C₃A preferentially, forming ettringite, which coats the C₃A surfaces and delays setting to a workable 30–60 minutes. Modern Portland cement contains 3–5% gypsum.
Materials for this step:
 Gypsum (Calcium Sulfate)3 g
Test the cement by mixing a small batch
Test the cement by mixing a small batch
Mix 20 g of the finished cement powder with 10 ml of water to form a thick paste. The paste should be workable for at least 15–30 minutes — if it sets immediately (flash set), more gypsum is needed. Press the paste into a small mould or form a ball and set aside. A properly made hydraulic cement will begin to stiffen within 1–2 hours (initial set) and harden over the following days. The defining test: place a cement pellet in water. Unlike lime mortar, which dissolves, Portland cement hardens UNDERWATER — this hydraulic setting is what made it revolutionary for harbours, canals, and foundations.
Store the finished Portland cement
Store the finished Portland cement
Transfer the remaining cement powder to a glass jar with a tight-fitting lid. Label: PORTLAND CEMENT, date, ALKALINE/IRRITANT. Store absolutely dry — cement absorbs moisture from the air and will partially hydrate and lose strength if exposed. Expected yield from 80 g raw meal: approximately 50–55 g of finished cement (the mass loss is CO₂ driven off from the limestone). Joseph Aspdin's 1824 patent created the material that built the modern world — every dam, bridge, tunnel, and skyscraper stands on the chemistry of calcium silicates formed by burning limestone with clay.
Tools needed:
 Glass Storage Jar with Lid
Materials
4- Placeholder
- Placeholder
- Placeholder
Tools Required
10- Placeholder
- Placeholder
- Placeholder
- Placeholder
- Placeholder
- Placeholder
- Placeholder
- Placeholder
- Placeholder
Connected Blueprint Materials
Related Blueprints
These blueprints share knowledge with this one — techniques, materials, or principles that connect them in the learning graph.
Related blueprints
Other builds that share materials, tools, or techniques with this one.
CC0 Public Domain
This blueprint is released under CC0. You are free to copy, modify, distribute, and use this work for any purpose, without asking permission.
Support the Maker by purchasing products through their Blueprint where they earn a Maker Commission set by Vendors, or create a new iteration of this Blueprint and include it as a connection in your own Blueprint to share revenue.