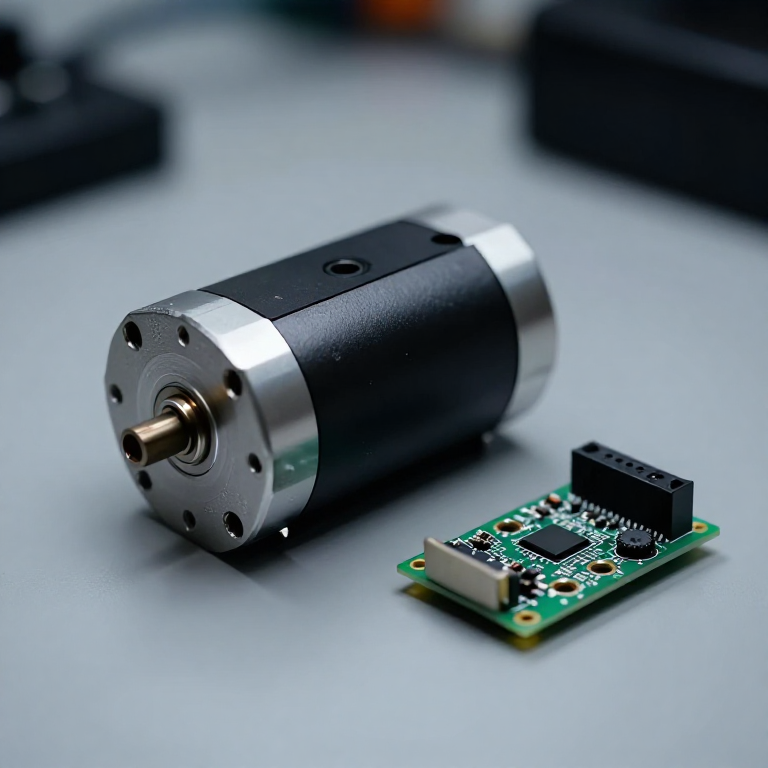


Controlling a Stepper Motor with an EasyDriver
A stepper motor doesn't just spin — it moves in exact, repeatable steps, so you can command a precise angle with no position sensor at all. This motor takes 400 steps per revolution (0.9° per step). The EasyDriver board turns two simple Arduino signals — one pulse on STEP, one level on DIR — into the carefully sequenced coil currents a bipolar stepper needs. It's the same open-loop precision that drives 3D printers, CNC machines and camera sliders.
ལམ་སྟོན
Identify the two motor coils
Identify the two motor coils
A bipolar stepper has 4 wires — two coils of two wires each. Set a multimeter to continuity (or ohms) and find the pairs: the two wires that beep (low resistance) share a coil. Call them Coil A and Coil B. There is no polarity within a coil.
གོམ་པ་འདིའི་རྫས་རིགས:
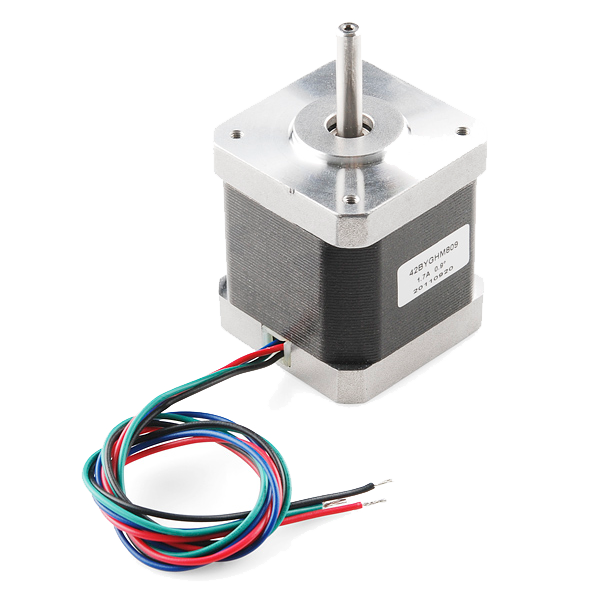 Stepper Motor - 68 oz.in (400 steps/rev)1 དུམ་བུ།
ལག་ཆས་དགོས་མཁོ:
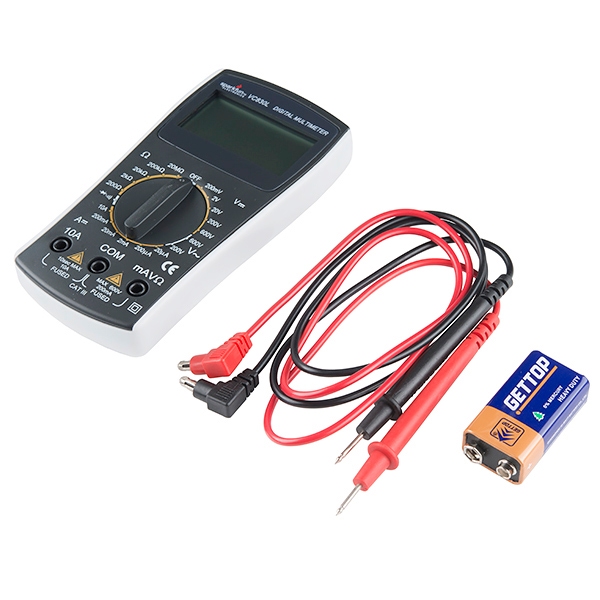 Digital Multimeter - Basic
Wire the driver, motor and power
Wire the driver, motor and power
Push the EasyDriver into the breadboard. Screw Coil A into the driver's A+/A- terminals and Coil B into B+/B-. Connect a 9 V battery to M+ and GND (motor power, 6–30 V). From the Arduino: D2 to STEP, D3 to DIR, D4 to MS1, D5 to MS2, D6 to ENABLE. IMPORTANT: also join Arduino GND to the EasyDriver GND so they share a ground.
གོམ་པ་འདིའི་རྫས་རིགས:
 Arduino Uno R3 SMD1 དུམ་བུ།
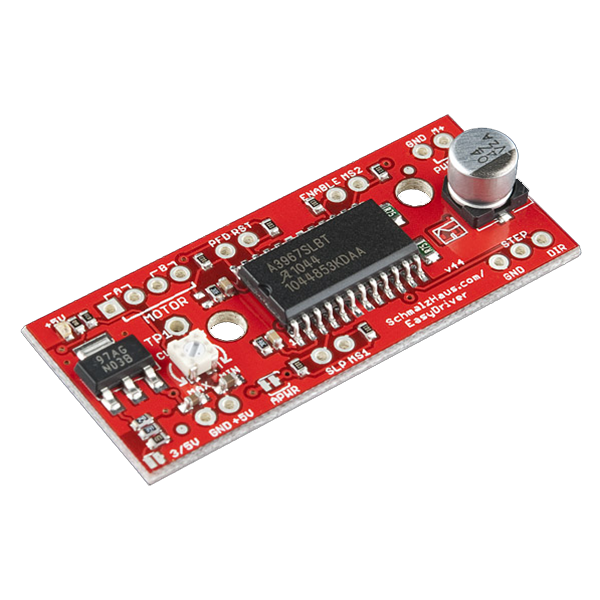 EasyDriver Stepper Motor Driver1 དུམ་བུ།
 Breadboard - Classic1 དུམ་བུ།
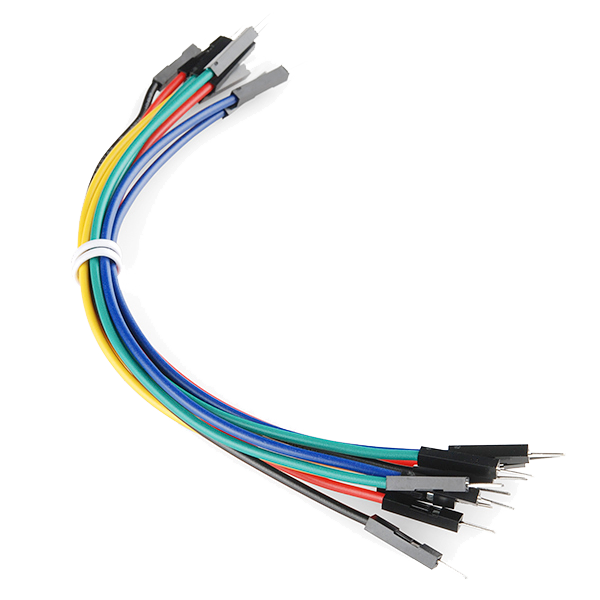 Jumper Wires Premium M/M 20 AWG - 15.5 cm1 སྒྲིལ་ཐུམ།
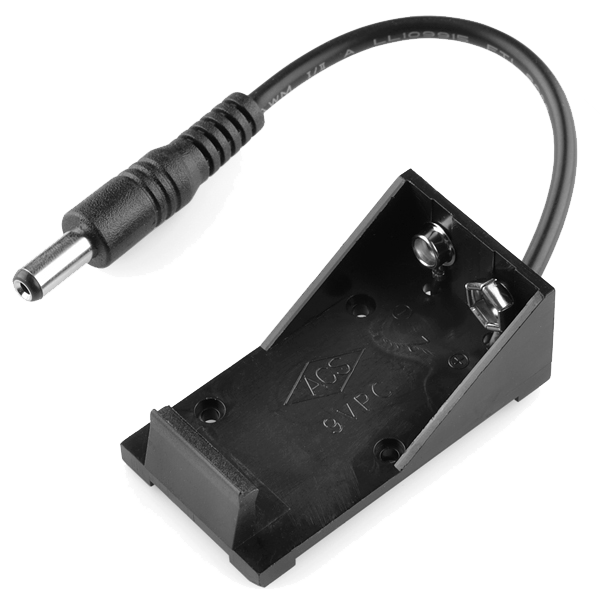 9V Battery Holder1 དུམ་བུ།
Set the driver's current limit
Set the driver's current limit
The EasyDriver has a small potentiometer that limits coil current. With a small screwdriver, start it near the middle; once running, turn it down if the motor or chip gets hot, or up if the motor is weak or skips. Never exceed the motor's rated current — this board delivers up to 750 mA per phase.
Connect and open the IDE
Connect and open the IDE
Plug the Arduino into your computer with the USB cable, open the Arduino IDE, and select Arduino Uno and its serial port. Leave the 9 V motor battery switched off until the sketch is uploaded.
གོམ་པ་འདིའི་རྫས་རིགས:
 SparkFun Cerberus USB Cable - 1.8 meter1 དུམ་བུ།
ལག་ཆས་དགོས་མཁོ:
 Arduino IDE ཡོད་པའི་གློག་རིག
Upload the stepper sketch
Upload the stepper sketch
Paste this sketch and upload, then switch on the battery. It turns the shaft one full revolution one way, pauses, and reverses — on a loop.
Test it
Test it
Switch on the 9 V battery. The shaft turns exactly one revolution one way, pauses a second, then one revolution back. In full-step mode this 400-step motor needs 400 STEP pulses per turn. If it only buzzes or vibrates without turning, a coil pair is split across the two channels — swap two wires so each coil sits on one channel (A or B).
Turn steps into precise motion
Turn steps into precise motion
Steppers move an exact angle per pulse, so you can position with no feedback: to rotate a set angle, use steps = 400 × angle ÷ 360 (e.g. 100 steps = 90°). For smoother, quieter motion set MS1 and MS2 HIGH for 1/8 microstepping (3200 micro-steps per revolution). This precise, repeatable motion is exactly what drives 3D printers, CNC machines, camera sliders and robot joints.
རྫས་རིགས
7- Stepper Motor - 68 oz.in (400 steps/rev)ཁེ་ཕོགས 10%1 དུམ་བུ།$15.61
- Arduino Uno R3 SMDཁེ་ཕོགས 10%1 དུམ་བུ།$26.77
- EasyDriver Stepper Motor Driverཁེ་ཕོགས 10%1 དུམ་བུ།$14.10
- Breadboard - Classicཁེ་ཕོགས 10%1 དུམ་བུ།$9.40
- 1 སྒྲིལ་ཐུམ།$4.95
- 9V Battery Holderཁེ་ཕོགས 10%1 དུམ་བུ།$3.53
- SparkFun Cerberus USB Cable - 1.8 meterཁེ་ཕོགས 10%1 དུམ་བུ།$5.63
ལག་ཆས་དགོས་མཁོ
2- Digital Multimeter - Basicཁེ་ཕོགས 10%$14.10
- ས་ཆ་འཛིན
འབྲེལ་ཡོད་བིལུ་པིརིན་ཊི
བིལུ་པིརིན་ཊི་འདི་ཚུ་ཐབས་ལམ་དང་རྫས་རིགས། སྤྱི་ཆོས་བགོ་བཤའ་བྱེད



CC0 སྤྱི་དབང
བིལུ་པིརིན་ཊི་འདི་CC0 འོག་བཀྲམས་ཡོད། ཁྱེད་རང་གིས་ཆོག་མཆན་མ་བཞེས་པར་ཕབ་ལེན་དང་བཟོ་བཅོས། བགོ་བཤའ། དགོས་མཁོ་གང་ལའང་བཀོལ་སྤྱོད་བྱས་ཆོག
བཟོ་མཁན་ལ་རྒྱབ་སྐྱོར་བྱེད་པའི་ཆེད་ཁོང་ཚོའི་བིལུ་པིརིན་ཊི་བརྒྱུད་ཐོན་སྐྱེད་ཉོ། བཟོ་མཁན་གྱིས བཟོ་མཁན་གྱི་ཁེ་ཕོགས ཚོང་པས་གཏན་འཁེལ་བྱས་པ། ཡང་ན་བིལུ་པིརིན་ཊི་འདིའི་པར་གསར་བཟོས་ཏེ་ཁྱེད་རང་གི་བིལུ་པིརིན་ཊི་ནང་མཐུད་སྦྲེལ་བྱས་ཏེ་ཡོང་སྒོ་བགོ་བཤའ་བྱེད།