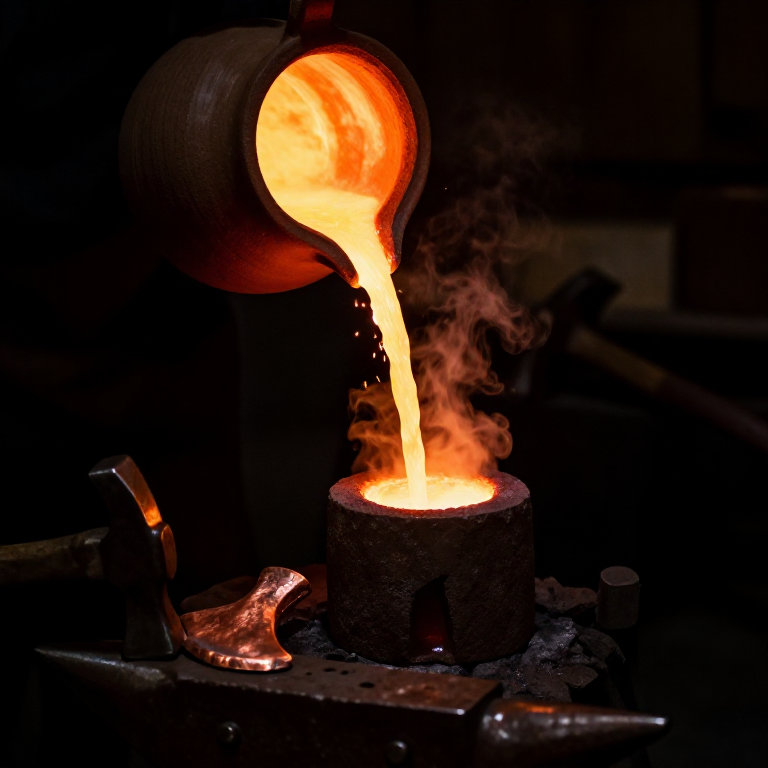


Casting Copper Tools — Shaping the First Metal
ལམ་སྟོན
Prerequisite: Smelting Copper
Prerequisite: Smelting Copper
You need copper ingots from smelting. Complete this blueprint first:
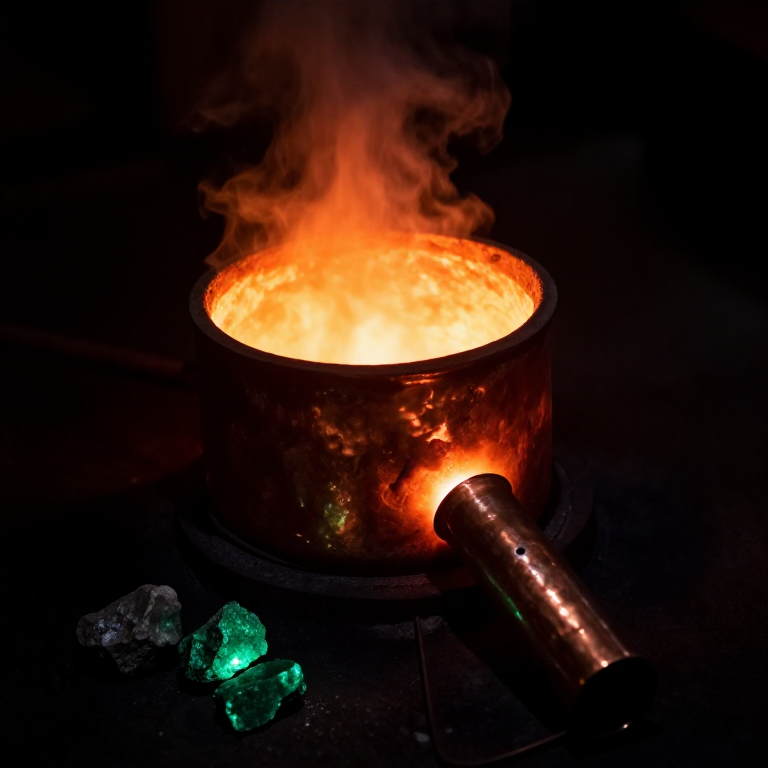
སྔོན་འགྲོ་བིལུ་པིརིན་ཊི
Smelting Copper from Malachite — The Birth of Metallurgy
གོམ་པ་འདིའི་རྫས་རིགས:
 ཟངས།0.5 kg
 ཚད་བསྒྱུར་ཚུགས་པའི་བླུགས་བཟོའི་སྒྲོམ།1 pc
ལག་ཆས་དགོས་མཁོ:
 ཐབ།
ཐབ། བཞུ་སྣོད་ཀྱི་གཟེར་ཆས།
 མགོ་སྒོར་སྒོར་གྱི་ཐོ་བ།
 མགར་བའི་རྡོ་ལེབ།
 བྱེ་མའི་ཤོག་ཀུ
Making the Mold
Making the Mold
Open Mold Casting (Simplest Method)
The earliest casting method: carve the shape of your tool into a flat stone or packed sand, pour molten copper in, let it solidify.
Stone Mold
- Find a piece of soapstone or sandstone — soft enough to carve, heat-resistant.
- Carve the profile of your tool into the flat face, 1-2cm deep. For a simple axe head, carve a trapezoidal shape.
- Carve a pouring channel from the edge to the mold cavity.
- Smooth the cavity — rough surfaces create rough castings.
- Pre-heat the mold near the kiln before pouring. Cold mold = premature freezing = incomplete fill.
Two-Part Mold (Advanced)
For thicker tools (axe heads, chisels), you need a two-part mold:
- Carve half the tool shape into each of two stones
- Align them with registration marks (notches that interlock)
- Bind together with wet clay or cord
- Pour through a hole in the top
This was the technique used for Ötzi's copper axe — a flat axe cast in a two-part stone mold, then cold-hammered to final edge.
གོམ་པ་འདིའི་རྫས་རིགས:
 འདམ།5 kgཚད་བསྒྱུར་ཚུགས་པའི་བླུགས་བཟོའི་སྒྲོམ།1 pcཟངས་སྐུད་སྟོང་པ། 10 AWG0.5 kg
Melting and Pouring
Melting and Pouring
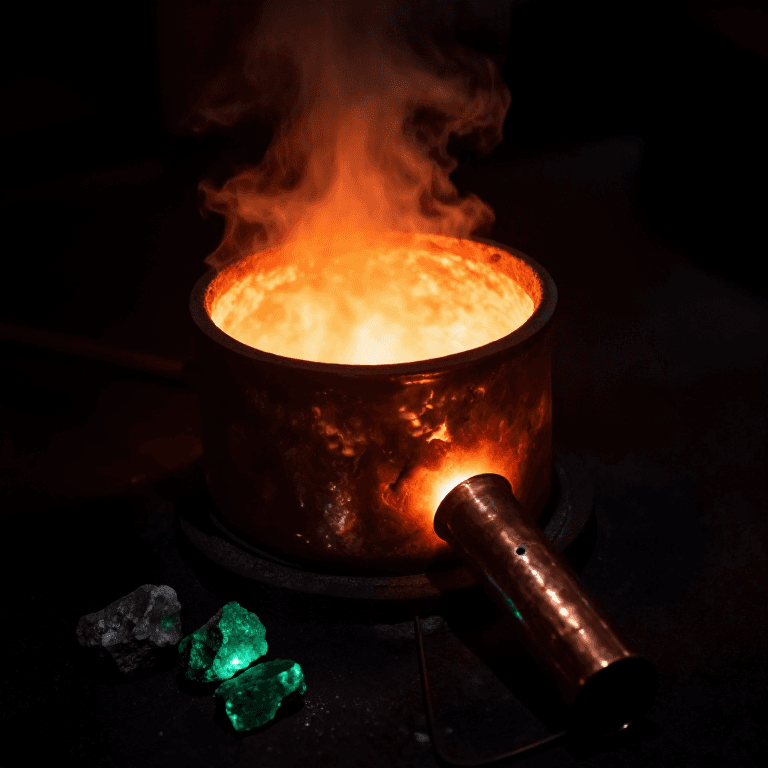
Melting the Copper
- Place copper pieces in the crucible. Fill loosely — copper expands when heated.
- Place crucible in the kiln, surrounded by charcoal.
- Bring to full temperature with bellows. Copper melts at 1085°C.
- Signs of melting: copper surface becomes mirror-bright, then liquid. Do not overheat — excessive temperature causes porosity from dissolved gases.
- Skim slag (dark crust) from the surface with a stick before pouring.
The Pour
- Lift the crucible with tongs. Move smoothly — sloshing = spills.
- Pour in one continuous, steady stream into the mold's pouring channel.
- Fill the mold completely — stopping mid-pour creates cold-shut defects.
- Let solidify naturally. Copper solidifies in 30-60 seconds for small castings.
- Wait at least 5 minutes before removing from mold.
གོམ་པ་འདིའི་རྫས་རིགས:
 ཞུན་སྣོད།1 pc
 ནུས་ལྡན་སོལ་བའི་ཕྱེ་མ།10 kgཟངས་སྐུད་སྟོང་པ། 10 AWG0.5 kgཚད་བསྒྱུར་ཚུགས་པའི་བླུགས་བཟོའི་སྒྲོམ།1 pc
Cold Working and Finishing
Cold Working and Finishing
Work Hardening
Cast copper is relatively soft. Ancient smiths discovered that hammering (cold working) makes it significantly harder — this is work hardening, where deformation compresses the crystal structure.
- Remove the casting from the mold. Break off the pouring sprue.
- Hammer the tool on an anvil/flat stone. Focus on the working edge (blade, cutting surface).
- Hammer in overlapping strokes from center outward. Rotate the piece regularly.
- When the copper becomes hard and brittle (resists further hammering, starts cracking at edges), it's fully work-hardened.
Annealing (If Needed)
If you need to reshape a work-hardened piece:
- Heat it to cherry red (~600°C) in the kiln
- Quench in water
- The copper is now soft again — you can continue hammering
This heat-hammer cycle (anneal → cold work → anneal) was the core metallurgical technique for 3,000 years.
Finishing
- Grind the working edge on sandstone to create a sharp blade.
- Polish with progressively finer abrasive (coarse sand → fine sand → leather).
What You've Made
A functional copper tool — but it's soft compared to stone. Copper axes lose their edge quickly. To make a truly superior metal, you need tin — see Blueprint 06: Extracting Tin and Blueprint 07: Alloying Bronze.
གོམ་པ་འདིའི་རྫས་རིགས:
འདམ།5 kgཚད་བསྒྱུར་ཚུགས་པའི་བླུགས་བཟོའི་སྒྲོམ།1 pcཟངས་སྐུད་སྟོང་པ། 10 AWG0.5 kgརྫས་རིགས
8- ས་ཆ་འཛིན
- 1 དུམ་བུ།ས་ཆ་འཛིན
- 5 kgས་ཆ་འཛིན
- ས་ཆ་འཛིན
- 1 དུམ་བུ།ས་ཆ་འཛིན
- ས་ཆ་འཛིན
- 10 kgས་ཆ་འཛིན
- 1 ལེབ་གཟུགས།ས་ཆ་འཛིན
ལག་ཆས་དགོས་མཁོ
5- ས་ཆ་འཛིན
- ས་ཆ་འཛིན
- ས་ཆ་འཛིན
- ས་ཆ་འཛིན
- ས་ཆ་འཛིན
མཐུད་སྦྲེལ་བིལུ་པིརིན་ཊི་རྫས་རིགས
CC0 སྤྱི་དབང
བིལུ་པིརིན་ཊི་འདི་CC0 འོག་བཀྲམས་ཡོད། ཁྱེད་རང་གིས་ཆོག་མཆན་མ་བཞེས་པར་ཕབ་ལེན་དང་བཟོ་བཅོས། བགོ་བཤའ། དགོས་མཁོ་གང་ལའང་བཀོལ་སྤྱོད་བྱས་ཆོག
བཟོ་མཁན་ལ་རྒྱབ་སྐྱོར་བྱེད་པའི་ཆེད་ཁོང་ཚོའི་བིལུ་པིརིན་ཊི་བརྒྱུད་ཐོན་སྐྱེད་ཉོ། བཟོ་མཁན་གྱིས བཟོ་མཁན་གྱི་ཁེ་ཕོགས ཚོང་པས་གཏན་འཁེལ་བྱས་པ། ཡང་ན་བིལུ་པིརིན་ཊི་འདིའི་པར་གསར་བཟོས་ཏེ་ཁྱེད་རང་གི་བིལུ་པིརིན་ཊི་ནང་མཐུད་སྦྲེལ་བྱས་ཏེ་ཡོང་སྒོ་བགོ་བཤའ་བྱེད།