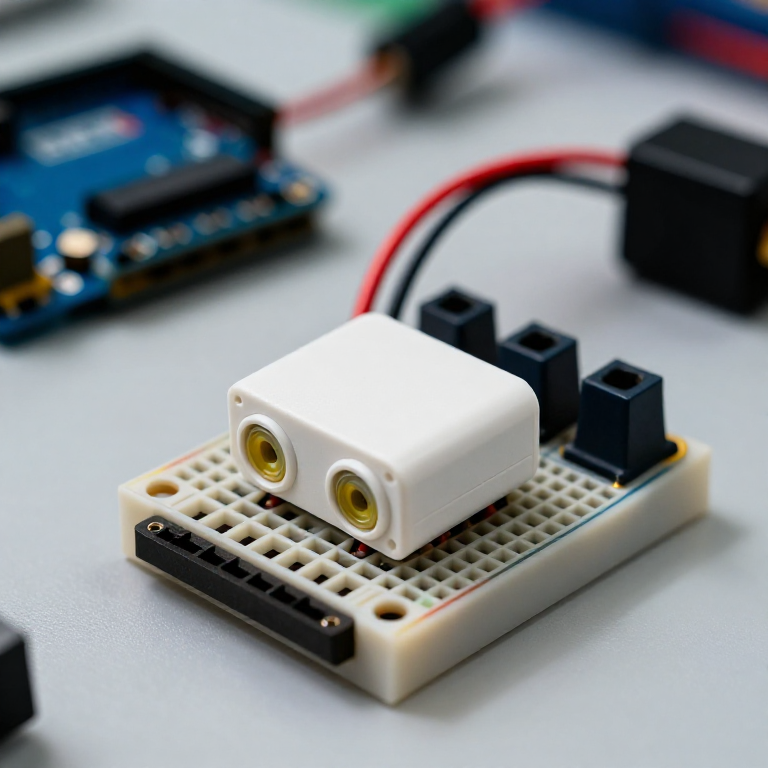


Building an Ultrasonic Parking Sensor
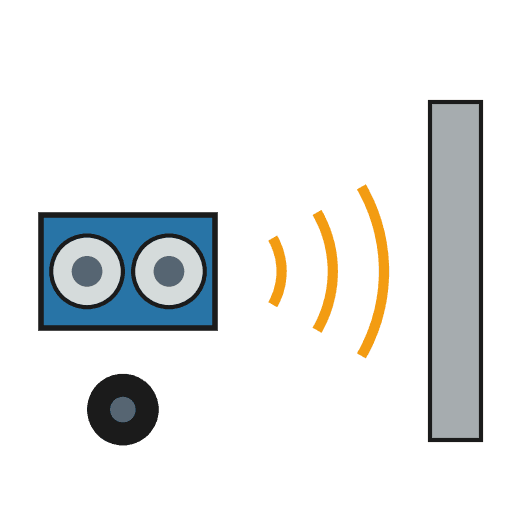
Measure distance with sound. An HC-SR04 ultrasonic sensor sends out a pulse of sound and times its echo, and the Arduino turns that into a distance in centimetres. Wire it to a buzzer that beeps faster as something gets closer — a car parking sensor, a reversing aid, or a doorway proximity alarm.
说明
Wire the sensor and buzzer
Wire the sensor and buzzer
Push the HC-SR04 and the active buzzer into the breadboard. Wire the sensor: VCC to Arduino 5V, GND to GND, Trig to pin 9, Echo to pin 10. Wire the buzzer: + to pin 8, - to GND.
此步骤所需材料:
 Arduino Uno R31 个
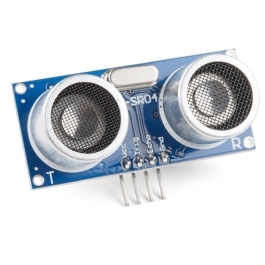 HC-SR04 Ultrasonic Distance Sensor (5-Pack)1 个
 有源蜂鸣器模块1 个
 Breadboard1 个
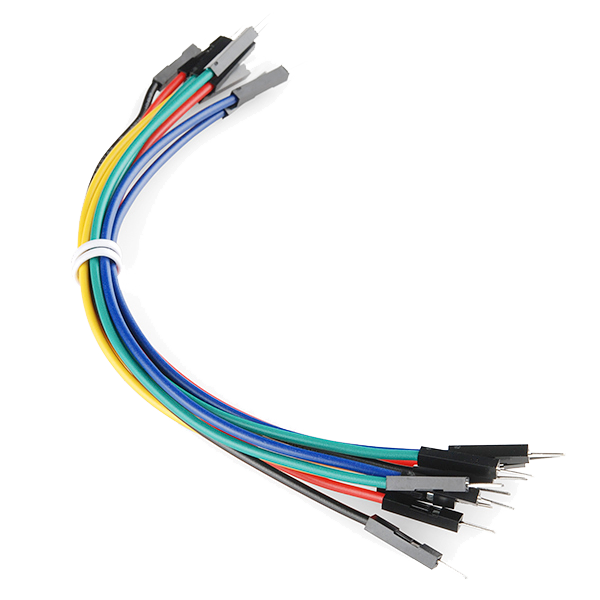 Jumper Wires (Male-to-Male)1 包
Connect and open the IDE
Connect and open the IDE
Plug the Arduino into your computer with the USB cable, open the Arduino IDE, and select Arduino Uno and its serial port.
此步骤所需材料:
 USB-B Cable1 个
所需工具:
 装有 Arduino IDE 的电脑
Upload the parking-sensor sketch
Upload the parking-sensor sketch
Paste this sketch and upload. It measures the distance and beeps faster the closer an object is. Open the Serial Monitor to see the distance in centimetres.
Test and set the range
Test and set the range
Move your hand toward the sensor — the buzzer beeps faster as you get closer and nearly solid when very near. Change the 50 in the sketch to set how far away it starts reacting, and the * 6 to change how quickly the beeping speeds up.
Mount it
Mount it
Fix the sensor facing outward on a bracket or in a small box and power the Arduino from a USB power bank or a 9 V adapter. Aim it at your parking spot, garage wall or doorway.
材料
6- Arduino Uno R3 SMD10% 佣金1 个$26.95
- 1 个$4.14
- 1 个占位符
- Breadboard - Classic10% 佣金1 个$9.46
- $4.99
- $5.66
所需工具
2- Breadboard - Classic10% 佣金$9.46
此蓝图制作
相关蓝图
这些蓝图共享知识——技术、材料或原理


CC0 公共领域
此蓝图以 CC0 协议发布。你可以自由复制、修改、分发和使用此作品,无需征得许可。
通过购买蓝图中的产品支持创客,他们将获得 创客佣金 (由供应商设定),或创建此蓝图的新版本并将其作为连接包含在你自己的蓝图中以分享收入。