合作
艺术
美容与健康
工艺
文化与历史
娱乐
环境
食品与饮料
逆向工程
科学
体育
技术
可穿戴设备



Designing for the Mould: Draft, Wall and the Ejector
A moulded part is not a shape that happens to be plastic. It is a shape that had to come out of a steel box, in one direction, while shrinking onto the thing it was formed around.
Almost every rule in moulding design follows from those three facts: **draft** so it can release, **uniform thin walls** so it cools evenly and fast, **ribs instead of thickness** so it is stiff without a sink mark, and a **parting line** that lets the two halves separate at all.
This rung is a sibling to the injection moulding blueprint, not a repeat of it: that one cuts a mould and shoots parts. This one tests the design rules **on printed parts**, because a 3D printer will happily make the zero-draft, thick-walled, fat-ribbed part that no mould could ever release — which makes it the ideal way to see what each rule is actually for.
中级
About 4 hours, plus print time
说明
1
1
Read a moulded part and find every rule already obeyed
Read a moulded part and find every rule already obeyed
Pick up any moulded plastic object — a bottle crate, a tool case, the inside of an appliance — and turn it over. Everything in this rung is on it, and finding the features yourself is worth more than reading the list.
Find, and write down where each one is:
- **The parting line.** A fine seam running all the way round. Everything on one side of it came out of one mould half. Ask yourself which direction the mould opened, then check that nothing on the part would have blocked it.
- **Ejector pin marks.** Round, slightly proud or slightly sunk discs, always on the inside or the hidden face. Count them; their number and spread tell you how hard the part was to push off.
- **The gate.** A small scar where the melt entered, often trimmed. Follow the wall away from it and you are following the direction the plastic flowed.
- **Draft.** Stand a straightedge against an internal wall. It is not parallel to the opening direction — it leans, by a degree or two.
- **Ribs.** Thin, tall, on the hidden side, and noticeably thinner than the wall they stiffen. Measure both with the calipers and take the ratio.
- **A sink mark**, if the designer got that ratio wrong: a shallow dimple on the show face, exactly opposite a rib or a boss.
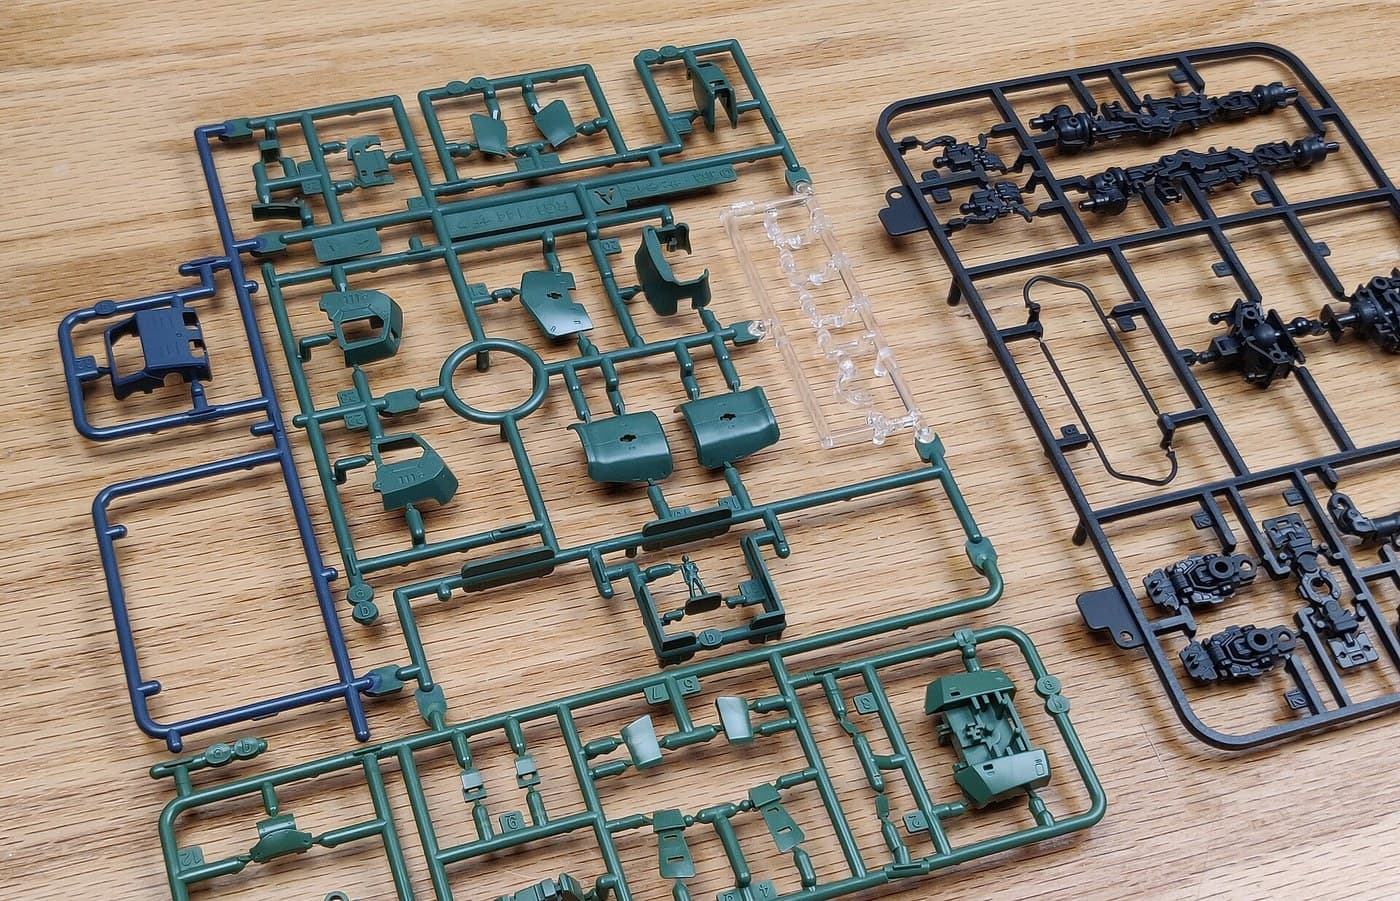
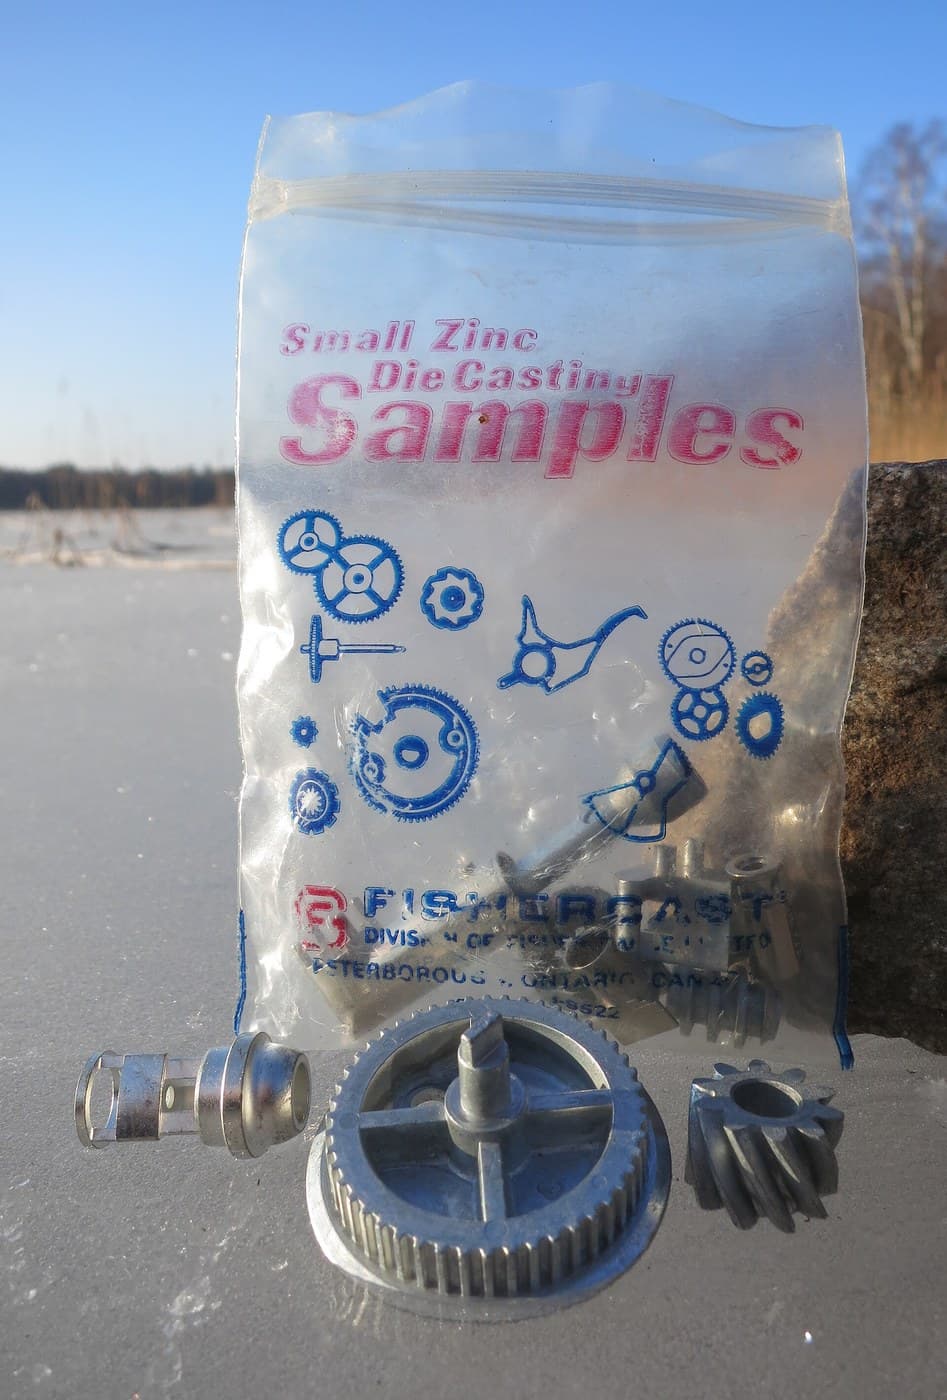
The photograph on this page is two cavities' worth of a moulding still joined by its runner — the channel that fed both parts. On a production part that runner is snapped off and the gate scar is all that is left of it.
所需工具:
 6 英寸数显卡尺
 直尺
 数码显微镜
2
2
Print the draft test, and try to pull the parts apart
Print the draft test, and try to pull the parts apart
Design one test part and print it several times: a simple open box, 40 mm deep, 30 mm square inside, 2 mm wall — and a matching solid core to sit in it. Print the box five times with the **inside** walls drafted at 0°, 0.5°, 1°, 2° and 3°.
Slide each box onto the same core, warm the assembly gently with the heat gun so the plastic relaxes onto it, let it cool fully, and then measure the force to pull it off with the spring scale.
This is not a moulding simulation — printed PLA shrinks differently from moulded polypropylene — but the *shape* of the result is the real one, and it is stark. The 0° box needs many times the force of the 2° box, and the 0° box is the one that marks, whitens or tears when it finally lets go.
Do it once more with a **textured** inside face — print one box with a coarse surface pattern — and note that the texture behaves like an undercut: it needs its own extra draft on top of whatever the wall needed. Step 5 gives the rule of about a degree per 0.025 mm of texture depth.
Record force against draft angle on graph paper. Tape it inside your notebook; this is the single chart that makes 'why does everything have draft' obvious for good.
此步骤所需材料:
 PLA 线材1 个
 PETG线材1 个
所需工具:
 3D 打印机
 测力计(弹簧秤)6 英寸数显卡尺
 热风枪
 台虎钳
 坐标纸
 安全眼镜
 实验记录本(带复写页)
3
3
Print the rib ladder and find the sink
Print the rib ladder and find the sink
A rib is how you get stiffness without thickness, and it is the commonest place a beginner produces a visible defect.
Print a flat plate 2 mm thick and 120 mm long, with six ribs across its back, 6 mm tall, at thicknesses of 0.4, 0.6, 0.8, 1.0, 1.4 and 2.0 mm. Print it in a **glossy** filament, because a sink mark on a matt surface is much harder to see.
Then look at the front face under raking light — a lamp almost edge-on to the surface. The thin ribs leave nothing. Somewhere around 0.6 to 0.8 of the wall thickness a shallow trough appears opposite each rib, and by 1.0 it is unmistakable.
A printer does not shrink the way a moulding does, so what you are seeing here is partly the printer's own thermal contraction — but the mechanism is identical and so is the rule. **The thick place freezes last, and the surface is pulled in behind it.**
Now test the stiffness side of the trade. Support each ribbed section at its ends and hang a weight from the middle, measuring deflection. Compare a tall thin rib against a short fat one of the same cross-section area. The tall one is far stiffer, because — exactly as in the corrugated-roof rung of the sheet metal batch — stiffness follows how far the material sits from the neutral axis, and height buys that squared while thickness buys it once.
That is the whole design answer: **taller and more numerous, never fatter.**
此步骤所需材料:
PLA 线材1 个 ABS 线材1 个
所需工具:
3D 打印机6 英寸数显卡尺数码显微镜 精密数字天平直尺坐标纸安全眼镜实验记录本(带复写页)
4
4
Find an undercut, and then design it away
Find an undercut, and then design it away
An **undercut** is any feature that would stop the part leaving the mould in the opening direction: a side hole, an external snap lip, a groove round the outside, a boss that overhangs.
Undercuts are not forbidden — they are *expensive*, because releasing them needs a moving part in the tool: a side-action slide driven by an angle pin, a collapsing core, or an unscrewing mechanism for a thread. Each one adds cost, cycle time and something that can go wrong.
Take your test box and put a snap lip on the outside, then hold a flat card against the box and try to move it straight up. The lip stops it. That is an undercut, demonstrated in two seconds.
Now design it away, which is the skill worth having. Three moves, in order of preference:
1. **Pass-through.** Put a hole in the face above the snap lip so the mould half above can reach down and form the underside of the lip directly. Almost every moulded snap fit you have ever seen has this window above it, and now you know why.
2. **Move the parting line.** If the feature sits on the parting line it is formed by the two halves closing, not by either one withdrawing.
3. **Split the part.** Two simple mouldings joined later — which is rung 5's subject — often beat one clever one.
Print both versions, the undercut one and the pass-through one, and put them side by side. That pair explains more about why plastic products look the way they do than any amount of reading.
此步骤所需材料:
PLA 线材1 个所需工具:
3D 打印机6 英寸数显卡尺 手工刀
 去毛刺刀数码显微镜安全眼镜
5
5
Cooling time, draft and the rib ratio
Cooling time, draft and the rib ratio
正在加载 Jupyter 笔记本…
所需工具:
坐标纸6
6
History and context
History and context
**Attribution, stated honestly.** No patent is claimed for this rung and none should be. Draft, uniform walls, rib ratios and parting lines are trade knowledge, worked out independently in every moulding shop and written into company design manuals rather than into filings. What is worth naming is that they are **not conventions** — each one is a consequence with a number behind it, and step 5 is those numbers.
**Where the rules come from.** They are older than plastics. Draft is why a sand casting pattern is tapered, and the pattern-maker's rule long predates any polymer; the die casting rung in the catalogue obeys exactly the same three constraints for the same three reasons. What changed with thermoplastics is the **cooling time**, because a polymer conducts heat so badly that the wall thickness stops being a strength decision and becomes an economic one.
**The idea to keep.** In moulding, *thickness is time*. A designer who adds a millimetre to a wall has added seconds to every part ever made from that tool, and nothing downstream can recover it. That single fact explains the shell-and-rib shape of nearly every moulded object you own, and it is the reason a well-designed plastic part is so counterintuitively thin.
**Honest limits.** Everything above is tested here on printed parts, and a printed part is not a moulding: it shrinks anisotropically, it is layered, and it has no ejection at all. The printer is a way to *see the rules operating*, not a substitute for a tool trial. Real shrinkage figures are supplier data for a specific grade, not the round numbers in step 5, and a part with a tight tolerance is always proved on a first-off sample rather than calculated.
相关蓝图
这些蓝图共享知识——技术、材料或原理



CC0 公共领域
此蓝图以 CC0 协议发布。你可以自由复制、修改、分发和使用此作品,无需征得许可。
通过购买蓝图中的产品支持创客,他们将获得 创客佣金 (由供应商设定),或创建此蓝图的新版本并将其作为连接包含在你自己的蓝图中以分享收入。