
Blowing a Glass Bottle by Hand — Free-Blown Vessel Shaping
Free-blowing a glass bottle is one of the foundational skills in glassworking. The glassblower gathers molten soda-lime glass on a blowpipe, inflates it into a bubble, and shapes the body, neck, and lip using a combination of gravity, centrifugal force, and simple hand tools. Unlike mould-blown glass, free-blown bottles are shaped entirely by the maker's skill — every piece is unique. This technique has been used continuously since Roman times and remains the basis of all studio glassblowing today.
说明
Heat the furnace and prepare the bench
Heat the furnace and prepare the bench
所需工具:
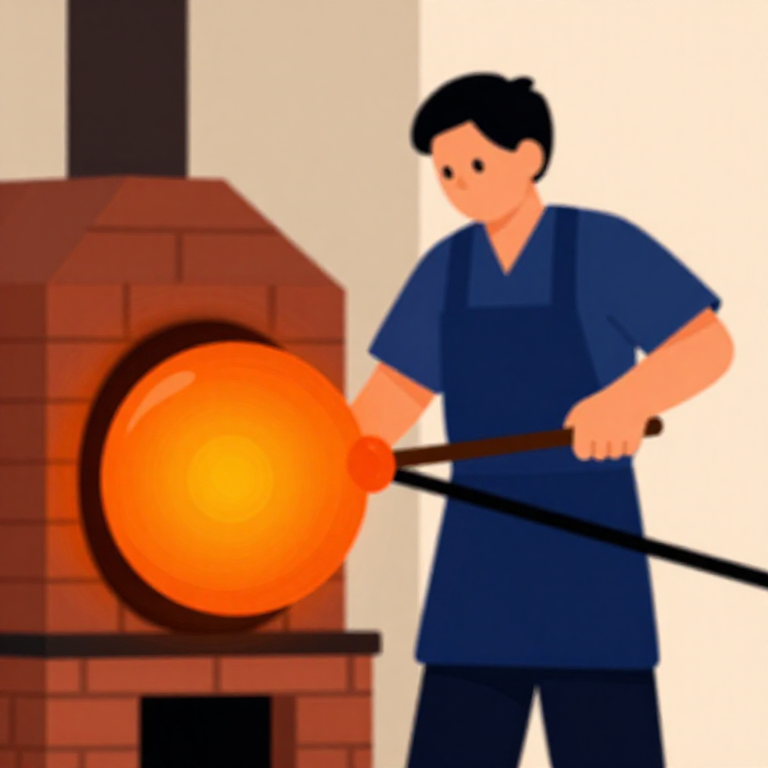
 Brick Furnace
Mix and charge the glass batch
Mix and charge the glass batch
此步骤所需材料:
 Quartz Sand2 公斤
 Sodium Carbonate (soda ash)800 克
 Calcium Carbonate (limestone, crushed)500 克
所需工具:
 Clay Crucible (refractory)
Pre-heat and gather on the blowpipe
Pre-heat and gather on the blowpipe
所需工具:
 Glassblowing Blowpipe
Marver the gather
Marver the gather
所需工具:
 Granite Slab
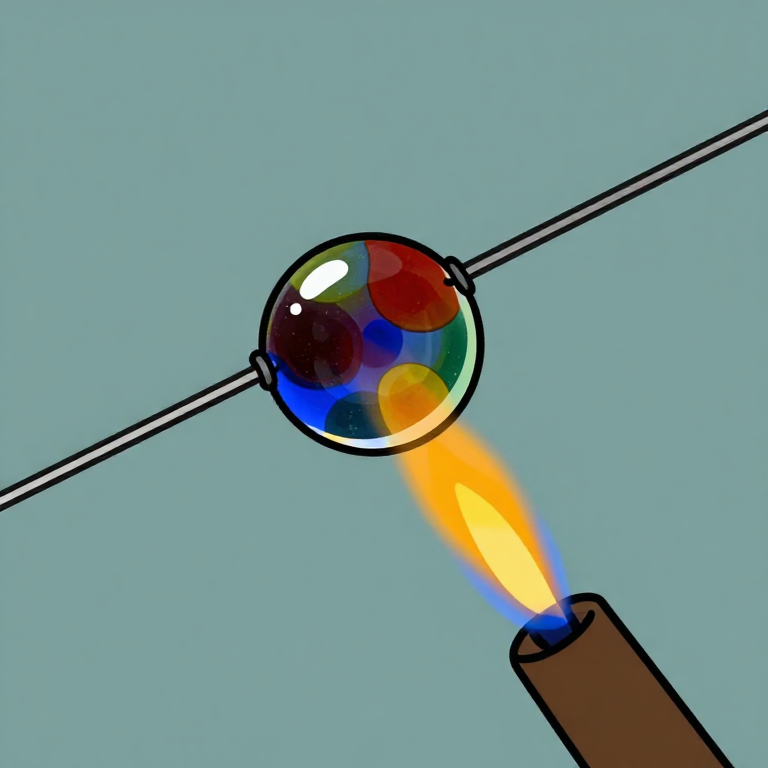
Blow the initial bubble
Blow the initial bubble
Reheat and expand the bubble
Reheat and expand the bubble
Shape the body with the jacks
Shape the body with the jacks
所需工具:
 Glassmaker's Jacks
 Folded Wet Block (cherry wood or soaked newspaper)
Form the base
Form the base
Attach the pontil rod
Attach the pontil rod
所需工具:
 Pontil Rod
Crack off the blowpipe
Crack off the blowpipe
Form the lip and finish the neck
Form the lip and finish the neck
所需工具:
 Long-Handled Fire Tongs
Crack off the pontil
Crack off the pontil
Transfer to the annealing oven
Transfer to the annealing oven
Anneal overnight
Anneal overnight
Grind the pontil scar smooth
Grind the pontil scar smooth
材料
3- 占位符
- 占位符
已连接蓝图材料
Recommended for this build
Products makers often use with builds like this one.
 CharcoalFrequently used with this build's materials
 Grozing PliersUsed in similar builds
 Diamond ScriberUsed in similar builds
 Crucible Tongs (long-handled)Frequently used with this build's materials
 Leather Gauntlet GlovesFrequently used with this build's materials
 Safety GogglesFrequently used with this build's materials
 Charcoal Furnace (small)Frequently used with this build's materials
 Glass MullerFrequently used with this build's materials
相关蓝图
这些蓝图共享知识——技术、材料或原理
Related blueprints
Other builds that share materials, tools, or techniques with this one.

CC0 公共领域
此蓝图以 CC0 协议发布。你可以自由复制、修改、分发和使用此作品,无需征得许可。
通过购买蓝图中的产品支持创客,他们将获得 创客佣金 (由供应商设定),或创建此蓝图的新版本并将其作为连接包含在你自己的蓝图中以分享收入。