Painting a Buon Fresco on Wet Lime Plaster — Roman Wall Painting
说明
Apply the Arriccio (Base Plaster Layer)
Apply the Arriccio (Base Plaster Layer)
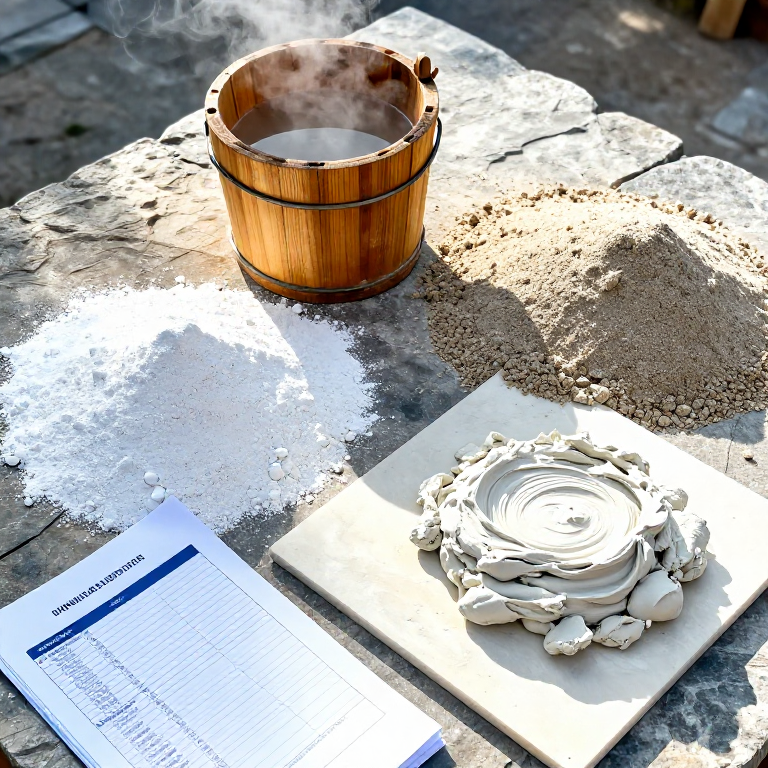
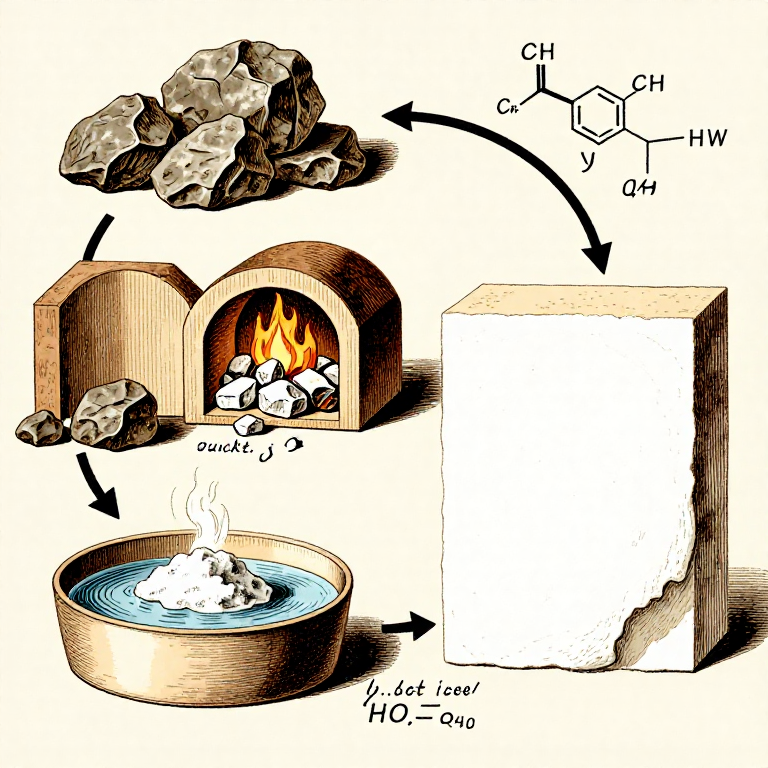
Dampen the wall surface thoroughly with water — the substrate must be wet so it does not suck moisture from the plaster prematurely. Mix the coarse arriccio plaster: one part slaked lime putty to two or three parts coarse sand. Apply this rough base coat to the wall approximately 10 to 15 mm thick using a flat trowel, keeping the surface deliberately rough so the next layer will bond mechanically. Vitruvius recommends at least three layers of progressively finer plaster beneath the painting surface. In practice, a single arriccio layer is sufficient for a small panel. Score the surface with the trowel edge in a crosshatch pattern to key the next layer. Allow this coat to stiffen but not dry completely — it should be firm to the touch but still damp internally, typically after 24 to 48 hours depending on temperature and humidity.
此步骤所需材料:
 Lime (Calcium Hydroxide)2 kg 公斤
 Fine Sand5 kg 公斤Lime (Calcium Hydroxide)small quantities of each 个
 Wateras needed 个
所需工具:
 Flat Stone (Trowel / Shaping Tool)
 Ceramic
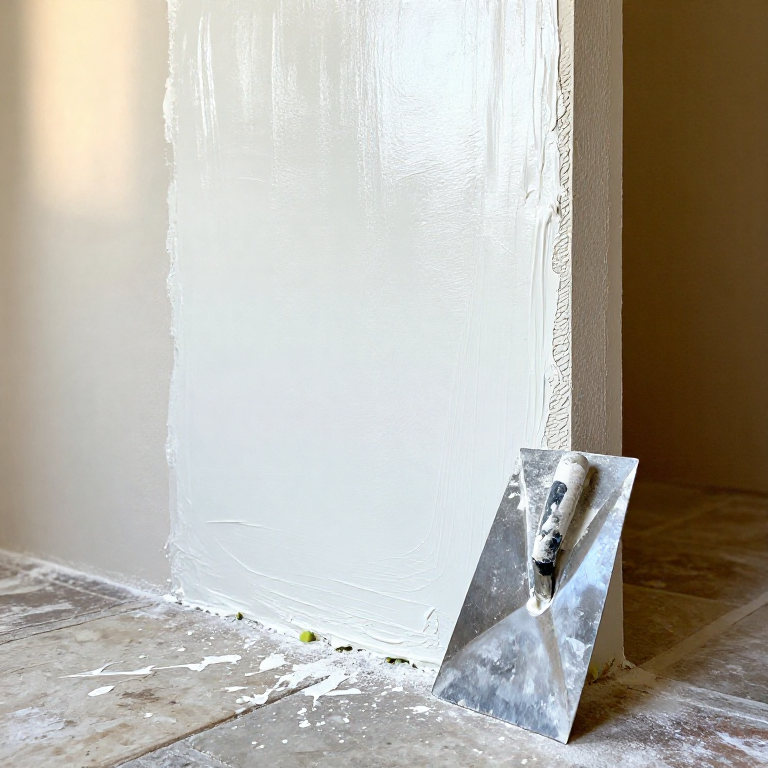
Apply the Intonaco (Painting Plaster)
Apply the Intonaco (Painting Plaster)
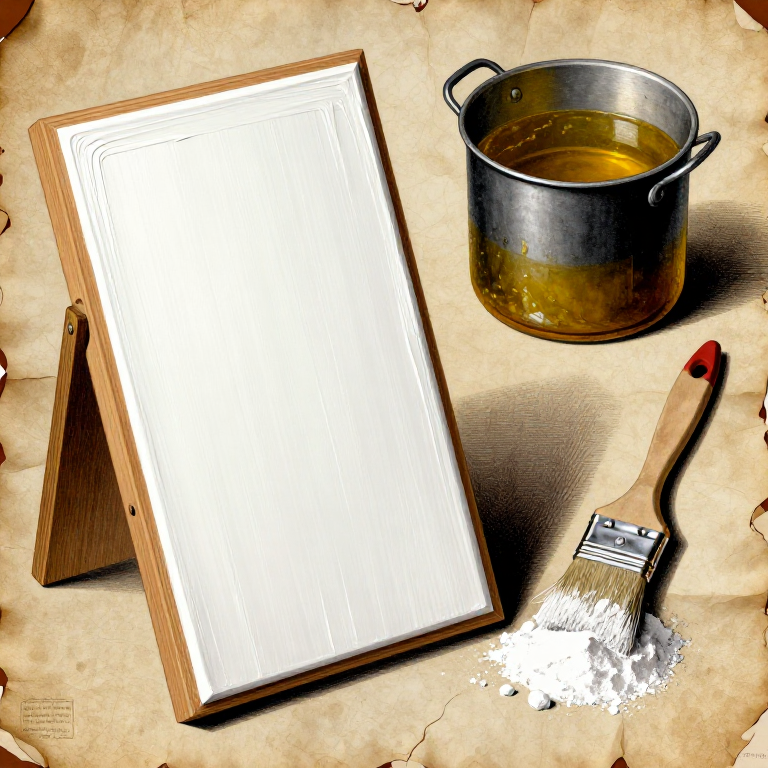
Mix the fine intonaco plaster: one part slaked lime putty to one part fine marble dust or very fine sand. The marble dust produces a smoother, whiter surface that reflects light and makes colours more luminous — this is the secret behind the brilliance of Pompeian frescoes. Apply the intonaco only over the area you can paint in one session (the giornata, meaning a day's work), as the plaster must remain wet while pigments are applied. Spread the intonaco approximately 3 to 5 mm thick over the damp arriccio. Polish the surface with the flat of the trowel or a wooden float to compress the plaster and bring lime to the surface — this creates the smooth, slightly glossy finish characteristic of the finest Roman frescoes.
Transfer the Design
Transfer the Design
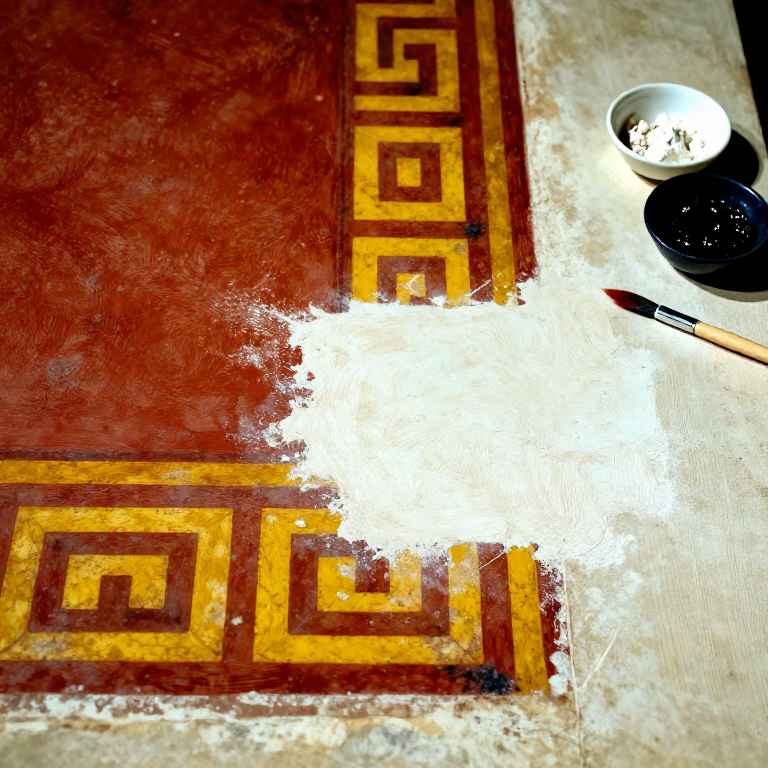
Snap chalk lines or incise guide lines into the wet intonaco using a straightedge and a pointed stylus to establish the composition framework — borders, panels, and major design elements. Roman wall painters worked within a well-established decorative system (the Four Pompeian Styles) that used geometric divisions and architectural frameworks. For geometric borders, incise parallel lines and use a compass to mark regular intervals. For figurative scenes, the painter may have used a sinopia (a preliminary drawing in red ochre on the arriccio layer beneath) as a guide, though this would be covered by the intonaco. Work quickly — the intonaco begins to set within 4 to 8 hours, and all painting must be complete before the surface loses its wet sheen.
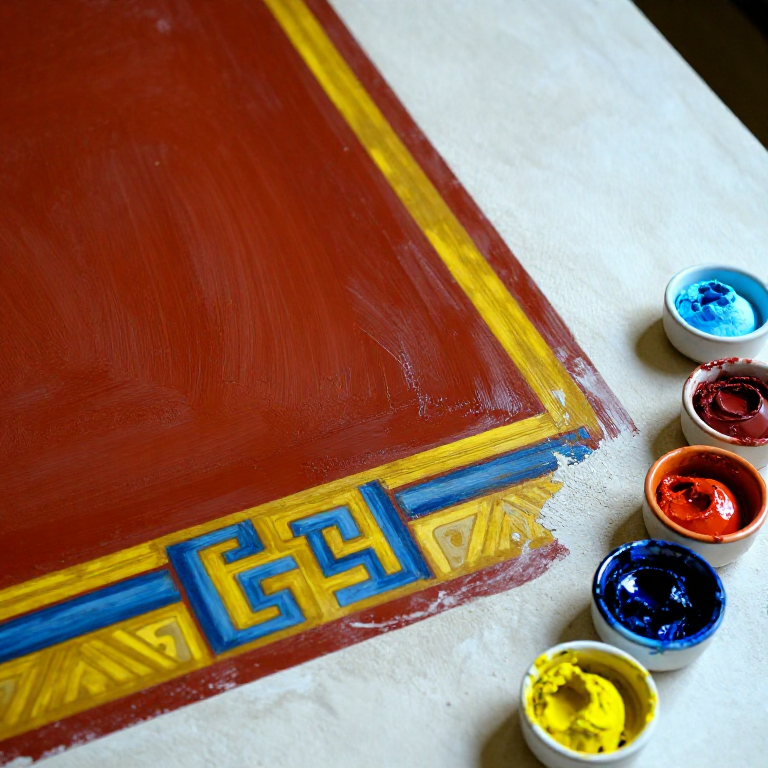
Paint with Mineral Pigments
Paint with Mineral Pigments
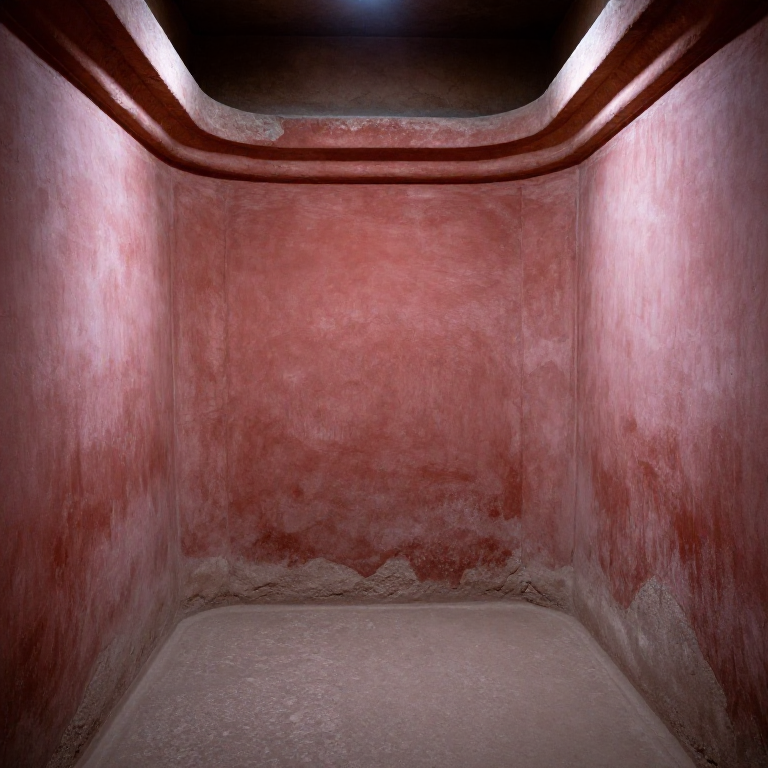
Mix mineral pigments with clean water to form a thin, flowing paint — no binder is needed in true fresco, as the wet lime itself acts as the binder. As the plaster dries, calcium hydroxide on the surface reacts with carbon dioxide in the air to form calcium carbonate, locking the pigment particles permanently into the crystalline matrix. Apply paint in light, flowing strokes with a soft-bristle brush. Start with the background colours (red ochre and yellow ochre were the most common), then build up details with darker tones. The available palette for true fresco is limited to alkali-resistant mineral pigments: red ochre (iron oxide), yellow ochre (hydrated iron oxide), Egyptian blue (calcium copper silicate), raw and burnt umber (iron and manganese oxides), carbon black (charcoal), and lime white (calcium hydroxide). Organic pigments and cinnabar (vermilion) can only be applied secco (on dry plaster with an organic binder) as they are destroyed by the alkaline wet lime.
Polish and Allow to Carbonate
Polish and Allow to Carbonate
While the plaster is still slightly damp (but after the paint has been applied), lightly burnish the painted surface with the flat of a clean trowel or a smooth stone. This compresses the surface layer, pushing lime crystals to the surface and creating the characteristic waxy sheen visible on well-preserved Pompeian frescoes. This step must be done with extreme care to avoid smearing the painted design. Allow the fresco to cure slowly — keep the room ventilated but avoid direct sunlight or heat sources that could cause too-rapid drying and cracking. The carbonation process (calcium hydroxide converting to calcium carbonate) continues for weeks but the plaster is firm to the touch within 24 hours. The finished fresco surface is extremely durable, waterproof, and resistant to fading because the pigments are embedded within the crystalline calcium carbonate rather than sitting on the surface.
材料
5- 2 kg 个占位符
- 3 kg 个占位符
已连接蓝图材料
相关蓝图
这些蓝图共享知识——技术、材料或原理
Related blueprints
Other builds that share materials, tools, or techniques with this one.


CC0 公共领域
此蓝图以 CC0 协议发布。你可以自由复制、修改、分发和使用此作品,无需征得许可。
通过购买蓝图中的产品支持创客,他们将获得 创客佣金 (由供应商设定),或创建此蓝图的新版本并将其作为连接包含在你自己的蓝图中以分享收入。