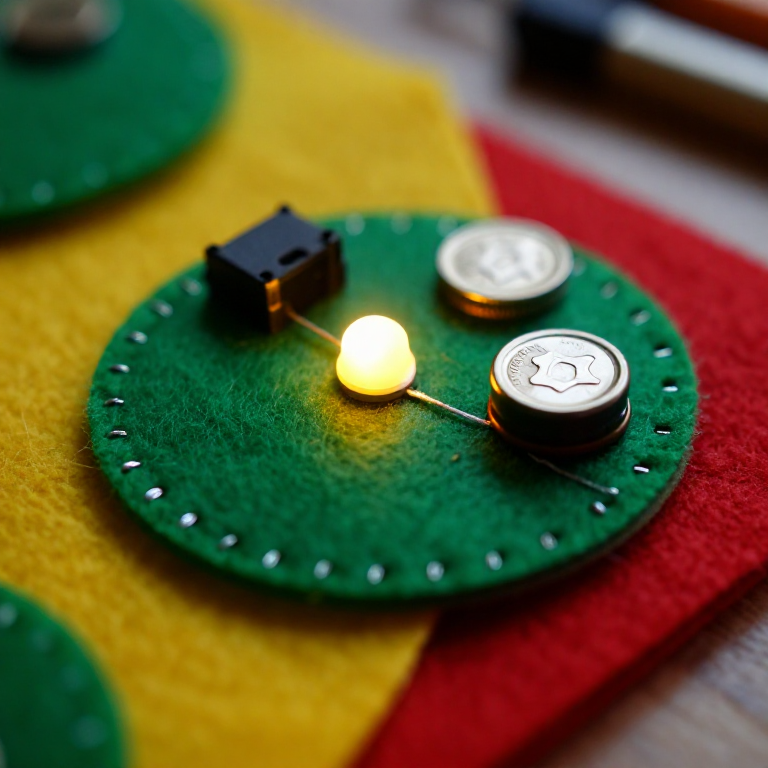


Sewing a LilyPad LED Circuit
Sewable electronics — 'e-textiles' — build circuits into fabric with conductive thread instead of wires. This first project sews a LilyPad LED to a coin-cell battery so it lights up, teaching the two rules of e-textiles: connect + to + and - to -, and never let the two thread lines cross. The 'hello world' of wearable electronics.
说明
Plan the circuit on fabric
Plan the circuit on fabric
Pin a LilyPad LED and a LilyPad coin-cell battery holder a few centimetres apart on a piece of felt. Find each board's + and - sew tabs, and plan two thread paths — one joining the + tabs, one joining the - tabs — that never cross.
此步骤所需材料:
 LilyPad LED - 5 pcs1 包
 LilyPad Coin Cell Battery Holder - w/Switch - 20mm1 个
 羊毛毡片1 张
Sew the positive line
Sew the positive line
Thread a needle with conductive stainless-steel thread. Stitch from the + tab of the battery holder to the + tab of the LED, looping 3–4 times through each tab hole for firm electrical contact. Knot tightly and trim the tail short — stray strands cause shorts.
此步骤所需材料:
 Conductive Thread - 60g (Stainless Steel)1 轴
 手缝针1 包
Sew the negative line
Sew the negative line
With a fresh length of thread, stitch the - tab of the battery holder to the - tab of the LED the same way. Keep this line clear of the + line everywhere — if the two conductive paths touch, the circuit shorts and the LED won't light.
Power it up
Power it up
Slide a CR2032 coin cell into the holder, + side up, and switch it on. The LED lights — no separate resistor is needed, because the 3 V coin cell can't push enough current to harm it. If it stays dark, check the battery direction, loose knots, or threads touching.
此步骤所需材料:
 CR2032 纽扣电池1 个
Secure the knots
Secure the knots
Dab a little clear nail polish or fabric glue on each knot so it can't work loose or fray. Use the holder's switch to turn your LED on and off — your first wearable circuit is done.
材料
6- LilyPad LED - 5 pcs10% 佣金1 包$4.14
- $4.99
- 1 张占位符
- $39.62
- 1 包占位符
- 1 个占位符
所需工具
1- 占位符
相关蓝图
这些蓝图共享知识——技术、材料或原理


CC0 公共领域
此蓝图以 CC0 协议发布。你可以自由复制、修改、分发和使用此作品,无需征得许可。
通过购买蓝图中的产品支持创客,他们将获得 创客佣金 (由供应商设定),或创建此蓝图的新版本并将其作为连接包含在你自己的蓝图中以分享收入。