Zusammenarbeit
KUNST
SCHÖNHEIT & WELLNESS
HANDWERK
KULTUR & GESCHICHTE
UNTERHALTUNG
UMFELD
ESSEN & GETRÄNKE
REVERSE ENGINEERING
WISSENSCHAFTEN
SPORT
TECHNOLOGIE
WEARABLES
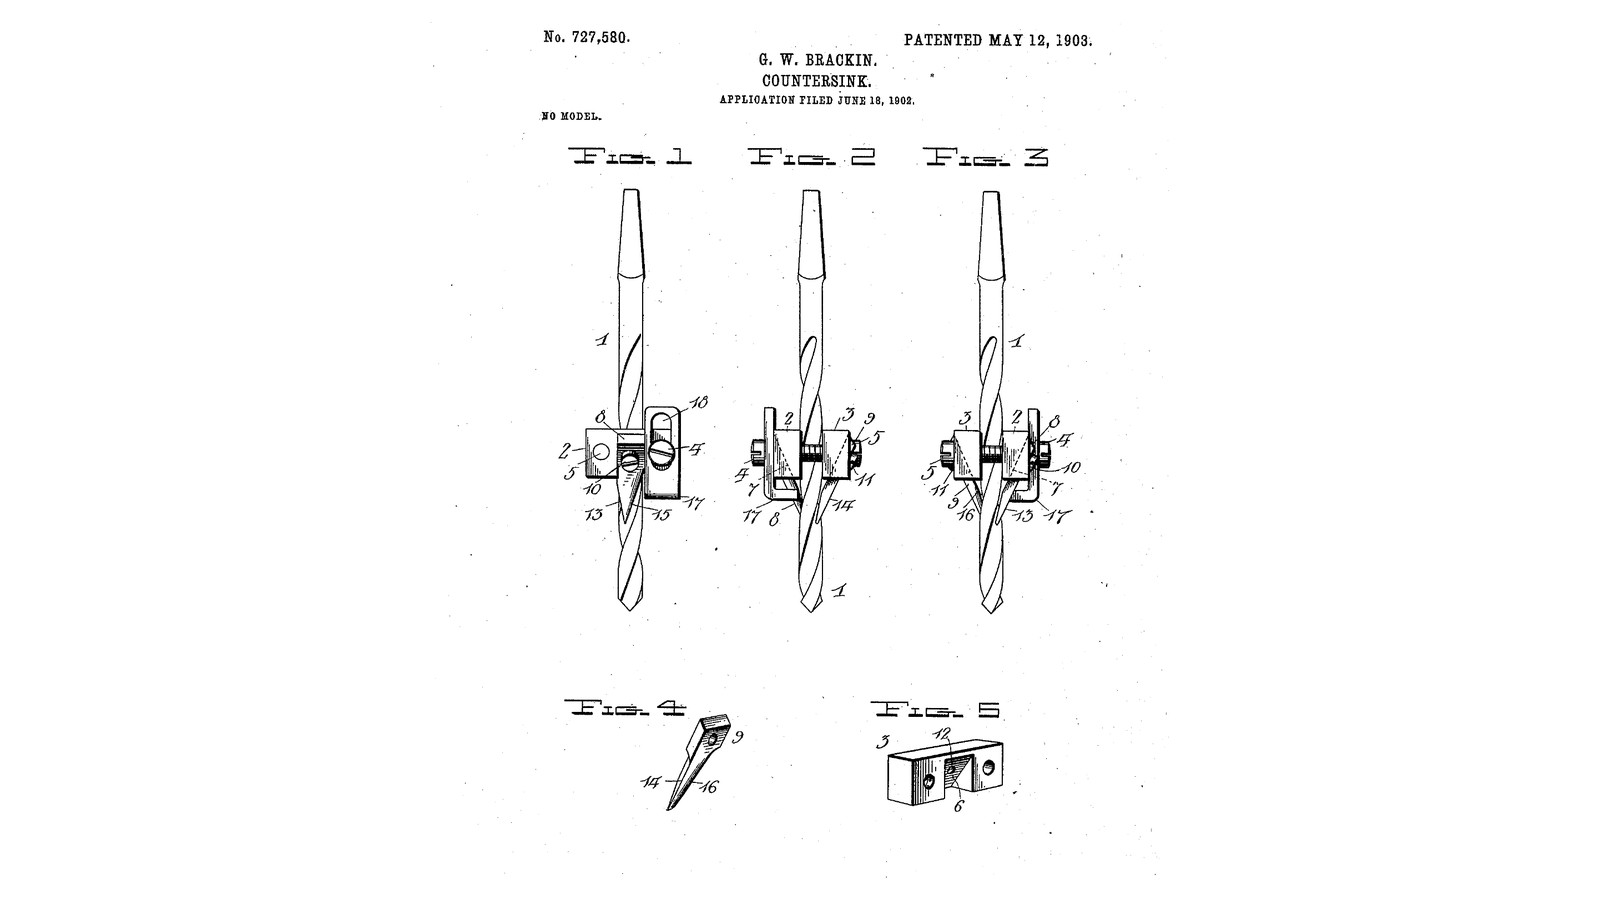


Clamp-On Countersink: Two Blocks Screwed Round Any Drill, Twin Cutters Countersink the Hole as It Is Bored (Brackin, 1903)
George W. Brackin of Philadelphia received US 727,580, dated 12 May 1903, for a countersink that clamps onto a drill or auger bit. Two blocks are screwed together across the bit at any point along it. A twin cutter is screwed into an inclined seat in each block, its point reaching into the bit's flutes. As the bit bores, the cutters arrive and cut the cone for the screw head without taking the bit out. A slotted stop sets how deep it goes, so it gauges the hole too.
We make three for 4, 5 and 6 mm drills. The patent gives no sizes; every size here is ours.
Fortgeschritten
About 1 day
Anweisungen
1
1
Setting it on the bit
Setting it on the bit
Jupyter-Notebook wird geladen …
2
2
Read US 727,580
Read US 727,580
"From Figs. 2 and 3 it will be observed that the lower ends of the inclined cutters project slightly into the twists or helical channels of the drill, and this fact permits the cutters to enter the hole bored and then commence cutting away the edge of the hole as the tool is rotated."
3
3
Clamping blocks 2 and 3
Clamping blocks 2 and 3
For each attachment cut two blocks 40 x 12 x 10 mm from square bar. In each, 6 mm from one end drill a 4.5 mm plain hole and 6 mm from the other end drill 3.3 mm and tap M4, through the 12 mm face, so the two blocks screw together with the plain hole of one over the tapped hole of the other. Across the middle of each block's outer face file a seat 6 mm wide, sloping down and in at 45 degrees, and drill and tap M4 in it for the cutter's screw.
Materialien für diesen Schritt:
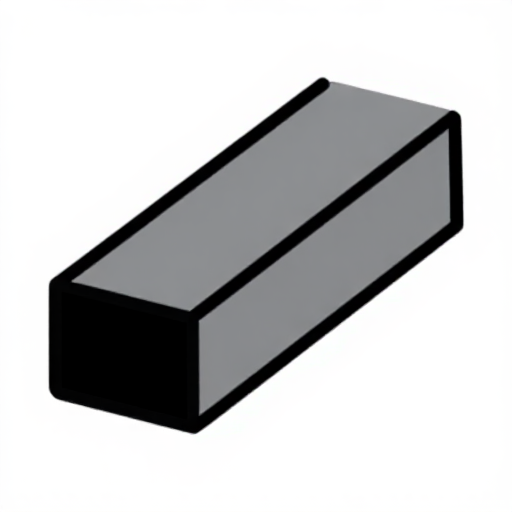 Baustahl-Vierkantstange1 Stück
Benötigte Werkzeuge:
 Bügelsäge (Metallsäge)
 Schraubstock
 Reißnadel
 Körner
 Standbohrmaschine
 Bohrersatz
 Gewindeschneidsatz
 Windeisen
 Feilensatz
 Winkelmesser
 Digitaler Messschieber 6 Zoll
4
4
Twin cutters 8 and 9
Twin cutters 8 and 9
Cut four cutters 22 mm long from 3 x 6 mm carbon steel strip. Drill each 4.5 mm for its screw at the top, and grind the lower end to a point with a straight cutting edge 13 on its leading side and a rounded back 15, as his Fig. 4. Harden: heat to a cherry red, until a magnet no longer sticks, quench in water, rub bright, and draw to a light straw colour.
Materialien für diesen Schritt:
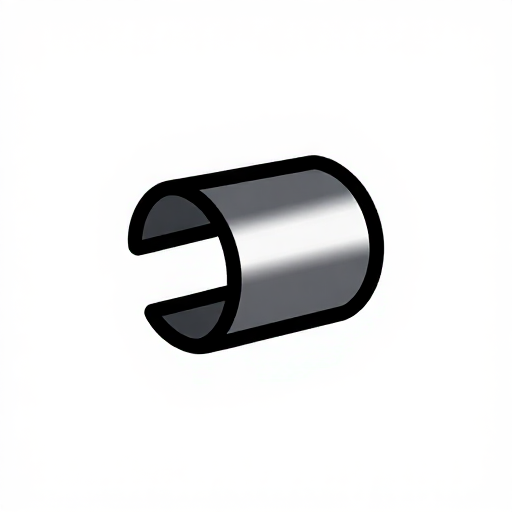 Kohlenstoffstahlband1 Stück
Benötigte Werkzeuge:
Bügelsäge (Metallsäge)StandbohrmaschineBohrersatz Doppelschleifer
 Esse
 Schmiedezange
 Kleiner Magnet
 Abschreckbottich
 Wasser
 Schleifstein
 Schweißerhandschuhe
 Schutzbrille
5
5
Stop 17 and assembly
Stop 17 and assembly
Bend a strip of 3 mm flat bar into an L, its upright 30 mm long with a 4.5 mm slot 18 15 mm long, its foot 20 mm. Screw a cutter into each block's seat. Put the blocks either side of the drill, the stop's slot under one clamping screw, and screw them together until they grip the drill, the cutters' points just in the flutes and their edges leading as the drill turns.
Materialien für diesen Schritt:
 Baustahl-Flachstahl1 Stück
 Maschinenschrauben4 Stück
Benötigte Werkzeuge:
Bügelsäge (Metallsäge)SchraubstockStandbohrmaschineBohrersatzFeilensatz Schraubendreher-Satz
6
6
Bore and countersink
Bore and countersink
Set the drill's point the hole's depth below the stop's foot and the cutters for the screw head's size (the notebook gives both). Drill into hardwood until the stop touches: the hole is at depth and its mouth countersunk. Check a screw sits flush.
Benötigte Werkzeuge:
 AkkubohrschrauberBohrersatz
 HartholzbrettDigitaler Messschieber 6 ZollSchutzbrille
7
7
Troubleshooting
Troubleshooting
Clamp-on countersink troubleshooting.
Flow
Loading...
8
8
History and honest limits
History and honest limits
**George W. Brackin** of Philadelphia, US 727,580, dated 12 May 1903, filed 18 June 1902. He claimed "the rectangular clamping-blocks arranged parallel to each other, clamping-screws passing through the said blocks near their ends", each block "provided exteriorly at its middle point with a cutter-seat inclined downwardly and inwardly", and "duplicate and interchangeable cutters" screwed into them. His was for wood, with the note that the cutters could be hardened for metal; ours are hardened. He gives no sizes or angle; every size here is ours.
Materialien
4- 1 StückPlatzhalter
- 1 StückPlatzhalter
- 1 StückPlatzhalter
- 4 StückPlatzhalter
Benötigte Werkzeuge
23- Platzhalter
- Platzhalter
- Platzhalter
- Platzhalter
- Platzhalter
- Platzhalter
- Platzhalter
- Platzhalter
- Platzhalter
- Platzhalter
- Platzhalter
- Platzhalter
- Platzhalter
- Platzhalter
- Platzhalter
- Platzhalter
- Platzhalter
- Platzhalter
- Platzhalter
- Platzhalter
- Platzhalter
- 1 vendor sell this, none ship to you yetPlatzhalter
- Platzhalter
Dieser Bauplan stellt her

Verwandte Blueprints
Diese Blueprints teilen Wissen — Techniken, Materialien oder Prinzipien
CC0 Gemeinfrei
Dieser Blueprint ist unter CC0 veröffentlicht. Sie dürfen dieses Werk für jeden Zweck frei kopieren, ändern, verbreiten und verwenden, ohne um Erlaubnis zu fragen.
Unterstützen Sie den Maker, indem Sie Produkte über seinen Blueprint kaufen, wo er eine Maker-Provision von Anbietern festgelegt, verdient. Oder erstellen Sie eine neue Iteration dieses Blueprints und verbinden Sie ihn in Ihrem eigenen Blueprint, um Einnahmen zu teilen.