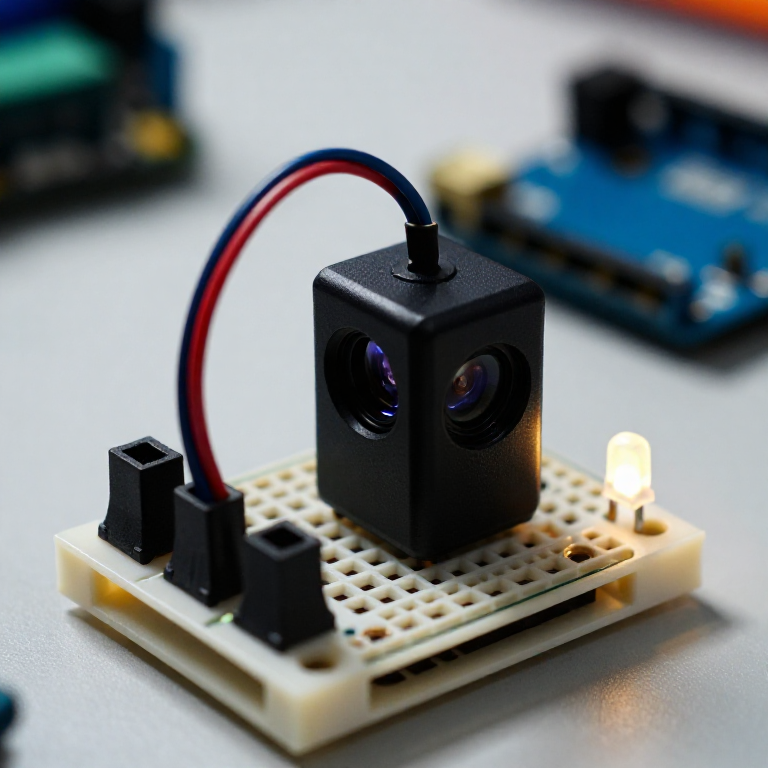


Building an Infrared Distance Sensor
Measure distance with light. A Sharp infrared sensor bounces a beam off an object and reports, as a voltage, the angle it returns at — closer objects give a higher reading. The Arduino turns that into an approximate distance and lights an LED when something comes near: a touchless switch, a hand-wave trigger, or a robot's eyes. Unlike the ultrasonic sensor, this uses infrared light, works at short range, and makes no sound.
Anweisungen
Wire the sensor and LED
Wire the sensor and LED
The Sharp sensor has a 3-wire cable: VCC (red) to Arduino 5V, GND (black) to GND, and signal (white or yellow) to A0. On the breadboard, wire an LED from pin 7 through a 330 Ω resistor to GND (long leg to the pin).
Materialien für diesen Schritt:
 Arduino Uno R31 Stück
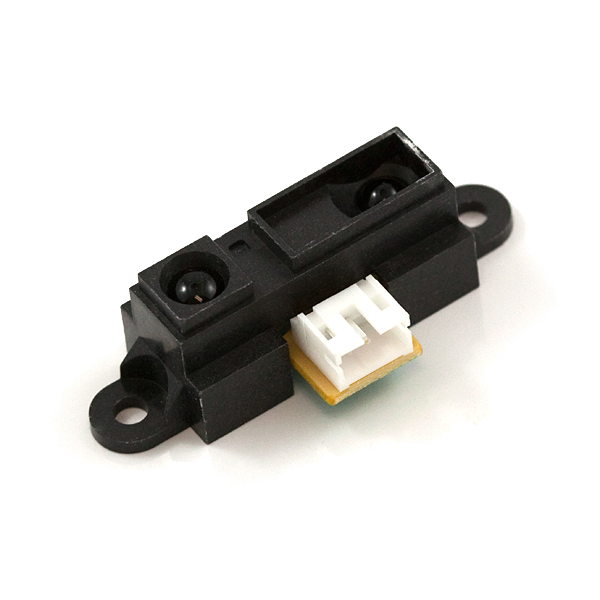 Infrared Proximity Sensor - Sharp GP2Y0A21YK1 Stück
 5-mm-LED1 Stück
 330-Ohm-Widerstand1 Packung
 Steckbrett1 Stück
 Steckbrücken1 Packung
Connect and open the IDE
Connect and open the IDE
Plug the Arduino into your computer with the USB cable, open the Arduino IDE, and select Arduino Uno and its serial port.
Benötigte Werkzeuge:
 Computer mit Arduino-IDE
 USB-B-Kabel
Upload the distance sketch
Upload the distance sketch
Paste this sketch and upload, then open the Serial Monitor. It reads the sensor, estimates the distance, and lights the LED when something is within 20 cm.
Test and understand the curve
Test and understand the curve
Open the Serial Monitor and move your hand between about 10 and 80 cm — the printed distance should track it, and the LED lights inside 20 cm. Two things to know: below ~10 cm the reading becomes ambiguous (the sensor's curve folds back), and the output is non-linear, so for real accuracy note the raw value at a few known distances and fit your own curve.
Put it to work
Put it to work
Use it as a touchless switch (wave to trigger), a shelf or drawer 'is-it-open' sensor, or an obstacle detector for a small robot. Change NEAR_CM to set the trigger distance, or swap in the short-range (4–30 cm) or long-range (20–150 cm) Sharp sensor for a different span.
Materialien
6- Platzhalter
- Infrared Proximity Sensor - Sharp GP2Y0A21YK10% Provision1 Stück€11.93
- Platzhalter
- 1 PackungPlatzhalter
- Platzhalter
- Platzhalter
Benötigte Werkzeuge
3- Platzhalter
- 1 vendor sell this, none ship to you yetPlatzhalter
- 1 vendor sell this, none ship to you yetPlatzhalter
Verwandte Blueprints
Diese Blueprints teilen Wissen — Techniken, Materialien oder Prinzipien


CC0 Gemeinfrei
Dieser Blueprint ist unter CC0 veröffentlicht. Sie dürfen dieses Werk für jeden Zweck frei kopieren, ändern, verbreiten und verwenden, ohne um Erlaubnis zu fragen.
Unterstützen Sie den Maker, indem Sie Produkte über seinen Blueprint kaufen, wo er eine Maker-Provision von Anbietern festgelegt, verdient. Oder erstellen Sie eine neue Iteration dieses Blueprints und verbinden Sie ihn in Ihrem eigenen Blueprint, um Einnahmen zu teilen.