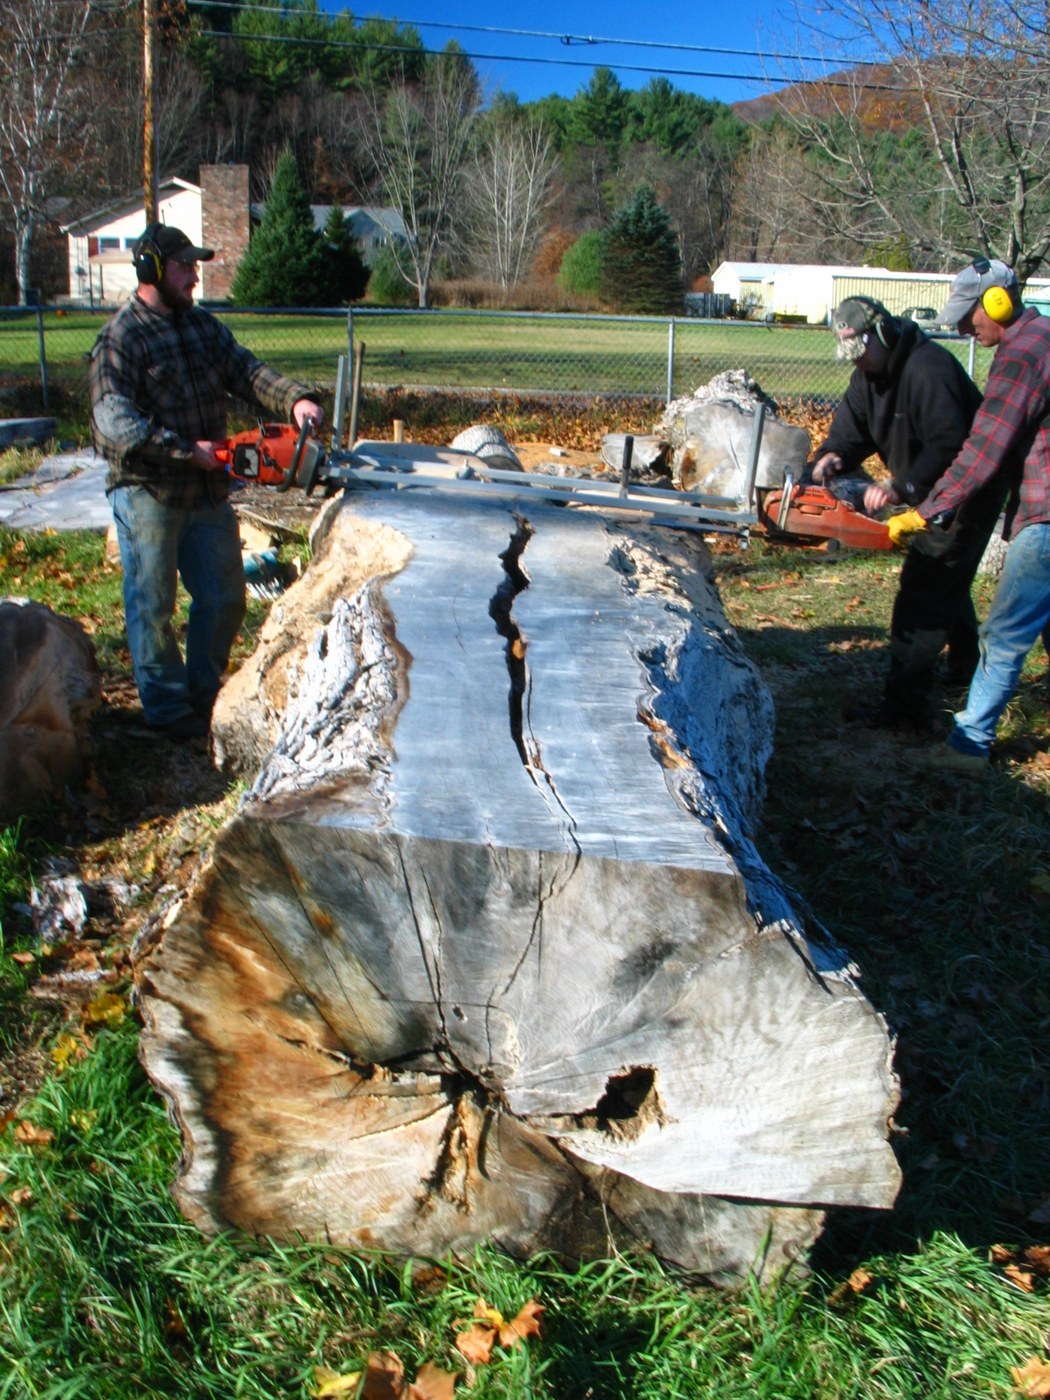


Pine Boards with a Chainsaw Mill
Anweisungen
Pick and prop the log
Pick and prop the log
Materialien für diesen Schritt:
 Weichholzstämme1 Stück
Benötigte Werkzeuge:
 Bandmaß (Rollmeter)
Fit the mill
Fit the mill
Benötigte Werkzeuge:
 Motorsäge (Profi-Forstklasse)
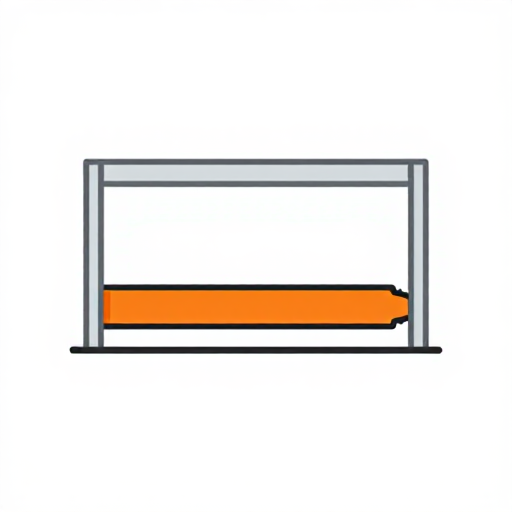 Motorsägen-Sägewerk
Screw on the guide board
Screw on the guide board
Materialien für diesen Schritt:
 Holzschrauben6 Stück
Benötigte Werkzeuge:
 Kiefernbrett
 Akkubohrschrauber
 Haarlineal
 Wasserwaage
First cut
First cut
Benötigte Werkzeuge:
Motorsäge (Profi-Forstklasse)Motorsägen-Sägewerk Schutzhelm
 Gehörschutzkapseln
 Lederarbeitshandschuhe
 Sicherheitsstiefel mit Stahlkappe
Cut the boards
Cut the boards
Benötigte Werkzeuge:
Motorsäge (Profi-Forstklasse)Motorsägen-SägewerkBandmaß (Rollmeter)Seal the ends
Seal the ends
Materialien für diesen Schritt:
 Hirnholzversiegelung (Paraffin)0.5 Liter
Sticker the stack
Sticker the stack
Materialien für diesen Schritt:
 Stapelleiste aus Holz (Trocknungsabstandhalter)30 Stück
Benötigte Werkzeuge:
 HolzpaletteWasserwaage
Cover and weight
Cover and weight
Benötigte Werkzeuge:
 Plane
Measure the moisture
Measure the moisture
Benötigte Werkzeuge:
 Feuchtemessgerät
Troubleshooting
Troubleshooting
Flow
Materialien
4- 1 StückPlatzhalter
- 6 StückPlatzhalter
- 0.5 LiterPlatzhalter
- Platzhalter
Benötigte Werkzeuge
14- 1 vendor sell this, none ship to you yetPlatzhalter
- Platzhalter
- Platzhalter
- Platzhalter
- 1 vendor sell this, none ship to you yetPlatzhalter
- Platzhalter
- Platzhalter
- Platzhalter
- Platzhalter
- Platzhalter
- Platzhalter
- Platzhalter
- Platzhalter
- Platzhalter
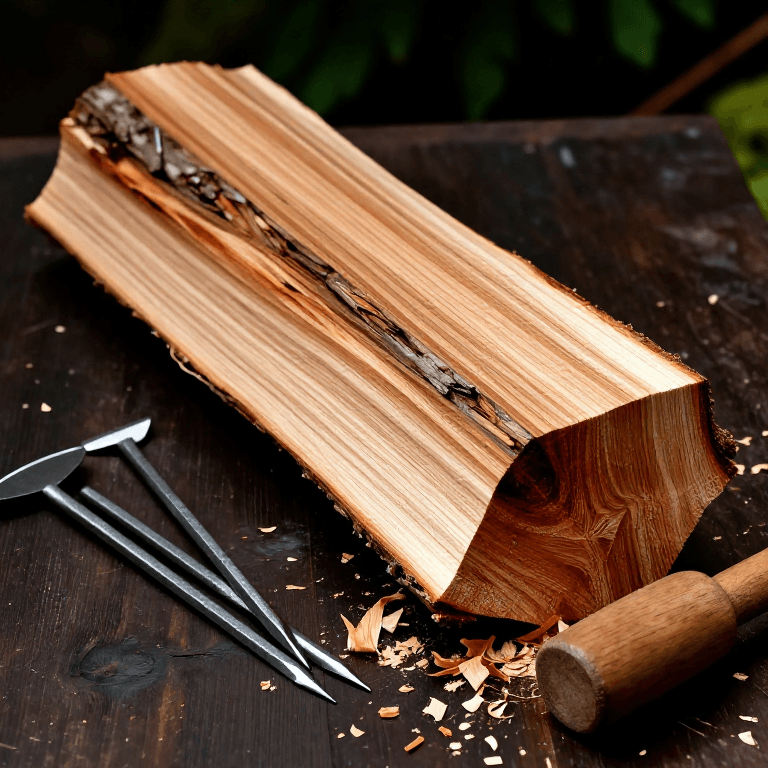
Dieser Bauplan stellt her




Verwandte Blueprints
Diese Blueprints teilen Wissen — Techniken, Materialien oder Prinzipien
CC0 Gemeinfrei
Dieser Blueprint ist unter CC0 veröffentlicht. Sie dürfen dieses Werk für jeden Zweck frei kopieren, ändern, verbreiten und verwenden, ohne um Erlaubnis zu fragen.
Unterstützen Sie den Maker, indem Sie Produkte über seinen Blueprint kaufen, wo er eine Maker-Provision von Anbietern festgelegt, verdient. Oder erstellen Sie eine neue Iteration dieses Blueprints und verbinden Sie ihn in Ihrem eigenen Blueprint, um Einnahmen zu teilen.