KUNST
SCHÖNHEIT & WELLNESS
HANDWERK
KULTUR & GESCHICHTE
UNTERHALTUNG
UMFELD
ESSEN & GETRÄNKE
REVERSE ENGINEERING
WISSENSCHAFTEN
SPORT
TECHNOLOGIE
WEARABLES
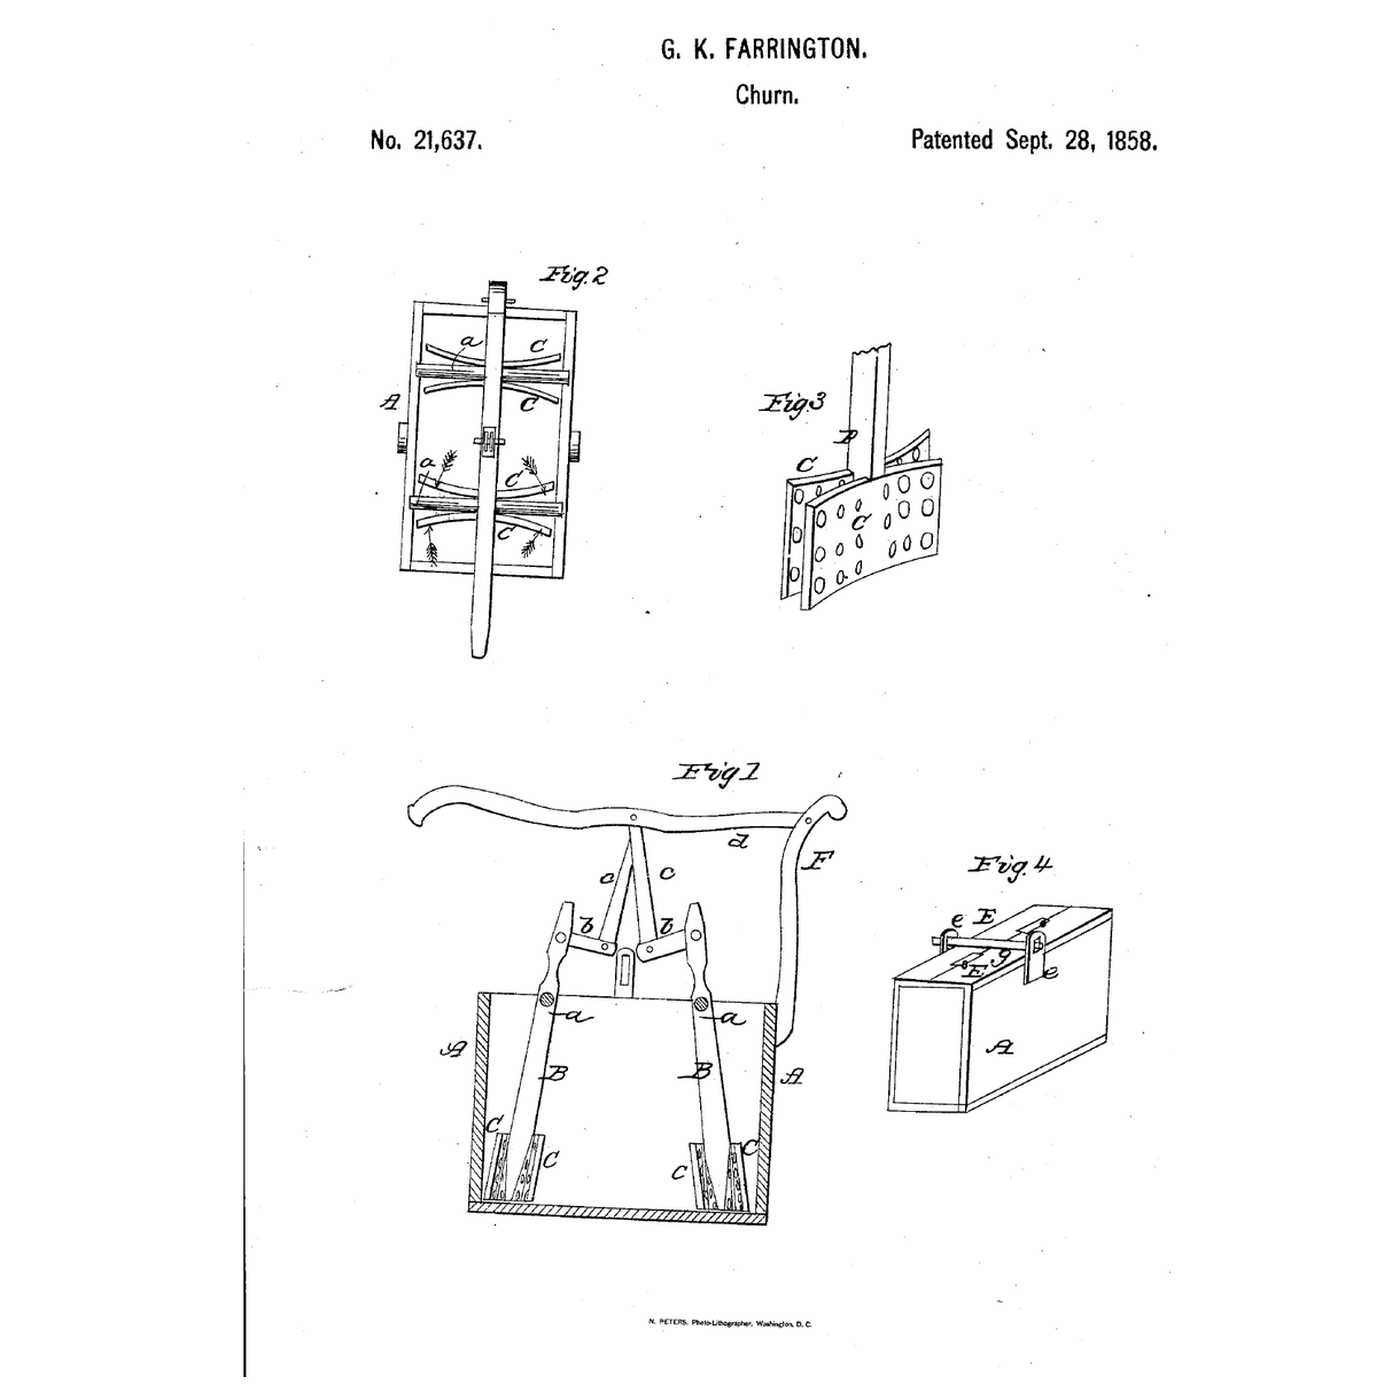


Concavo-Convex Swing-Dasher Churn: One Lever Swings Two Curved, Pierced Double Dashers
George K. Farrington of Xenia, Ohio, received US 21,637, dated 28 September 1858, for a churn of two swinging bearers, each carrying a double dasher of two curved plates fixed back to back and pierced straight through, worked to and fro by one lever, so the cream crosses the box and breaks on the holes' sharp edges.
This rung prints the bearers, dashers and fittings at tabletop scale, in a storage container.
Fortgeschritten
About 4 hours, plus printing
Anweisungen
1
1
The dashers' curve and swing
The dashers' curve and swing
Jupyter-Notebook wird geladen …
2
2
Lever-worked double dashers, before it
Lever-worked double dashers, before it
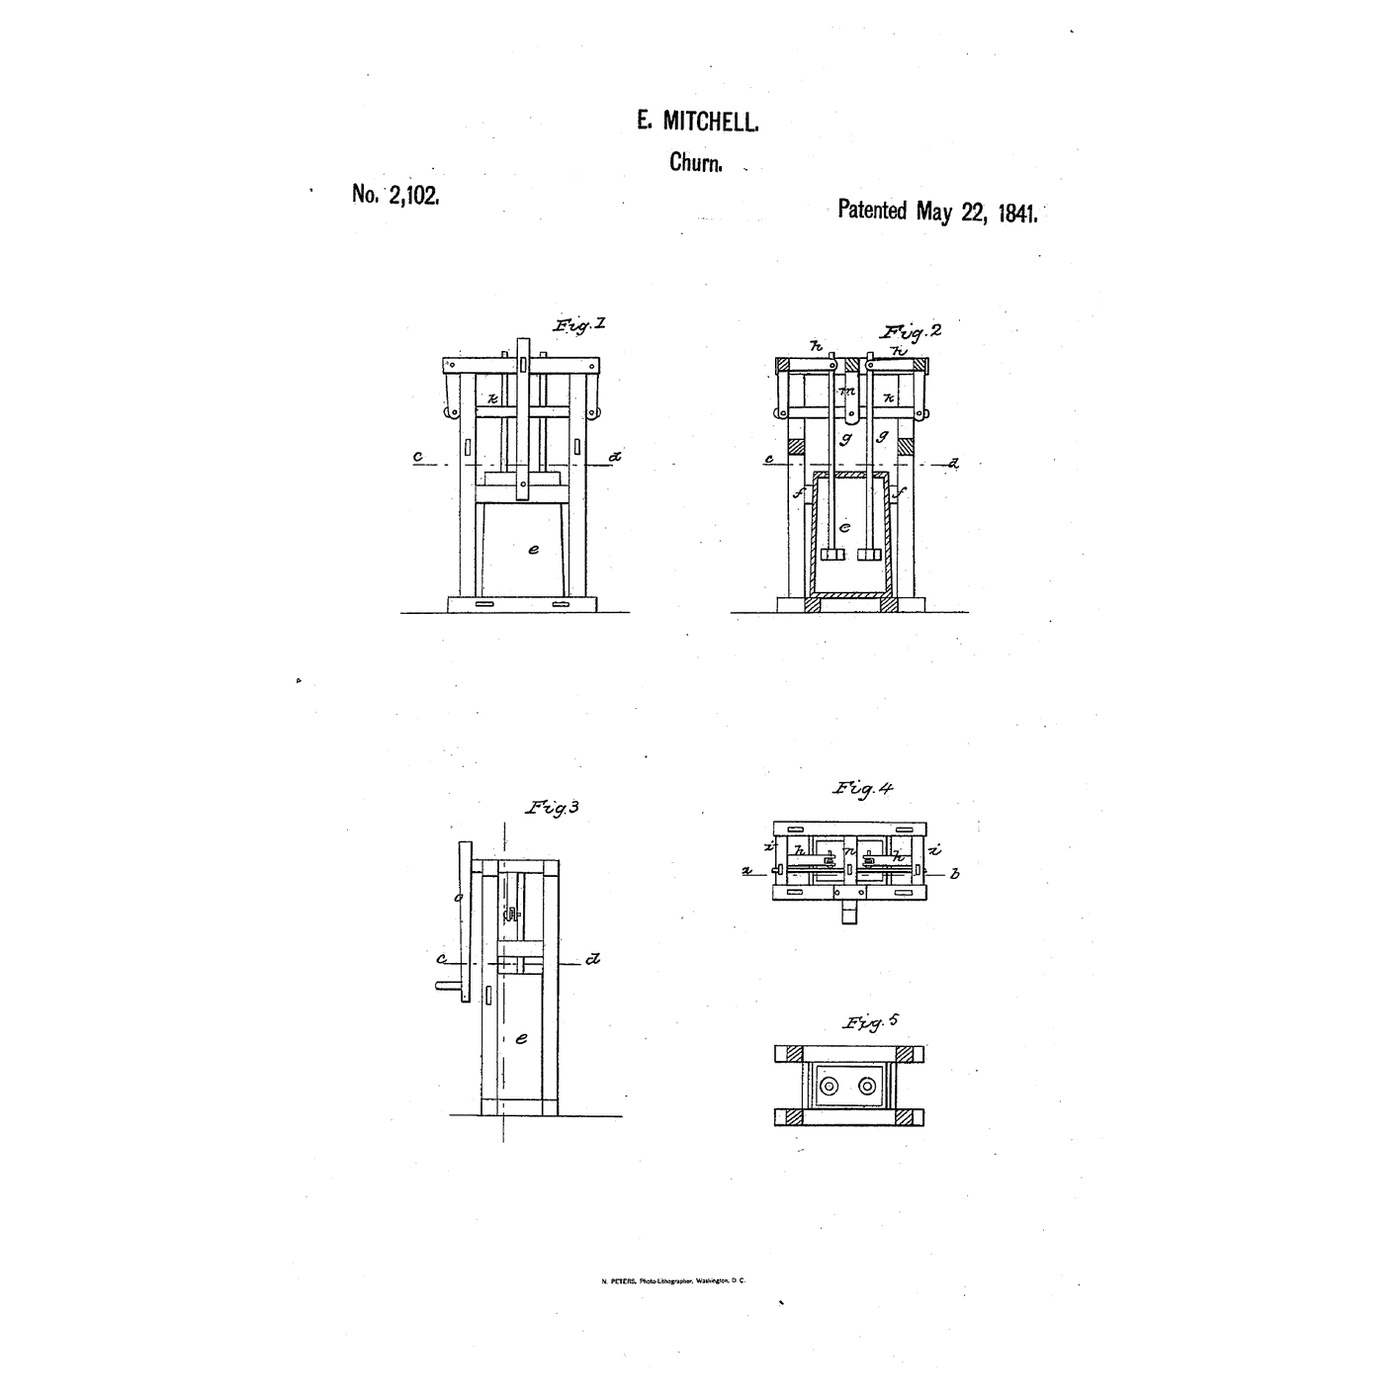
Those dashers rose and fell; Farrington's swing to and fro, through curved plates pierced straight through.
3
3
Read US 21,637
Read US 21,637
"The cream is thus made to move backward and forward in the box and must in passing from one side to the other (a greater portion of it) pass through the holes in the dashers in a zigzag manner, breaking constantly on the sharp edges of the holes in the dasher which set at angles to each other…"
4
4
Print the parts
Print the parts
Print two bearers, two dashers standing, two top pieces, two side pieces and two bars. The top pieces need a 220 mm print bed. Print in PETG at 0.2 mm layers, 30 % infill, 4 walls; wash before first use.
Materialien für diesen Schritt:
 PETG-Filament1 Stück
Benötigte Werkzeuge:
 FDM-3D-Drucker
5
5
Print the bearer
Print the bearer
The bearer, printed as step 4 describes.
6
6
Print the dasher
Print the dasher
The dasher, printed as step 4 describes.
7
7
Print the top piece
Print the top piece
The top piece, printed as step 4 describes.
8
8
Print the side piece
Print the side piece
The side piece, printed as step 4 describes.
9
9
Print the bars
10
10
Bearers and dashers
Bearers and dashers
Use a container about 280 by 190 mm inside and 170 mm deep. Drill 10.5 mm holes through both long sides, 70 mm each side of the middle and 140 mm above the floor. Screw a dasher onto each bearer's foot with two M3 screws, the arms pointing inward, and hang each bearer on a 10 mm dowel 212 mm long through the container's sides.
Materialien für diesen Schritt:
 Vorratsbehälter in Lebensmittelqualität1 Stück
 Hartholzdübel1 Stück
 Maschinenschrauben1 Stück
Benötigte Werkzeuge:
 Akkubohrschrauber
 Handsäge
 Schleifpapier
 Schraubendreher-Satz
11
11
Top, lever and bars
Top, lever and bars
Bolt a side piece to each end of the container with two M4 screws. Lay the top pieces across the rim, the bearers through their slots, and push a 10 mm dowel 310 mm long through the side pieces over them as the bar g. Cut a pine upright 18 by 30 mm and 272 mm tall and bolt it to one end; pin a pine lever 18 mm square and 364 mm long to its top with an M6 screw. Join the lever's middle to each bearer's arm with a bar, M6 screws and lock nuts at every joint.
Materialien für diesen Schritt:
 Kiefernbrett1 StückHartholzdübel1 StückMaschinenschrauben1 Stück
 Sicherungsmutter mit Kunststoffeinsatz1 Stück
 Unterlegscheibe1 Stück
Benötigte Werkzeuge:
HandsägeAkkubohrschrauberSchraubendreher-Satz12
12
The build in 3D
The build in 3D
FreeCAD model of this build: the container with its near wall left off, the two bearers on their shafts with the double curved dashers at their feet, the top pieces and bar, the upright and lever, and the bars from the lever's middle to the bearers' arms.
13
13
Churn
Churn
Pour in 2 litres of heavy cream at about 15 °C, checked with the thermometer, and set the top on. Work the lever up and down steadily and time it with the stopwatch: the dashers swing to and fro and the cream crosses through their holes. When the butter comes, lift the top and bearers out, pour off the buttermilk, wash the butter in cold water until it runs clear, work in a pinch of salt and weigh it.
Materialien für diesen Schritt:
 Schlagsahne2 l
 Grobes Meersalz1 Stück
 Wasser1 Stück
Benötigte Werkzeuge:
 Einsteck-Fühlerthermometer
 Stoppuhr
 Digitale Küchenwaage
 Große Rührschüssel aus Edelstahl
14
14
Troubleshooting
Troubleshooting
Swing-dasher churn troubleshooting.
Flow
Loading...
15
15
History and honest limits
History and honest limits
**George K. Farrington** of Xenia, Greene County, Ohio, US 21,637, 28 September 1858, assigned to D. B. Tiffany of Xenia. His connecting bars were pinned to the lever's middle so they could follow the bearers' swing, and the top bore on the shafts and kept them in place. He claimed the double concavo-convex dashers, made and worked as described. Our container, sizes and printed parts are ours. FDM prints hold food in their layer lines, so wash well and replace when worn.
Materialien
10- 1 StückPlatzhalter
- Platzhalter
- 1 StückPlatzhalter
- 2 StückPlatzhalter
- 1 StückPlatzhalter
- Platzhalter
- 1 StückPlatzhalter
- 2 lPlatzhalter
- 1 StückPlatzhalter
- 1 StückPlatzhalter
Benötigte Werkzeuge
9- Platzhalter
- 1 vendor sell this, none ship to you yetPlatzhalter
- Platzhalter
- Platzhalter
- Platzhalter
- Platzhalter
- Platzhalter
- Platzhalter
- Platzhalter
Designdateien
6Dieser Bauplan stellt her

Verwandte Blueprints
Diese Blueprints teilen Wissen — Techniken, Materialien oder Prinzipien



CC0 Gemeinfrei
Dieser Blueprint ist unter CC0 veröffentlicht. Sie dürfen dieses Werk für jeden Zweck frei kopieren, ändern, verbreiten und verwenden, ohne um Erlaubnis zu fragen.
Unterstützen Sie den Maker, indem Sie Produkte über seinen Blueprint kaufen, wo er eine Maker-Provision von Anbietern festgelegt, verdient. Oder erstellen Sie eine neue Iteration dieses Blueprints und verbinden Sie ihn in Ihrem eigenen Blueprint, um Einnahmen zu teilen.