Zusammenarbeit
KUNST
SCHÖNHEIT & WELLNESS
HANDWERK
KULTUR & GESCHICHTE
UNTERHALTUNG
UMFELD
ESSEN & GETRÄNKE
REVERSE ENGINEERING
WISSENSCHAFTEN
SPORT
TECHNOLOGIE
WEARABLES
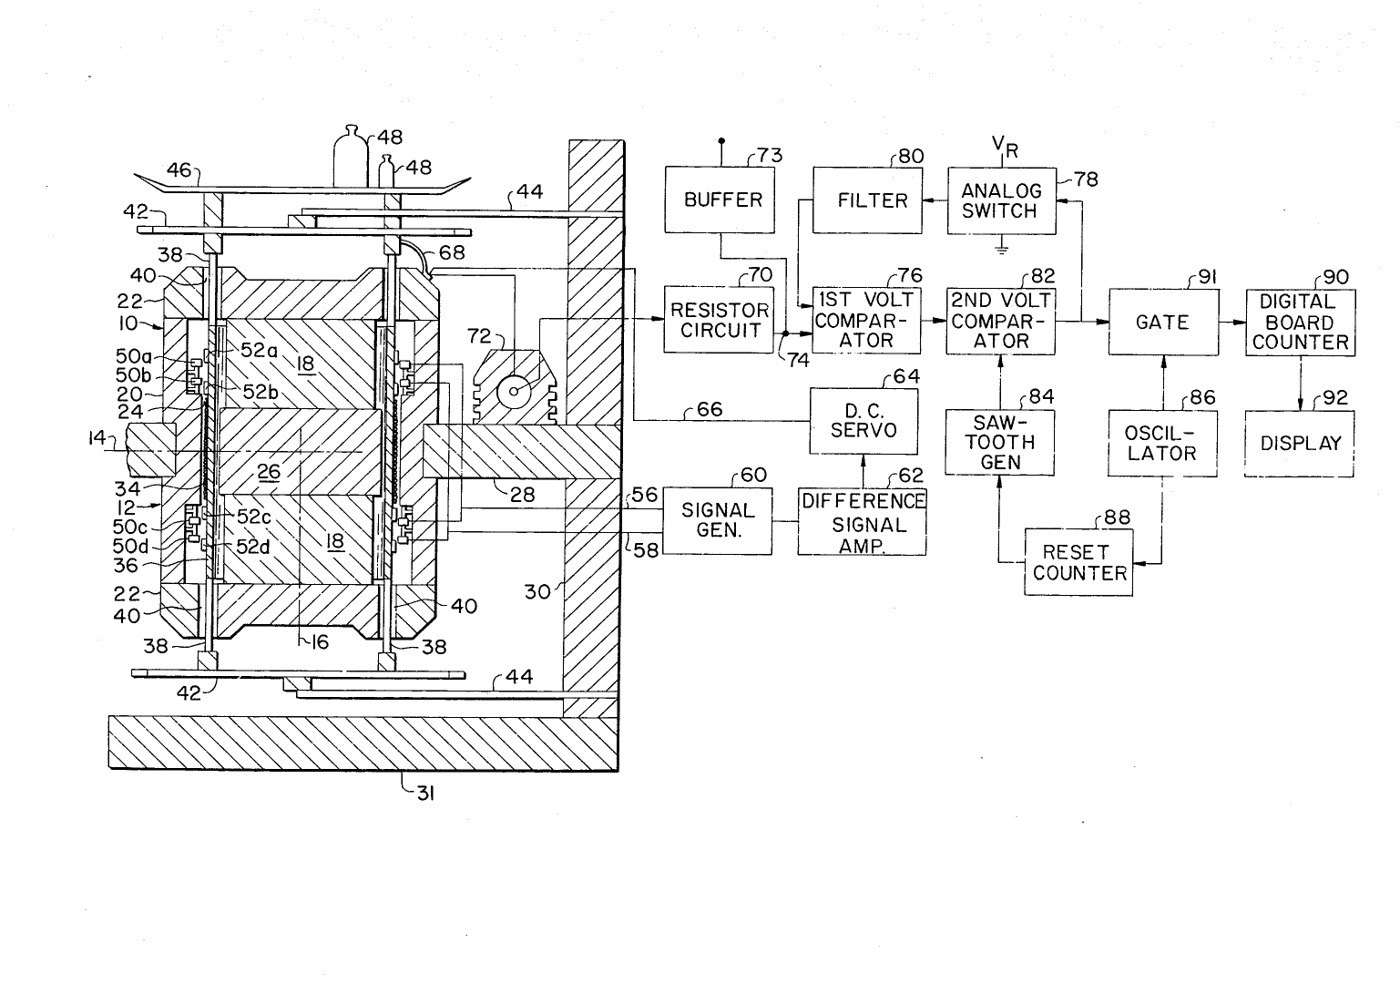


Electronic Analytical Balance: a Coil Current in Place of Weights (Akers et al., 1977)
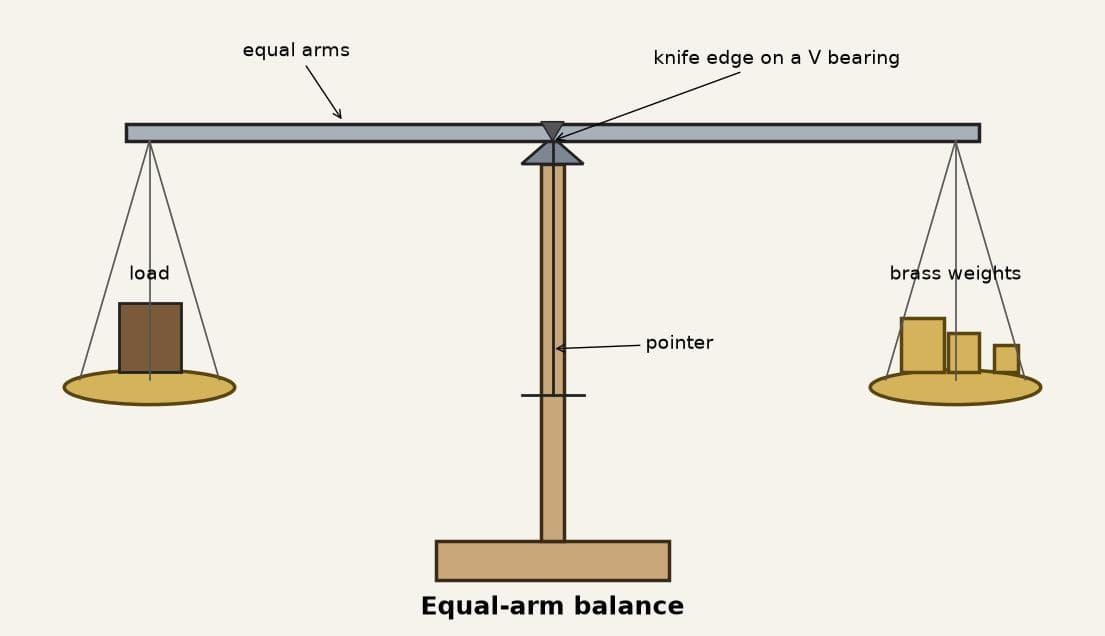
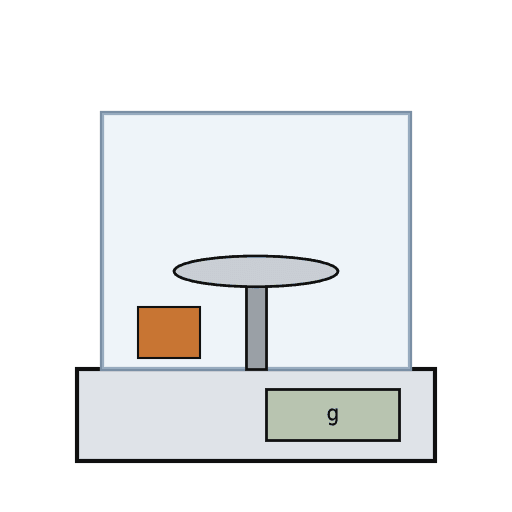
The equal-arm balance with its weights replaced by electricity. The pan sits on a coil in the gap of a permanent magnet. A load pushes it down; capacitor rings sense the smallest movement, and a servo drives just enough current through the coil to lift it back to its rest position. That current is the weight.
Result: a balance that reads the weight in grams or ounces on a digital display, with no weights to handle, and tare by its circuit.
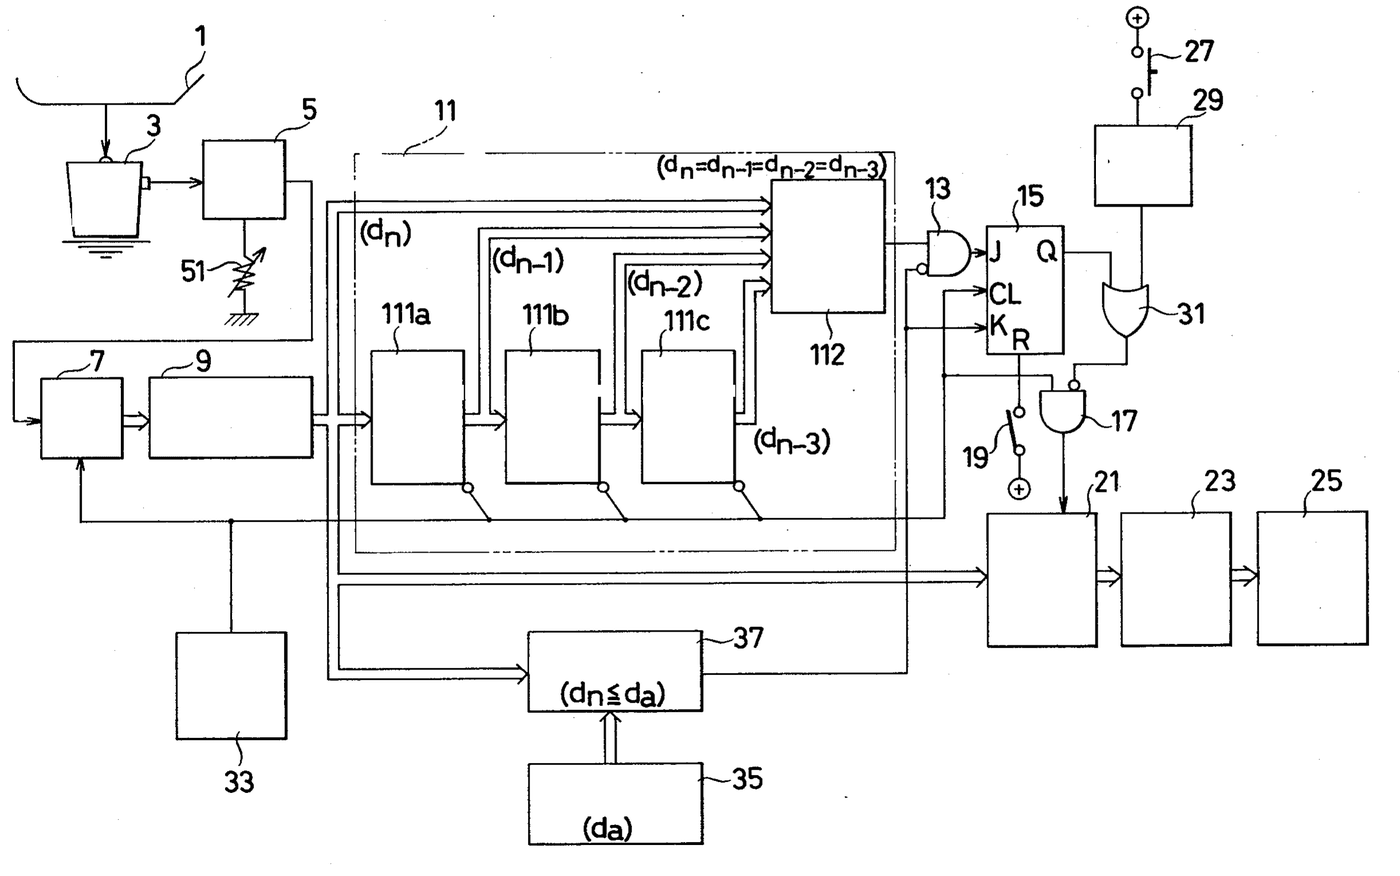
Source: C. B. Akers and others (Arbor Laboratories), US Patent 4,034,819 (1977). Unknown: the resolution, capacity, magnet type, materials and sizes; the circuits are given as blocks only. Picture: patent drawing.
Erfahren
2 weeks
Anweisungen
1
1
Build the magnet circuit
Build the magnet circuit
Stack permanent magnets into a column with a soft iron core. Enclose them in an annular outer housing with end caps, shaped so the field crosses a narrow annular air gap at a constriction. Keep the whole structure symmetrical about its vertical axis. Mount it on a support plate fixed to an upright, such as a housing panel on a base. Not given: the magnet type, materials and sizes.
Materialien für diesen Schritt:
 Kleiner Magnet1 column
 Eisenstab1 soft iron core
 Unbekanntes Metall1 housing and end caps
 Unbekanntes Material1 support plate, panel, base
Benötigte Werkzeuge:
 Schraubendreher-Satz
 Unbekannte Maße
2
2
Hang the coil in the gap
Hang the coil in the gap
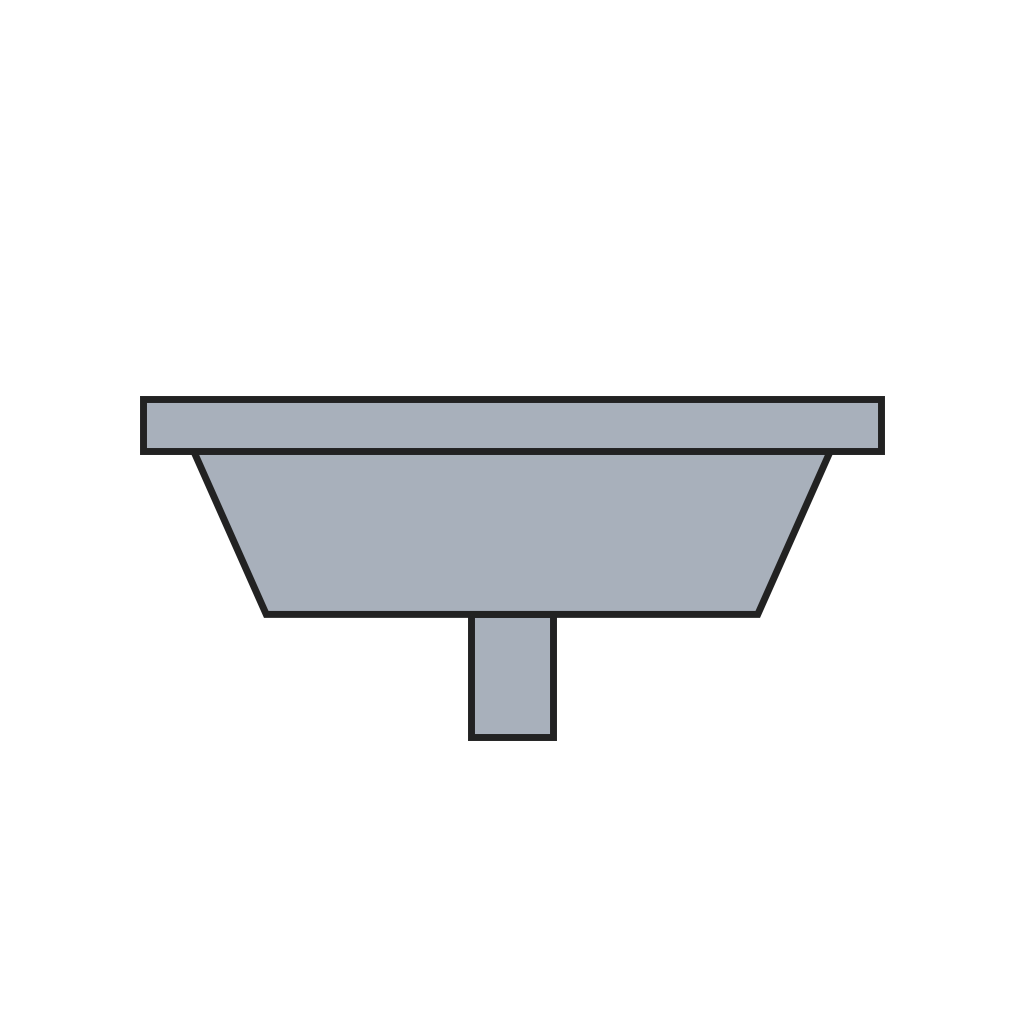
Wind the coil tightly round the middle of a light bobbin that surrounds the core, the coil sitting in the air gap. Tabs at both ends of the bobbin pass out through holes in the end caps to suspension frames. Hang the frames from thin springy cantilevers fixed to the upright, so the bobbin can only move a short way straight up and down. Keep the bobbin and its suspension as light as possible. Put the weighing pan on top. Ours: enamelled wire.
Materialien für diesen Schritt:
 Lackierter Kupferdraht1 coilUnbekanntes Material1 bobbin, frames, cantilevers
 Wiegeschale1 Stück
Benötigte Werkzeuge:
Unbekannte Maße3
3
Fit the capacitor rings
Fit the capacitor rings
Mount four capacitor rings inside the outer housing, two above and two below the air gap, facing matching rings on the bobbin. Cross-connect them so a tilt of the bobbin cancels out and only up-and-down movement shows. Connect them to a signal generator: as the bobbin moves, one set's capacitance rises and the other's falls, and the difference becomes the control voltage.
Materialien für diesen Schritt:
Unbekanntes Metall1 rings Integrierter Schaltkreis1 sensing circuit
 Schaltdraht1 Stück
 Lötdraht1 a little
Benötigte Werkzeuge:
 Lötkolben
4
4
Close the servo loop and read the current
Close the servo loop and read the current
Feed the control voltage to a d.c. servo that drives current through the coil, through a flexible lead, until the bobbin is back at its rest position. Pass that current through a large stable resistor, a thermal resistor that corrects for temperature and a calibration potentiometer: the voltage across them stands for the weight. A separate circuit (comparators, saw-tooth generator, oscillator and counter) turns it into a count read out as grams or ounces. Tare is ordinary circuit logic. Ours: a segment LCD; check with calibration weights.
Materialien für diesen Schritt:
Integrierter Schaltkreis1 servo and counting circuits Widerstand2 stable resistor, thermal resistor
 Potentiometer1 calibration
 Segment-LCD1 displayLötdraht1 a little
Benötigte Werkzeuge:
Lötkolben Kalibriergewichtssatz
Materialien
12- 1 columnPlatzhalter
- 1 soft iron corePlatzhalter
- 1 ringsPlatzhalter
- 1 bobbin, frames, cantileversPlatzhalter
- 1 coilPlatzhalter
- 1 StückPlatzhalter
- 1 servo and counting circuitsPlatzhalter
- 1 StückPlatzhalter
- 2 a littlePlatzhalter
- 2 stable resistor, thermal resistorPlatzhalter
- Platzhalter
- 1 displayPlatzhalter
Materialien verbundener Blueprints
Dieser Bauplan stellt her
Verwandte Blueprints
Diese Blueprints teilen Wissen — Techniken, Materialien oder Prinzipien
CC0 Gemeinfrei
Dieser Blueprint ist unter CC0 veröffentlicht. Sie dürfen dieses Werk für jeden Zweck frei kopieren, ändern, verbreiten und verwenden, ohne um Erlaubnis zu fragen.
Unterstützen Sie den Maker, indem Sie Produkte über seinen Blueprint kaufen, wo er eine Maker-Provision von Anbietern festgelegt, verdient. Oder erstellen Sie eine neue Iteration dieses Blueprints und verbinden Sie ihn in Ihrem eigenen Blueprint, um Einnahmen zu teilen.