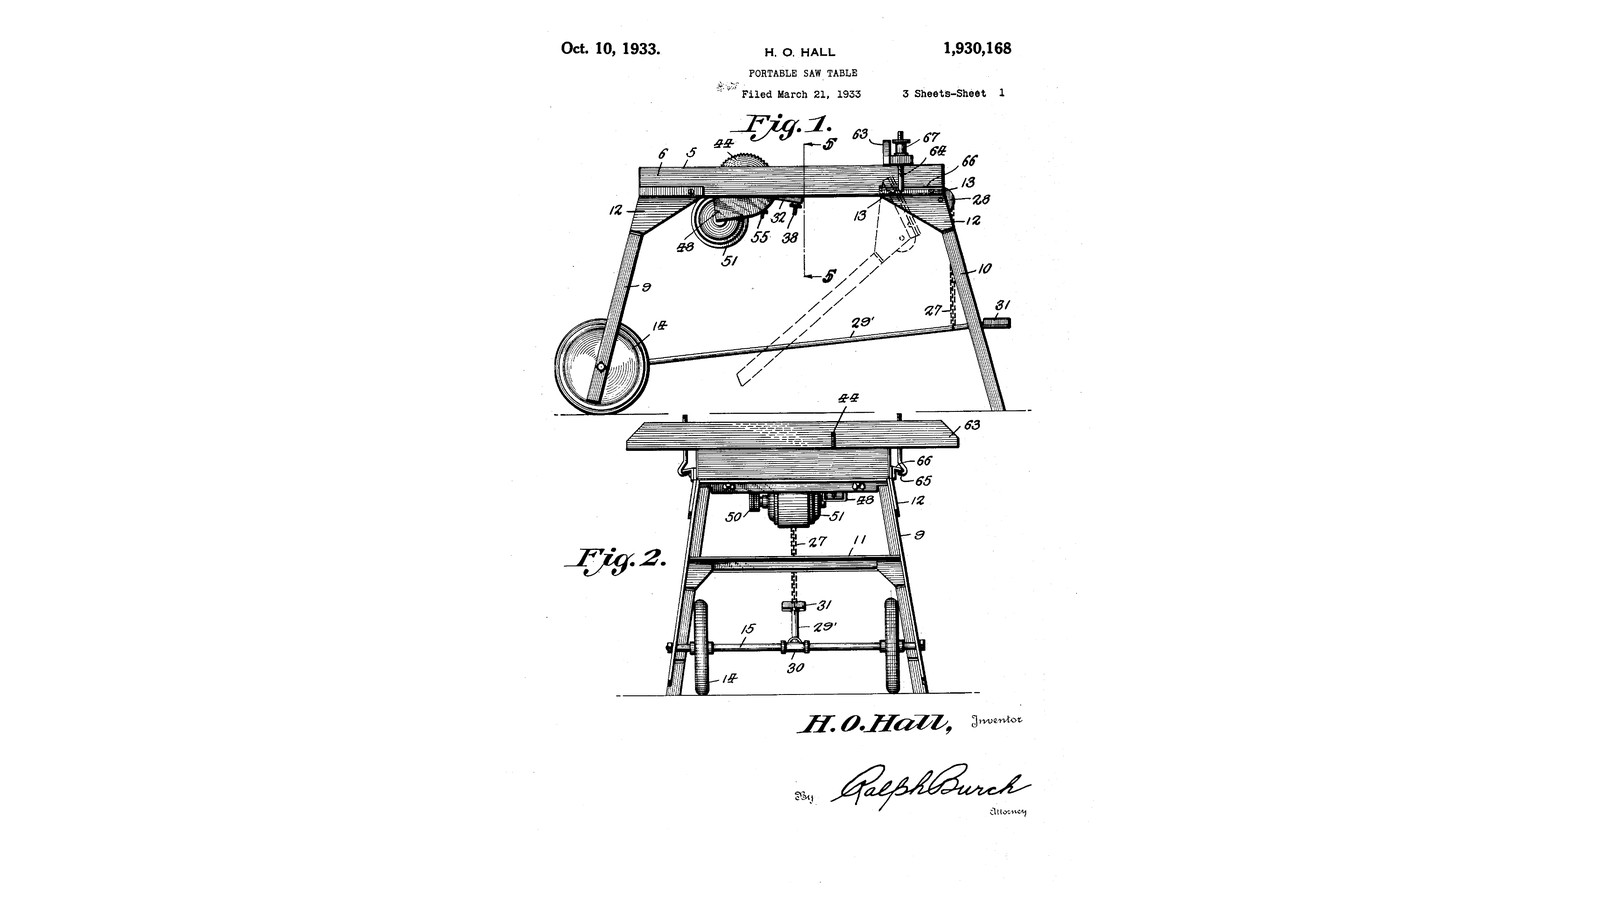

Foot-Fed Carriage Saw Table: The Saw Rides on Balls Under the Table, a Foot Lever Pulls It Through the Work (Hall, 1933)
Anweisungen
The foot lever, the travel and the cut
The foot lever, the travel and the cut
Read US 1,930,168
Read US 1,930,168
Table and legs
Table and legs
Materialien für diesen Schritt:
 Sperrholzplatte1 Stück
 Kiefernholz6 Stück
 Rundstahl aus Baustahl1 Stück
 Gummiradsatz1 Stück
 Schlossschraube8 Stück
 Holzschrauben40 Stück
 Holzleim1 Stück
Benötigte Werkzeuge:
 Stichsäge
 Akkubohrschrauber
 Bohrersatz
 Schraubzwinge mit Schiebebügel
 Kombinationswinkel
 Bandmaß (Rollmeter)
Tracks and carriage
Tracks and carriage
Materialien für diesen Schritt:
Kiefernholz1 Stück Winkelstahl aus Baustahl2 Stück
 Sechskantschrauben-Sortiment12 Stück
 Gewindestange1 Stück
 Sechskantmutter8 Stück
 Baustahl-Flachstahl1 Stück
 Kugellager1 Stück
 Zugfeder2 StückHolzschrauben16 Stück
Benötigte Werkzeuge:
 Bügelsäge (Metallsäge)
 Winkelschleifer
 StandbohrmaschineBohrersatz
 Feilensatz
 Schraubstock
 Rollgabelschlüssel
 Schutzbrille
Foot lever and chain
Foot lever and chain
Materialien für diesen Schritt:
 Hartholzbrett1 Stück
 Rolle1 StückRundstahl aus Baustahl1 Stück
 Rollenkette1 StückSechskantschrauben-Sortiment3 Stück
Benötigte Werkzeuge:
StichsägeAkkubohrschrauberBohrersatzBügelsäge (Metallsäge)RollgabelschlüsselSaw frame, arbor and shield
Saw frame, arbor and shield
Materialien für diesen Schritt:
Winkelstahl aus Baustahl1 StückRundstahl aus Baustahl2 Stück Madenschraube mit Ringschneide4 StückGewindestange1 StückSechskantmutter4 Stück
 Flanschlager2 Stück
 Circular Saw Blade Set1 Stück
 Keilriemenscheibe (Profil A)1 Stück
 Baustahlblech1 StückSechskantschrauben-Sortiment10 Stück
Benötigte Werkzeuge:
Bügelsäge (Metallsäge)WinkelschleiferStandbohrmaschineBohrersatz Gewindeschneidsatz
 Windeisen
 Metalldrehmaschine
 Dreibackenfutter für die Drehmaschine
 Drehmeißel
 Digitaler Messschieber 6 Zoll
 BlechschereSchraubstockRollgabelschlüssel
 Innensechskant-Schlüsselsatz
Motor frame
Motor frame
Materialien für diesen Schritt:
Winkelstahl aus Baustahl1 Stück Elektromotor1 StückKeilriemenscheibe (Profil A)1 Stück
 Keilriemen (Profil A)1 StückRundstahl aus Baustahl1 StückGewindestange1 Stück
 Coil Spring1 Stück
 Unterlegscheibe2 StückSechskantmutter2 StückSechskantschrauben-Sortiment6 Stück
 Ein-/Ausschalter1 Stück
Benötigte Werkzeuge:
Bügelsäge (Metallsäge)StandbohrmaschineBohrersatzRollgabelschlüsselInnensechskant-SchlüsselsatzFence and first cut
Fence and first cut
Materialien für diesen Schritt:
Hartholzbrett1 StückGewindestange1 StückSechskantmutter2 StückBaustahl-Flachstahl1 StückHolzschrauben8 StückBenötigte Werkzeuge:
StichsägeAkkubohrschrauberBohrersatzKombinationswinkelSchutzbrille Gehörschutz (Kapselgehörschutz, SNR 30 dB)
Troubleshooting
Troubleshooting
Flow
History and honest limits
History and honest limits
Materialien
27- 1 StückPlatzhalter
- 6 StückPlatzhalter
- 2 StückPlatzhalter
- 1 StückPlatzhalter
- 8 StückPlatzhalter
- 64 StückPlatzhalter
- 1 StückPlatzhalter
- 2 StückPlatzhalter
- 31 StückPlatzhalter
- 1 StückPlatzhalter
- 16 StückPlatzhalter
- 1 StückPlatzhalter
- 1 StückPlatzhalter
- 2 StückPlatzhalter
- 1 StückPlatzhalter
- 1 StückPlatzhalter
- 1 StückPlatzhalter
- Platzhalter
- 2 StückPlatzhalter
- 1 StückPlatzhalter
- 1 StückPlatzhalter
- 1 StückPlatzhalter
- 1 StückPlatzhalter
- 1 StückPlatzhalter
- 1 StückPlatzhalter
- 2 StückPlatzhalter
- 1 StückPlatzhalter
Benötigte Werkzeuge
22- 1 vendor sell this, none ship to you yetPlatzhalter
- 1 vendor sell this, none ship to you yetPlatzhalter
- Platzhalter
- Platzhalter
- Platzhalter
- 1 vendor sell this, none ship to you yetPlatzhalter
- Platzhalter
- 1 vendor sell this, none ship to you yetPlatzhalter
- Platzhalter
- Platzhalter
- Platzhalter
- Platzhalter
- Platzhalter
- Platzhalter
- Platzhalter
- Platzhalter
- Platzhalter
- Platzhalter
- Platzhalter
- Platzhalter
- Platzhalter
- Platzhalter
Dieser Bauplan stellt her

Verwandte Blueprints
Diese Blueprints teilen Wissen — Techniken, Materialien oder Prinzipien
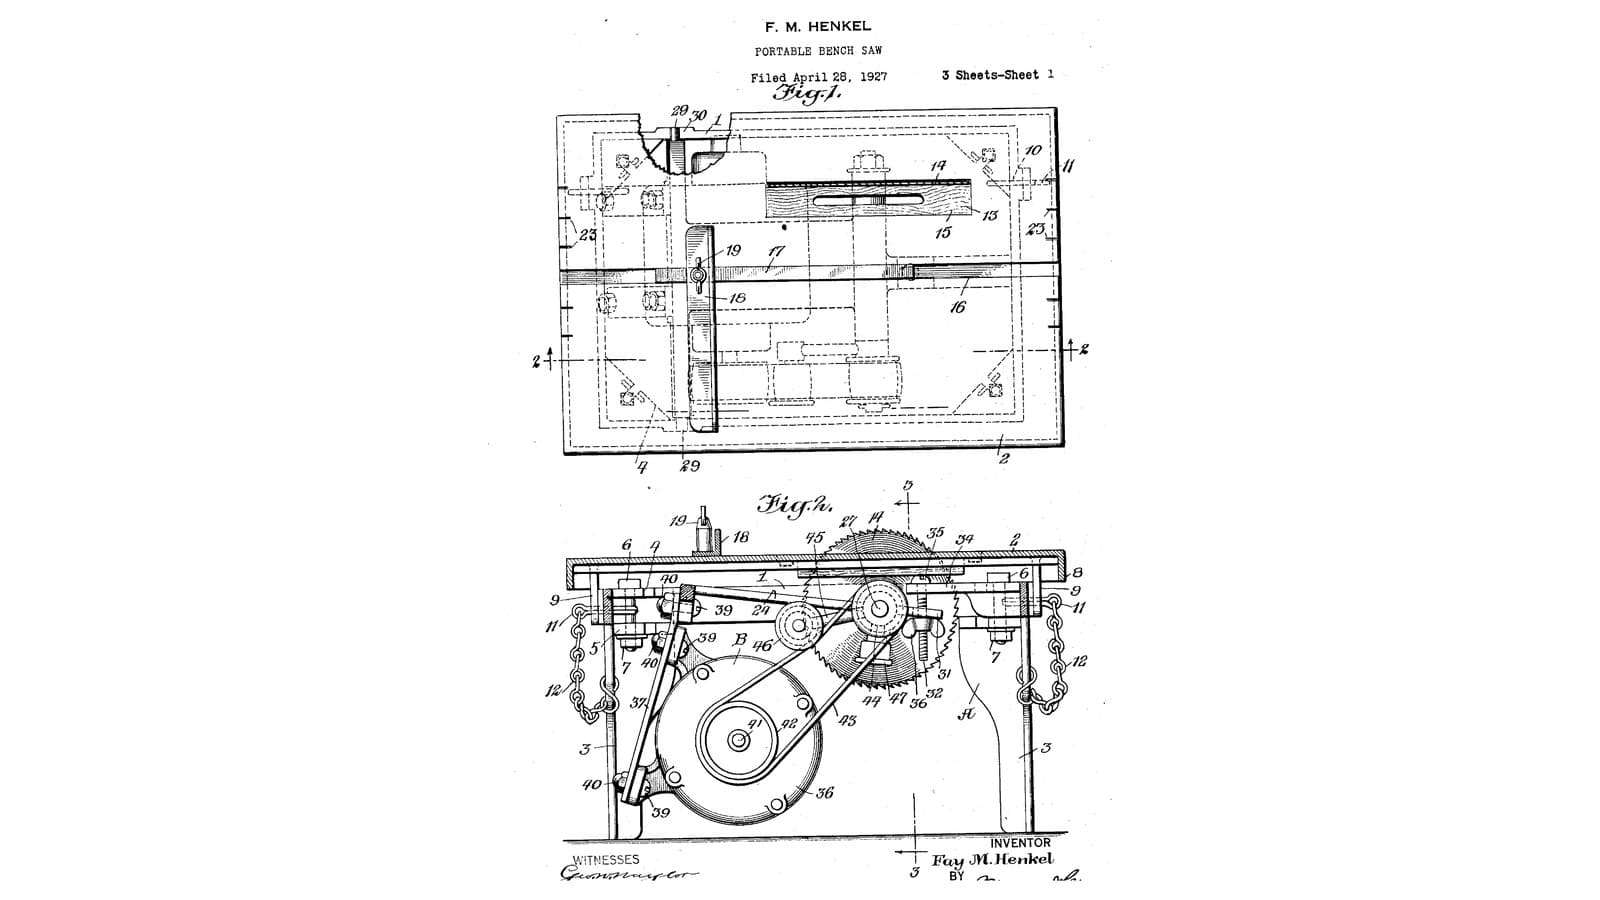
Portable Bench Saw: A Lift-Out Power Unit on Trunnions, Its Motor on Spring Bars, Under a Tilting Platform (Henkel, 1928)
von Forge
Holzbearbeitung
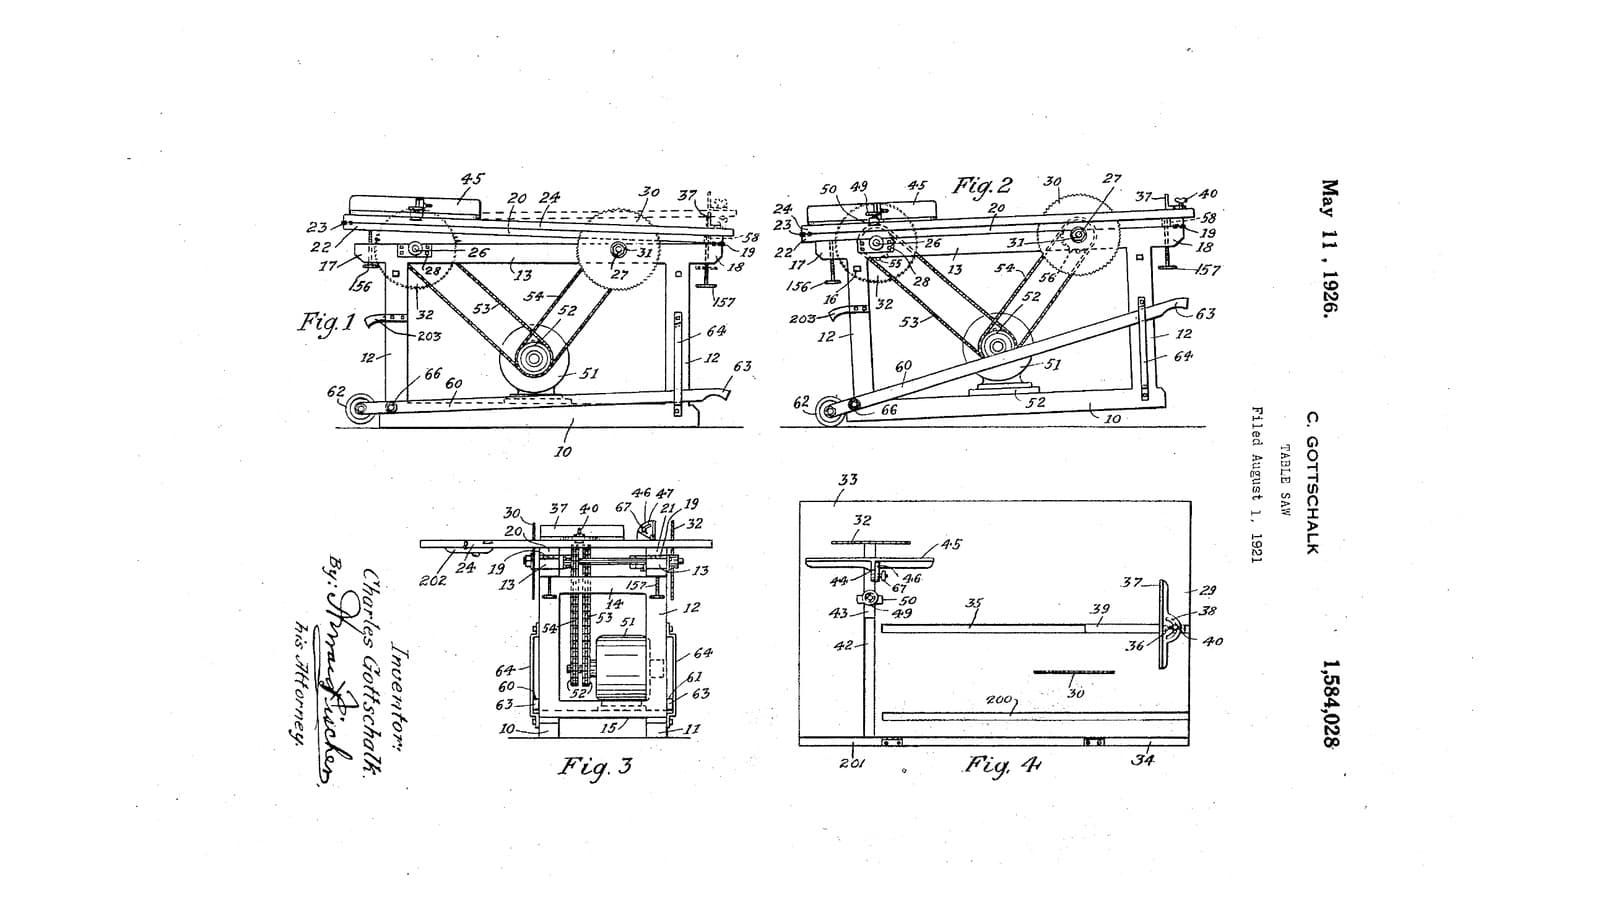
Twin-Saw Table: A Rip Saw and a Crosscut Saw at Opposite Corners, One Motor, Each Depth Set by Tilting the Top (Gottschalk, 1926)
von Forge
Holzbearbeitung
CC0 Gemeinfrei
Dieser Blueprint ist unter CC0 veröffentlicht. Sie dürfen dieses Werk für jeden Zweck frei kopieren, ändern, verbreiten und verwenden, ohne um Erlaubnis zu fragen.
Unterstützen Sie den Maker, indem Sie Produkte über seinen Blueprint kaufen, wo er eine Maker-Provision von Anbietern festgelegt, verdient. Oder erstellen Sie eine neue Iteration dieses Blueprints und verbinden Sie ihn in Ihrem eigenen Blueprint, um Einnahmen zu teilen.