
Zusammenarbeit
KUNST
SCHÖNHEIT & WELLNESS
HANDWERK
KULTUR & GESCHICHTE
UNTERHALTUNG
UMFELD
ESSEN & GETRÄNKE
REVERSE ENGINEERING
WISSENSCHAFTEN
SPORT
TECHNOLOGIE
WEARABLES
Newmarket Head Collar: Stable Halter With Squared Stays, Noseband, Cheeks and Throat Lash (Hasluck, Saddlery, 1904)
Tex

Erstellt von

Tex

13. November 2026FO
2
0
0
0
0

Newmarket Head Collar: Stable Halter With Squared Stays, Noseband, Cheeks and Throat Lash (Hasluck, Saddlery, 1904)

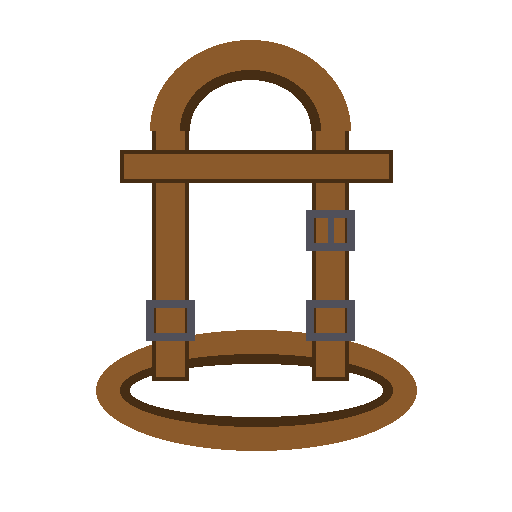
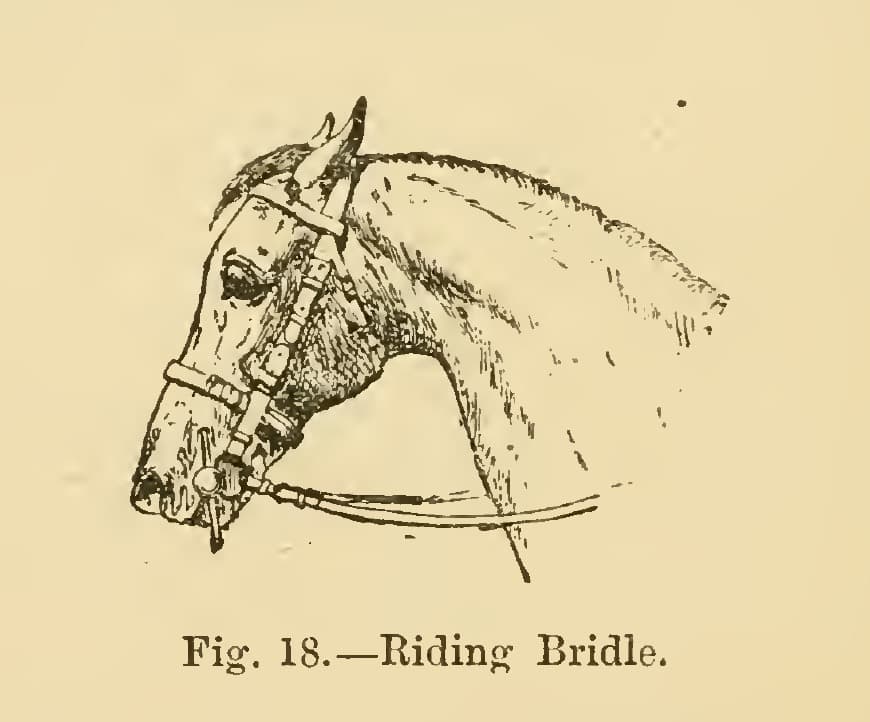
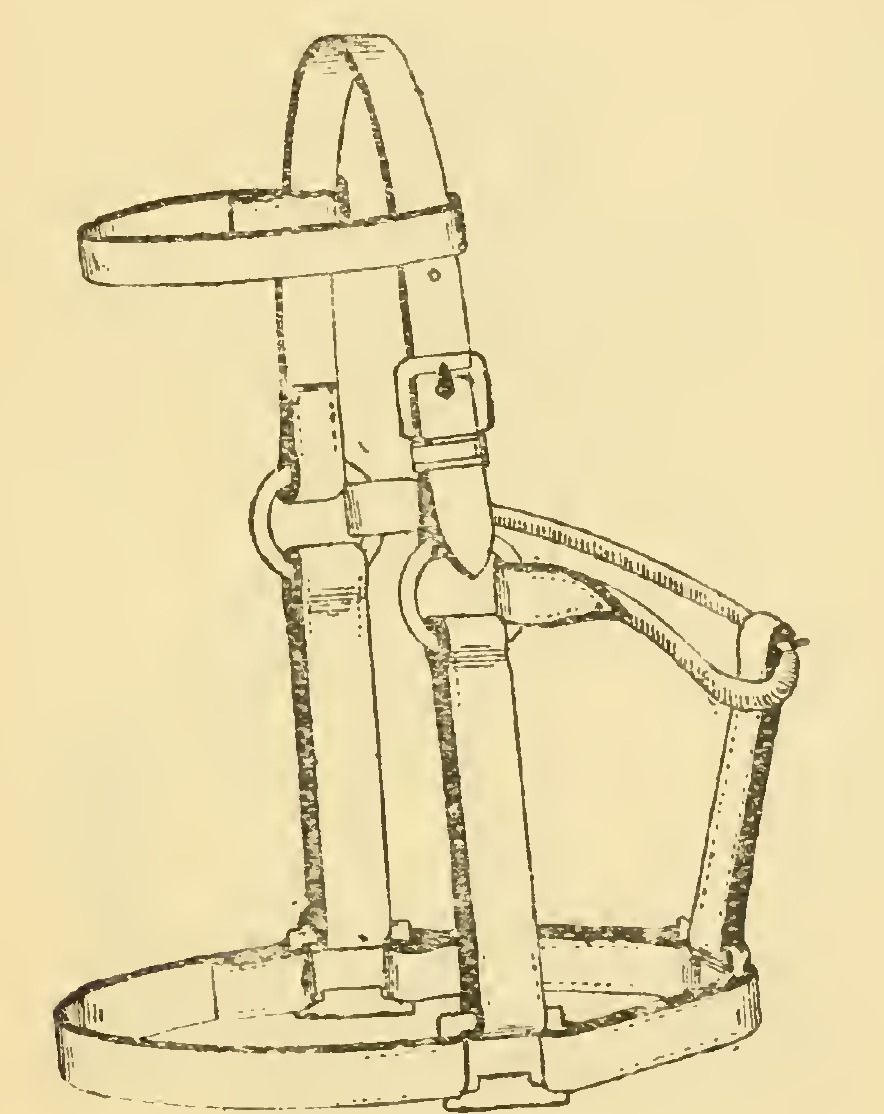
A head collar, also called a headstall or stable collar, ties a horse up in the stable. This is the Newmarket pattern from Paul N. Hasluck's Saddlery (1904): two short stays carrying three stop squares, a noseband, two cheeks, an upward stay, a forehead band, a top strap and a throat lash. Every size is his. It has no bit; the rein is fastened to the centre square.
Fortgeschritten
About 1 day

Anweisungen

1

Cutting list

Jupyter-Notebook wird geladen …
2

Read Saddlery, ch. VIII

"Head collars, also called headstalls and stable collars, are made in various ways, and one of the most useful styles will be described in this chapter."
3

Make the short stays

Cut two short straps 1 ft by 1-1/4 in and turn them in to 5 in long, leaving 1 in or a little more for overlap. Shave the ends and prick them eight to the inch. Put one square in the centre between them and one in each end, with the stops on the same side. Lay a strip of leather along the centre of each to raise the stay, then stitch with beeswaxed three-cord hemp thread, with a strong cross-stitch at the end of each line.

Materialien für diesen Schritt:

GeschirrlederGeschirrleder1 Stück
HalfterviereckHalfterviereck3 Stück
HanfschnurHanfschnur1 Stück
BienenwachsBienenwachs1 Stück

Benötigte Werkzeuge:

LedermesserLedermesser
Pricking-EisenPricking-Eisen
AhleAhle
Zwei SattlernadelnZwei Sattlernadeln
NähkluppeNähkluppe
Bandmaß (Rollmeter)Bandmaß (Rollmeter)
4

Make the noseband

Cut the noseband 1 ft 3 in long when turned down. Prepare it and put one end, forming a chape, in each of the end squares of the short stays. Stitch two rows along the edges of the turn-down and trim the ends neatly.

Materialien für diesen Schritt:

GeschirrlederGeschirrleder1 Stück
HanfschnurHanfschnur1 Stück
BienenwachsBienenwachs1 Stück

Benötigte Werkzeuge:

LedermesserLedermesser
Pricking-EisenPricking-Eisen
AhleAhle
Zwei SattlernadelnZwei Sattlernadeln
5

Make the cheeks

Cut a pair of cheeks 1-1/4 in by 8 in when bent in both ends. Prepare one end of each for a buckle and shave the points of the other turn-down. Put a runner on each cheek and a loop and the 1-1/4 in roller buckle on one end, then stitch the opposite ends to the two outer squares.

Materialien für diesen Schritt:

GeschirrlederGeschirrleder1 Stück
RollschnalleRollschnalle1 Stück
HanfschnurHanfschnur1 Stück
BienenwachsBienenwachs1 Stück

Benötigte Werkzeuge:

LedermesserLedermesser
AhleAhle
Zwei SattlernadelnZwei Sattlernadeln
SchlaufenholzSchlaufenholz
6

Make the upward stay

Cut the short upward stay and stitch it behind in the centre square. Its length when doubled is about 4-1/2 in, with an opening left at the top for the throat lash to run through.

Materialien für diesen Schritt:

GeschirrlederGeschirrleder1 Stück
HanfschnurHanfschnur1 Stück
BienenwachsBienenwachs1 Stück

Benötigte Werkzeuge:

LedermesserLedermesser
AhleAhle
Zwei SattlernadelnZwei Sattlernadeln
7

Make the forehead band, top strap and throat lash

Make the forehead band like the snaffle bridle front. Cut the top strap 2 ft by 1-1/4 in and, when finished, punch about four holes on both sides. Make the throat lash 3 ft 6 in by 3/4 in, with the 3/4 in roller buckle, a loop and a runner, and about nine holes.

Materialien für diesen Schritt:

GeschirrlederGeschirrleder1 Stück
RollschnalleRollschnalle1 Stück
HanfschnurHanfschnur1 Stück
BienenwachsBienenwachs1 Stück

Benötigte Werkzeuge:

LedermesserLedermesser
LederlocheisenLederlocheisen
AhleAhle
Zwei SattlernadelnZwei Sattlernadeln
SchlaufenholzSchlaufenholz
8

Put it together

Put the forehead band on the head strap and buckle it on both sides in the cheeks. Run the throat lash from the near side through the opening in the upward stay and under the head strap, then through the opening in the forehead band on each side, and bring the point down to the buckle on the near side. If the collar has only one cheek, on the near side, make the strap on the other side 2 ft 9 in long.
9

Troubleshooting

Head collar troubleshooting.

Flow

Loading...
10

History and honest limits

From **Saddlery**, edited by Paul N. Hasluck, David McKay, 1904 (archive.org saddlery00hasl), chapter VIII, "Head Collars", the Newmarket head collar, Fig. 23; every fraction was read on the scan. His list names one 1-1/4 in roller buckle and one 3/4 in buckle; the throat lash takes a roller buckle of its own width, and fitting the larger one to the cheek is our reading. Not made here: the Albert and Queen's pattern collars and the head collar reins. The metric figures are ours.

Materialien

5

Benötigte Werkzeuge

8

Dieser Bauplan stellt her

CC0 Gemeinfrei

Dieser Blueprint ist unter CC0 veröffentlicht. Sie dürfen dieses Werk für jeden Zweck frei kopieren, ändern, verbreiten und verwenden, ohne um Erlaubnis zu fragen.

Unterstützen Sie den Maker, indem Sie Produkte über seinen Blueprint kaufen, wo er eine Maker-Provision von Anbietern festgelegt, verdient. Oder erstellen Sie eine neue Iteration dieses Blueprints und verbinden Sie ihn in Ihrem eigenen Blueprint, um Einnahmen zu teilen.

Diskussion

(0)

Anmelden um an der Diskussion teilzunehmen

Kommentare werden geladen...