Zusammenarbeit
KUNST
SCHÖNHEIT & WELLNESS
HANDWERK
KULTUR & GESCHICHTE
UNTERHALTUNG
UMFELD
ESSEN & GETRÄNKE
REVERSE ENGINEERING
WISSENSCHAFTEN
SPORT
TECHNOLOGIE
WEARABLES
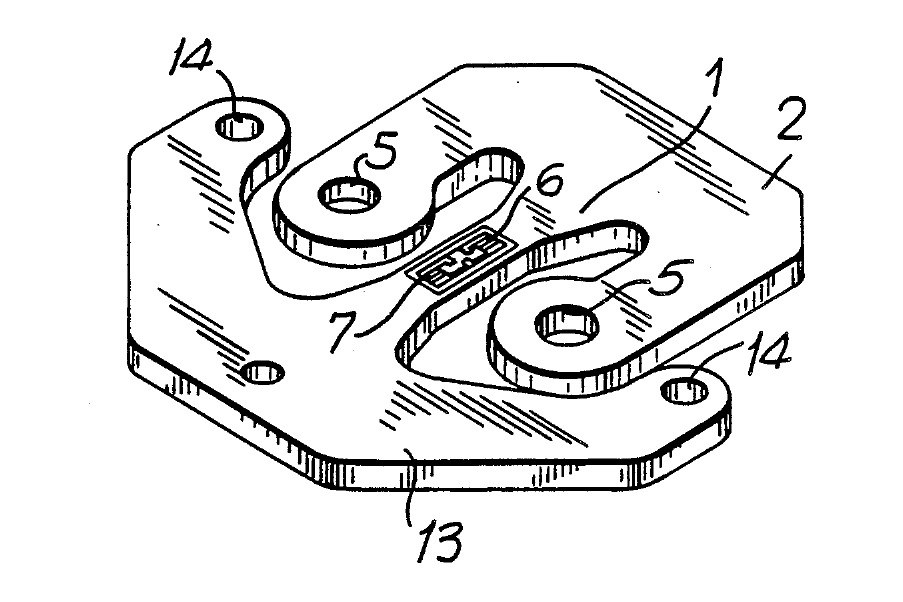


Load Cell: Flat One-Piece Stamping with a U-Shaped Loading Element (Angel, 1991)
A load cell cut in one piece from flat metal, cheap enough to put four in every scale and thin enough to hide in a low floor scale. A beam in the middle carries two strain gauges; a U-shaped arm round it takes the load; a second U-shaped arm holds it down.
Result: a flat load cell whose beam bends into an S under load, stretching one gauge and squeezing the other. It stays accurate when the load is off-centre.
Source: S. Angel, US Patent 4,993,506 (1991). Unknown: the metal, its thickness and all sizes. Ours: bonded wire strain gauges and epoxy. Picture: patent drawing (Fig. 3).
Erfahren
1 day
Anweisungen
1
1
Stamp the cell from thin metal
Stamp the cell from thin metal
Stamp the cell in one piece from thin flat metal. A flexure beam runs down the middle, narrowed at its centre. A U-shaped loading element joins one end of the beam; its two arms reach past the beam's mid-point, each with a hole, and the two holes face each other across the beam's centre. A U-shaped mounting element joins the other end, outside the loading element, with screw holes on a line through the beam's centre. Set the beam's ends by a change in width, not thickness. Not given: the metal, its thickness and the sizes.
Materialien für diesen Schritt:
 Unbekanntes Metall1 thin flat stock
Benötigte Werkzeuge:
 Stanzpresse
 Unbekannte Maße
2
2
Bond the two strain gauges
Bond the two strain gauges
Bond two strain gauges side by side on one face of the narrow middle of the beam. Put their centres at equal distances either side of the beam's centre, and at equal distances from its two edges. Under load the beam bends into an S: one gauge is stretched and rises in resistance, the other is squeezed and falls by the same amount. Wire them as one half of a Wheatstone bridge. The patent allows strain gauges, thick-film resistors or semiconductor sensors. Ours: bonded wire gauges set in epoxy.
Materialien für diesen Schritt:
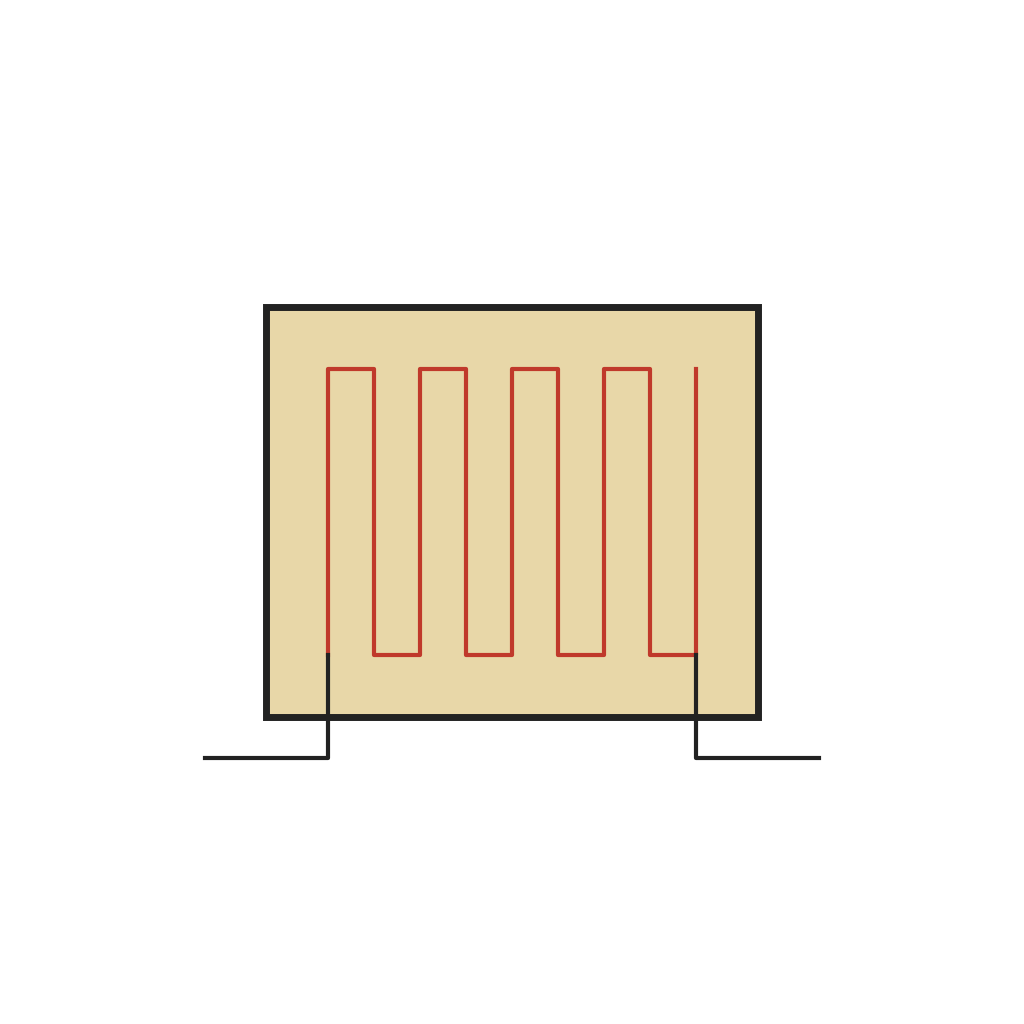 Geklebter Draht-Dehnungsmessstreifen2 Stück
 Zweikomponentenepoxid1 a little
 Schaltdraht1 short leads
 Lötdraht1 a little
Benötigte Werkzeuge:
 Lötkolben
3
3
Mount and check
Mount and check
Screw the mounting element down onto small flat raised pads on a rigid plate, so the rest of the cell hangs free to bend. Press on the two loading holes: the half-bridge gives a signal in step with the load. Because the gauges sit symmetrically, the reading holds even when the two arms carry unequal shares, as long as their total is the same. Ours: check the gauges with a meter.
Benötigte Werkzeuge:
 Multimeter
Materialien
5- 1 thin flat stockPlatzhalter
- Platzhalter
- 1 a littlePlatzhalter
- 1 short leadsPlatzhalter
- 1 a littlePlatzhalter
Benötigte Werkzeuge
4- Platzhalter
- Platzhalter
- 2 vendors sell this, none ship to you yetPlatzhalter
- Platzhalter
Materialien verbundener Blueprints
Dieser Bauplan stellt her
CC0 Gemeinfrei
Dieser Blueprint ist unter CC0 veröffentlicht. Sie dürfen dieses Werk für jeden Zweck frei kopieren, ändern, verbreiten und verwenden, ohne um Erlaubnis zu fragen.
Unterstützen Sie den Maker, indem Sie Produkte über seinen Blueprint kaufen, wo er eine Maker-Provision von Anbietern festgelegt, verdient. Oder erstellen Sie eine neue Iteration dieses Blueprints und verbinden Sie ihn in Ihrem eigenen Blueprint, um Einnahmen zu teilen.