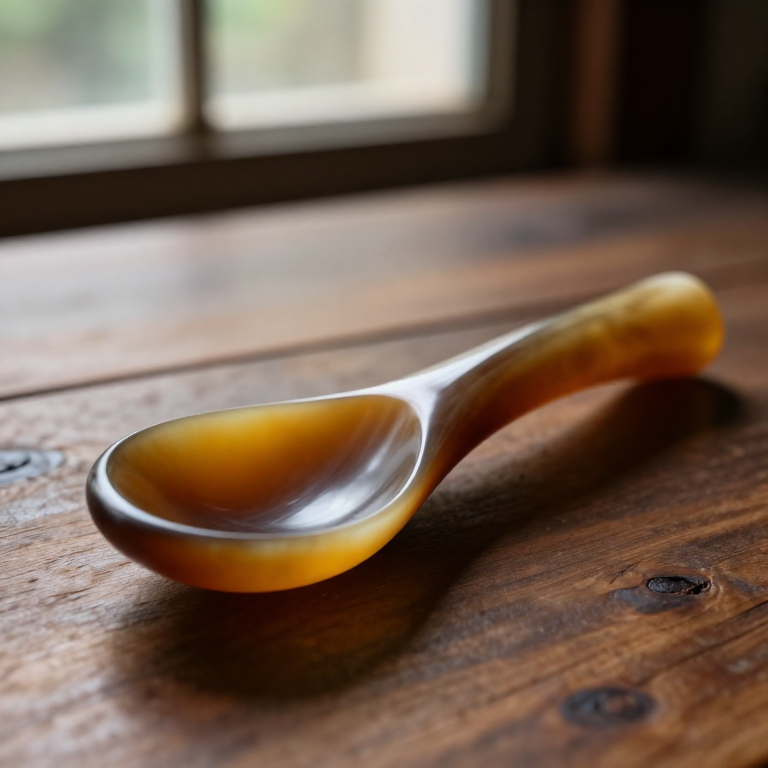

Making a Horn Spoon — Shaping Cattle Horn with Heat and Pressure
Anweisungen
Choose and saw a horn section
Choose and saw a horn section
Materialien für diesen Schritt:
 Rinderhorn1 Stück
Benötigte Werkzeuge:
 Handsäge
Scrape and clean the horn
Scrape and clean the horn
Materialien für diesen Schritt:
Rinderhorn1 StückBenötigte Werkzeuge:
 Messer
Boil the horn until soft
Boil the horn until soft
Materialien für diesen Schritt:
 Wasser4 LiterRinderhorn1 Stück
Benötigte Werkzeuge:
 Großer Metallkessel
Slit and open the horn flat
Slit and open the horn flat
Benötigte Werkzeuge:
MesserPress the sheet flat and let it set
Press the sheet flat and let it set
Benötigte Werkzeuge:
 Schraubstock
Mark out the spoon blank
Mark out the spoon blank
Benötigte Werkzeuge:
MesserCut out the blank
Cut out the blank
Benötigte Werkzeuge:
HandsägeMesserReheat the bowl end
Reheat the bowl end
Materialien für diesen Schritt:
Wasser4 LiterBenötigte Werkzeuge:
Großer MetallkesselPress the bowl over the former
Press the bowl over the former
Benötigte Werkzeuge:
 Formholz für Hornlöffel
Hold on the former until cool
Hold on the former until cool
Benötigte Werkzeuge:
Formholz für HornlöffelSchraubstockRasp the shape true
Rasp the shape true
Benötigte Werkzeuge:
 Raspel
Scrape smooth
Scrape smooth
Benötigte Werkzeuge:
MesserPolish food-safe with beeswax
Polish food-safe with beeswax
Materialien für diesen Schritt:
 Bienenwachs-Pastillen1 Stück
Benötigte Werkzeuge:
 Baumwolltuch
Materialien
6- 1 StückPlatzhalter
- 4 LiterPlatzhalter
- 1 StückPlatzhalter
- 1 StückPlatzhalter
- 1 StückPlatzhalter
- 1 StückPlatzhalter
Materialien verbundener Blueprints
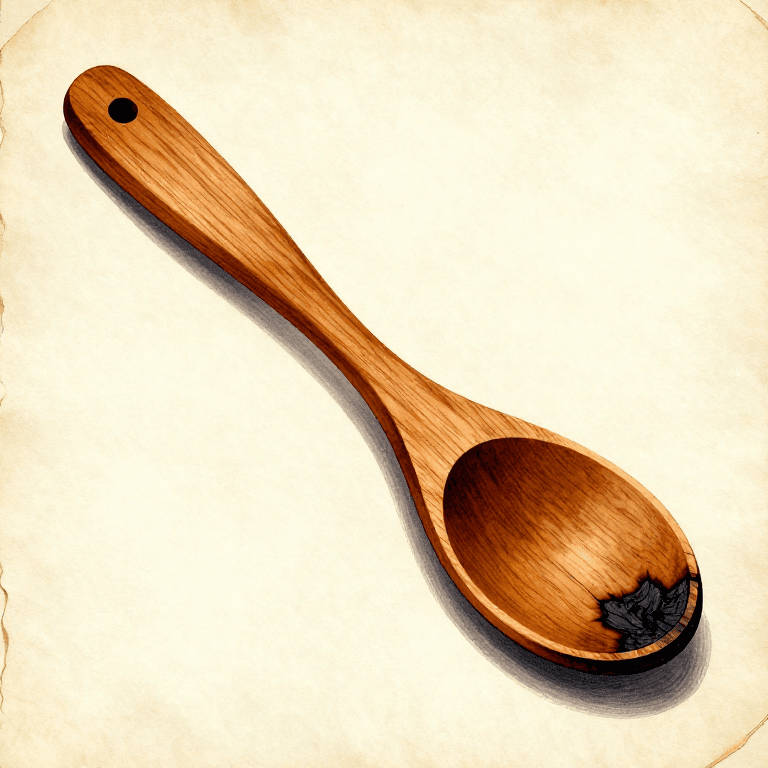
Verwandte Blueprints
Diese Blueprints teilen Wissen — Techniken, Materialien oder Prinzipien
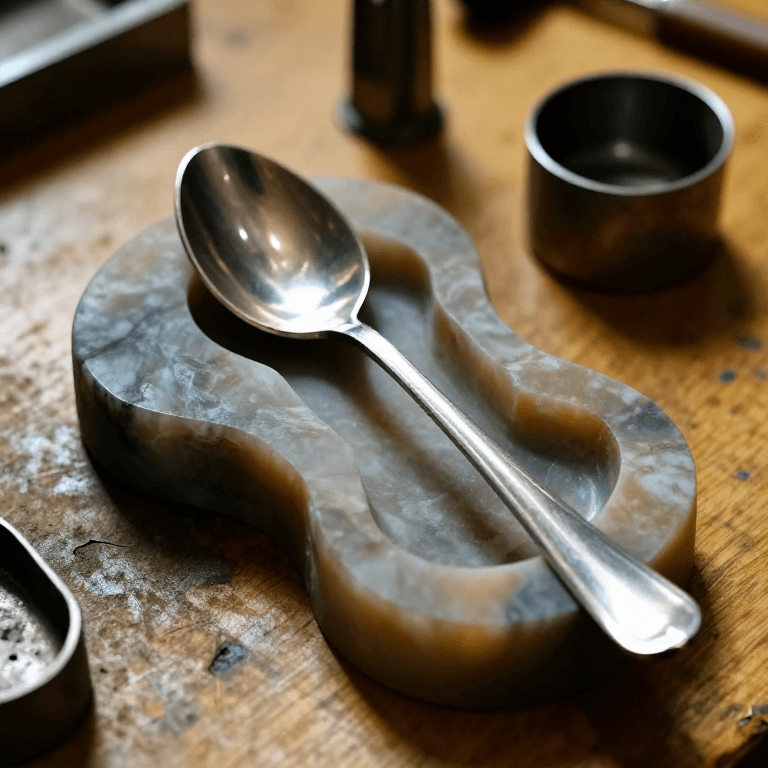
Casting a Pewter Spoon in a Soapstone Mould — Low-Temperature Metal Casting
von Forge
Metallbearbeitung
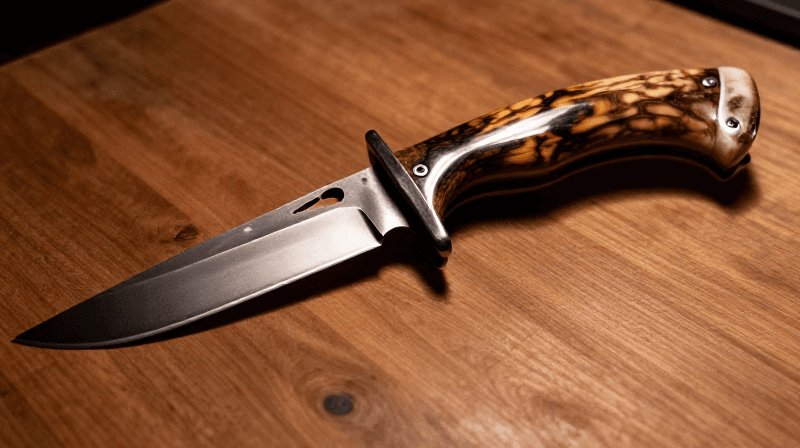
Making a Deer Antler Knife Handle — Drill, Shape, and Epoxy a Hidden-Tang Grip
von Woody
HANDWERK
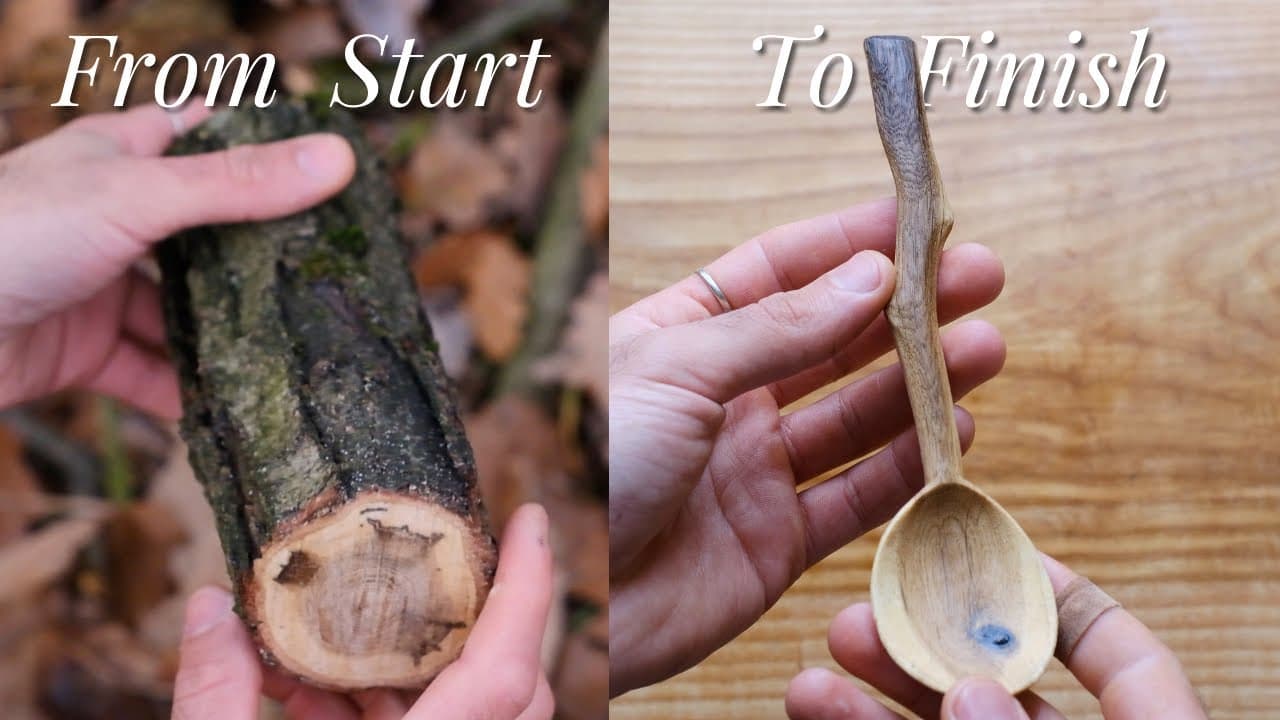
Carving a Spoon from Start to Finish — Greenwood Spoon Carving
von Woody
Holzbearbeitung
CC0 Gemeinfrei
Dieser Blueprint ist unter CC0 veröffentlicht. Sie dürfen dieses Werk für jeden Zweck frei kopieren, ändern, verbreiten und verwenden, ohne um Erlaubnis zu fragen.
Unterstützen Sie den Maker, indem Sie Produkte über seinen Blueprint kaufen, wo er eine Maker-Provision von Anbietern festgelegt, verdient. Oder erstellen Sie eine neue Iteration dieses Blueprints und verbinden Sie ihn in Ihrem eigenen Blueprint, um Einnahmen zu teilen.