Zusammenarbeit
KUNST
SCHÖNHEIT & WELLNESS
HANDWERK
KULTUR & GESCHICHTE
UNTERHALTUNG
UMFELD
ESSEN & GETRÄNKE
REVERSE ENGINEERING
WISSENSCHAFTEN
SPORT
TECHNOLOGIE
WEARABLES
Pin-Cylinder Box Churn: A Cylinder of Square Pins Turns Through a Row of Pins in the Lid, Then Washes the Butter in the Churn
Buttercup

Erstellt von

Buttercup

11. November 2026IE
0
0
0
0
0

Pin-Cylinder Box Churn: A Cylinder of Square Pins Turns Through a Row of Pins in the Lid, Then Washes the Butter in the Churn

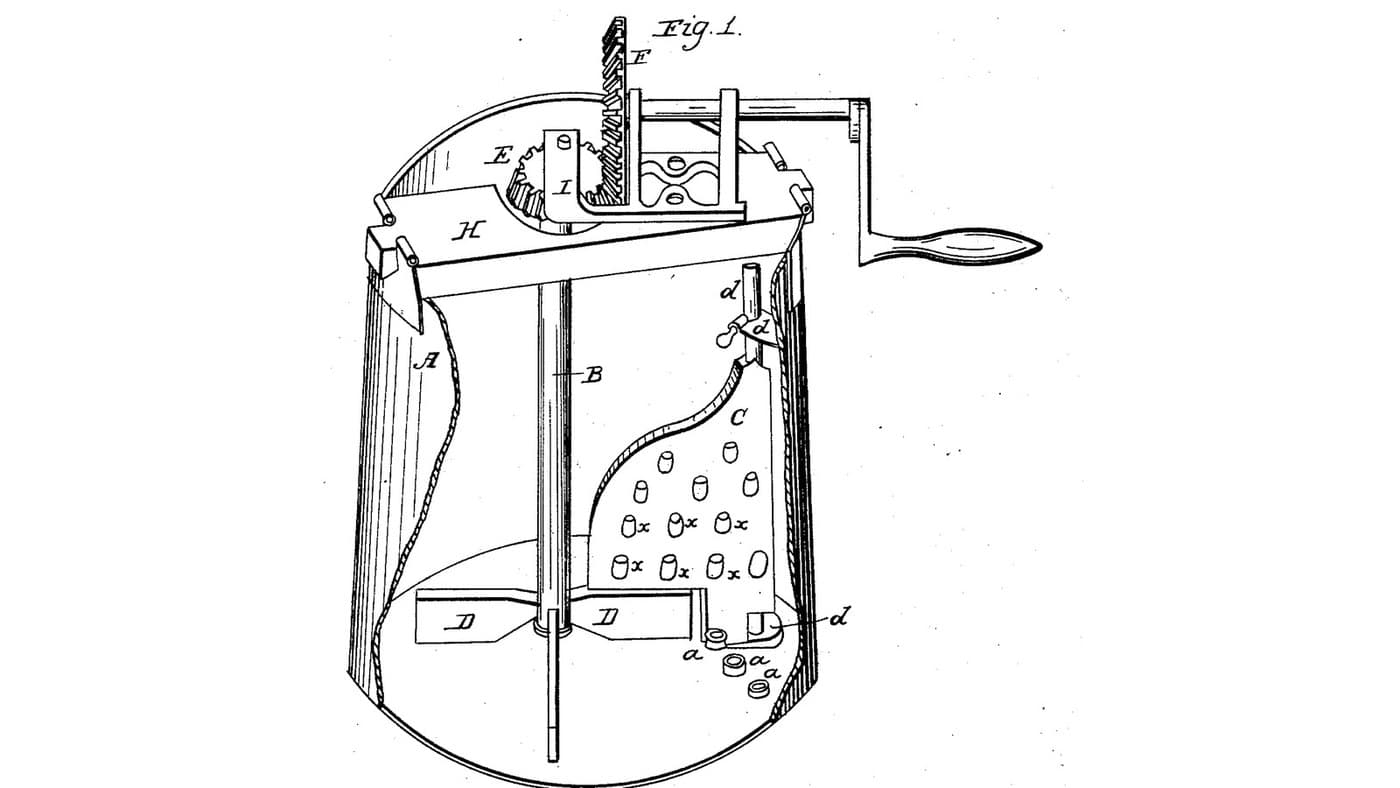
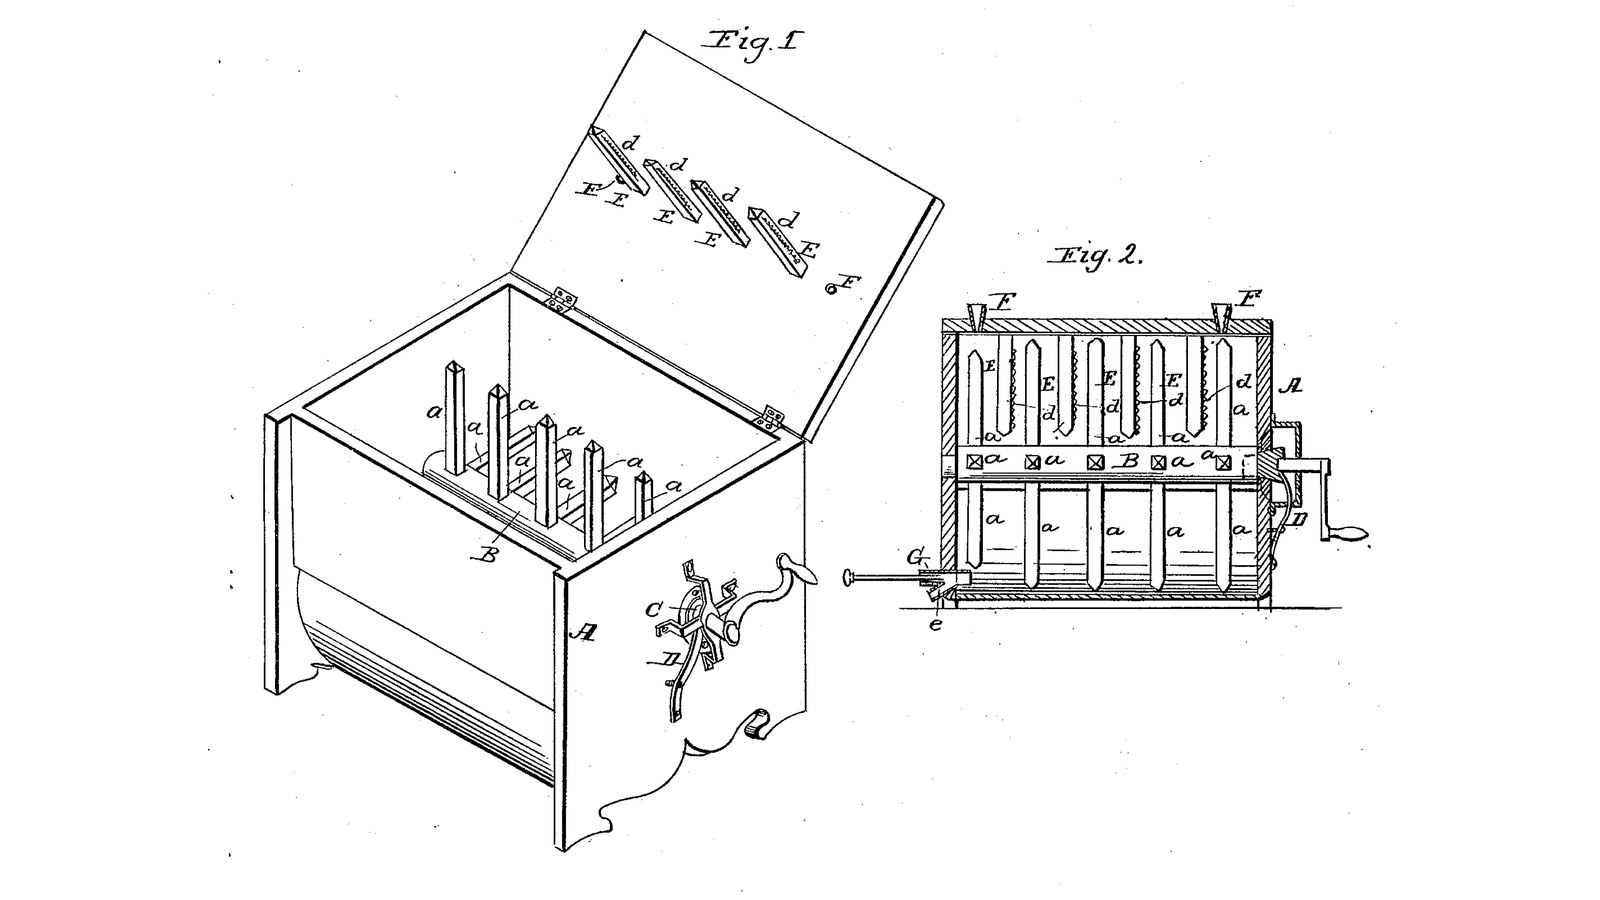
John Park of Joliet, Illinois, received US 29,397, dated 31 July 1860, for a churn and butter-dresser. A box with a half-round bottom holds a cranked wooden cylinder with four rows of square pins, which turn between a row of pins in the lid. The same pins churn the cream, then, with the buttermilk let off by a faucet and water thrown in, wash and work the butter. Toothed metal strips on the lid pins catch hairs, a cone gudgeon pressed by a spring keeps the end tight, and two tubes in the lid let in air. Where the patent gives a size we use it; the rest is ours.
Fortgeschritten
About 3 days

Anweisungen

1

Pins between pins

Jupyter-Notebook wird geladen …
2

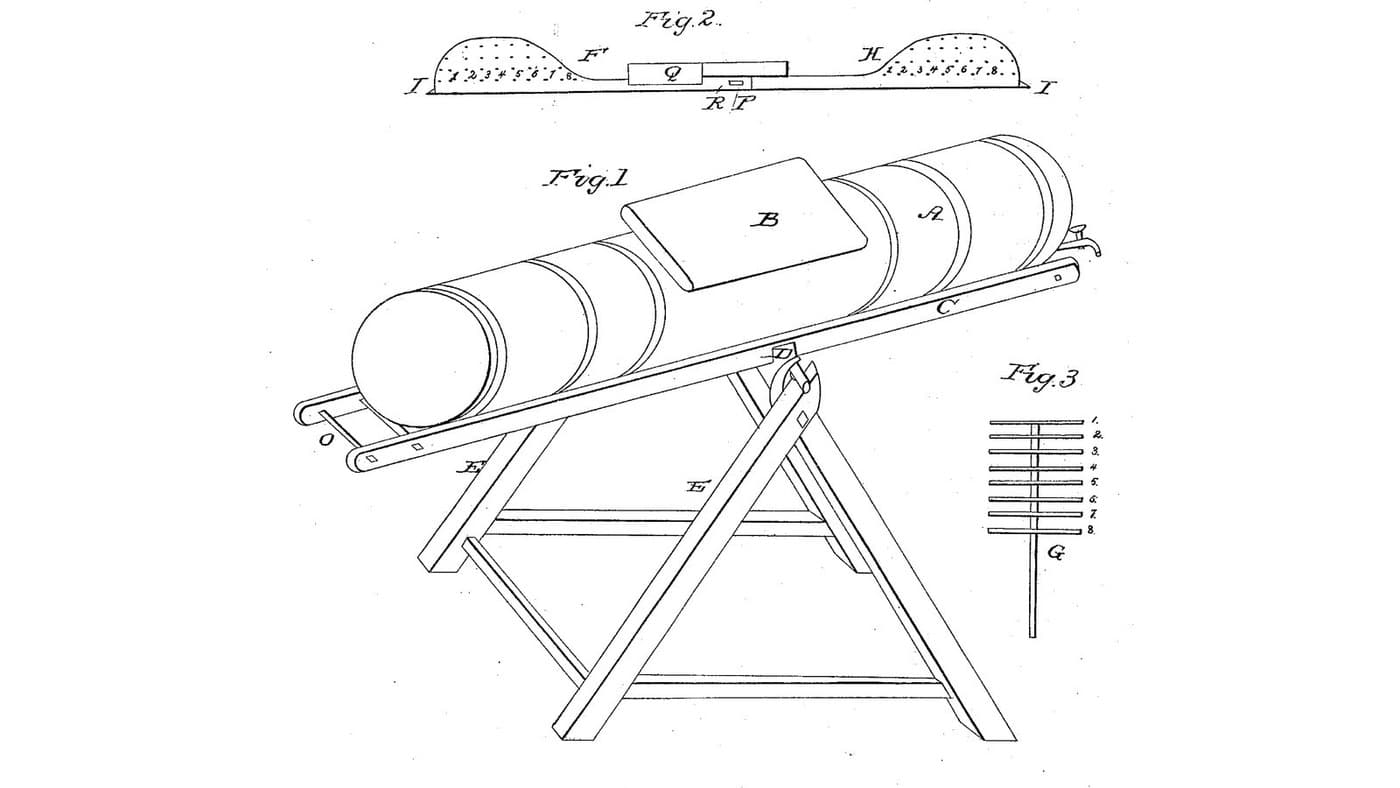
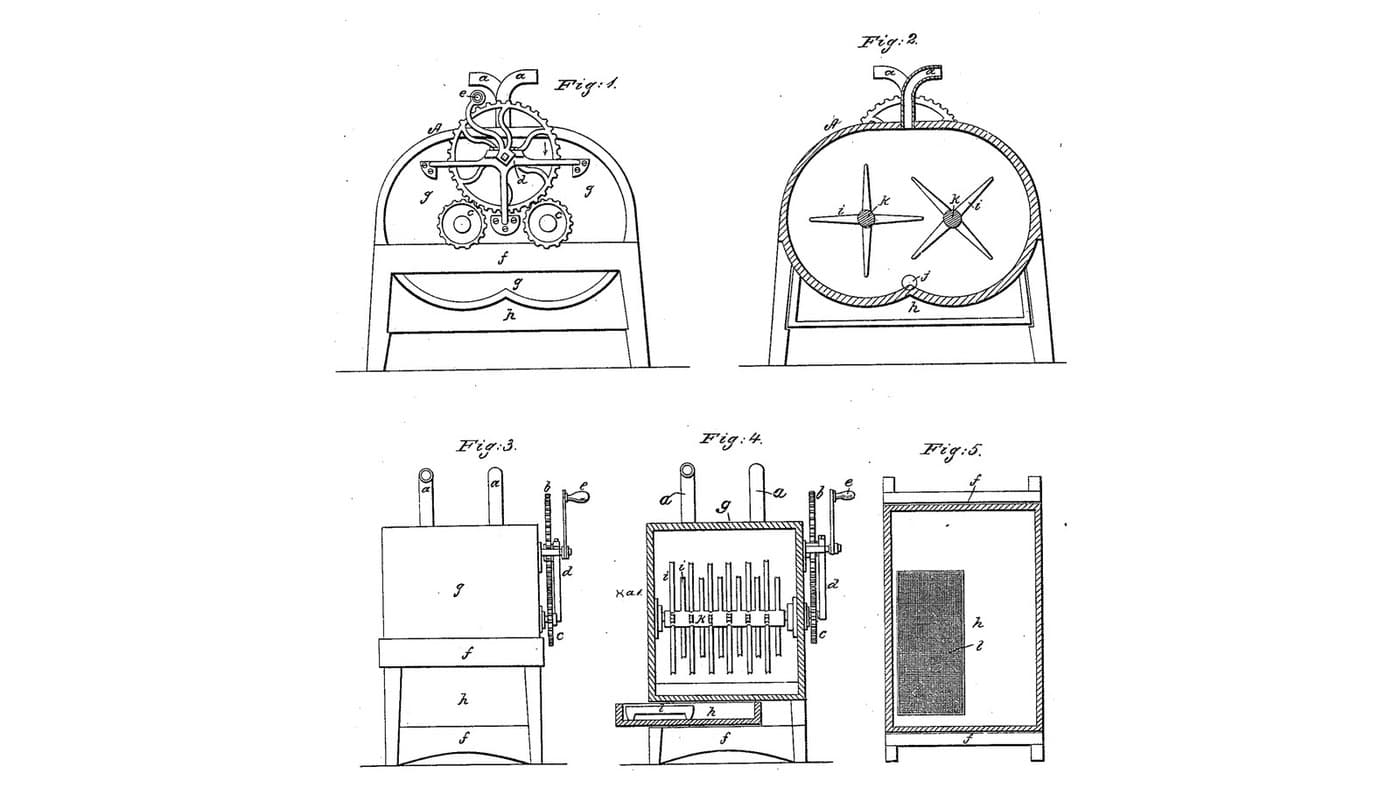
Cream broken on rows of pins, four months before

Newbrough's pins stand still and the cream rushes through them. Park's pins turn, through a row of fixed pins in the lid.
3

Read US 29,397

"So when the lid is shut the pins in the cylinder will revolve through between the pins that are in the lid, and break or churn the milk or cream; and when all the milk is let off by a faucet, and a pail of water thrown into the churn, by turning the crank eight or ten times around the pins in the cylinder will press and wash the butter through the pins in the lid."
4

Box with a half-round bottom

Glue up two hardwood ends 22 mm thick, 350 mm wide and 400 mm tall. On each draw the inside: a 300 mm half circle, its centre 250 mm up, with straight sides rising 150 mm above the centre to the top. Rout a groove 1.6 mm wide and 8 mm deep on that line, and cut the bottom edge into feet. Bend a 1.5 mm stainless sheet 516 mm long into a U to fit the line, set its edges into both grooves with silicone sealant, and screw hardwood sides 22 mm thick outside its straight parts. Join the ends through the top corners, inside, with two M8 threaded rods, nuts and washers outside: the patent's iron rods with screws and burrs.

Materialien für diesen Schritt:

HartholzbrettHartholzbrett3 Stück
EdelstahlblechEdelstahlblech1 Stück
SilikondichtmasseSilikondichtmasse1 Stück
HolzleimHolzleim1 Stück
HolzschraubenHolzschrauben20 Stück
GewindestangeGewindestange1 Stück
SechskantmutterSechskantmutter4 Stück
UnterlegscheibeUnterlegscheibe4 Stück

Benötigte Werkzeuge:

TischkreissägeTischkreissäge
KompassKompass
StichsägeStichsäge
OberfräseOberfräse
AkkubohrschrauberAkkubohrschrauber
BohrersatzBohrersatz
Bügelsäge (Metallsäge)Bügelsäge (Metallsäge)
Schraubzwinge mit SchiebebügelSchraubzwinge mit Schiebebügel
Schraubendreher-SatzSchraubendreher-Satz
RollgabelschlüsselRollgabelschlüssel
Bandmaß (Rollmeter)Bandmaß (Rollmeter)
5

Cylinder and its four rows of pins

Turn a hardwood cylinder 76 mm across and 488 mm long (the patent's "about three inches"). Mark six places 80 mm apart, the outer ones 44 mm from the ends, and at each chop four square mortises 25 mm across and 25 deep, a quarter turn apart. Cut 24 hardwood pins 25 mm square ("about one inch") and 127 mm long, point their ends, and glue them in so their points stand 140 mm from the axis, each pinned with a small dowel. Bore a 30 mm hole 40 deep in the crank end for the square boxing and a 10.2 mm hole 20 deep in the other end for the centre rod.

Materialien für diesen Schritt:

HartholzbrettHartholzbrett2 Stück
HolzleimHolzleim1 Stück
HartholzdübelHartholzdübel1 Stück

Benötigte Werkzeuge:

HolzdrechselbankHolzdrechselbank
TischkreissägeTischkreissäge
Stechbeitelsatz für HolzStechbeitelsatz für Holz
AkkubohrschrauberAkkubohrschrauber
BohrersatzBohrersatz
Schraubzwinge mit SchiebebügelSchraubzwinge mit Schiebebügel
Bandmaß (Rollmeter)Bandmaß (Rollmeter)
6

Print the gudgeon cone

The cone on the gudgeon, 19 mm across at its inner end and 27 at its outer end, 22 long, on a 16 mm bore. PETG, 0.2 mm layers, 30 % infill, 4 walls.
DesigndateiSTLCC0 - Free
7

Print the cone boxing

The boxing the cone seats in, set in the crank end: 40 mm across, 22 long, its bore tapering like the cone. PETG, 0.2 mm layers, 30 % infill, 4 walls.
DesigndateiSTLCC0 - Free
8

Print the square boxing

The boxing glued into the cylinder's crank end: 30 mm across, 40 long, with a 12.3 mm square hole for the gudgeon's square end. PETG, 0.2 mm layers, 30 % infill, 4 walls.
DesigndateiSTLCC0 - Free
9

Print the faucet

The faucet: a tube 76 mm long (the patent's "about three inches"), 20 mm bore, with an outlet tube under it halfway along. PETG, 0.2 mm layers, 30 % infill, 4 walls.
DesigndateiSTLCC0 - Free
10

Gudgeon, spring, crank and centre rod

Glue the square boxing into the cylinder's crank end. Bore the crank end 40 mm at the axis, 150 mm above the half circle's bottom, and seal the cone boxing into it, its wide end outward. Cut a 16 mm stainless rod 139 mm long for the gudgeon and file 38 mm of its inner end square, 12 mm across the flats (the patent's square end is 1.5 inch long). Pin the printed cone on it where it seats in the boxing, slide on a shaft collar as the shoulder, and pin a crank of mild steel flat bar, 120 mm throw, with a hardwood handle, on its outer end. Bend a spring steel strip into a U with a slot for the gudgeon and screw its legs to the end so it presses the collar inward. Bore the other end 10.2 mm at the axis and push a 10 mm stainless rod 51 mm long ("about two inches" by "three-eighths") through into the cylinder.

Materialien für diesen Schritt:

EdelstahlstabEdelstahlstab2 Stück
PETG-FilamentPETG-Filament1 Stück
Shaft CollarShaft Collar1 Stück
SplintSplint2 Stück
Baustahl-FlachstahlBaustahl-Flachstahl1 Stück
HartholzdübelHartholzdübel1 Stück
FederstahlbandFederstahlband1 Stück
HolzschraubenHolzschrauben4 Stück
SilikondichtmasseSilikondichtmasse1 Stück

Benötigte Werkzeuge:

FDM-3D-DruckerFDM-3D-Drucker
Bügelsäge (Metallsäge)Bügelsäge (Metallsäge)
Feilen (Handfeile)Feilen (Handfeile)
SchraubstockSchraubstock
AkkubohrschrauberAkkubohrschrauber
BohrersatzBohrersatz
Schraubendreher-SatzSchraubendreher-Satz
11

Faucet and its pin

Bore the other end 24 mm through at the bottom, its lower edge just above the sheet, and seal the printed faucet into it with its outlet down. Turn a hardwood pin 19 mm across and 170 mm long with a knob, cut two grooves near its point and fit two O-rings as the patent's rubber packing, so pushed in it closes the tube and drawn back past the outlet it lets the milk run off.

Materialien für diesen Schritt:

HartholzdübelHartholzdübel1 Stück
O-RingO-Ring2 Stück
SilikondichtmasseSilikondichtmasse1 Stück

Benötigte Werkzeuge:

HolzdrechselbankHolzdrechselbank
AkkubohrschrauberAkkubohrschrauber
BohrersatzBohrersatz
Feilen (Handfeile)Feilen (Handfeile)
12

Lid with its pins, hair strips and air tubes

Cut a hardwood lid 544 x 350 x 22 mm and hang it on two butt hinges along the back. Cut five hardwood pins 25 mm square, set them in mortises in the lid on its centre line, midway between the cylinder's pin places, reaching 105 mm down with pointed ends, so they stop 7 mm off the cylinder. Cut five strips of stainless strip 12 mm wide, file fine teeth along one edge, and screw one along a corner of each lid pin so the teeth stand about 3 mm ("about an eighth of an inch") proud. Fit two stainless tubes 38 mm long ("about an inch and a half") through the lid near its ends as air tubes.

Materialien für diesen Schritt:

HartholzbrettHartholzbrett1 Stück
Möbel-Scharnier (Aufschraubband)Möbel-Scharnier (Aufschraubband)2 Stück
Kaltgewalztes Edelstahlband (420)Kaltgewalztes Edelstahlband (420)1 Stück

EdelstahlrohrEdelstahlrohr1 Stück
HolzleimHolzleim1 Stück
HolzschraubenHolzschrauben20 Stück

Benötigte Werkzeuge:

TischkreissägeTischkreissäge
Stechbeitelsatz für HolzStechbeitelsatz für Holz
BlechschereBlechschere
NadelfeilenNadelfeilen
Bügelsäge (Metallsäge)Bügelsäge (Metallsäge)
AkkubohrschrauberAkkubohrschrauber
BohrersatzBohrersatz
Schraubendreher-SatzSchraubendreher-Satz
13

The build in 3D

FreeCAD model of this build, its front half cut away: the half-round stainless bottom in grooved ends, the pinned cylinder, the lid with its row of pins and hair strips, the air tubes, the faucet and its pin, the cone gudgeon with its spring and crank, and the centre rod.
DesigndateiBLENDCC0 - Free
14

Churn and dress the butter

Pour about 15 litres of heavy cream at about 15 °C, checked with the thermometer, into the box, shut the lid and turn the crank steadily, timing it. When the butter comes, draw the faucet's pin and let the buttermilk run into a bowl. Shut it, throw in a pail of cold water, and turn the crank eight or ten times so the pins press and wash the butter through the lid pins; let the water off and repeat until it runs clear. Sprinkle in the salt and turn a few times to work it through. To take the cylinder out, draw the gudgeon back against its spring and the centre rod back. Lift out the butter and weigh it.

Materialien für diesen Schritt:

SchlagsahneSchlagsahne15 l
WasserWasser1 Stück
Grobes MeersalzGrobes Meersalz1 Stück

Benötigte Werkzeuge:

Einsteck-FühlerthermometerEinsteck-Fühlerthermometer
StoppuhrStoppuhr
Digitale KüchenwaageDigitale Küchenwaage
Große Rührschüssel aus EdelstahlGroße Rührschüssel aus Edelstahl
15

Troubleshooting

Pin-cylinder churn troubleshooting.

Flow

Loading...
16

History and honest limits

**John Park** of Joliet, Will County, Illinois, US 29,397, 31 July 1860, "Churn", a churn and butter-dresser. He claimed the rows of pins in the cylinder and lid "for churning, and dressing the butter ready for use while in the churn", the faucet, the cone gudgeon, the spring, the tin strips for catching hairs and the air tubes. His text describes the gudgeon, boxings and spring from a Fig. 3 that is not on the drawing sheet, and some of its letters do not match the two figures; the gudgeon parts here follow the text, in our own form. His strips were tin, his faucet and boxings zinc; ours are stainless and printed. The sizes in quotes are his; all others are ours.

Materialien

22

Benötigte Werkzeuge

22

Designdateien

5

CC0 Gemeinfrei

Dieser Blueprint ist unter CC0 veröffentlicht. Sie dürfen dieses Werk für jeden Zweck frei kopieren, ändern, verbreiten und verwenden, ohne um Erlaubnis zu fragen.

Unterstützen Sie den Maker, indem Sie Produkte über seinen Blueprint kaufen, wo er eine Maker-Provision von Anbietern festgelegt, verdient. Oder erstellen Sie eine neue Iteration dieses Blueprints und verbinden Sie ihn in Ihrem eigenen Blueprint, um Einnahmen zu teilen.

Diskussion

(0)

Anmelden um an der Diskussion teilzunehmen

Kommentare werden geladen...