KUNST
SCHÖNHEIT & WELLNESS
HANDWERK
KULTUR & GESCHICHTE
UNTERHALTUNG
UMFELD
ESSEN & GETRÄNKE
REVERSE ENGINEERING
WISSENSCHAFTEN
SPORT
TECHNOLOGIE
WEARABLES
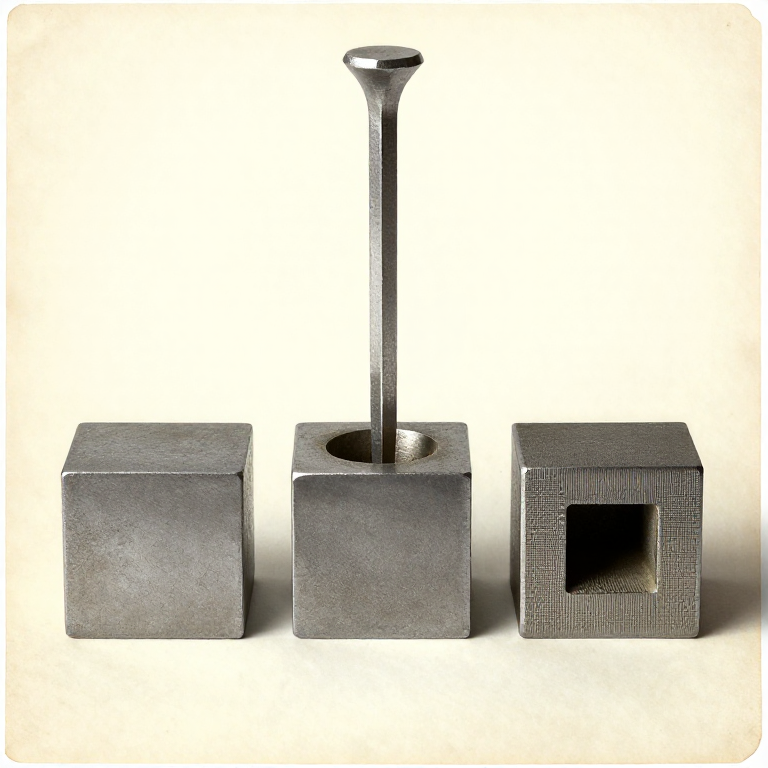


Punching and Drifting: A Hole Without Removing Metal
A drilled hole cuts metal away and severs the fibres running through the bar. A PUNCHED hole pushes the metal aside, so the grain flows around it — which is why a punched eye in a hammer head or an axe is stronger than a drilled one.
It also barely wastes any material. The slug punched out is tiny compared with what a drill turns into swarf, and the displaced metal thickens the area around the hole where the strength is wanted.
Punching makes the hole; DRIFTING opens it to final size and shape. They are two operations and doing the first without the second gives a ragged, undersized hole.
Fortgeschritten
3 hours
Anweisungen
1
1
Punch from both sides, and go halfway each time
Punch from both sides, and go halfway each time
Mark the centre, drive the punch in from one face until you feel it bite deep — about halfway — then turn the work over and punch back through from the other side to meet it.
Punching all the way through from one side pushes a long tapered plug of metal ahead of the punch and bulges the far face badly. Meeting in the middle keeps both faces flat and produces a small neat slug.
You can see where to punch from the second side: the first punch raises a faint dark bulge on the far face. Centre on that and the two holes meet cleanly.
Materialien für diesen Schritt:
 Baustahl-Flachstange1 Stück
 Holzkohle1 Stück
Benötigte Werkzeuge:
 Warmlocheisen
 Amboss
 Schmiedehammer
 Schmiedezange
2
2
Cool the punch constantly, or you will lose it
Cool the punch constantly, or you will lose it
Dip the punch in water every few blows. A punch buried in hot steel soaks up heat fast, and once it softens it upsets, mushrooms and jams in the hole.
A pinch of coal dust or a drop of oil in the hole helps too: it turns to gas and the pressure helps push the punch back out. A punch that has stuck in hot steel is genuinely difficult to recover.
Work over the PRITCHEL hole or over the hardy hole for the final break-through, so the punch and the slug have somewhere to go. Punching against the solid anvil face damages the face, blunts the punch and refuses to break through.
Materialien für diesen Schritt:
 Wasser1 StückBaustahl-Flachstange1 Stück
Benötigte Werkzeuge:
WarmlocheisenAmbossSchmiedezange Lederstulpenhandschuhe
3
3
Then drift it to size and shape
Then drift it to size and shape
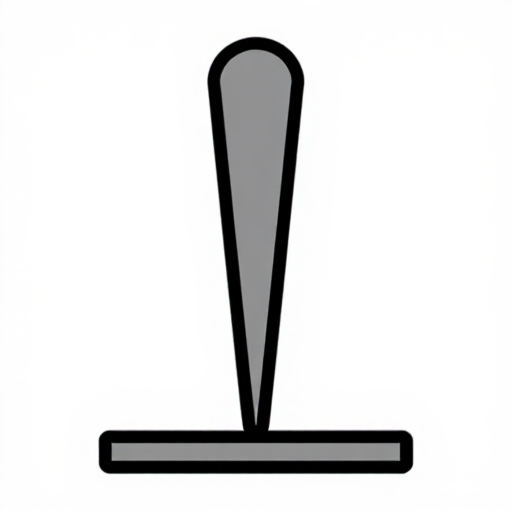
The punched hole is small and rough. Drive a DRIFT — a long tapered tool of the finished size and cross-section — through it to open it out, smooth the walls and set the final shape.
A drift is tapered at both ends and widest in the middle, so it passes right through and out rather than jamming. Drive it in from one side, then turn the work and drive it back the other way to even the hole up.
This is where a square or oval hole comes from — a hammer eye, an axe eye — and no drill will make one. Work hot, and expect the hole to close slightly as the piece cools, so drift to the size you want when hot rather than when cold.
Materialien für diesen Schritt:
Baustahl-Flachstange1 StückBenötigte Werkzeuge:
 LochdornAmbossSchmiedehammer
 Lineal
4
4
The hole distorts the bar — plan for it
The hole distorts the bar — plan for it
Displaced metal has to go somewhere. Punching a hole in a bar makes that part wider and slightly shorter, and it bulges the edges either side of the hole.
For a neat result, dress the sides back with the hammer after drifting and re-square the section. For a hammer or axe eye, the bulge is wanted — that is the extra material carrying the load around the eye.
Punch before you finish the outside shape, not after. A bar dressed to final size and then punched has to be dressed again, and the second dressing usually leaves it out of true.
Materialien für diesen Schritt:
Baustahl-Flachstange1 StückBenötigte Werkzeuge:
SchmiedehammerAmboss Flachhammer-SetzeisenLineal
Materialien
3- 1 StückPlatzhalter
- 1 StückPlatzhalter
- 1 StückPlatzhalter
Verwandte Blueprints
Diese Blueprints teilen Wissen — Techniken, Materialien oder Prinzipien
CC0 Gemeinfrei
Dieser Blueprint ist unter CC0 veröffentlicht. Sie dürfen dieses Werk für jeden Zweck frei kopieren, ändern, verbreiten und verwenden, ohne um Erlaubnis zu fragen.
Unterstützen Sie den Maker, indem Sie Produkte über seinen Blueprint kaufen, wo er eine Maker-Provision von Anbietern festgelegt, verdient. Oder erstellen Sie eine neue Iteration dieses Blueprints und verbinden Sie ihn in Ihrem eigenen Blueprint, um Einnahmen zu teilen.