KUNST
SCHÖNHEIT & WELLNESS
HANDWERK
KULTUR & GESCHICHTE
UNTERHALTUNG
UMFELD
ESSEN & GETRÄNKE
REVERSE ENGINEERING
WISSENSCHAFTEN
SPORT
TECHNOLOGIE
WEARABLES
Youblob (generated from this blueprint's notebook) · CC0

Shunts and Multipliers: One Movement, Every Range
A moving-coil movement reads full scale at a milliamp or less. Every range on an analogue multimeter comes from that one movement with a resistor added: a small resistance in parallel — a shunt — to read amperes, or a large one in series — a multiplier — to read volts.
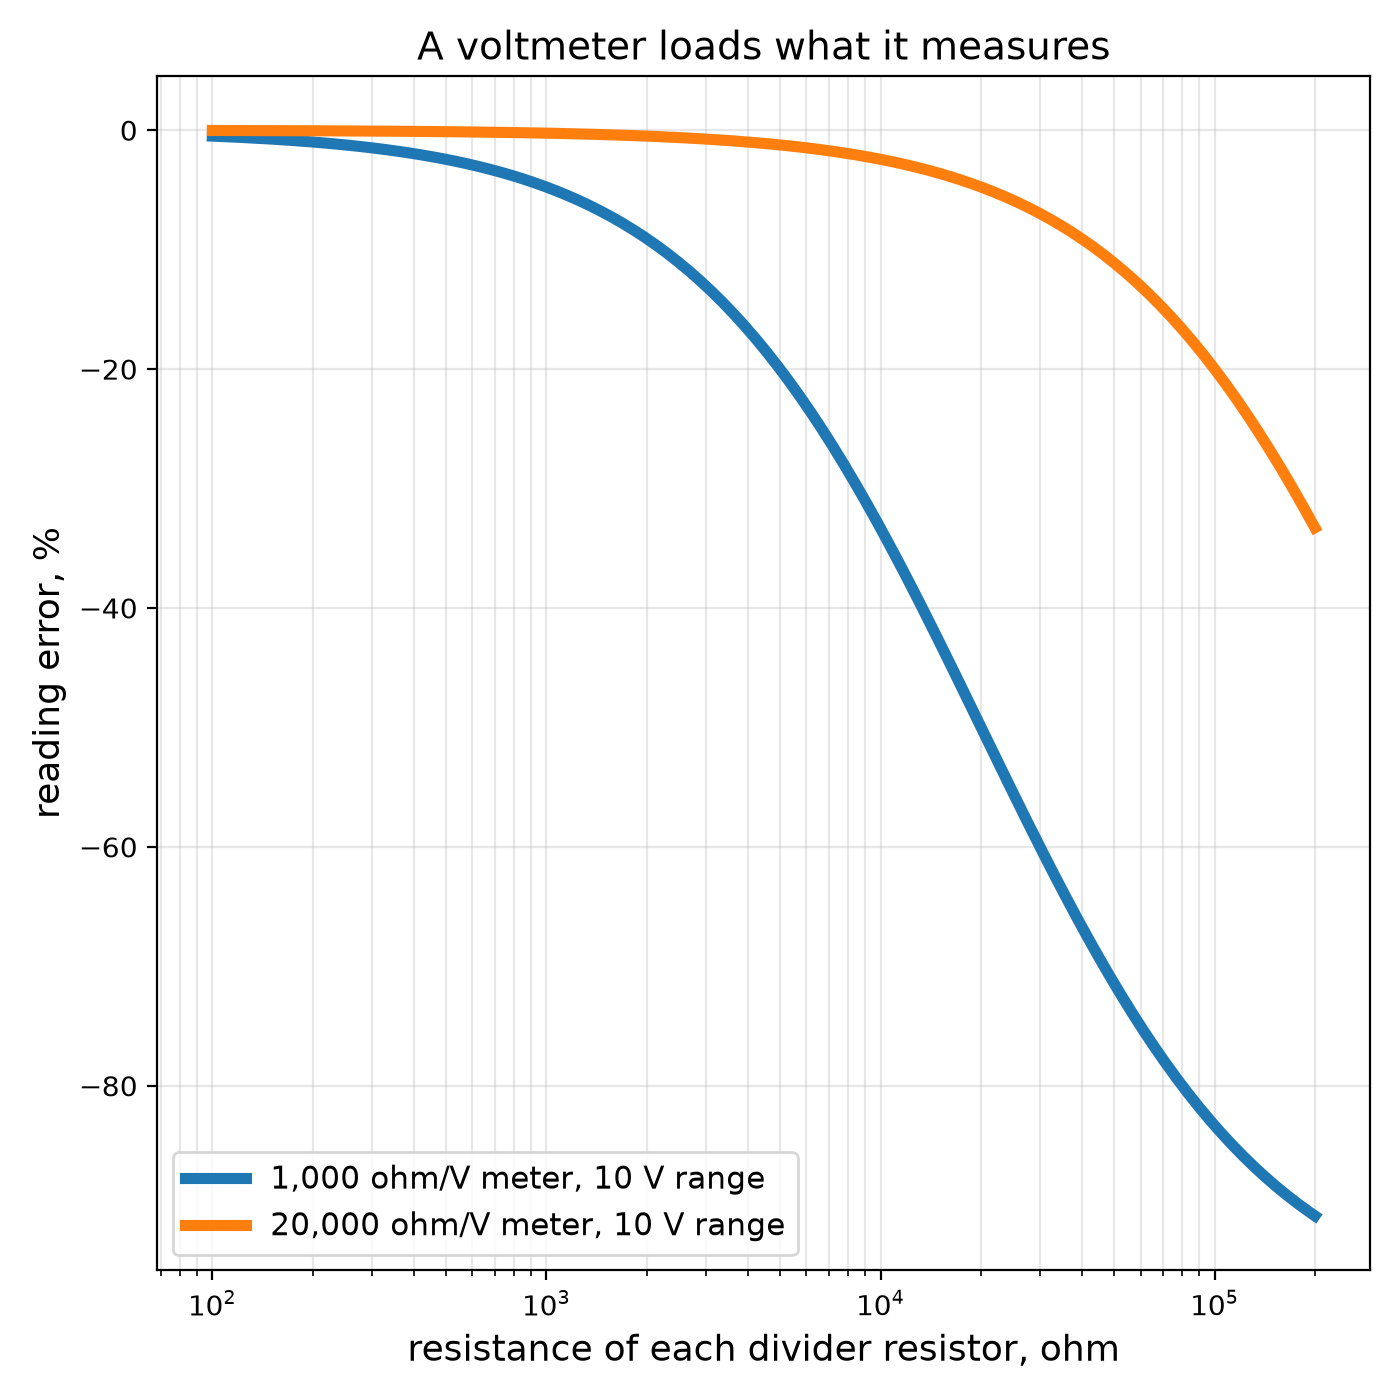
The resistors are easy to calculate. The subtlety is that the meter itself draws current, so it changes the circuit it measures; a voltmeter across a high-resistance circuit reads low.
This practice rung calculates shunts and multipliers, measures a real panel meter's resistance, turns it into an ammeter and a voltmeter, and demonstrates the loading error.
Anfänger
About 3 hours
Anweisungen
1
1
Shunts, multipliers and loading
Shunts, multipliers and loading
Jupyter-Notebook wird geladen …
2
2
Measure your meter's own resistance
Measure your meter's own resistance
Connect the panel meter in series with a variable resistor (a potentiometer) and a 1.5 V cell, and adjust for exactly full-scale deflection.
Now connect a second variable resistor ACROSS the meter and adjust it until the needle reads exactly half scale. Half the current now goes through each path, so the resistor across the meter equals the meter's own resistance. Disconnect it and measure it with the multimeter: that is R_m. Put it, and the full-scale current from the meter's dial, into the notebook.
Materialien für diesen Schritt:
 Drehspul-Einbaumessgerät1 Stück
 Potentiometer2 Stück
Benötigte Werkzeuge:
 Multimeter
 Messleitungen mit Krokodilklemmen
3
3
Make an ammeter and a voltmeter
Make an ammeter and a voltmeter
For a 10 V voltmeter, choose resistors from the kit that add up to the notebook's multiplier value, put them in series with the meter, and check the reading against the multimeter on a battery or the bench supply.
For a 1 A ammeter, cut the notebook's length of copper wire (about 2.3 m of 0.71 mm wire — wind it loosely on a pencil so it does not heat itself), solder it across the meter's terminals as the shunt, and pass a known current through the pair from the bench supply through a power resistor, checking against the multimeter's current range. Trim the wire until the readings agree.
Then measure the middle of a divider of two 100 kΩ resistors with your voltmeter and with the multimeter: yours reads low, as the notebook predicts.
Materialien für diesen Schritt:
 Widerstandssortiment1 Set
 Kupferdraht1 Meter
 Zinn-Blei-Lot10 g
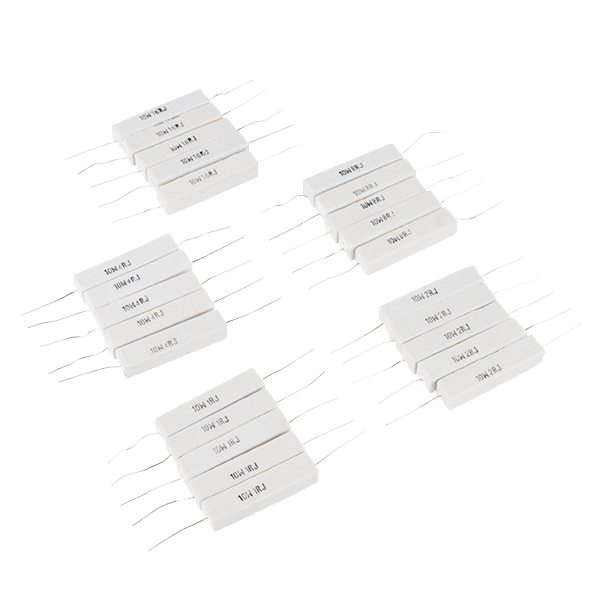 Power Resistor Kit - 10W (25 pack)1 Packung
Benötigte Werkzeuge:
Multimeter Gleichstromnetzgerät
 Lötkolben
 Digitaler Messschieber 6 Zoll
4
4
Context
Context
A practice rung: shunts and multipliers came with the moving-coil meter of the previous rung and turned one movement into a multi-range instrument. The resistance per volt of a meter became its quality mark.
**Honest limits.** Copper shunts drift with temperature (manganin does not). Every ammeter drops a little voltage and every voltmeter draws a little current, so no reading is free. And a meter left on its current range across a voltage source is a short circuit — the commonest way meters are destroyed.
Materialien
6- 1 StückPlatzhalter
- Platzhalter
- Platzhalter
- 1 MeterPlatzhalter
- 10 gPlatzhalter
- Power Resistor Kit - 10W (25 pack)10% Provision1 Packung€5.13
Benötigte Werkzeuge
5- Platzhalter
- Platzhalter
- Platzhalter
- 2 vendors sell this, none ship to you yetPlatzhalter
- Platzhalter
Geschätzte Gesamtkosten
Was der Maker gekauft hat. Materialien ohne Preis besorgst du dort, wo du sie kaufst.
Verwandte Blueprints
Diese Blueprints teilen Wissen — Techniken, Materialien oder Prinzipien
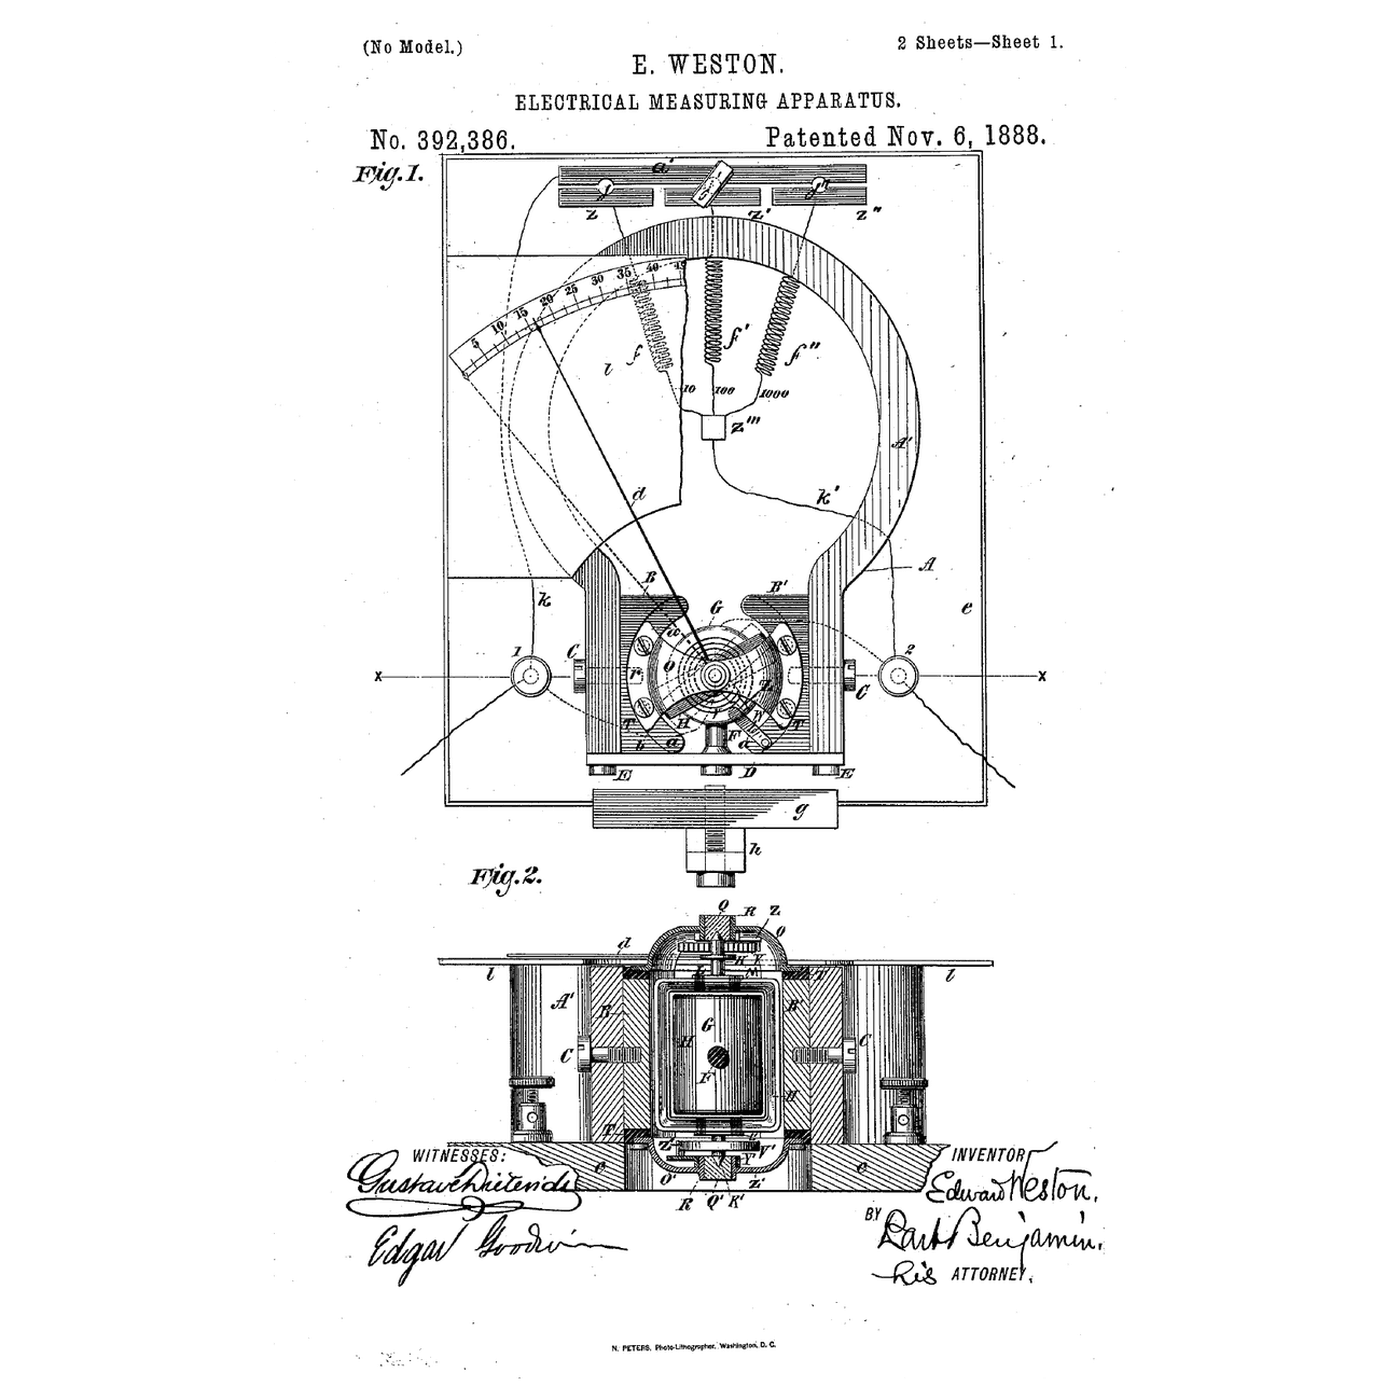
The Moving-Coil Meter: A Coil, a Spring and a Radial Field
von Penny
Elektronik
36
0
0
0
0
0

Ohm's Law at the Bench: Picking the Resistor That Saves the LED
von Volt
Elektronik
42
0
0
0
0
0
Using a Multimeter: Continuity, Volts, Ohms — and the Setting That Blows the Fuse
von Ed
Elektronik
40
0
0
0
0
0
Wheatstone Bridge
von Ed
TECHNOLOGIE
50
0
0
0
0
0
The Fuse Protects the Wire, Not the Thing You Plugged In
von Volt
TECHNOLOGIE
40
0
0
0
0
0
CC0 Gemeinfrei
Dieser Blueprint ist unter CC0 veröffentlicht. Sie dürfen dieses Werk für jeden Zweck frei kopieren, ändern, verbreiten und verwenden, ohne um Erlaubnis zu fragen.
Unterstützen Sie den Maker, indem Sie Produkte über seinen Blueprint kaufen, wo er eine Maker-Provision von Anbietern festgelegt, verdient. Oder erstellen Sie eine neue Iteration dieses Blueprints und verbinden Sie ihn in Ihrem eigenen Blueprint, um Einnahmen zu teilen.