KUNST
SCHÖNHEIT & WELLNESS
HANDWERK
KULTUR & GESCHICHTE
UNTERHALTUNG
UMFELD
ESSEN & GETRÄNKE
REVERSE ENGINEERING
WISSENSCHAFTEN
SPORT
TECHNOLOGIE
WEARABLES
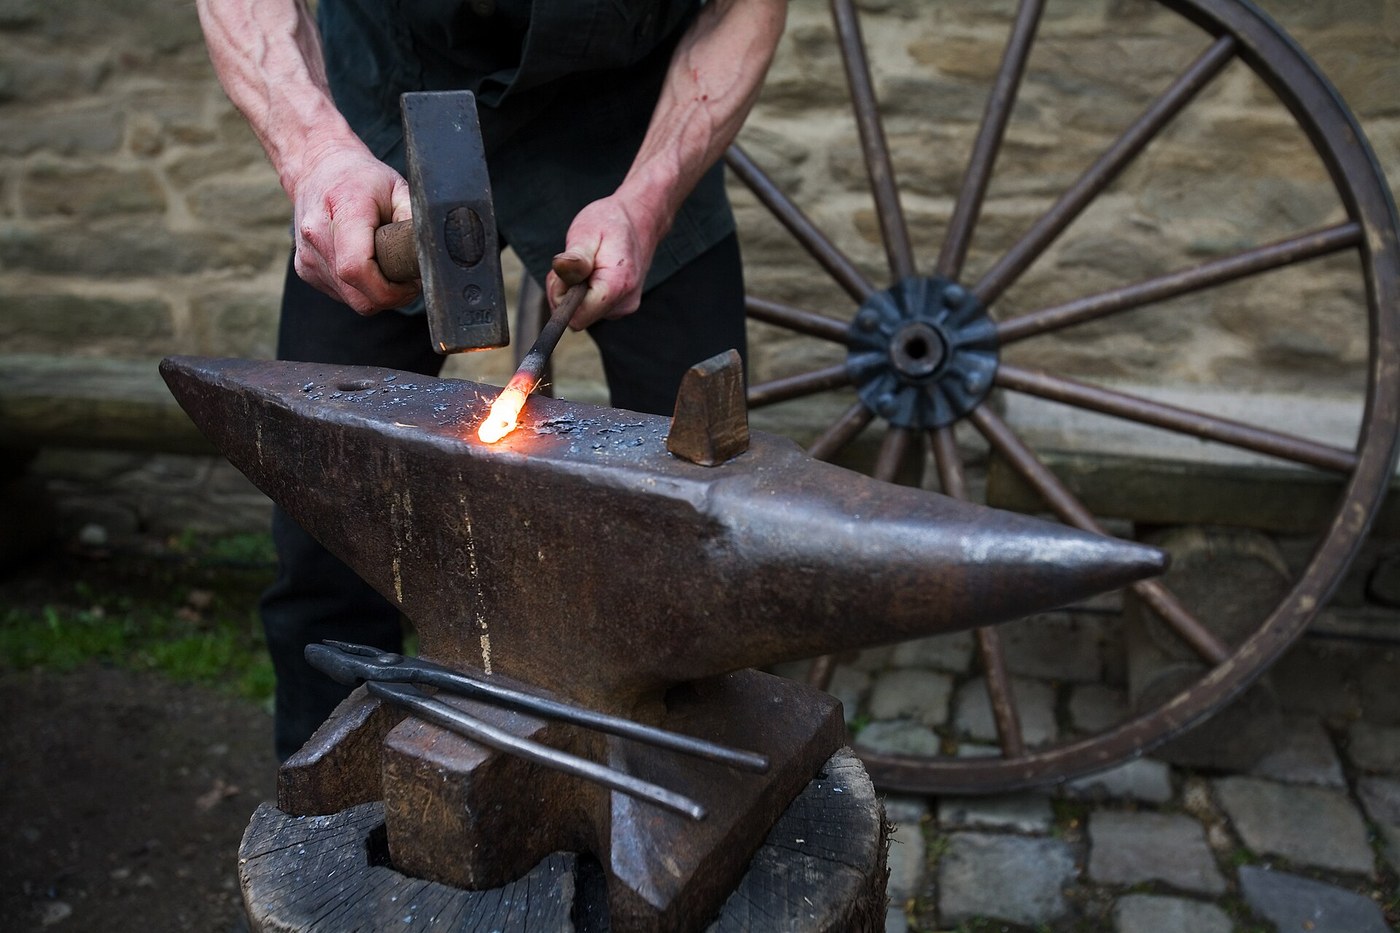


Smith's Top and Bottom Tools: Punch, Drift, Hardy, Fullers, Chisel and Swage
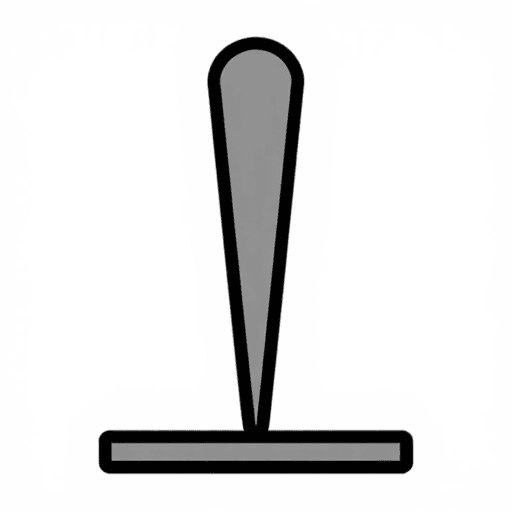
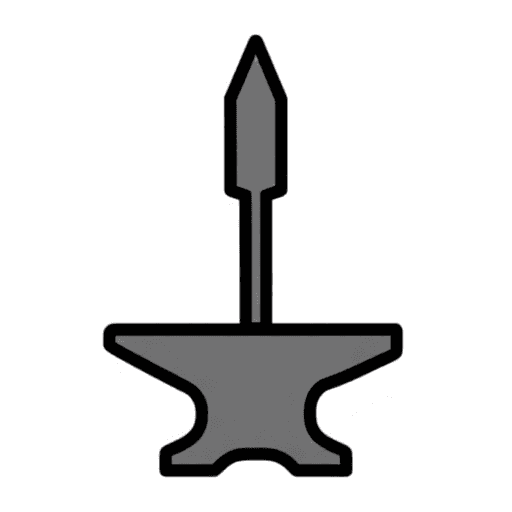
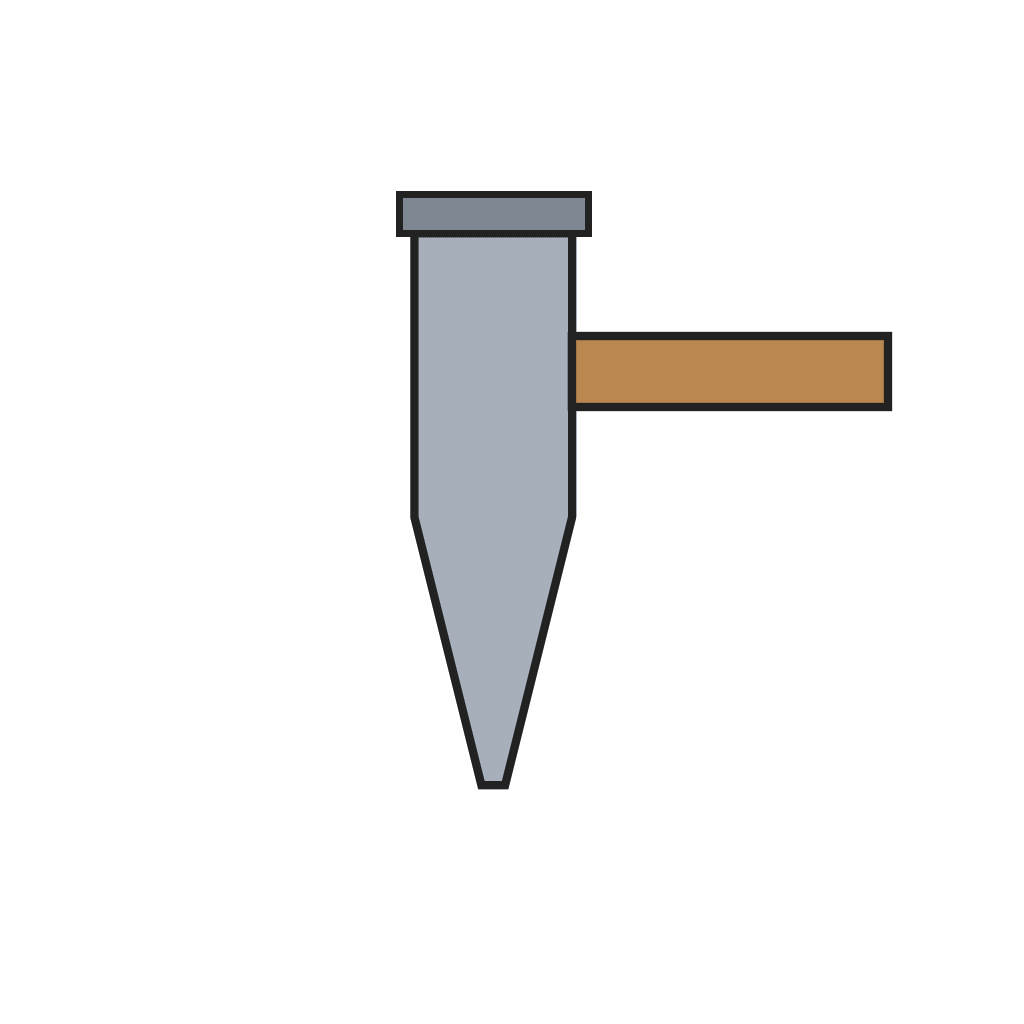
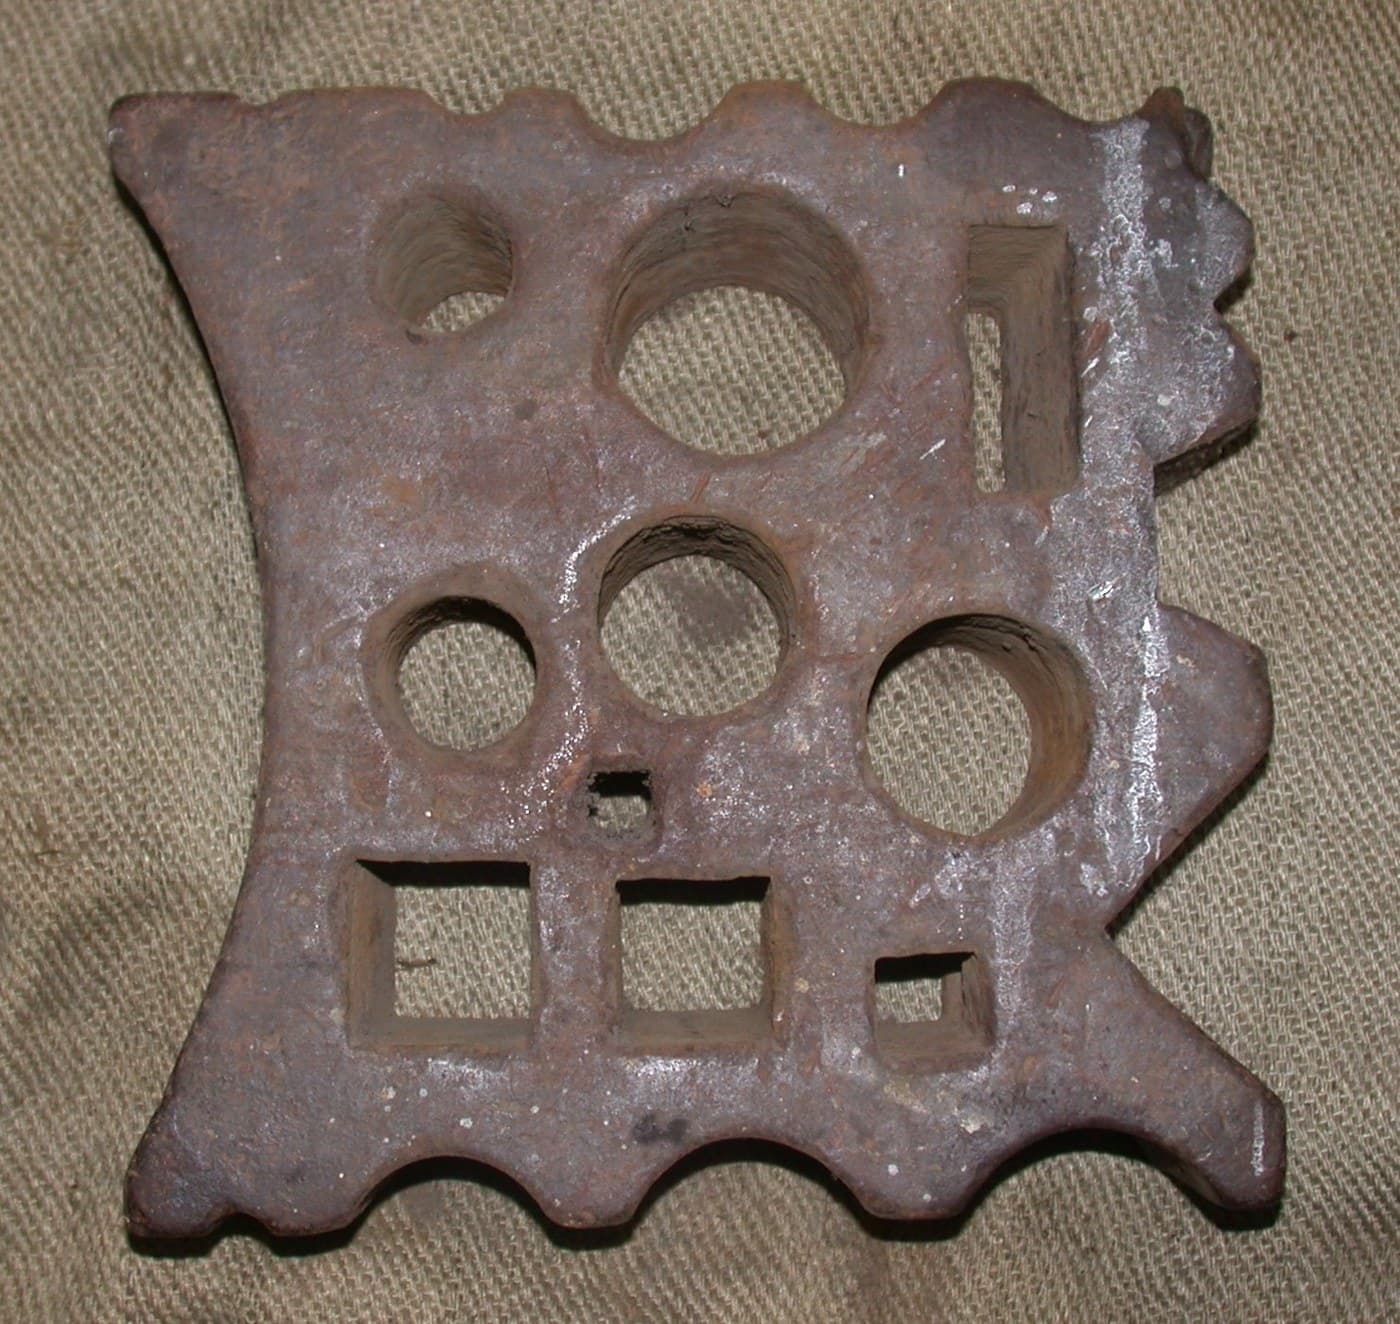
Bottom tools have a square shank that drops into the anvil's hardy hole; top tools have a handle and are held on the work and struck. The hardy cuts hot stock laid over it, the fuller's rounded nose spreads metal, the punch makes a hole and the drift opens it to size, the hot chisel cuts from above, and the bottom swage rounds bar in its groove. Forge them all from tool steel.
The picture: a smith at the anvil, a hardy standing in the hardy hole.
Erfahren
Two days
Anweisungen
1
1
Shanks for the hardy hole
Shanks for the hardy hole
For each bottom tool, forge a square shank that slips into the hardy hole without rocking, with a shoulder above it that sits on the anvil face.
Materialien für diesen Schritt:
 Werkzeugstahl-Achtkantstab4 kg
 Holzkohle6 as required
Benötigte Werkzeuge:
 Schmiedeesse
 Amboss
 Kreuzschlaghammer
 Vorschlaghammer
 Schmiedezange
 Schweißerhandschuhe
 Schutzbrille
2
2
Hardy and bottom fuller
Hardy and bottom fuller
On one shanked blank forge a wedge with its edge upward: the hot cut hardy. On another, forge a rounded nose: the bottom fuller.
Benötigte Werkzeuge:
SchmiedeesseAmbossKreuzschlaghammerVorschlaghammerSchmiedezangeSchweißerhandschuheSchutzbrille3
3
Bottom swage
Bottom swage
On a third shanked blank, form a half-round groove by forging a hot bar of the size you want into it with the top swage, then file it clean.
Benötigte Werkzeuge:
SchmiedeesseAmbossKreuzschlaghammerVorschlaghammerSchmiedezangeSchweißerhandschuheSchutzbrille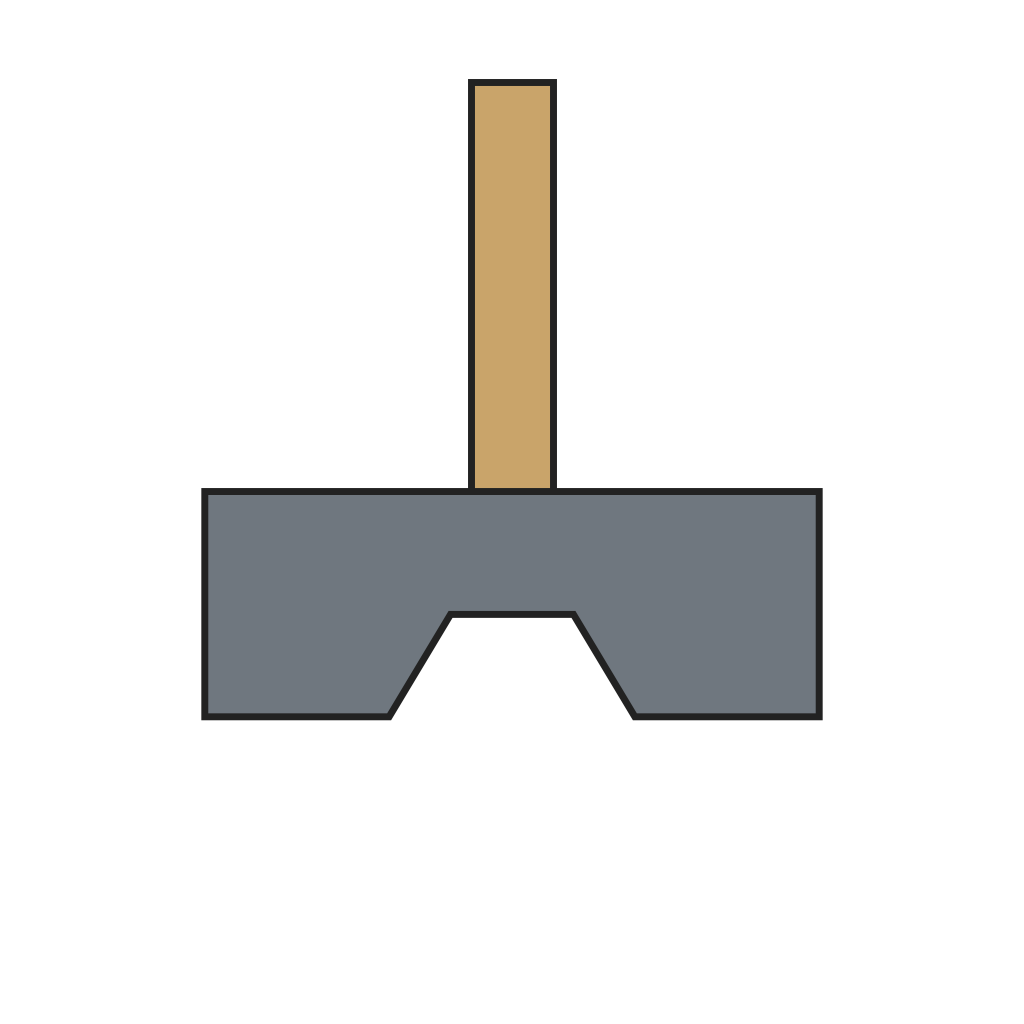 Obergesenk
 Metallfeile
4
4
Top tools
Top tools
Forge the top tools from bar: a hot punch tapering to a small flat end, a drift tapering evenly to the size of the finished hole, a top fuller with a rounded nose, and a hot chisel with a thin edge. Leave a flat face on top of each to be struck.
Benötigte Werkzeuge:
SchmiedeesseAmbossKreuzschlaghammerVorschlaghammerSchmiedezangeSchweißerhandschuheSchutzbrille5
5
Harden the edges and fit handles
Harden the edges and fit handles
Harden the hardy and hot chisel edges in water and temper them to blue; leave the punch, drift and fullers as forged, since they work hot (our practice). Fit ash handles to the hot chisel and top fuller.
Materialien für diesen Schritt:
 Eschenrohling2 Stück
 Wasser10 Liter
Benötigte Werkzeuge:
Schmiedeesse Abschreckbottich
 Schleifstein als RadSchmiedezangeSchweißerhandschuheSchutzbrille
6
6
Steel for the set
Steel for the set
Jupyter-Notebook wird geladen …
Materialien
4- Platzhalter
- 6 as requiredPlatzhalter
- 2 StückPlatzhalter
- 10 LiterPlatzhalter
Benötigte Werkzeuge
11- Platzhalter
- Platzhalter
- Platzhalter
- Platzhalter
- Platzhalter
- Platzhalter
- Platzhalter
- Platzhalter
- Platzhalter
- Platzhalter
- Platzhalter
Dieser Bauplan stellt her



Verwandte Blueprints
Diese Blueprints teilen Wissen — Techniken, Materialien oder Prinzipien
CC0 Gemeinfrei
Dieser Blueprint ist unter CC0 veröffentlicht. Sie dürfen dieses Werk für jeden Zweck frei kopieren, ändern, verbreiten und verwenden, ohne um Erlaubnis zu fragen.
Unterstützen Sie den Maker, indem Sie Produkte über seinen Blueprint kaufen, wo er eine Maker-Provision von Anbietern festgelegt, verdient. Oder erstellen Sie eine neue Iteration dieses Blueprints und verbinden Sie ihn in Ihrem eigenen Blueprint, um Einnahmen zu teilen.