KUNST
SCHÖNHEIT & WELLNESS
HANDWERK
KULTUR & GESCHICHTE
UNTERHALTUNG
UMFELD
ESSEN & GETRÄNKE
REVERSE ENGINEERING
WISSENSCHAFTEN
SPORT
TECHNOLOGIE
WEARABLES
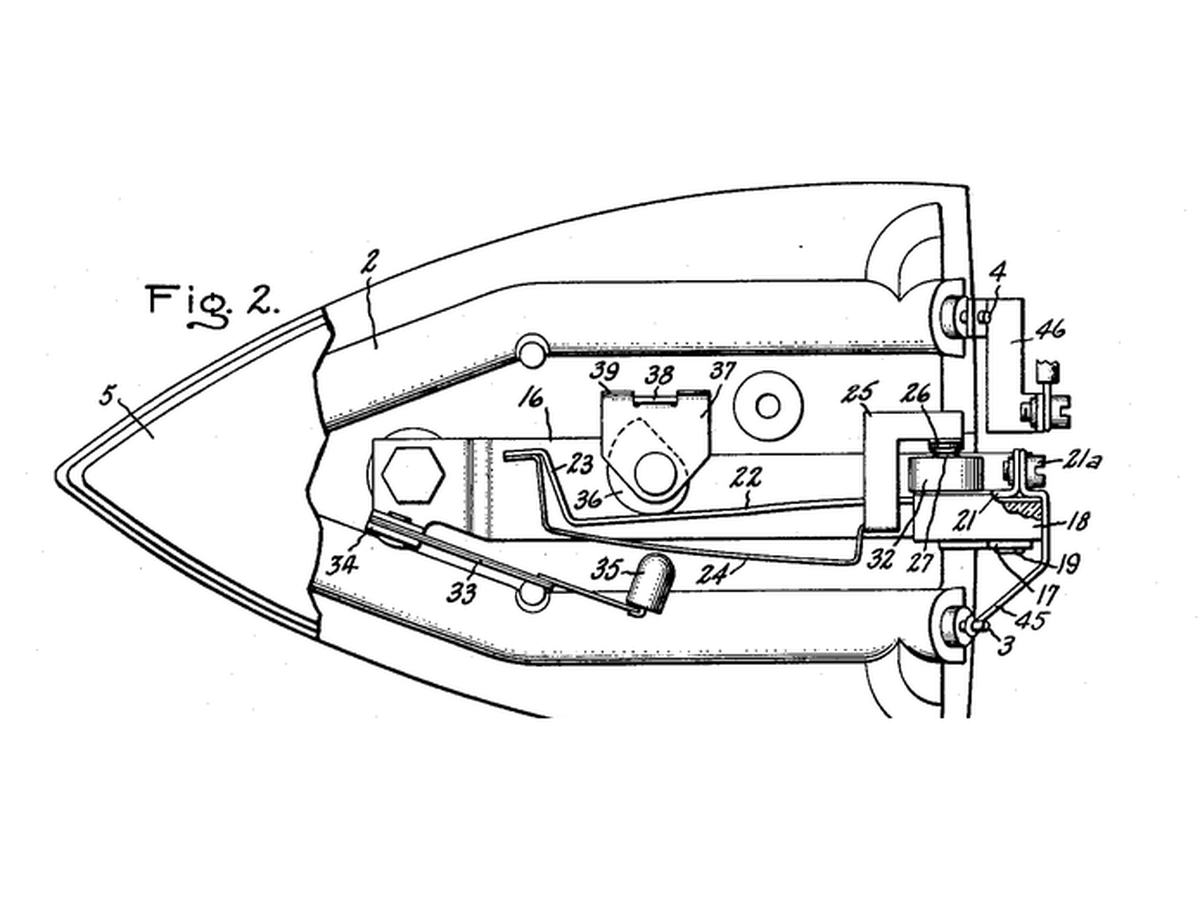


Thermostatic Electric Iron
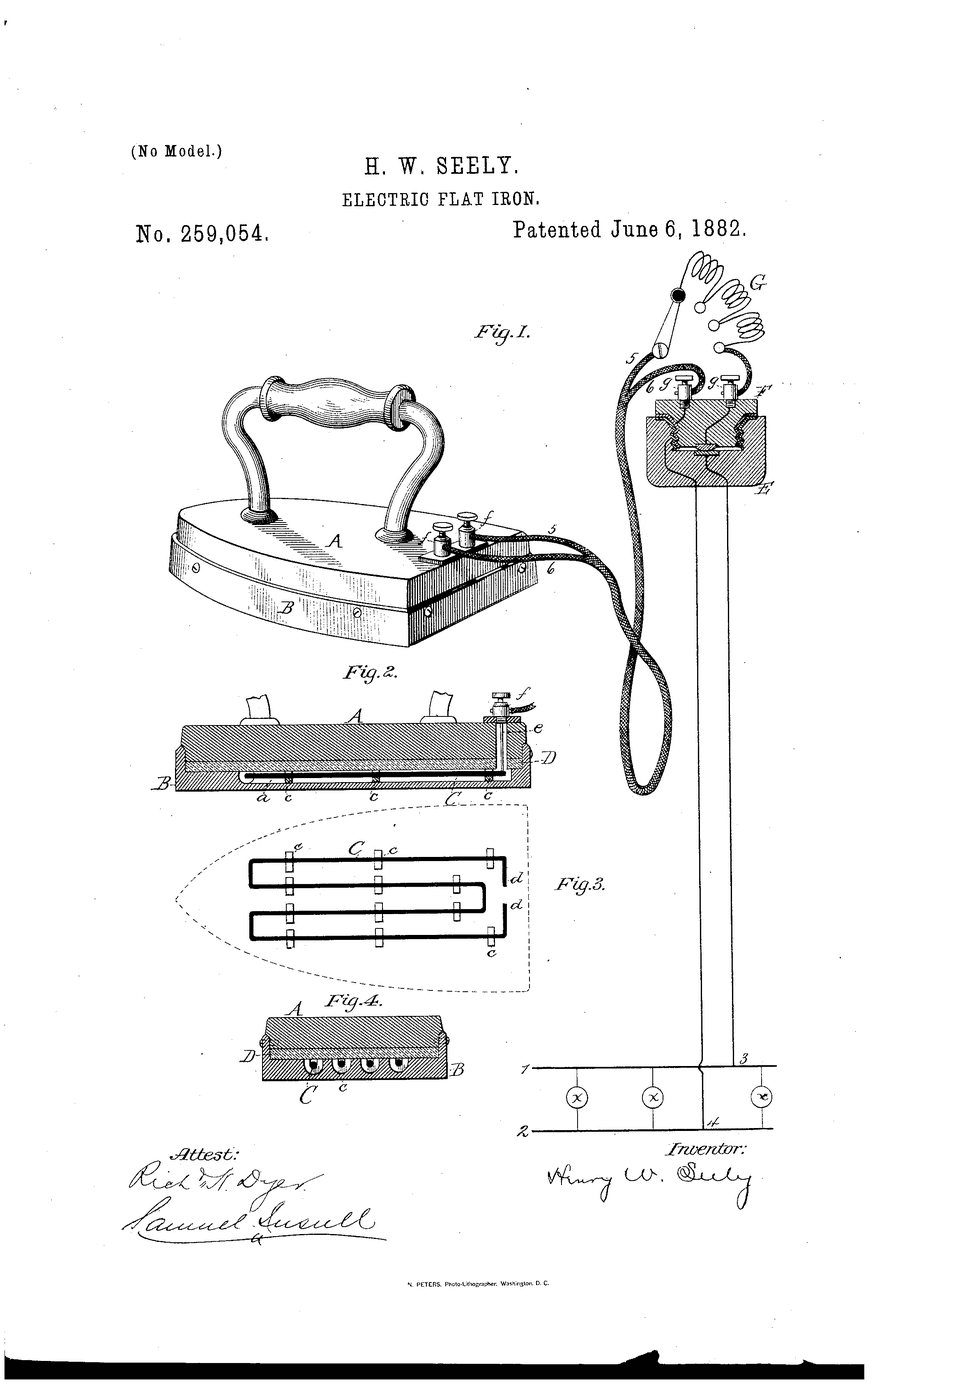
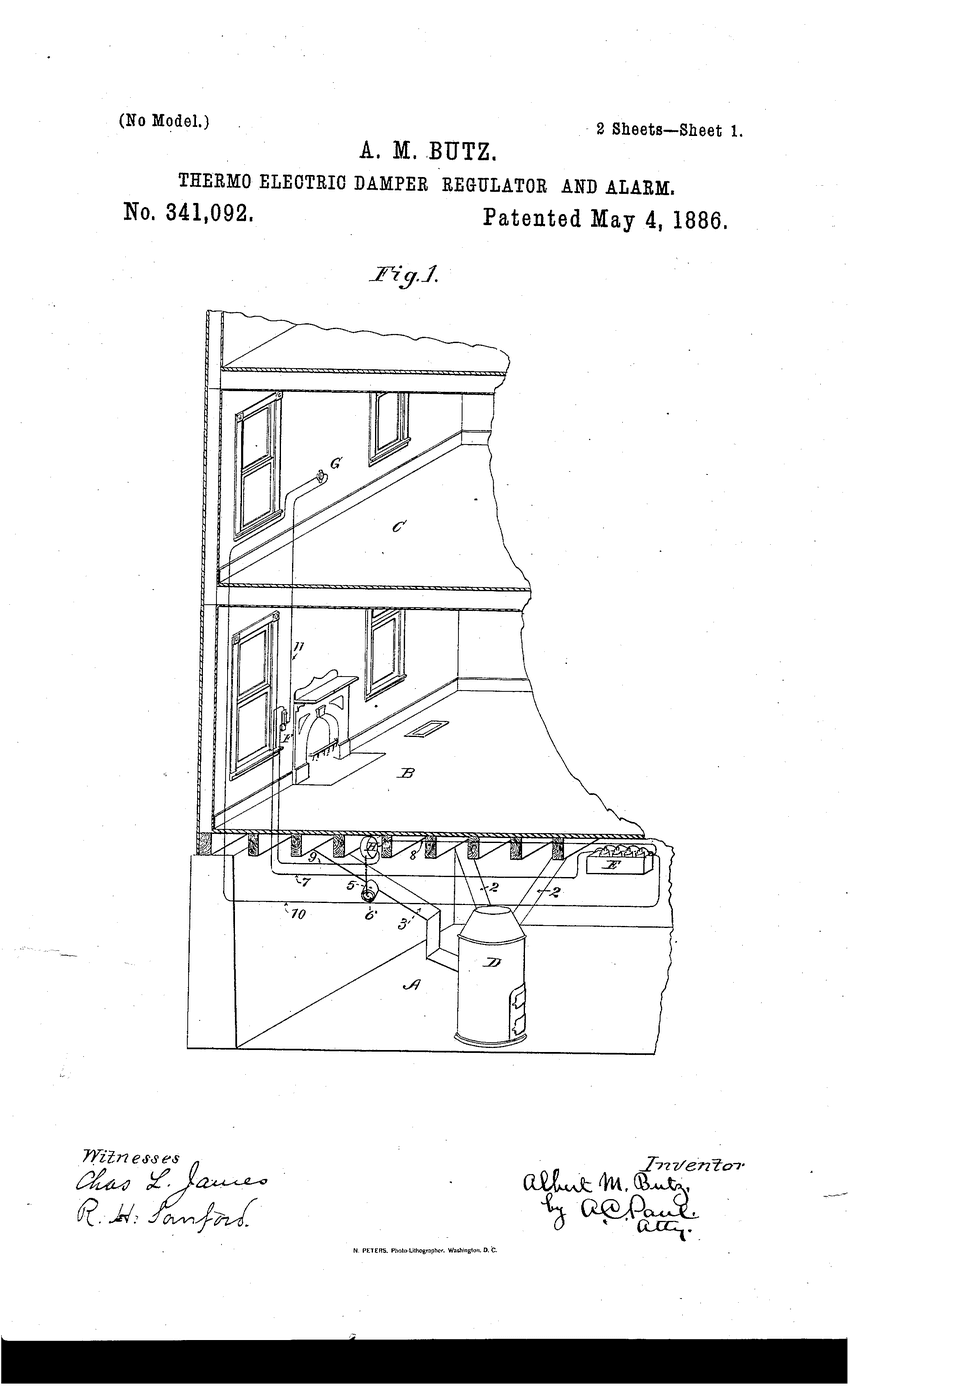
The electric flat-iron already published has one state: on. Leave it plugged in and it keeps getting hotter until something scorches - the user is the thermostat. The rung above it puts the Butz idea, a bimetallic strip, inside the iron: the iron holds whatever temperature the dial asks for, and silk and linen each get their own.
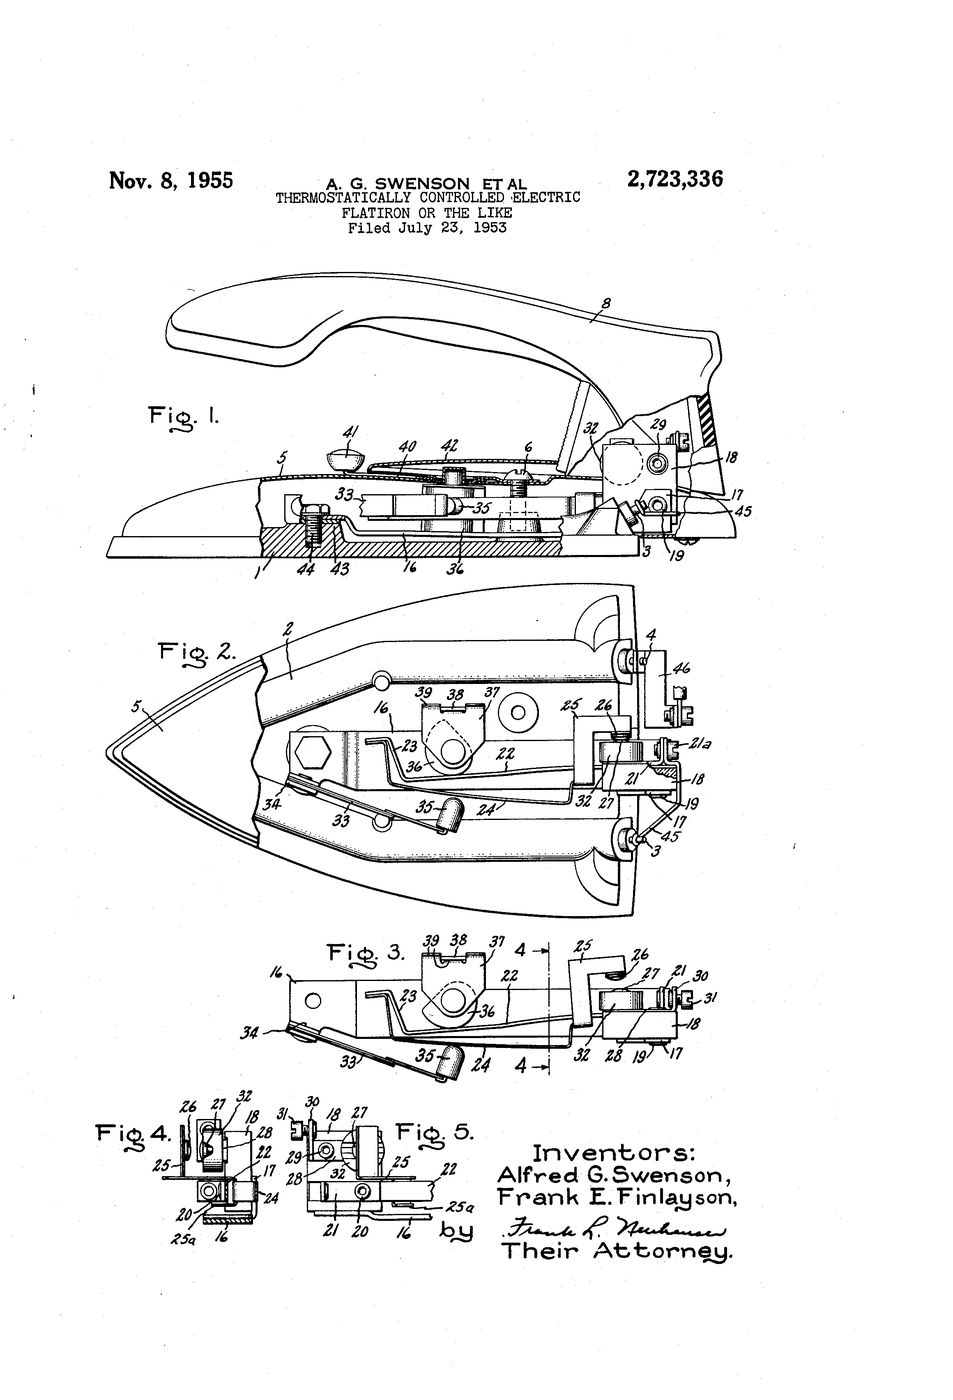
**US 2,723,336**, "Thermostatically controlled electric flatiron or the like", Swenson and Finlayson, assigned to General Electric, filed 23. July 1953, granted 8. November 1955.
**You build the thermostat, not the mains appliance**: a bimetallic strip switching a battery-powered lamp, measured on a hotplate - then you measure a real iron's cycling from the outside.
Anfänger
2 hours
Anweisungen
1
1
A switch from a strip
A switch from a strip
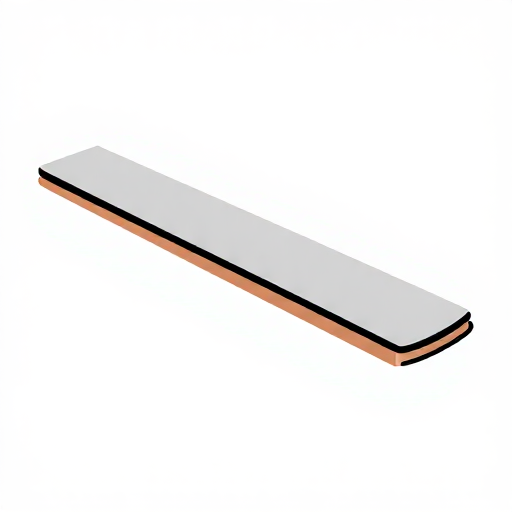
Clamp one end of the bimetallic strip. Set a screw or a stiff wire as the contact so the free end presses it at room temperature. Wire strip and contact in series with the LED, its resistor and the battery holder: the lamp is on while they touch.
Materialien für diesen Schritt:
 Bimetallstreifen1 Stück
 5-mm-LED1 Stück
 Widerstandssortiment1 Set
 Dupont-Steckkabelsatz (Stecker-Buchse)1 Set
Benötigte Werkzeuge:
 AA-Batteriehalter (4 Zellen)
 Federklemme
2
2
Heat it and watch
Heat it and watch
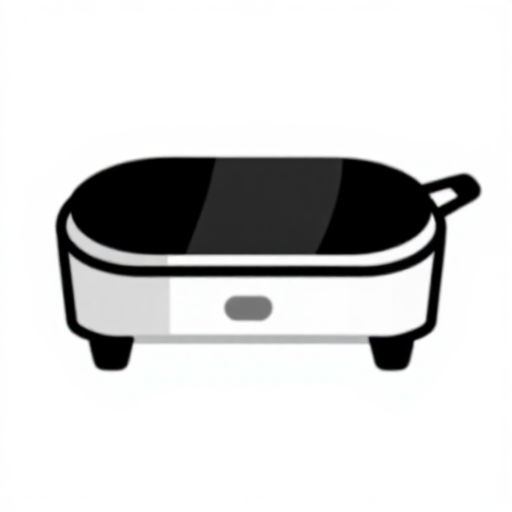
Tape the thermocouple to the strip. Warm it gently on the hotplate and note the temperature when the lamp goes out; let it cool and note when it lights again. Three runs.
Benötigte Werkzeuge:
 Heizplatte
 Thermoelement mit Anzeige
 Klare Schutzbrille
3
3
Move the contact
Move the contact
Turn the contact screw in by half a turn so the strip must bend further, and repeat. That screw is the iron's fabric dial.
Benötigte Werkzeuge:
Thermoelement mit Anzeige4
4
Measure a real iron
Measure a real iron
Stand a steam iron on its heel on a heatproof surface at a mid setting. With the infrared thermometer on the soleplate and a stopwatch, time how long its indicator lamp stays on and off over several cycles, and note the highest and lowest readings.
Benötigte Werkzeuge:
 Dampfbügeleisen
 Infrarot-Thermometer
 Stoppuhr
5
5
Bend, hysteresis, duty cycle
Bend, hysteresis, duty cycle
Jupyter-Notebook wird geladen …
6
6
History & Context
History & Context
**What the patent specifies:** a flatiron whose heating element is switched by a thermostat set from a fabric dial, holding the soleplate at the chosen temperature. **Modern build (derived):** the bimetal switch alone, on safe low voltage, plus outside measurements of a working iron.
The same bimetal switch went into kettles, ovens, toasters and motor overload protectors. Its limits: the strip switches over a few degrees of swing, it ages with cycling, and it senses its own temperature - not the cloth's.
Materialien
4- 1 StückPlatzhalter
- Platzhalter
- Platzhalter
- Platzhalter
Benötigte Werkzeuge
8- Platzhalter
- Platzhalter
- Platzhalter
- Platzhalter
- Platzhalter
- Platzhalter
- Platzhalter
- Platzhalter
Verwandte Blueprints
Diese Blueprints teilen Wissen — Techniken, Materialien oder Prinzipien

CC0 Gemeinfrei
Dieser Blueprint ist unter CC0 veröffentlicht. Sie dürfen dieses Werk für jeden Zweck frei kopieren, ändern, verbreiten und verwenden, ohne um Erlaubnis zu fragen.
Unterstützen Sie den Maker, indem Sie Produkte über seinen Blueprint kaufen, wo er eine Maker-Provision von Anbietern festgelegt, verdient. Oder erstellen Sie eine neue Iteration dieses Blueprints und verbinden Sie ihn in Ihrem eigenen Blueprint, um Einnahmen zu teilen.