
Zusammenarbeit
KUNST
SCHÖNHEIT & WELLNESS
HANDWERK
KULTUR & GESCHICHTE
UNTERHALTUNG
UMFELD
ESSEN & GETRÄNKE
REVERSE ENGINEERING
WISSENSCHAFTEN
SPORT
TECHNOLOGIE
WEARABLES
Washing Machine with Churn: One Crank Pounds the Wash, Turns the Tub and Works a Dash Churn (Wagoner & Severson, 1859)
YourGrandma

Erstellt von

YourGrandma

11. November 2026IS
1
0
0
0
0

Washing Machine with Churn: One Crank Pounds the Wash, Turns the Tub and Works a Dash Churn (Wagoner & Severson, 1859)

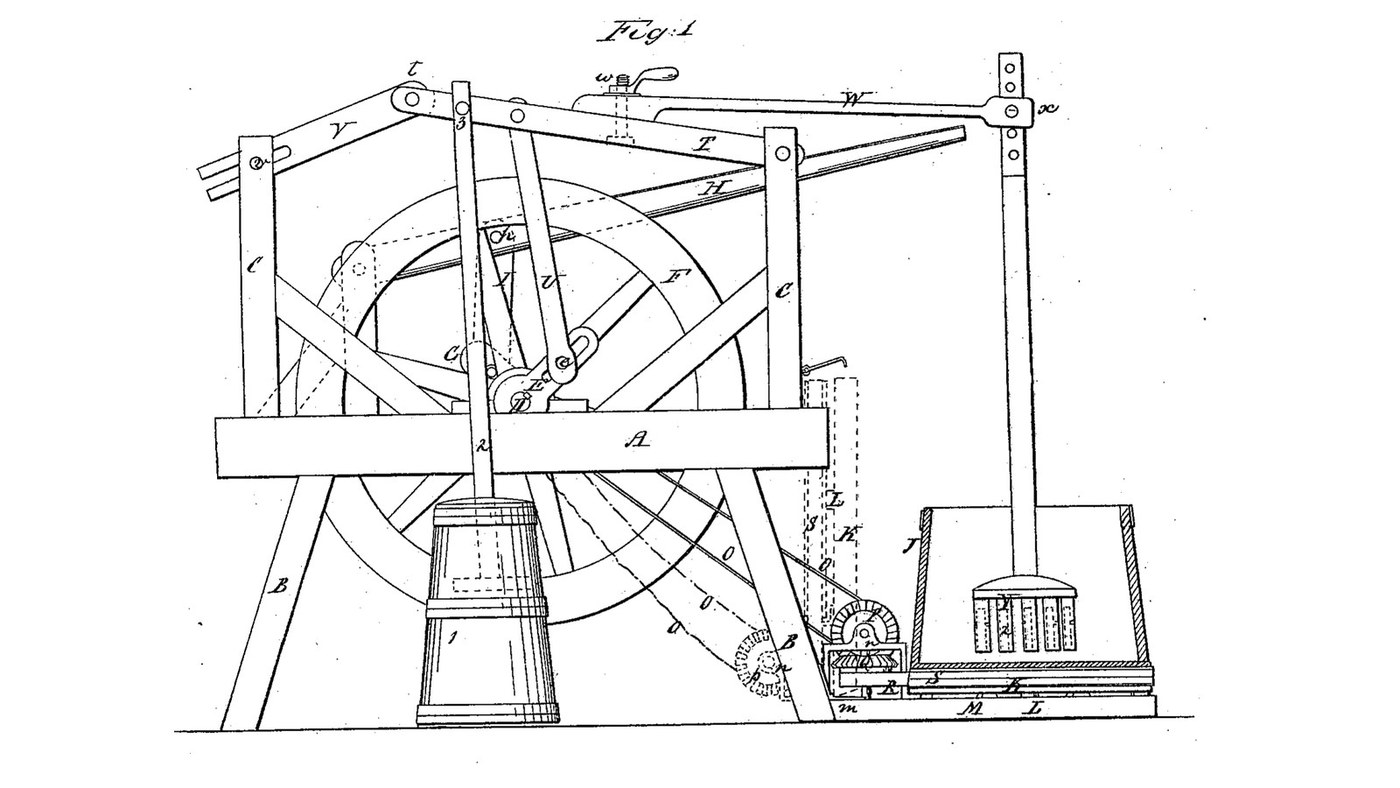
John Wagoner and Abram Severson Jr. of Guilderland Center, New York, received US 25,152, dated 16 August 1859, for a washing machine. A crank shaft with a heavy balance wheel rocks a long lever. A springy beam on the lever carries a pounder into the tub, and a belt and a pair of bevel wheels turn the tub slowly under it. The tub stands on a hinged platform: folded up it slackens the belt, and let down the tub's weight tightens it. A pin on the lever also works the dash of a churn standing beside the machine, with or without the washing. The patent gives no sizes; every size here is ours.
Erfahren
About 5 days, plus printing

Anweisungen

1

Crank pin, strokes and tub speed

Jupyter-Notebook wird geladen …
2

One crank working a churn and a washtub, a year before

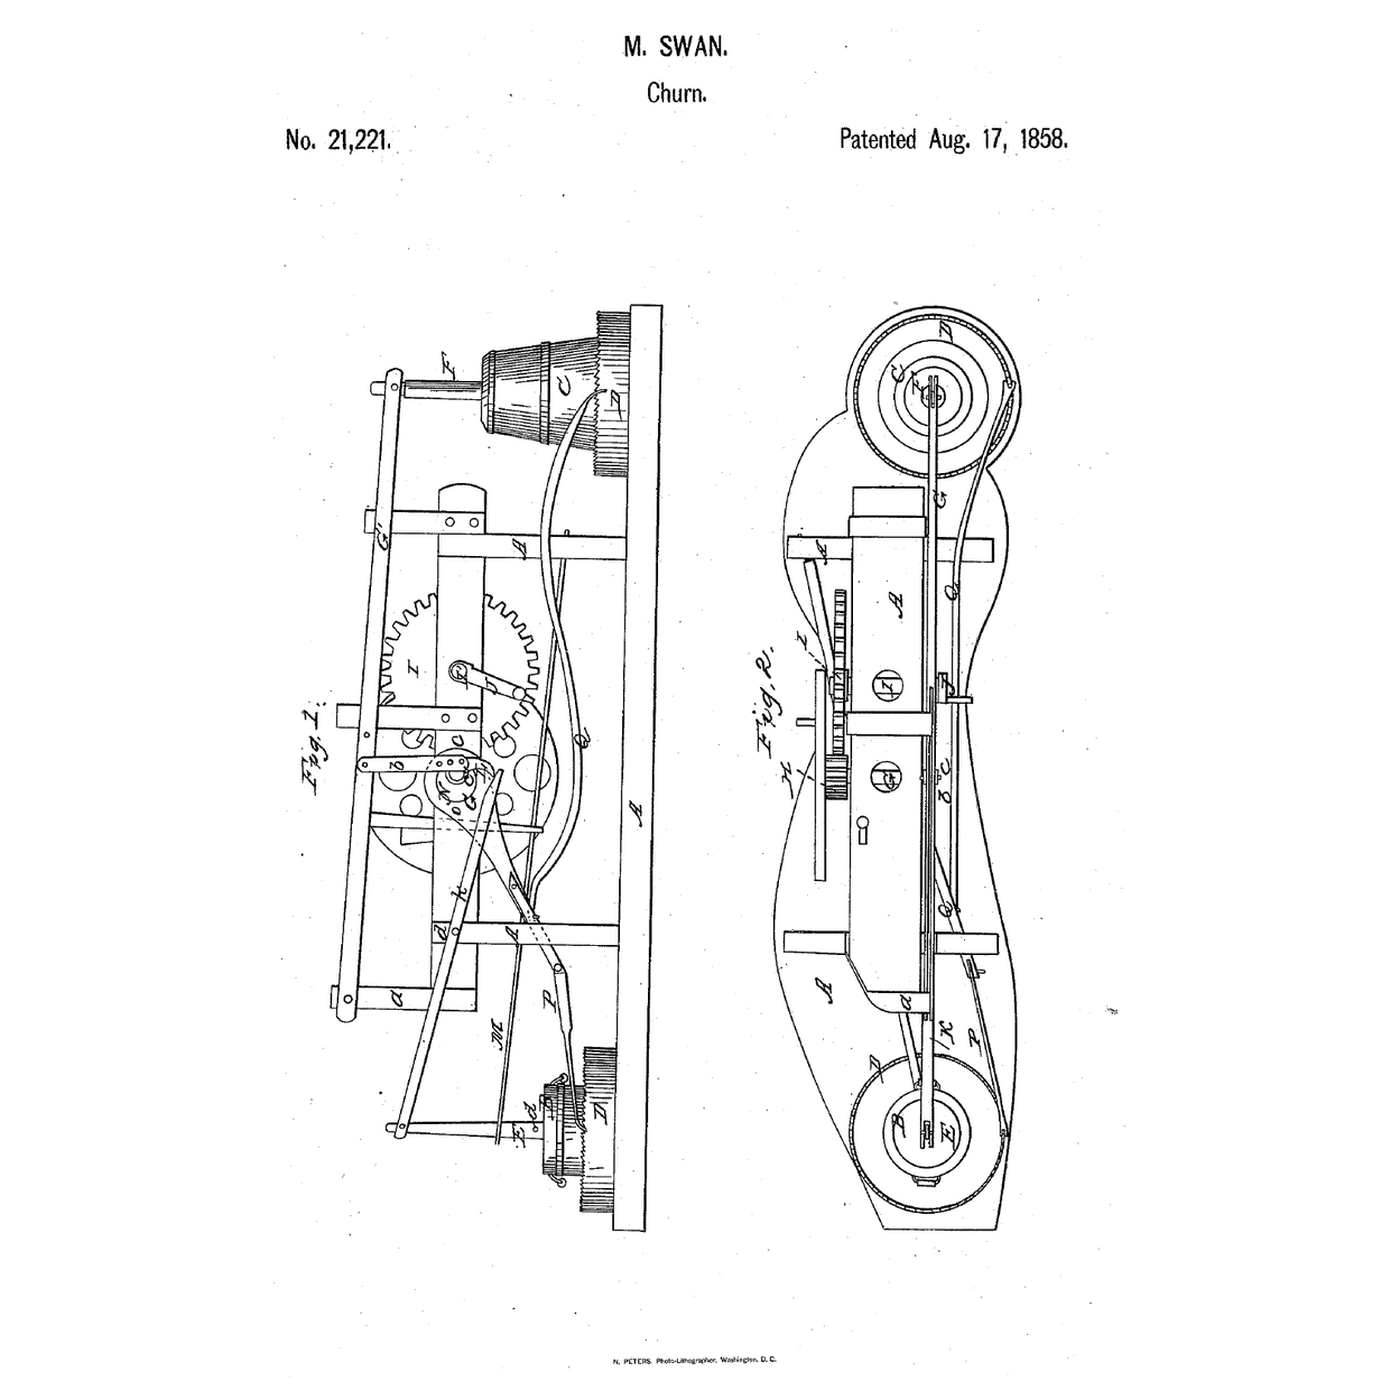
Swan's machine lifted a plunger by a cam. Here a springy beam carries the pounder, and the tub's own weight tightens the belt that turns it.
3

Read US 25,152

"In addition to what has now been described our machine is adapted to operate a churn very effectively either alone or simultaneously with the washing operation." "We place the center of our tube J out of the plane of the motion of the levers T and V. Our pounder therefore inclines to strike on one side of J and not in the center thereby increasing the uniformity of the effect on the contents."
4

Print the pulley for shaft D

Flat-faced pulley 120 mm across and 40 mm wide, bored 31 mm for shaft D. PETG, 0.2 mm layers, 40 % infill, 4 walls.
DesigndateiSTLCC0 - Free
5

Print pulley R

Flat-faced pulley 100 mm across and 40 mm wide, bored 21 mm for the lower bevel wheel's shaft. PETG, 0.2 mm layers, 40 % infill, 4 walls.
DesigndateiSTLCC0 - Free
6

Frame A, legs B and uprights C

From 70 x 70 mm timber cut three stringers 1500 mm, two cross pieces 630 mm, four legs 700 mm, an upright 830 mm and an upright 720 mm. Bolt the cross pieces across the tops of the legs and the stringers on the cross pieces, 210 mm apart, so the frame's top is 840 mm from the floor. Bolt the long upright to the outside of the front stringer 100 mm from the left end and the short one 100 mm from the right end. Chisel an opening 50 x 260 mm through the left upright, from 440 to 700 mm above the stringer, and bore it across 560 mm up for pin v (a 16 mm bolt).

Materialien für diesen Schritt:

Nadelholz 70x70 mmNadelholz 70x70 mm11 m
SchlossschraubeSchlossschraube16 Stück
UnterlegscheibeUnterlegscheibe16 Stück
Sicherungsmutter mit KunststoffeinsatzSicherungsmutter mit Kunststoffeinsatz16 Stück

Benötigte Werkzeuge:

HandsägeHandsäge
AkkubohrschrauberAkkubohrschrauber
BohrersatzBohrersatz
Flachfräsbohrer-SatzFlachfräsbohrer-Satz
LochbeitelLochbeitel
Holzhammer (Klüpfel)Holzhammer (Klüpfel)
AnschlagwinkelAnschlagwinkel
Bandmaß (Rollmeter)Bandmaß (Rollmeter)
RollgabelschlüsselRollgabelschlüssel
Schraubzwinge mit SchiebebügelSchraubzwinge mit Schiebebügel
7

Shaft D, balance wheel F and crank E

Bolt three bearing blocks on the stringers' tops 650 mm from the left end and pass a 30 mm steel shaft D through them, 710 mm long. Build the balance wheel from three layers of 20 mm hardwood segments glued crossways: 840 mm across, a 100 mm rim and four spokes, 50 mm thick in all. Fit it on D between the front and middle stringers, the printed pulley between the middle and back stringers, and a hand crank 240 mm long on the back end. On the front end fit crank E, a hardwood arm 20 mm thick with a slot from 50 to 125 mm out, and a 20 mm bolt in the slot for the crank pin e.

Materialien für diesen Schritt:

EdelstahlstabEdelstahlstab1 Stück
LagerbockLagerbock3 Stück
HartholzbrettHartholzbrett3 Stück
HolzleimHolzleim1 Stück
Sechskantschrauben-SortimentSechskantschrauben-Sortiment13 Stück
Sicherungsmutter mit KunststoffeinsatzSicherungsmutter mit Kunststoffeinsatz13 Stück

Shaft CollarShaft Collar2 Stück

Benötigte Werkzeuge:

StichsägeStichsäge
KompassKompass
TischkreissägeTischkreissäge
AkkubohrschrauberAkkubohrschrauber
Flachfräsbohrer-SatzFlachfräsbohrer-Satz
OberfräseOberfräse
Schraubzwinge mit SchiebebügelSchraubzwinge mit Schiebebügel
Bügelsäge (Metallsäge)Bügelsäge (Metallsäge)
RollgabelschlüsselRollgabelschlüssel
8

Lever T, link U and rod V

Cut lever T from hardwood 40 x 70 mm, 1195 mm long. Bolt it to the front of the right upright, 610 mm above the stringer, free to rock. Join it to the crank pin by link U, hardwood 20 x 40 mm with its pin holes 560 mm apart, 715 mm from T's pivot. At T's left end join rod V, hardwood 30 x 40 mm, slotted 22 mm wide for 220 mm, and pass it through the left upright's opening astride pin v. Fix a steel pin 3, 24 mm and 370 mm long, through T 1015 mm from its pivot, sticking out at the front for the churn.

Materialien für diesen Schritt:

HartholzbrettHartholzbrett2 Stück
Sechskantschrauben-SortimentSechskantschrauben-Sortiment4 Stück
UnterlegscheibeUnterlegscheibe8 Stück
Sicherungsmutter mit KunststoffeinsatzSicherungsmutter mit Kunststoffeinsatz4 Stück

EdelstahlstabEdelstahlstab1 Stück

Benötigte Werkzeuge:

TischkreissägeTischkreissäge
OberfräseOberfräse
AkkubohrschrauberAkkubohrschrauber
BohrersatzBohrersatz
Flachfräsbohrer-SatzFlachfräsbohrer-Satz
Bügelsäge (Metallsäge)Bügelsäge (Metallsäge)
SchleifpapierSchleifpapier
RollgabelschlüsselRollgabelschlüssel
Bandmaß (Rollmeter)Bandmaß (Rollmeter)
9

Spring beam W and the pounder

Cut the spring beam W from ash 30 x 40 mm, 1210 mm long. Lay it on T's top, its left end against a block glued on T, bolt it through T 415 mm left of the pivot with a wing nut (the hand nut w), and let it run past the upright to overhang the frame by 510 mm. Make rod X from hardwood 40 x 40 mm, 1090 mm long, with four holes at its top for height. Under it glue a hardwood head 200 x 120 mm with five legs 30 x 36 mm, 160 mm long, each slotted (Z) and bored across (z). Hang X from W's end on a bolt so it swings freely, in front of W.

Materialien für diesen Schritt:

EschenbrettEschenbrett1 Stück
HartholzbrettHartholzbrett1 Stück
HolzleimHolzleim1 Stück
Sechskantschrauben-SortimentSechskantschrauben-Sortiment2 Stück
HandflügelmutterHandflügelmutter1 Stück
UnterlegscheibeUnterlegscheibe4 Stück

Benötigte Werkzeuge:

TischkreissägeTischkreissäge
OberfräseOberfräse
AkkubohrschrauberAkkubohrschrauber
BohrersatzBohrersatz
LochbeitelLochbeitel
Holzhammer (Klüpfel)Holzhammer (Klüpfel)
SchleifpapierSchleifpapier
Schraubzwinge mit SchiebebügelSchraubzwinge mit Schiebebügel
10

Hinged platform M, bevel wheels and platform K

Make platform M from 40 mm hardwood, 860 x 860 mm, and hang it on two strap hinges (the butts m) at the feet of the right-hand legs. On M, 100 mm from the hinges, fit a 20 mm vertical shaft in a flange bearing with pulley R and the lower bevel wheel on it. In a hardwood post fit a 20 mm cross shaft with the upper bevel wheel and a 240 mm hardwood pulley P in line with the pulley on D. 480 mm from the hinges, 340 mm towards the front, set a 24 mm shaft L in a hardwood block that slides in a slot along M, with a compression spring pushing it away from R. Glue platform K, 660 mm across and 40 mm thick, bore it for L, and set four 40 mm hardwood wheels l under its edge.

Materialien für diesen Schritt:

HartholzbrettHartholzbrett4 Stück
HolzleimHolzleim1 Stück
Eisernes LangbandEisernes Langband2 Stück
FlanschlagerFlanschlager3 Stück
Kegelradsatz (Stahl, 1:1)Kegelradsatz (Stahl, 1:1)1 Stück
EdelstahlstabEdelstahlstab1 Stück
Shaft CollarShaft Collar3 Stück
Druckfedern-SortimentDruckfedern-Sortiment1 Stück
HartholzdübelHartholzdübel1 Stück
HolzschraubenHolzschrauben40 Stück
Sechskantschrauben-SortimentSechskantschrauben-Sortiment4 Stück
Sicherungsmutter mit KunststoffeinsatzSicherungsmutter mit Kunststoffeinsatz4 Stück
PETG-FilamentPETG-Filament1 Stück

Benötigte Werkzeuge:

FDM-3D-DruckerFDM-3D-Drucker
StichsägeStichsäge
KompassKompass
OberfräseOberfräse
AkkubohrschrauberAkkubohrschrauber
BohrersatzBohrersatz
Flachfräsbohrer-SatzFlachfräsbohrer-Satz
Bügelsäge (Metallsäge)Bügelsäge (Metallsäge)
Schraubzwinge mit SchiebebügelSchraubzwinge mit Schiebebügel
RollgabelschlüsselRollgabelschlüssel
11

Belts O and S, and the fold

Put belt S round pulley R and platform K's rim. Fold M up against the frame, run a string round the pulley on D and pulley P, and choose belt O just short enough that, with M let down and empty, it holds M at a slight angle; "The belt O is sufficiently short to hold the platform M at a slight angle until the weight of J is added thereto." Set the wooden tub J on K: its weight should pull M flat and the belt tight. Oil the wood.

Materialien für diesen Schritt:

AntriebsriemenAntriebsriemen2 Stück
HolzbottichHolzbottich1 Stück
LeinölfirnisLeinölfirnis1 Stück

Benötigte Werkzeuge:

Bandmaß (Rollmeter)Bandmaß (Rollmeter)
12

The build in 3D

FreeCAD model of this build: the frame, shaft D with the balance wheel and crank E, lever T with link U and rod V, the spring beam W and the pounder in the tub (front of the tub cut away), the hinged platform M with the bevel wheels, pulleys and belts, and the churn on pin 3. The crank was turned through 18 positions.
DesigndateiBLENDCC0 - Free
13

Wash

Put warm water, soap and the clothes in the tub, and set the pounder's height so its feet clear the tub's bottom by the clothes. Turn the hand crank steadily. The pounder rises and falls on one side of the tub while the tub turns under it, so every part of the wash comes under it in turn. Move the crank pin out in its slot for a longer stroke, in for a shorter one. Lift the clothes out to rinse and wring.

Benötigte Werkzeuge:

WasserWasser
Stück SeifeStück Seife
14

Churn on pin 3

Make the dash 2: a hardwood rod 35 mm across, 1250 mm long, bored at the top to hang on pin 3, with two crossed blades 220 x 30 x 20 mm at the bottom. Stand the churn under pin 3, beside the machine, pour in about 10 litres of cream at about 15 °C (checked with the thermometer), a third of its height, pass the dash through the lid and hang it on pin 3. Turn the crank, with or without the wash, timing it. When the butter comes, lift the dash off the pin, drain the buttermilk, wash the butter in cold water, salt and weigh it.

Materialien für diesen Schritt:

SchlagsahneSchlagsahne10 l
Grobes MeersalzGrobes Meersalz1 Stück
HartholzbrettHartholzbrett1 Stück
HartholzdübelHartholzdübel1 Stück

Benötigte Werkzeuge:
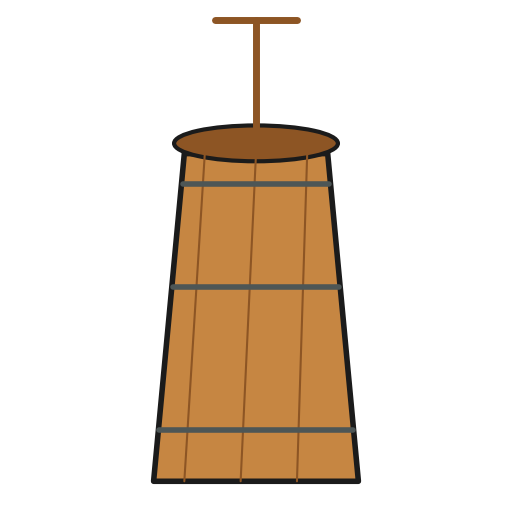
ButterfassButterfass
Einsteck-FühlerthermometerEinsteck-Fühlerthermometer
StoppuhrStoppuhr
Digitale KüchenwaageDigitale Küchenwaage
Große Rührschüssel aus EdelstahlGroße Rührschüssel aus Edelstahl
WasserWasser
AkkubohrschrauberAkkubohrschrauber
Flachfräsbohrer-SatzFlachfräsbohrer-Satz
HandsägeHandsäge
15

Troubleshooting

Washing machine troubleshooting.

Flow

Loading...
16

History and honest limits

**John Wagoner and Abram Severson, Jr.** of Guilderland Center, New York, US 25,152, 16 August 1859, "Washing-Machine". They claimed mounting the platform K and the pulleys and gearing P Q R on the hinged platform M, so turning M up slackens belt O and turning it down lets the tub's weight tighten it. The patent gives no sizes; every size here is ours. Their hand lever H and rod I, a second way to turn D, are not built: we turn D by a crank, which the patent allows. The spring that urges K's centre against belt S is "not represented" in their drawing; ours is a compression spring in a slot.

Materialien

24

Benötigte Werkzeuge

24

Designdateien

3

CC0 Gemeinfrei

Dieser Blueprint ist unter CC0 veröffentlicht. Sie dürfen dieses Werk für jeden Zweck frei kopieren, ändern, verbreiten und verwenden, ohne um Erlaubnis zu fragen.

Unterstützen Sie den Maker, indem Sie Produkte über seinen Blueprint kaufen, wo er eine Maker-Provision von Anbietern festgelegt, verdient. Oder erstellen Sie eine neue Iteration dieses Blueprints und verbinden Sie ihn in Ihrem eigenen Blueprint, um Einnahmen zu teilen.

Diskussion

(0)

Anmelden um an der Diskussion teilzunehmen

Kommentare werden geladen...