Colaboración
ARTE
BELLEZA Y BIENESTAR
ARTESANÍA
CULTURA E HISTORIA
ENTRETENIMIENTO
MEDIO AMBIENTE
COMIDA Y BEBIDAS
INGENIERÍA INVERSA
CIENCIAS
DEPORTES
TECNOLOGÍA
TECNOLOGÍA VESTIBLE
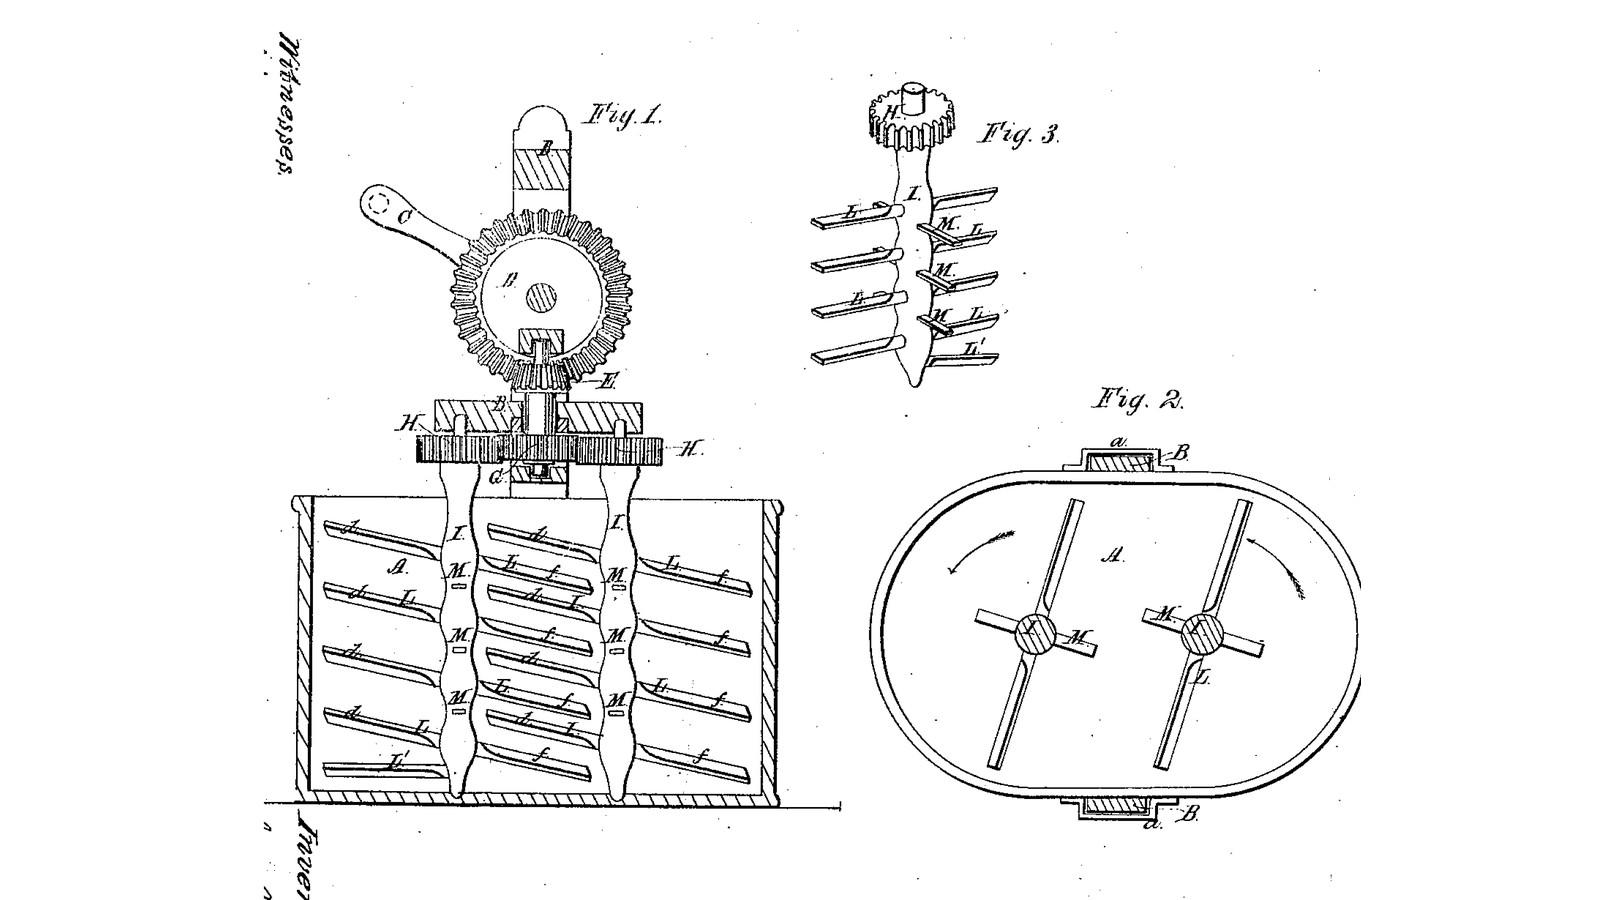

Twin Inclined-Wing Dasher Churn: Two Geared Dashers With Up- and Down-Sloping Wings Turn Through Each Other, Flat Wings Between
Levi Bissell of North Bergen, New York, received US 29,052, dated 10 July 1860, for a churn with two upright dashers in an oblong body. A crank on a lift-off frame drives both through gears, the same way round, so their wings pass each other in opposite directions in the middle. Each dasher's wings slope up on one side and down on the other, and one dasher's down-sloping wings pass between the other's up-sloping ones, so the cream is driven up and down at once. Flat wings between them check the swirl.
The patent gives no sizes; every size here is ours.
Intermedio
About 3 days
Instrucciones
1
1
Where the wings meet
Where the wings meet
Cargando el cuaderno de Jupyter…
2
2
Two shafts turned the same way by one wheel, eight months before
Two shafts turned the same way by one wheel, eight months before
Cornell's two shafts also turn the same way off one wheel, lying flat. Bissell stands them upright and slopes the wings.
3
3
Read US 29,052
Read US 29,052
"Thus it will be seen that the downwardly inclined wings move in paths describing broad cones, pointing upward; while the upwardly inclined wings describe cones pointing downward; and as these rapidly alternate, they cut paths through the milk or cream rapidly crossing each other, thereby producing intense and effective agitation of the cream."
4
4
Body A and sockets a
Body A and sockets a
Draw two 330 mm circles, centres 220 mm apart, joined by straight lines, on 20 mm hardwood glued up wide enough, and cut the floor to it. Rout a groove 1.6 mm wide and 8 mm deep on the 290 mm circles and their joining lines. Cut two strips of 1.5 mm stainless sheet 428 mm high, bend them to the outline, stand them in the groove with silicone sealant, and lap and rivet the joins on the straight sides with sealant between. Glue up a hardwood rim 18 mm thick and 30 mm deep to fit round the top, screwed through the sheet. Screw a hardwood block 60 x 64 x 70 mm to the middle of each long side, 150 mm up, with a 24 mm square socket a down through it, sealing the screw holes.
Materiales para este paso:
 Tabla de madera dura3 piezas
 Chapa de acero inoxidable2 piezas
 Sellador de silicona1 pieza
 Remaches ciegos12 piezas
 Cola de carpintero1 pieza
 Tornillos para madera24 piezas
Herramientas necesarias:
 Brújula
 Sierra de calar
 Fresadora de mano
 Juego de formones para madera
 Tijeras de chapa
 Kit de remachadora
 Taladro inalámbrico
 Juego de brocas
 Sargento
 Juego de destornilladores
5
5
Dashers I with wings L and M
Dashers I with wings L and M
Cut two hardwood shafts 28 mm round and 408 mm long; turn the foot of each to 16 mm for 18 mm, and set a 16 mm stainless rod 103 mm long 40 mm into the top, pinned. Cut eight hardwood wings L 250 x 25 x 8 mm and six flat wings M 114 x 24 x 8 mm. Chisel slots through each shaft and drive the wings through, each pinned with a small dowel: the L pairs sloping 20 degrees, all in one plane, at 60, 140, 220 and 300 mm above the floor on one shaft and 100, 180, 260 and 340 mm on the other; the M wings flat, at right angles to the L, midway between them. Screw two hardwood steps 40 mm across, each with a 16.6 mm hole 6 mm deep, to the floor at the two end centres.
Materiales para este paso:
Tabla de madera dura1 pieza Varilla de acero inoxidable1 pieza
 Espigas de madera dura1 piezaCola de carpintero1 piezaTornillos para madera4 piezas
Herramientas necesarias:
 Sierra de mesaJuego de formones para maderaTaladro inalámbricoJuego de brocas
 Sierra para metales
 Limas (lima de mano)
 Tornillo de banco
6
6
Print the cog-wheel G
Print the cog-wheel G
The cog-wheel G on the upright shaft: 40 teeth, module 2.75, 12 mm thick, 12.4 mm bore. PETG, 0.2 mm layers, 30 % infill, 4 walls.
7
7
Print the pinions H (two)
Print the pinions H (two)
The two pinions H on the dasher shafts, the same size as G: 40 teeth, module 2.75, 16.4 mm bore. Print two. PETG, 0.2 mm layers, 30 % infill, 4 walls.
8
8
Print the crown wheel D
Print the crown wheel D
The driving wheel D on the crank shaft, a crown wheel of 36 teeth, module 2, 12.4 mm bore. PETG, 0.2 mm layers, 30 % infill, 4 walls.
9
9
Print the pinion E
Print the pinion E
The pinion E on the upright shaft, 12 teeth, module 2, 12.4 mm bore, meshing the crown wheel D. PETG, 0.2 mm layers, 30 % infill, 4 walls.
10
10
Frame B, cover, gearing and winch C
Frame B, cover, gearing and winch C
Cut a hardwood board 340 x 396 x 25 mm and screw two 22 mm square hardwood standards 302 mm long under the middle of its 340 mm edges to drop into the sockets a. Bore it 16.8 mm over the two dasher shafts and 12.8 mm at the centre. Cut a 12 mm HDPE cover to the body's outside outline with 28 mm holes over the dashers. Stand the dashers in their steps, put on the cover and drop the frame into the sockets. Pin a pinion H on each dasher rod above the board with both wing planes lying along the churn, one dasher's down-sloping wings toward the other's up-sloping ones. Run a 12 mm stainless upright shaft 113 mm long through the centre hole with the wheel G pinned on it meshing both pinions, and the pinion E pinned 60 mm above the board. Screw two hardwood chairs 44 x 30 x 116 mm to the board, bored 12.6 mm across, carry a 12 mm stainless crank shaft in them with the crown wheel D pinned on its end meshing E, and hold it with shaft collars. Pin on a crank C of mild steel flat bar, 88 mm throw, with a hardwood handle.
Materiales para este paso:
Tabla de madera dura1 pieza Plancha de HDPE1 piezaVarilla de acero inoxidable1 pieza
 Pletina de acero dulce1 pieza
 Shaft Collar2 piezas
 Pasador de aletas6 piezasEspigas de madera dura1 piezaTornillos para madera12 piezasCola de carpintero1 pieza
 Filamento PETG1 pieza
Herramientas necesarias:
 Impresora 3D de filamento (FDM)Sierra de mesaSierra de calar
 Juego de brocas de palaTaladro inalámbricoJuego de brocasSierra para metalesLimas (lima de mano)Tornillo de bancoJuego de destornilladores
 Cinta métrica
11
11
The build in 3D
The build in 3D
FreeCAD model of this build, the body cut open: the floor, sheet wall and rim, the sockets and the lift-off frame, the winch, crown wheel and pinion, the cog-wheel and two pinions, and the two dashers with their sloping wings L and flat wings M passing between each other.
12
12
Churn
Churn
Pour about 25 litres of heavy cream at about 15 °C, checked with the thermometer, into the body, about half full; put on the cover and drop in the frame. Turn the winch steadily, timing it. When the butter comes, lift the frame out of its sockets, take off the cover and lift out the dashers. Take out the butter from the ends, pour the buttermilk into a bowl, wash the butter in cold water until it runs clear, salt and weigh it.
Materiales para este paso:
 Crema de leche espesa25 l
 Sal marina gruesa1 pieza
 Agua1 pieza
Herramientas necesarias:
 Termómetro de sonda permanente
 Cronómetro
 Báscula digital de cocina
 Bol grande de acero inoxidable
13
13
Troubleshooting
Troubleshooting
Twin-dasher churn troubleshooting.
Flow
Loading...
14
14
History and honest limits
History and honest limits
**Levi Bissell** of North Bergen, Genesee County, New York, US 29,052, 10 July 1860, "Churn". He claimed "the oppositely inclined sets of dasher wings L, L, following each other on their respective shafts, while those of one dasher alternate and intermatch with those of the other dasher, and the intermediate, horizontal dasher wings M, M". He did not claim two dashers with intermatching wings as such, nor sloping wings alone. He also allowed "feathering" the wings, in one way or in contrary ways; ours are not feathered. His gears were a bevel wheel and pinion; ours are a printed crown wheel and pinion. The patent gives no sizes; every size here is ours.
Materiales
16- 3 piezasMarcador de posición
- 2 piezasMarcador de posición
- 1 piezaMarcador de posición
- 12 piezasMarcador de posición
- 3 piezasMarcador de posición
- 40 piezasMarcador de posición
- 1 piezaMarcador de posición
- 1 piezaMarcador de posición
- 1 piezaMarcador de posición
- 1 piezaMarcador de posición
- 2 piezasMarcador de posición
- 6 piezasMarcador de posición
- 1 piezaMarcador de posición
- Marcador de posición
- 1 piezaMarcador de posición
- 1 piezaMarcador de posición
Herramientas requeridas
21- Marcador de posición
- 1 vendor sell this, none ship to you yetMarcador de posición
- Marcador de posición
- Marcador de posición
- Marcador de posición
- Marcador de posición
- 1 vendor sell this, none ship to you yetMarcador de posición
- Marcador de posición
- Marcador de posición
- Marcador de posición
- 1 vendor sell this, none ship to you yetMarcador de posición
- Marcador de posición
- Marcador de posición
- Marcador de posición
- Marcador de posición
- Marcador de posición
- 1 vendor sell this, none ship to you yetMarcador de posición
- Marcador de posición
- Marcador de posición
- Marcador de posición
- Marcador de posición
Archivos de diseño
5

Blueprints relacionados
Estos blueprints comparten conocimiento — técnicas, materiales o principios
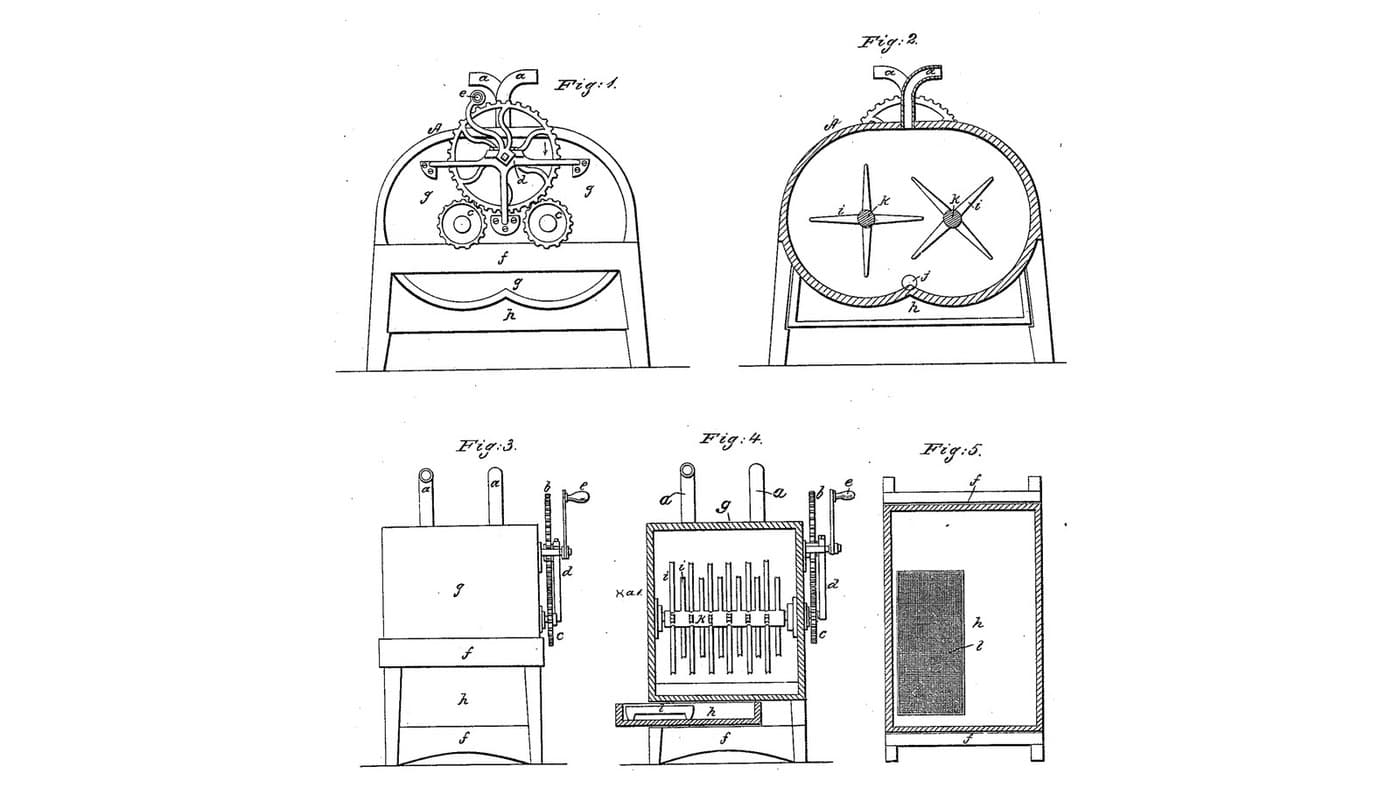
Double Rotary Crag Churn: Two Shafts of Four-Edged Arms Turn Through Each Other in Twin Half-Cylinders
por Buttercup
Carpintería
3
0
0
0
0
0
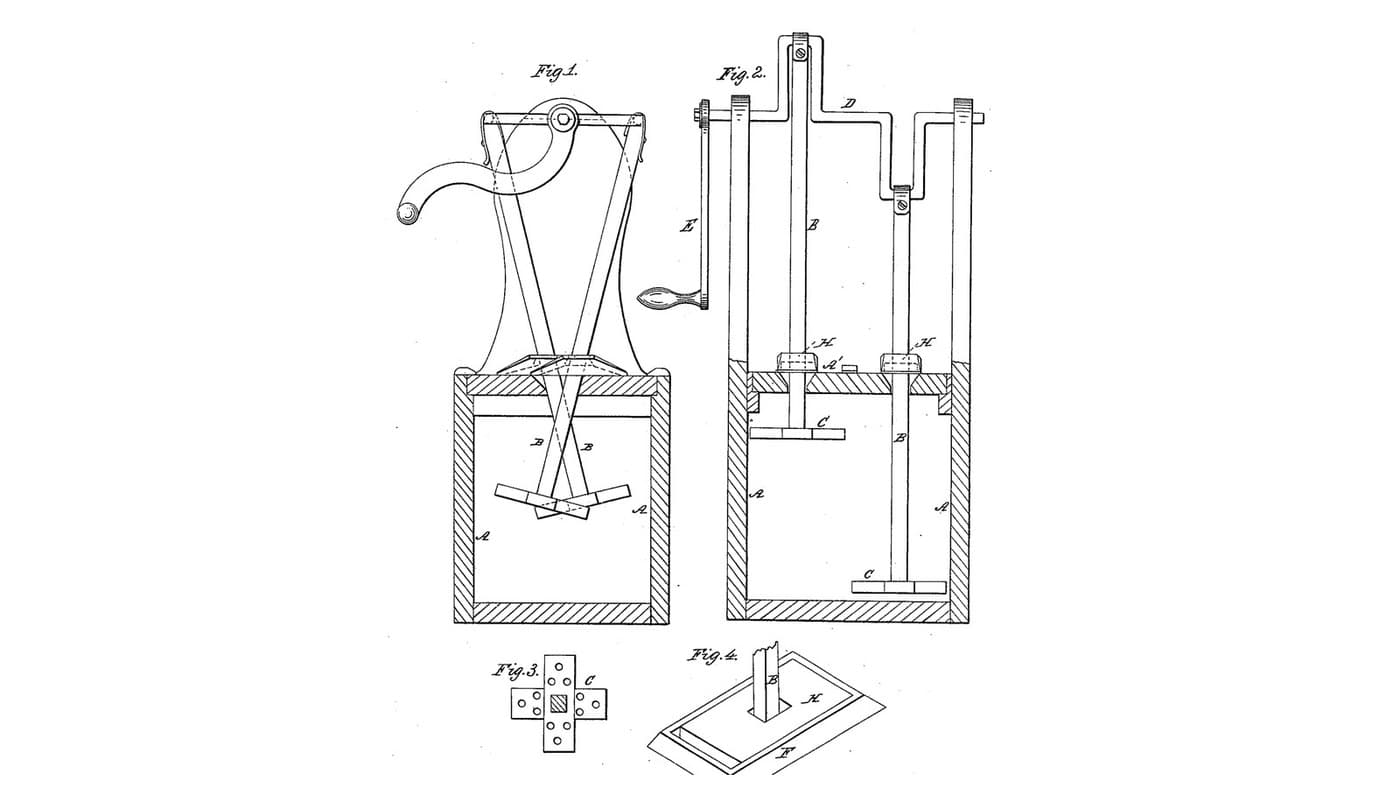
Twin-Crank Slide-Top Churn: Two Dashers on a Bent Crank Shaft, Sliding Plates Keep the Milk In
por Buttercup
Carpintería
2
0
0
0
0
0

Churning Butter from Cream — The 5,000-Year-Old Fat Separation
por TheChef
ARTESANÍA
60
0
0
0
0
0
CC0 Dominio público
Este Blueprint se publica bajo CC0. Eres libre de copiar, modificar, distribuir y usar este trabajo para cualquier propósito, sin pedir permiso.
Apoya al Maker comprando productos a través de su Blueprint, donde gana una Comisión del Maker establecida por los vendedores, o crea una nueva iteración de este Blueprint e inclúyela como conexión en tu propio Blueprint para compartir ingresos.