Colaboración
ARTE
BELLEZA Y BIENESTAR
ARTESANÍA
CULTURA E HISTORIA
ENTRETENIMIENTO
MEDIO AMBIENTE
COMIDA Y BEBIDAS
INGENIERÍA INVERSA
CIENCIAS
DEPORTES
TECNOLOGÍA
TECNOLOGÍA VESTIBLE
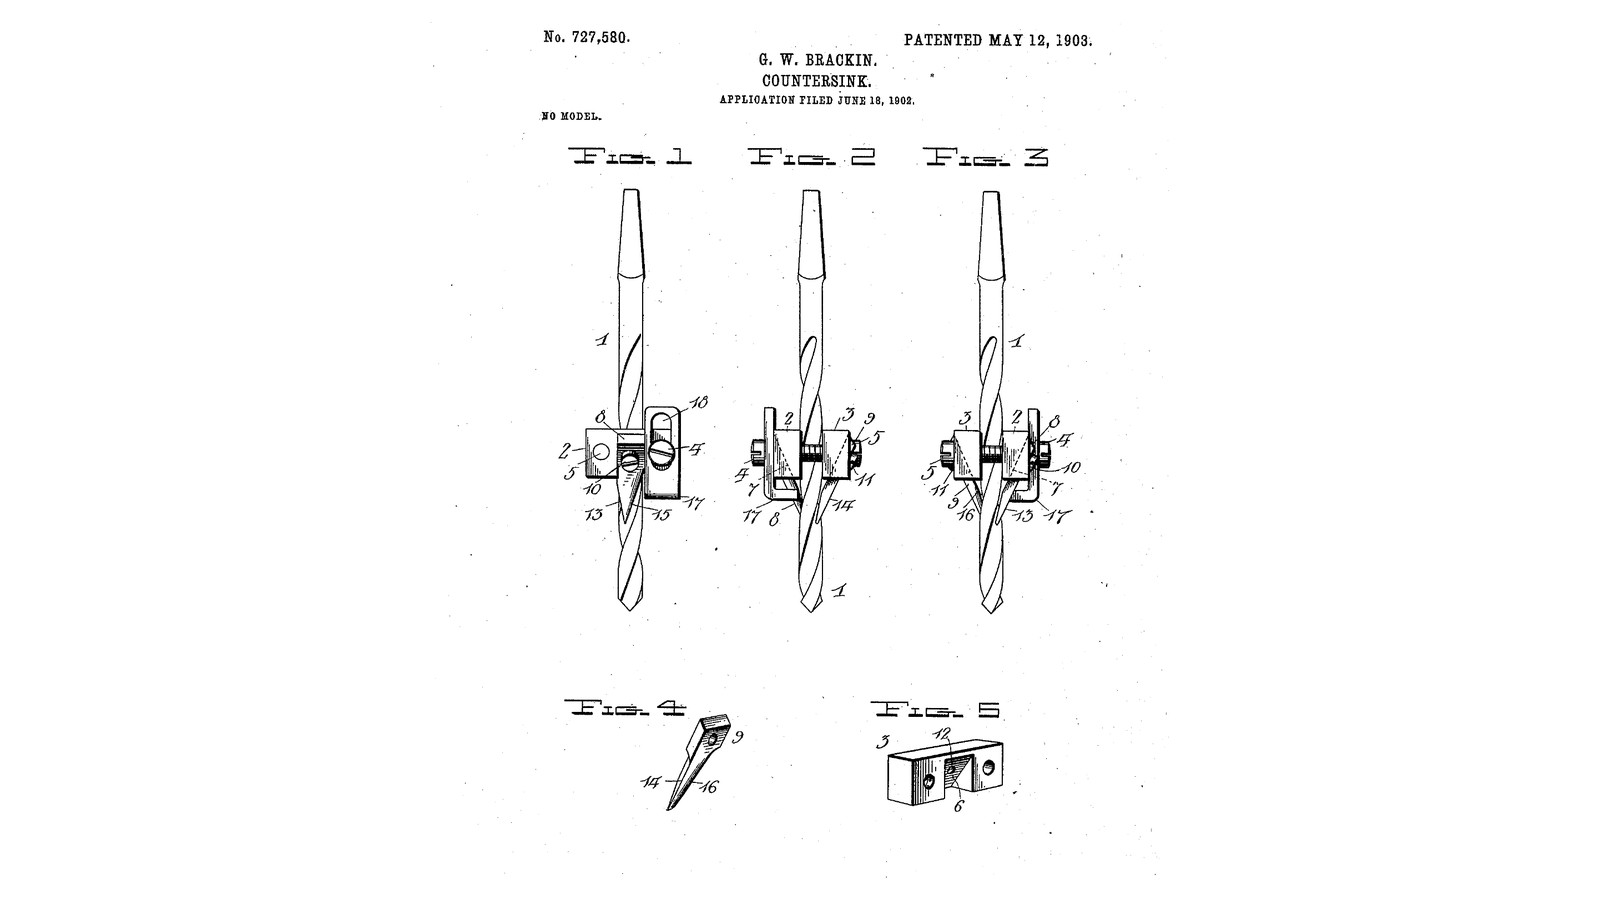


Clamp-On Countersink: Two Blocks Screwed Round Any Drill, Twin Cutters Countersink the Hole as It Is Bored (Brackin, 1903)
George W. Brackin of Philadelphia received US 727,580, dated 12 May 1903, for a countersink that clamps onto a drill or auger bit. Two blocks are screwed together across the bit at any point along it. A twin cutter is screwed into an inclined seat in each block, its point reaching into the bit's flutes. As the bit bores, the cutters arrive and cut the cone for the screw head without taking the bit out. A slotted stop sets how deep it goes, so it gauges the hole too.
We make three for 4, 5 and 6 mm drills. The patent gives no sizes; every size here is ours.
Intermedio
About 1 day
Instrucciones
1
1
Setting it on the bit
Setting it on the bit
Cargando el cuaderno de Jupyter…
2
2
Read US 727,580
Read US 727,580
"From Figs. 2 and 3 it will be observed that the lower ends of the inclined cutters project slightly into the twists or helical channels of the drill, and this fact permits the cutters to enter the hole bored and then commence cutting away the edge of the hole as the tool is rotated."
3
3
Clamping blocks 2 and 3
Clamping blocks 2 and 3
For each attachment cut two blocks 40 x 12 x 10 mm from square bar. In each, 6 mm from one end drill a 4.5 mm plain hole and 6 mm from the other end drill 3.3 mm and tap M4, through the 12 mm face, so the two blocks screw together with the plain hole of one over the tapped hole of the other. Across the middle of each block's outer face file a seat 6 mm wide, sloping down and in at 45 degrees, and drill and tap M4 in it for the cutter's screw.
Materiales para este paso:
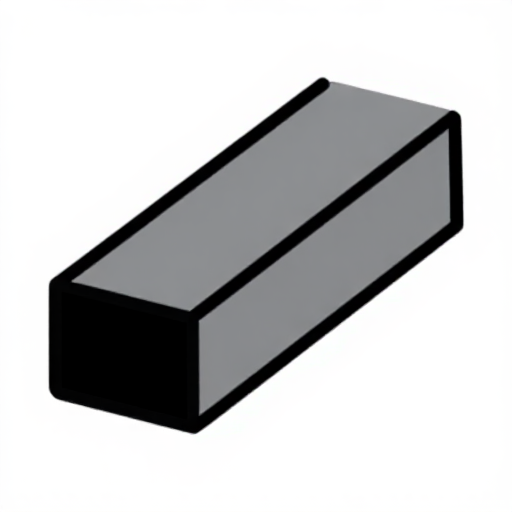 Barra cuadrada de acero dulce1 pieza
Herramientas necesarias:
 Sierra para metales
 Tornillo de banco
 Punta de trazar
 Granete
 Taladro de columna
 Juego de brocas
 Juego de machos y terrajas
 Volvedor de machos
 Juego de limas
 Transportador de ángulos
 Calibre digital de 6 pulgadas
4
4
Twin cutters 8 and 9
Twin cutters 8 and 9
Cut four cutters 22 mm long from 3 x 6 mm carbon steel strip. Drill each 4.5 mm for its screw at the top, and grind the lower end to a point with a straight cutting edge 13 on its leading side and a rounded back 15, as his Fig. 4. Harden: heat to a cherry red, until a magnet no longer sticks, quench in water, rub bright, and draw to a light straw colour.
Materiales para este paso:
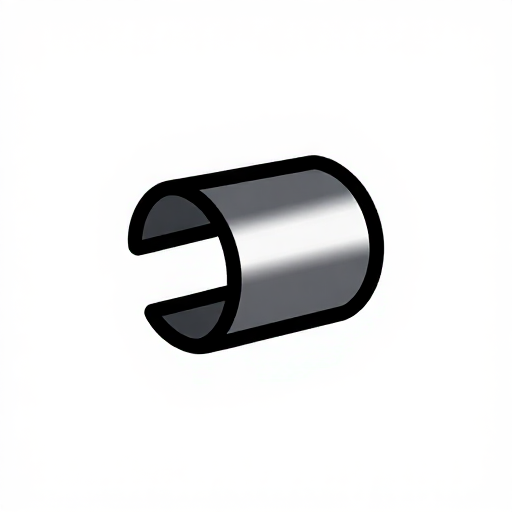 Fleje de acero al carbono1 pieza
Herramientas necesarias:
Sierra para metalesTaladro de columnaJuego de brocas Esmeril de banco
 Fragua
 Tenazas de fragua
 Imán pequeño
 Cubo de temple
 Agua
 Piedra de afilar
 Guantes de soldador
 Gafas de seguridad
5
5
Stop 17 and assembly
Stop 17 and assembly
Bend a strip of 3 mm flat bar into an L, its upright 30 mm long with a 4.5 mm slot 18 15 mm long, its foot 20 mm. Screw a cutter into each block's seat. Put the blocks either side of the drill, the stop's slot under one clamping screw, and screw them together until they grip the drill, the cutters' points just in the flutes and their edges leading as the drill turns.
Materiales para este paso:
 Pletina de acero dulce1 pieza
 Tornillos de máquina4 piezas
Herramientas necesarias:
Sierra para metalesTornillo de bancoTaladro de columnaJuego de brocasJuego de limas Juego de destornilladores
6
6
Bore and countersink
Bore and countersink
Set the drill's point the hole's depth below the stop's foot and the cutters for the screw head's size (the notebook gives both). Drill into hardwood until the stop touches: the hole is at depth and its mouth countersunk. Check a screw sits flush.
Herramientas necesarias:
 Taladro inalámbricoJuego de brocas
 Tabla de madera duraCalibre digital de 6 pulgadasGafas de seguridad
7
7
Troubleshooting
Troubleshooting
Clamp-on countersink troubleshooting.
Flow
Loading...
8
8
History and honest limits
History and honest limits
**George W. Brackin** of Philadelphia, US 727,580, dated 12 May 1903, filed 18 June 1902. He claimed "the rectangular clamping-blocks arranged parallel to each other, clamping-screws passing through the said blocks near their ends", each block "provided exteriorly at its middle point with a cutter-seat inclined downwardly and inwardly", and "duplicate and interchangeable cutters" screwed into them. His was for wood, with the note that the cutters could be hardened for metal; ours are hardened. He gives no sizes or angle; every size here is ours.
Materiales
4- Marcador de posición
- 1 piezaMarcador de posición
- 1 piezaMarcador de posición
- 4 piezasMarcador de posición
Herramientas requeridas
23- Marcador de posición
- Marcador de posición
- Marcador de posición
- Marcador de posición
- Marcador de posición
- Marcador de posición
- Marcador de posición
- Marcador de posición
- Marcador de posición
- Marcador de posición
- Marcador de posición
- Marcador de posición
- Marcador de posición
- Marcador de posición
- Marcador de posición
- Marcador de posición
- Marcador de posición
- Marcador de posición
- Marcador de posición
- Marcador de posición
- Marcador de posición
- 1 vendor sell this, none ship to you yetMarcador de posición
- Marcador de posición
Este plano hace

Blueprints relacionados
Estos blueprints comparten conocimiento — técnicas, materiales o principios
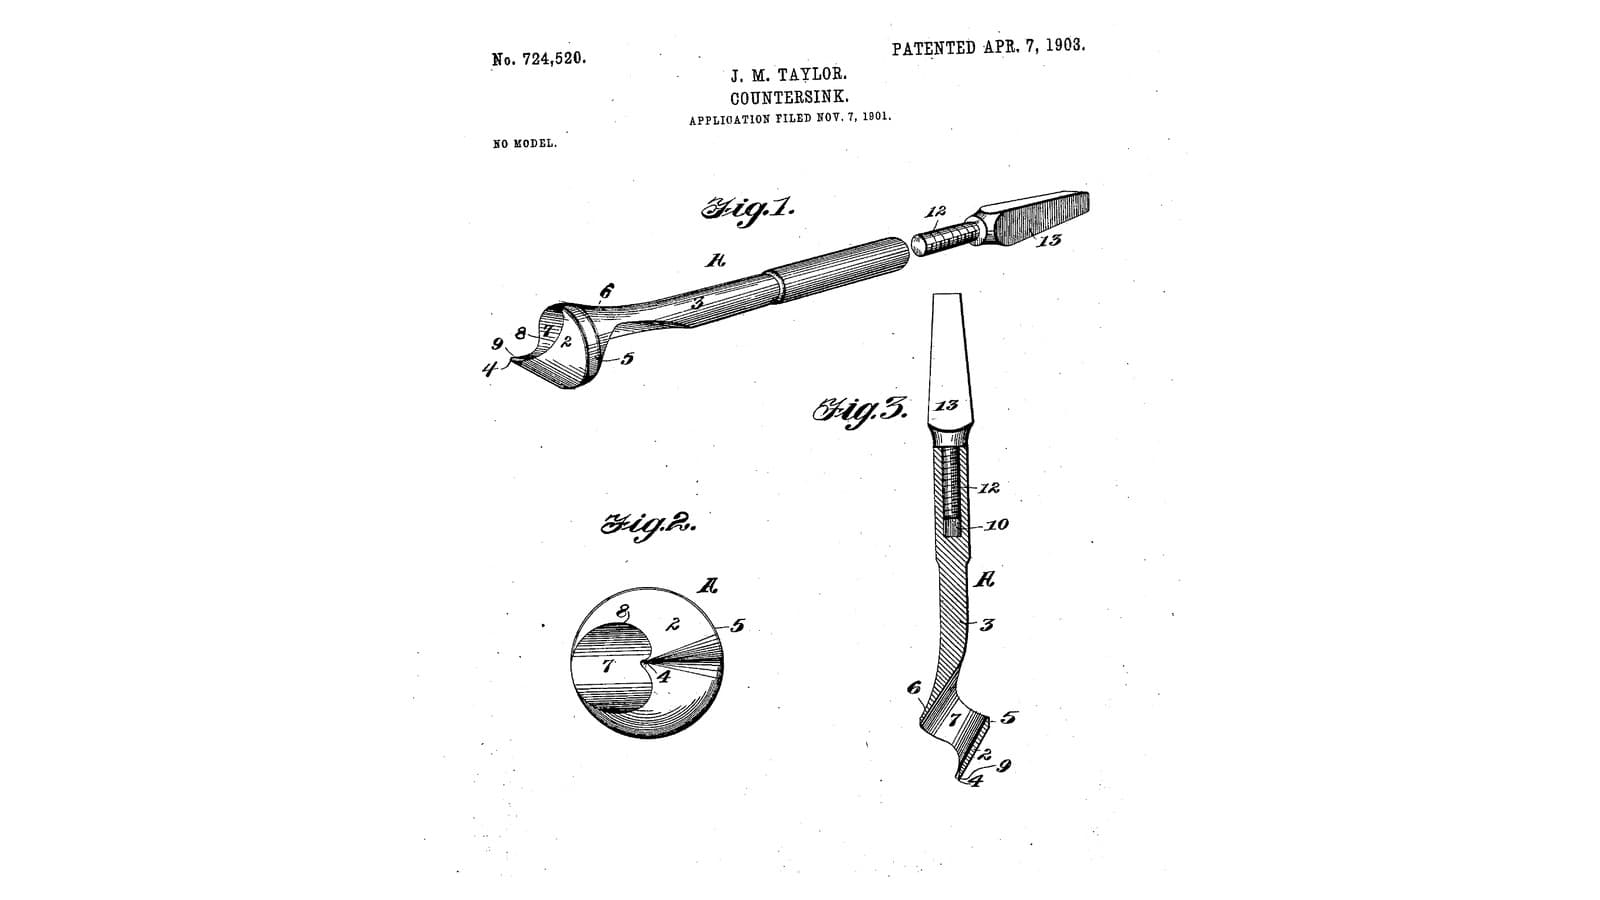
CC0 Dominio público
Este Blueprint se publica bajo CC0. Eres libre de copiar, modificar, distribuir y usar este trabajo para cualquier propósito, sin pedir permiso.
Apoya al Maker comprando productos a través de su Blueprint, donde gana una Comisión del Maker establecida por los vendedores, o crea una nueva iteración de este Blueprint e inclúyela como conexión en tu propio Blueprint para compartir ingresos.