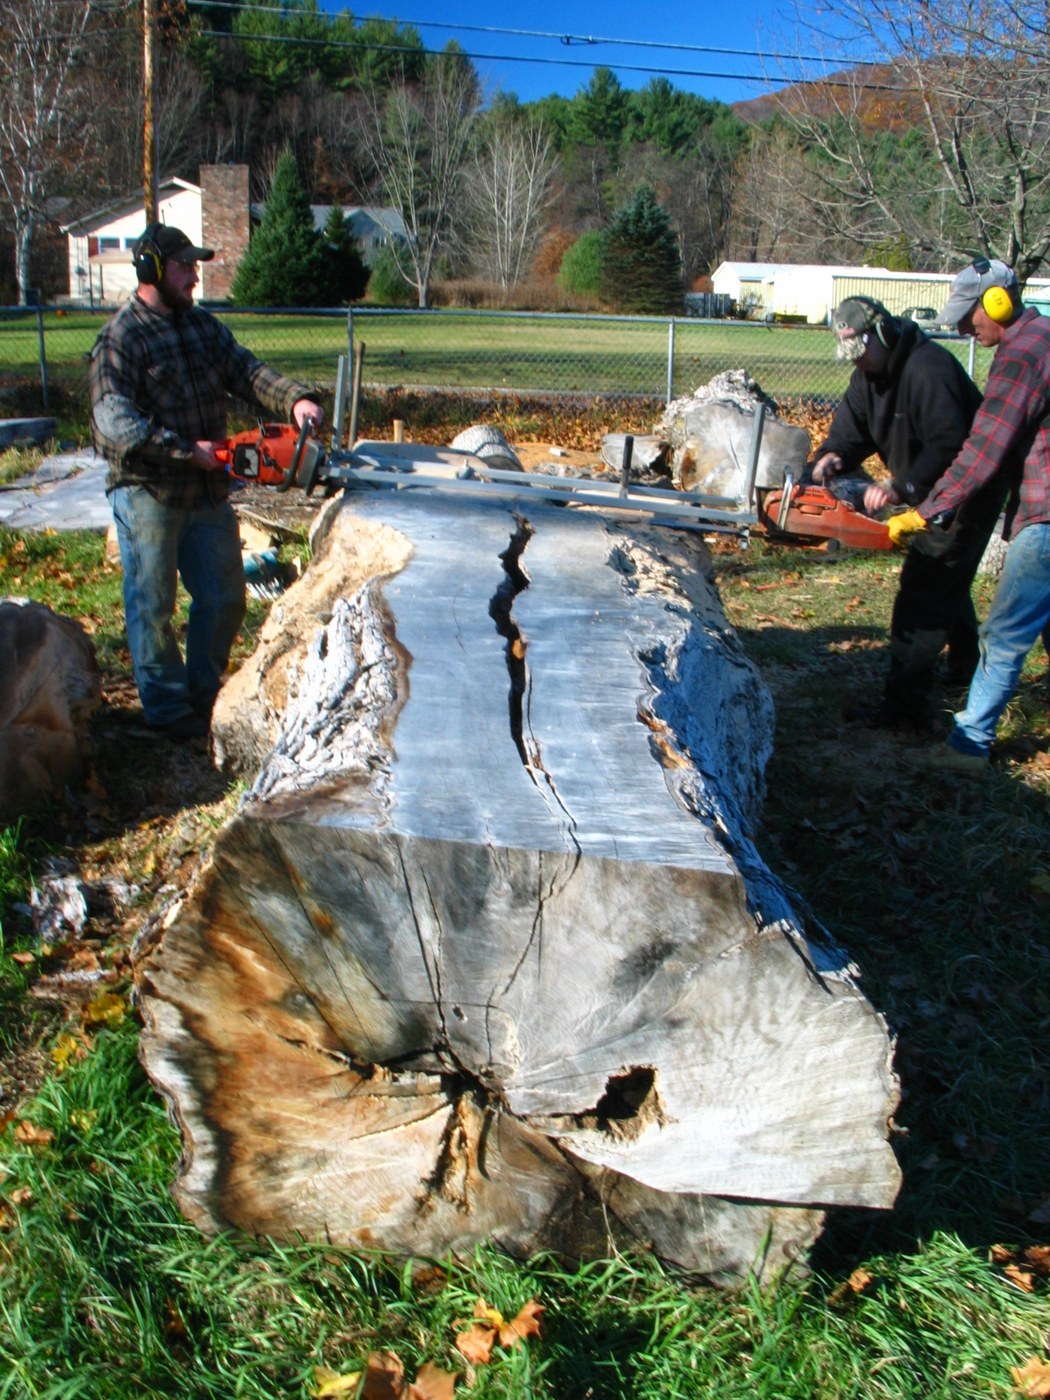


Pine Boards with a Chainsaw Mill
Instrucciones
Pick and prop the log
Pick and prop the log
Materiales para este paso:
 Troncos de madera blanda1 pieza
Herramientas necesarias:
 Cinta métrica
Fit the mill
Fit the mill
Herramientas necesarias:
 Motosierra (de grado forestal profesional)
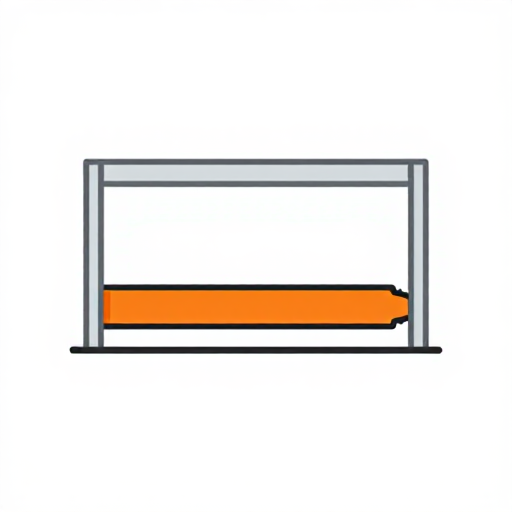 Aserradero para motosierra
Screw on the guide board
Screw on the guide board
Materiales para este paso:
 Tornillos para madera6 piezas
Herramientas necesarias:
 Tabla de pino
 Taladro inalámbrico
 Regla de trazar
 Nivel de burbuja
First cut
First cut
Herramientas necesarias:
Motosierra (de grado forestal profesional)Aserradero para motosierra Casco de seguridad
 Orejeras de protección auditiva
 Guantes de trabajo de cuero
 Botas de seguridad con puntera de acero
Cut the boards
Cut the boards
Herramientas necesarias:
Motosierra (de grado forestal profesional)Aserradero para motosierraCinta métricaSeal the ends
Seal the ends
Materiales para este paso:
 Sellador de testas (parafina)0.5 litro
Sticker the stack
Sticker the stack
Materiales para este paso:
 Rastrel de madera (separador de secado)30 piezas
Herramientas necesarias:
 Palé de maderaNivel de burbuja
Cover and weight
Cover and weight
Herramientas necesarias:
 Lona
Measure the moisture
Measure the moisture
Herramientas necesarias:
 Medidor de humedad
Troubleshooting
Troubleshooting
Flow
Materiales
4- 1 piezaMarcador de posición
- 6 piezasMarcador de posición
- 0.5 litroMarcador de posición
- Marcador de posición
Herramientas requeridas
14- 1 vendor sell this, none ship to you yetMarcador de posición
- Marcador de posición
- Marcador de posición
- Marcador de posición
- 1 vendor sell this, none ship to you yetMarcador de posición
- Marcador de posición
- Marcador de posición
- Marcador de posición
- Marcador de posición
- Marcador de posición
- Marcador de posición
- Marcador de posición
- Marcador de posición
- Marcador de posición
Este plano hace


Blueprints relacionados
Estos blueprints comparten conocimiento — técnicas, materiales o principios
CC0 Dominio público
Este Blueprint se publica bajo CC0. Eres libre de copiar, modificar, distribuir y usar este trabajo para cualquier propósito, sin pedir permiso.
Apoya al Maker comprando productos a través de su Blueprint, donde gana una Comisión del Maker establecida por los vendedores, o crea una nueva iteración de este Blueprint e inclúyela como conexión en tu propio Blueprint para compartir ingresos.