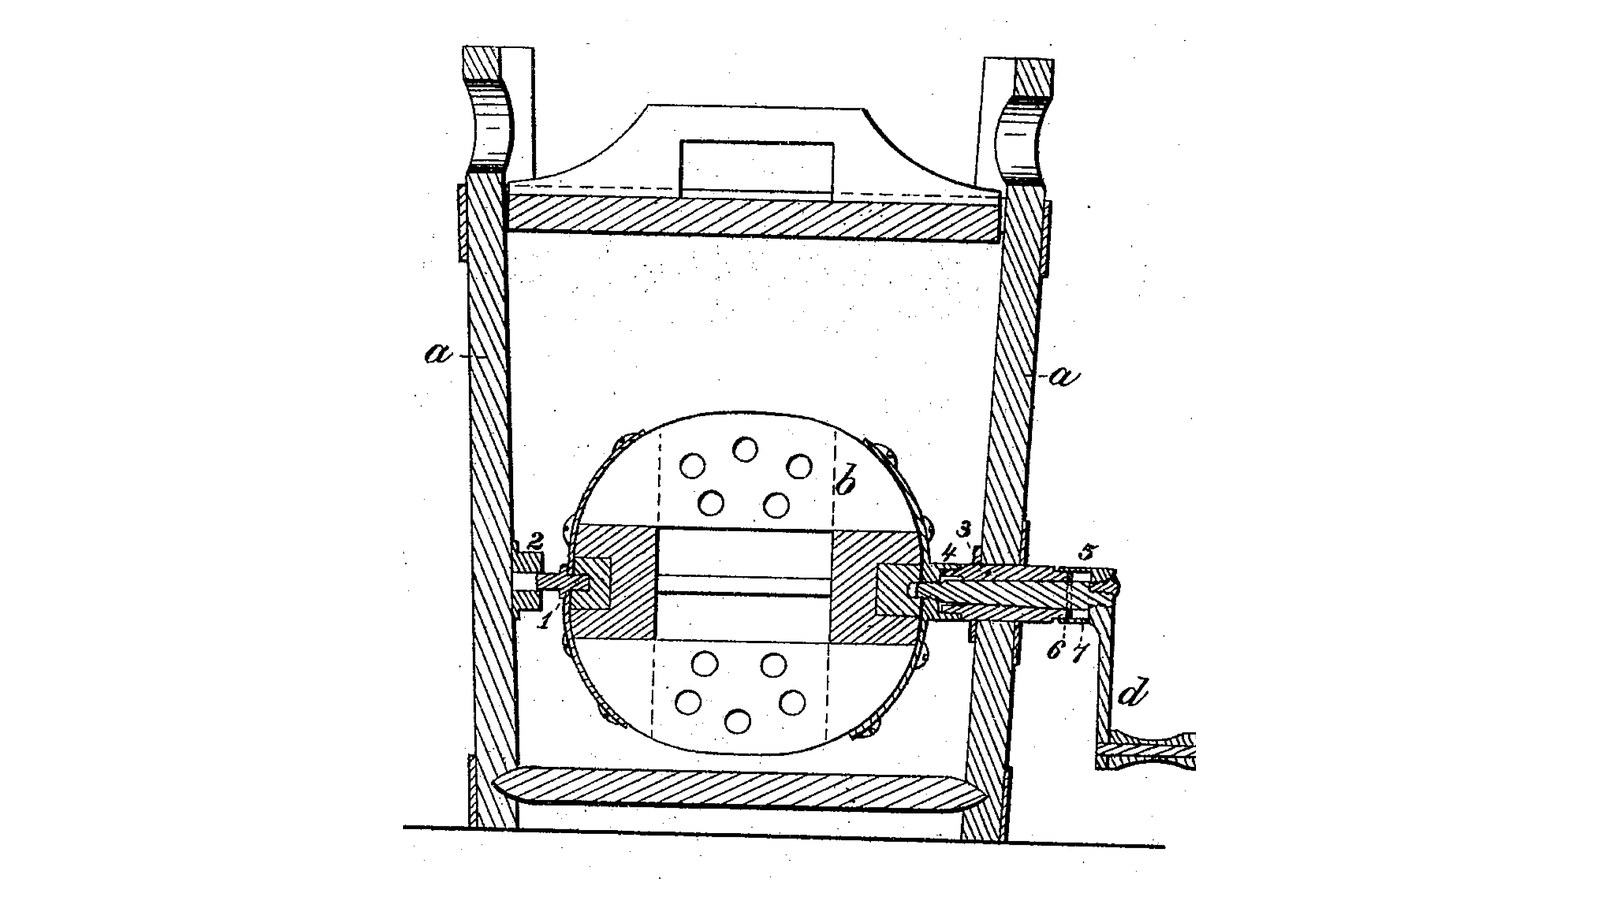

Sealed Screw-Axis Drum Churn: The Dasher's Axis Screws Into It Through a Pipe in the Side, a Sprung Washer Keeps It Tight
Instrucciones
Two seals from one screw
Two seals from one screw
A dasher on a horizontal shaft through the end, two months before
A dasher on a horizontal shaft through the end, two months before
Read US 31,447
Read US 31,447
Print the pipe collars (two)
Print the pipe collars (two)
Print the eye 2
Print the eye 2
Body a, pipe 3 and eye 2
Body a, pipe 3 and eye 2
Materiales para este paso:
 Cubo de 20 litros1 pieza
 Tubo de acero inoxidable1 pieza
 Filamento PETG1 pieza
 Sellador de silicona1 pieza
 Tornillos para madera4 piezas
 Plancha de HDPE1 pieza
Herramientas necesarias:
 Impresora 3D de filamento (FDM)
 Juego de brocas de pala
 Taladro inalámbrico
 Juego de brocas
 Sierra para metales
 Limas (lima de mano)
 Juego de destornilladores
 Sierra de calar
 Brújula
Print the socket 4
Print the socket 4
Dasher b with socket 4 and centre 1
Dasher b with socket 4 and centre 1
Materiales para este paso:
 Tabla de madera dura1 pieza
 Chapa de acero inoxidable1 pieza
 Remaches ciegos24 piezas
 Tuerca hexagonal1 pieza
 Cola de carpintero1 pieza
 Varilla de acero inoxidable1 pieza
Herramientas necesarias:
 Torno de maderaTaladro inalámbricoJuego de brocasJuego de brocas de pala
 Tijeras de chapa
 Kit de remachadoraSierra para metales
Print the cylinder 5
Print the cylinder 5
Axis c, washer 6, spring 7 and handle d
Axis c, washer 6, spring 7 and handle d
Materiales para este paso:
Varilla de acero inoxidable1 pieza Arandela plana1 pieza
 Plancha de caucho natural1 pieza
 Pletina de acero dulce1 pieza
 Espigas de madera dura1 pieza
 Pasador de aletas1 piezaFilamento PETG1 pieza
Herramientas necesarias:
Impresora 3D de filamento (FDM) Juego de machos y terrajas
 Torno de metalSierra para metalesLimas (lima de mano)
 Tornillo de bancoTaladro inalámbricoJuego de brocasJuego de destornilladores
The build in 3D
The build in 3D
Churn
Churn
Materiales para este paso:
 Crema de leche espesa8 l
 Sal marina gruesa1 pieza
 Agua1 pieza
Herramientas necesarias:
 Termómetro de sonda permanente
 Cronómetro
 Báscula digital de cocina
 Bol grande de acero inoxidable
Troubleshooting
Troubleshooting
Flow
History and honest limits
History and honest limits
Materiales
20- 1 piezaMarcador de posición
- 1 piezaMarcador de posición
- 2 piezasMarcador de posición
- 1 piezaMarcador de posición
- 4 piezasMarcador de posición
- 1 piezaMarcador de posición
- 1 piezaMarcador de posición
- 1 piezaMarcador de posición
- 24 piezasMarcador de posición
- 1 piezaMarcador de posición
- 1 piezaMarcador de posición
- 1 piezaMarcador de posición
- 1 piezaMarcador de posición
- 1 piezaMarcador de posición
- 1 piezaMarcador de posición
- 1 piezaMarcador de posición
- 1 piezaMarcador de posición
- Marcador de posición
- 1 piezaMarcador de posición
- 1 piezaMarcador de posición
Herramientas requeridas
19- Marcador de posición
- Marcador de posición
- 1 vendor sell this, none ship to you yetMarcador de posición
- Marcador de posición
- Marcador de posición
- Marcador de posición
- Marcador de posición
- 1 vendor sell this, none ship to you yetMarcador de posición
- Marcador de posición
- Marcador de posición
- Marcador de posición
- Marcador de posición
- Marcador de posición
- Marcador de posición
- Marcador de posición
- Marcador de posición
- Marcador de posición
- Marcador de posición
- Marcador de posición
Archivos de diseño
5

Blueprints relacionados
Estos blueprints comparten conocimiento — técnicas, materiales o principios
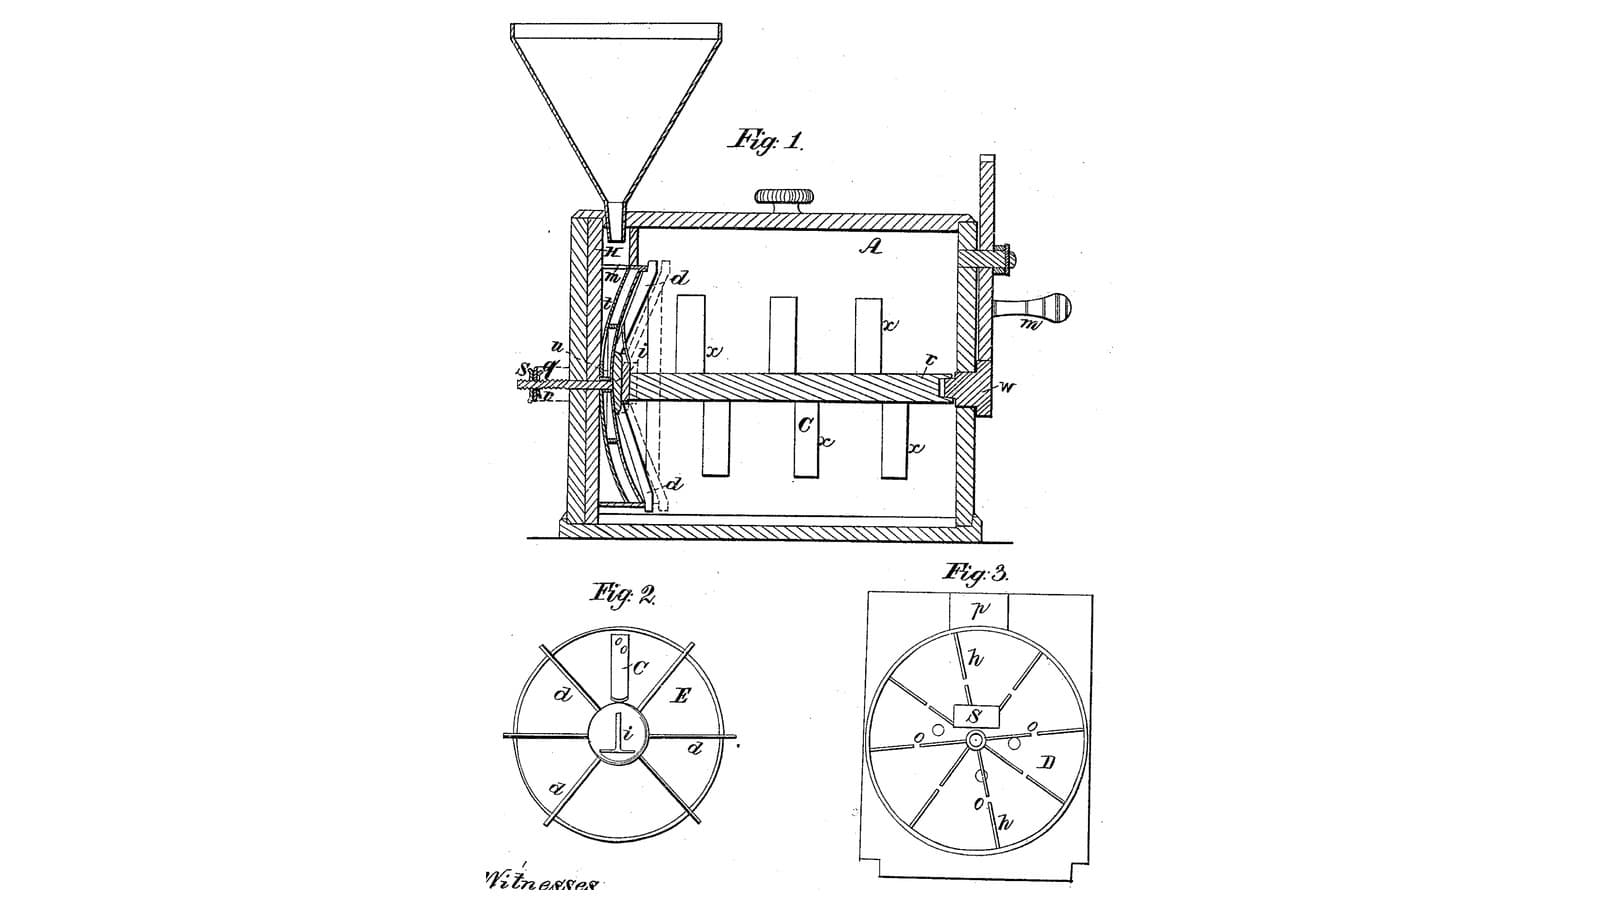
Adjustable-Dish Churn: Cream Is Poured Between a Fixed Ribbed Dish and a Turning One, Then Beaten by Wings and Dashers
por Buttercup
Carpintería
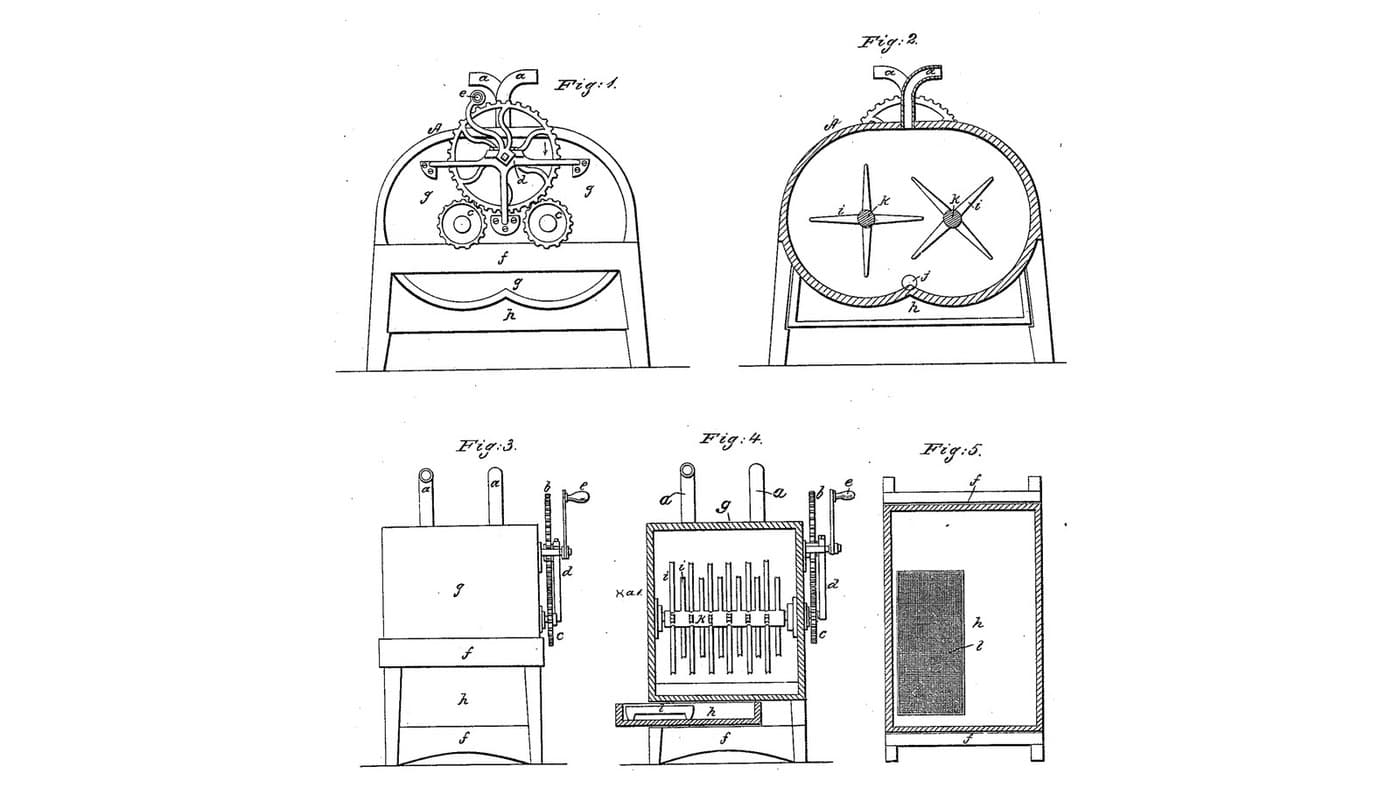
Double Rotary Crag Churn: Two Shafts of Four-Edged Arms Turn Through Each Other in Twin Half-Cylinders
por Buttercup
Carpintería
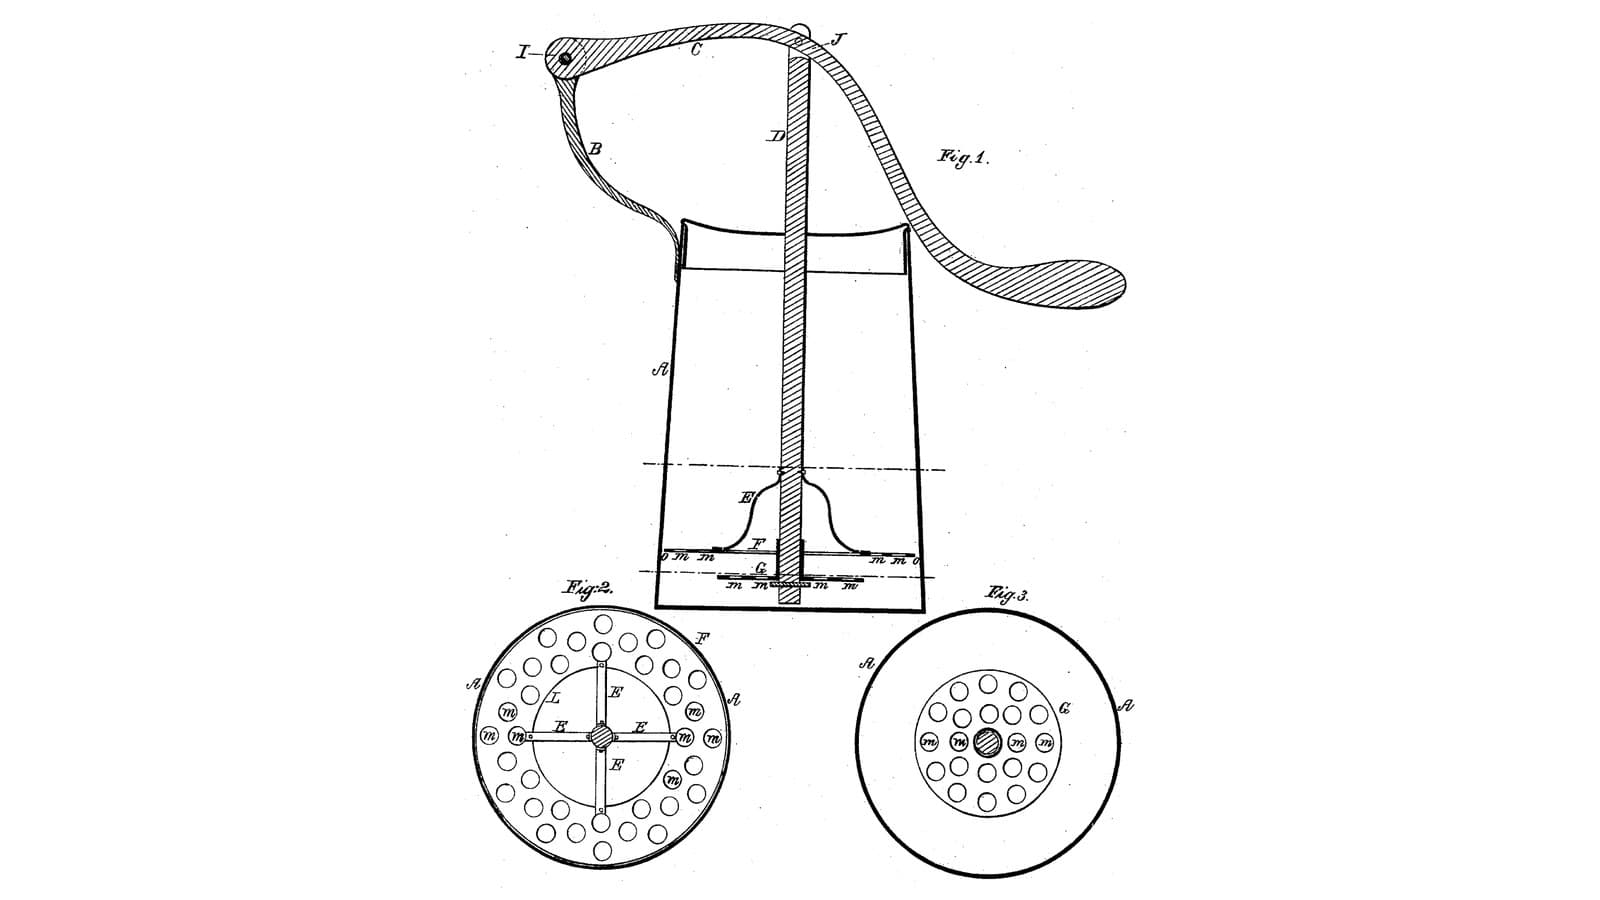
Star Valve-Dash Churn: A Lever Drives a Close-Fitting Perforated Dash, Its Centre Valve Shuts Going Down and Opens Coming Up
por Buttercup
Carpintería

Churning Butter from Cream — The 5,000-Year-Old Fat Separation
por TheChef
ARTESANÍA
CC0 Dominio público
Este Blueprint se publica bajo CC0. Eres libre de copiar, modificar, distribuir y usar este trabajo para cualquier propósito, sin pedir permiso.
Apoya al Maker comprando productos a través de su Blueprint, donde gana una Comisión del Maker establecida por los vendedores, o crea una nueva iteración de este Blueprint e inclúyela como conexión en tu propio Blueprint para compartir ingresos.