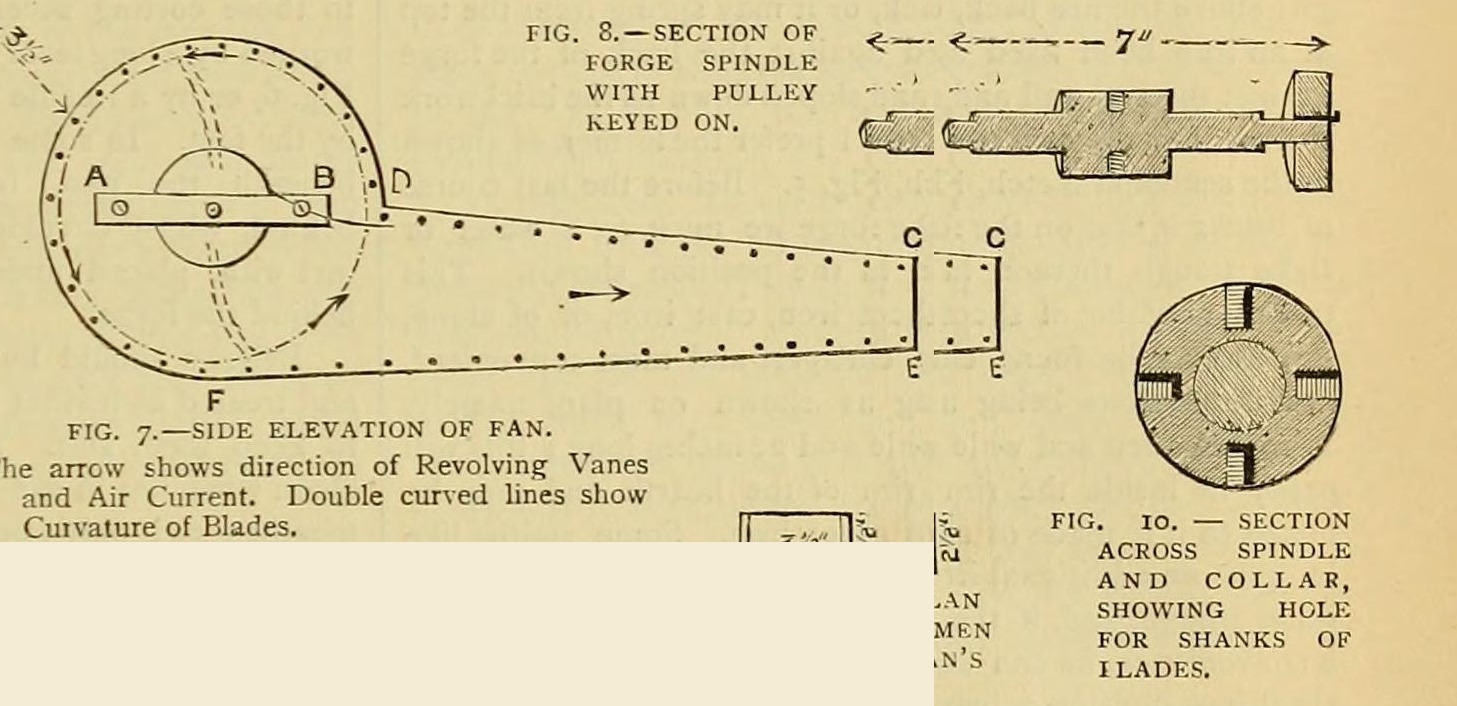

Forge Blast Fan: Riveted Sheet-Iron Drum, Shrunk-Collar Spindle and Four Screwed Blades, Belt-Driven at 360 rpm (Edwinson, 1886)
Instrucciones
His sizes
His sizes
Read Edwinson
Read Edwinson
Cut the sides
Cut the sides
Materiales para este paso:
 Chapa de acero dulce1 pieza
Herramientas necesarias:
 Tijeras de chapa
 Taladro de columna
 Limas (lima de mano)
 Granete
Rivet the casing
Rivet the casing
Materiales para este paso:
Chapa de acero dulce1 pieza Remaches de hierro1 pieza
Herramientas necesarias:
Tijeras de chapaTaladro de columna Juego de remachar
 Martillo
 Cinta métrica
Turn the spindle
Turn the spindle
Materiales para este paso:
 Barra de hierro forjado1 pieza
 Agua1 pieza
Herramientas necesarias:
 Torno de metal
 Fragua de herrero
 Tenazas de herrero
Drill the collar
Drill the collar
Herramientas necesarias:
Taladro de columna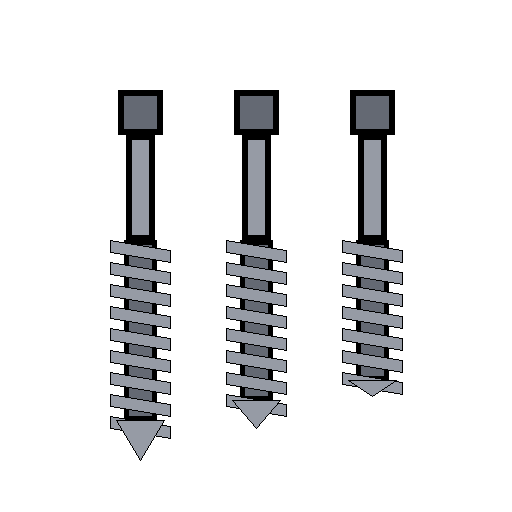 Machos de roscar a mano
 Volvedor de machos
Forge the blades
Forge the blades
Materiales para este paso:
Barra de hierro forjado1 piezaHerramientas necesarias:
Fragua de herrero YunqueMartilloMachos de roscar a mano
Bearings and assembly
Bearings and assembly
Materiales para este paso:
 Barra de latón1 pieza
 Surtido de tornillos hexagonales1 pieza
Herramientas necesarias:
Taladro de columnaTorno de metalLimas (lima de mano)Drive it
Drive it
Materiales para este paso:
 Polea1 pieza
 Correa de transmisión1 pieza
Herramientas necesarias:
Limas (lima de mano)MartilloTroubleshooting
Troubleshooting
Flow
History and honest limits
History and honest limits
Materiales
8- 1 piezaMarcador de posición
- 1 piezaMarcador de posición
- 1 piezaMarcador de posición
- 1 piezaMarcador de posición
- 1 piezaMarcador de posición
- Marcador de posición
- 1 piezaMarcador de posición
- 1 piezaMarcador de posición
Herramientas requeridas
13- Marcador de posición
- Marcador de posición
- Marcador de posición
- Marcador de posición
- Marcador de posición
- Marcador de posición
- 1 vendor sell this, none ship to you yetMarcador de posición
- Marcador de posición
- Marcador de posición
- Marcador de posición
- Marcador de posición
- Marcador de posición
- Marcador de posición
Este plano hace

Blueprints relacionados
Estos blueprints comparten conocimiento — técnicas, materiales o principios
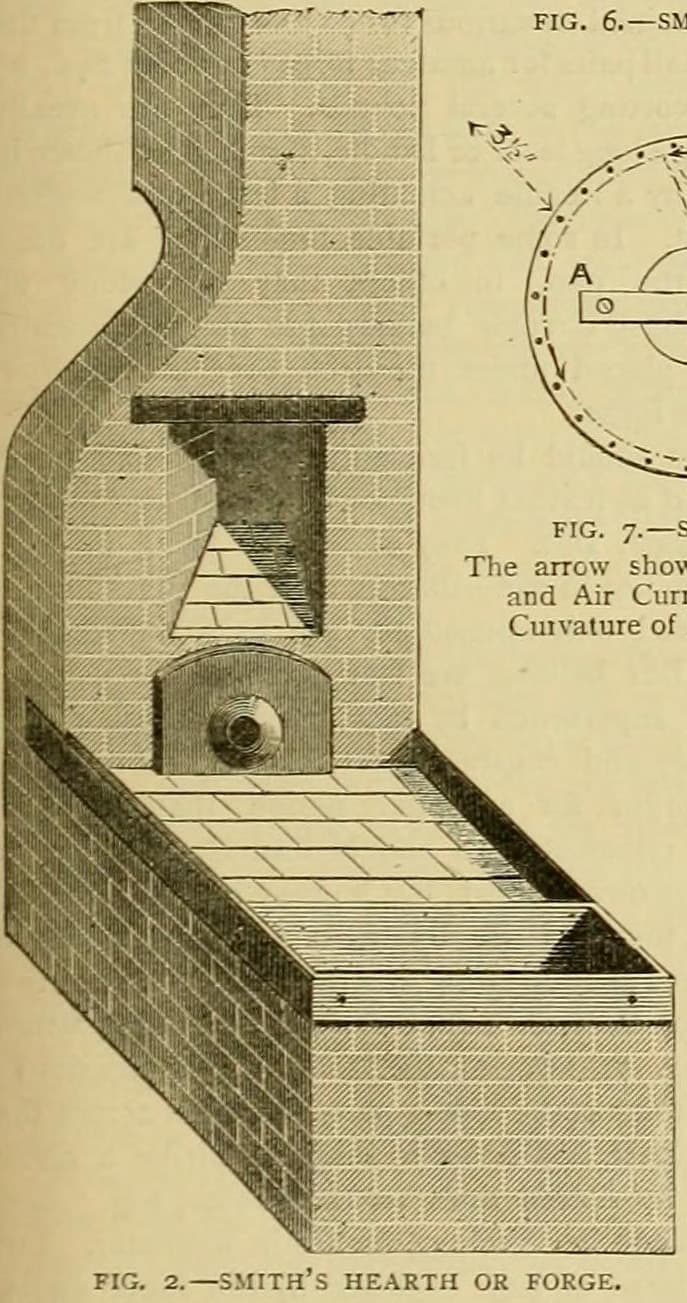
Brick Smith's Hearth: Stone Base, Firebrick Top in an Iron Rim, a Cannon-Shot Tuyere and a Slake Trough (Edwinson, 1886)
por Forge
Trabajo en Metal
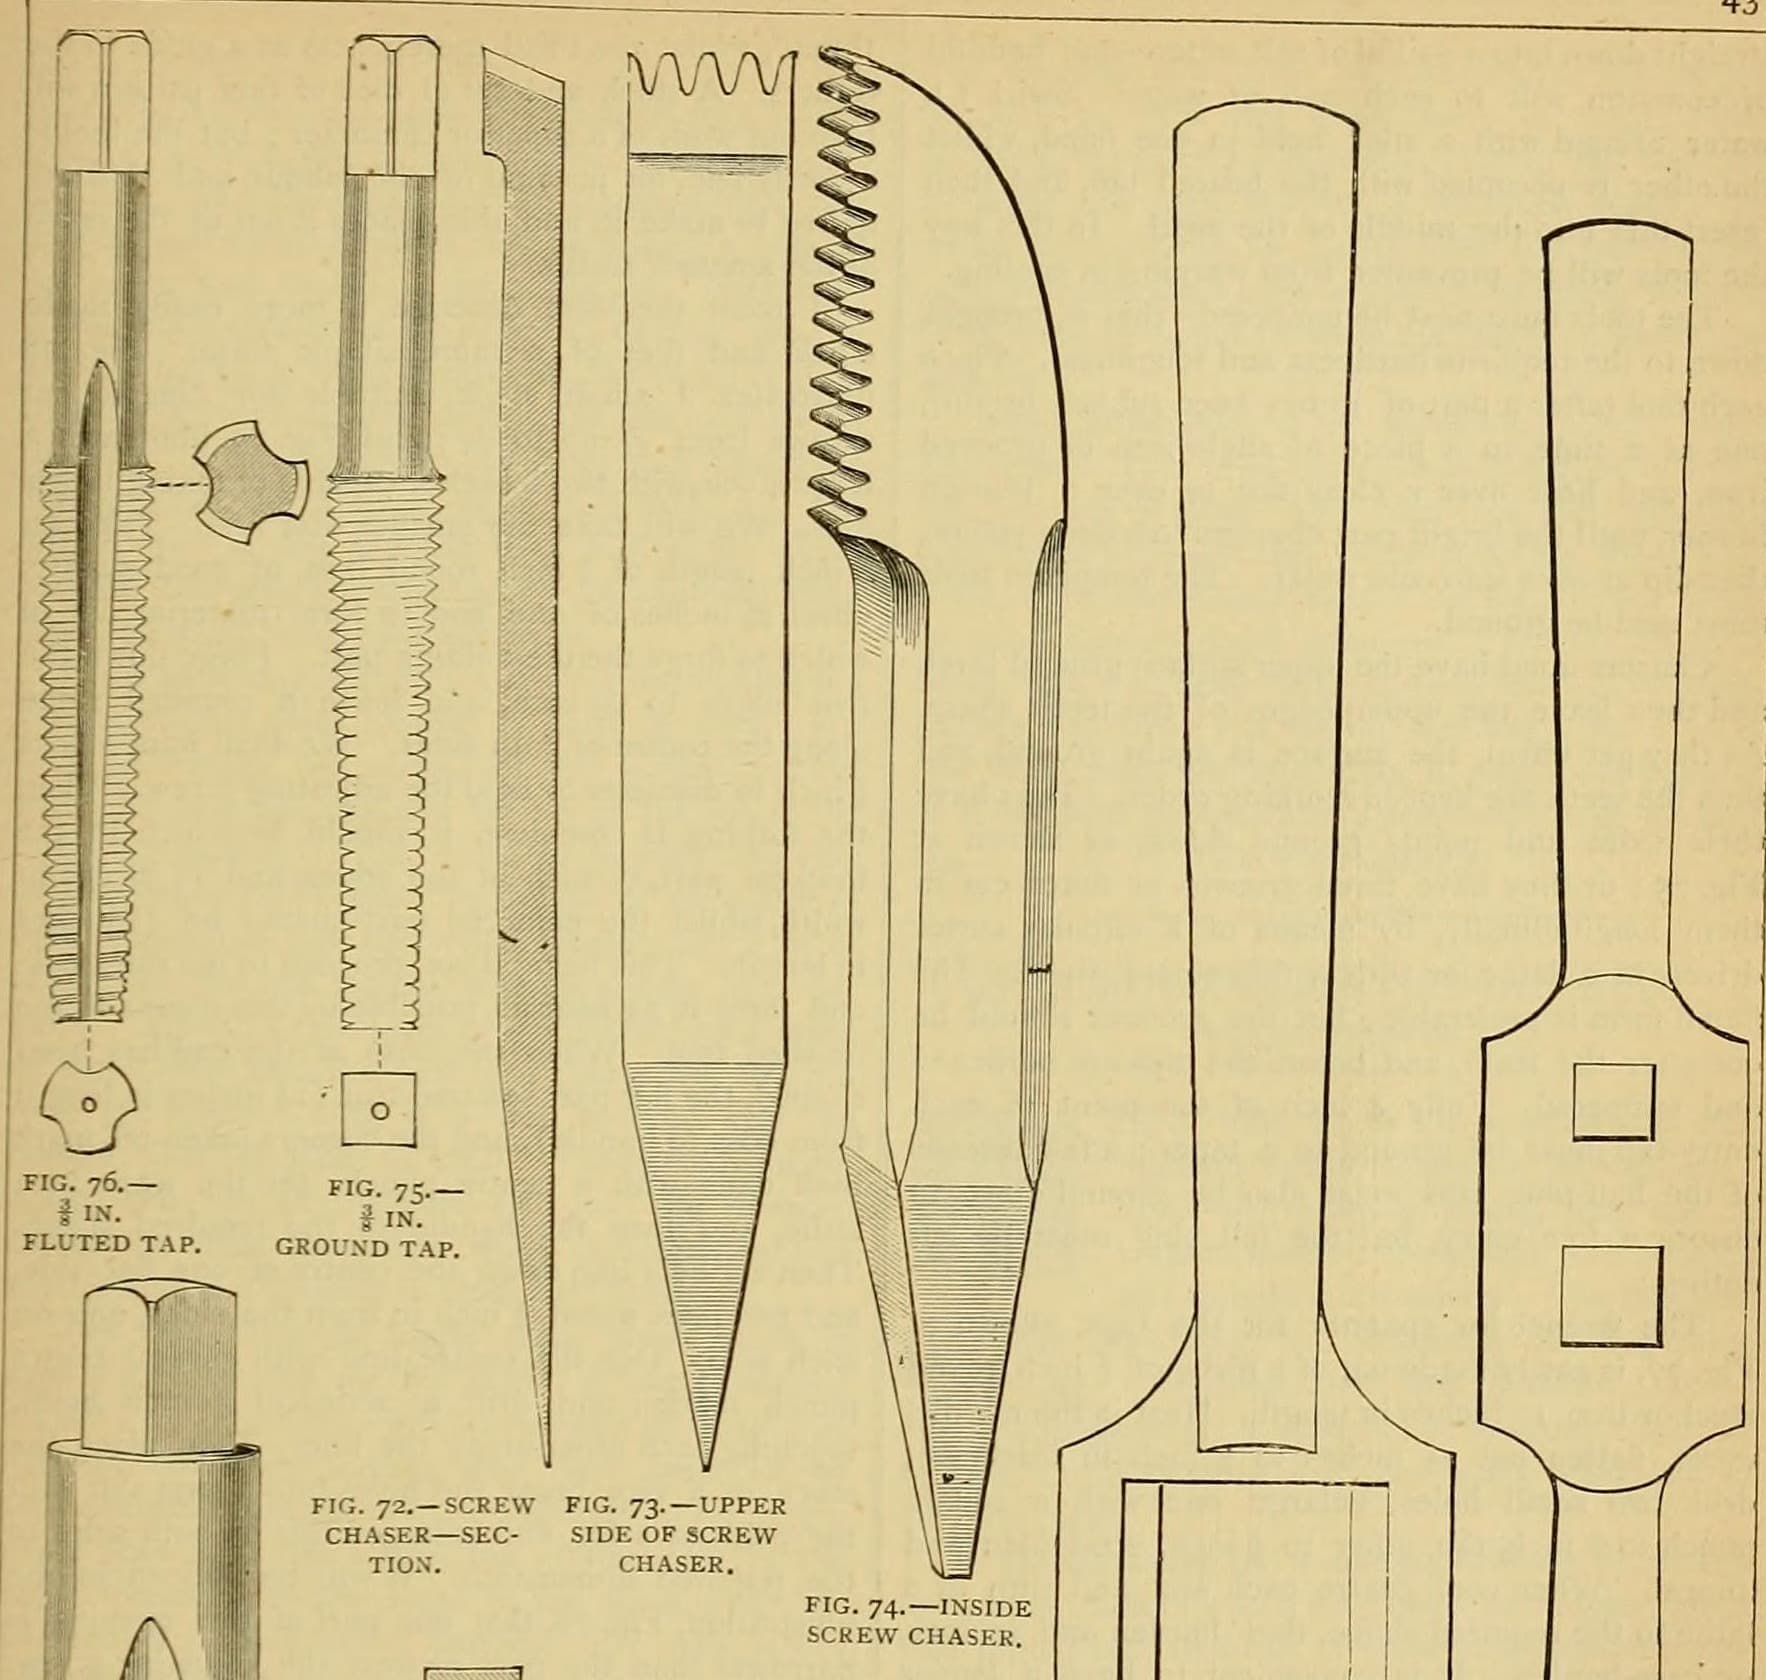
Whitworth Taps from Cast Tool Steel: Turned, Chased, Fluted and Hardened in Salt Water, with Their Wrench (Edwinson, 1886)
por Forge
Trabajo en Metal
CC0 Dominio público
Este Blueprint se publica bajo CC0. Eres libre de copiar, modificar, distribuir y usar este trabajo para cualquier propósito, sin pedir permiso.
Apoya al Maker comprando productos a través de su Blueprint, donde gana una Comisión del Maker establecida por los vendedores, o crea una nueva iteración de este Blueprint e inclúyela como conexión en tu propio Blueprint para compartir ingresos.