Colaboración
ARTE
BELLEZA Y BIENESTAR
ARTESANÍA
CULTURA E HISTORIA
ENTRETENIMIENTO
MEDIO AMBIENTE
COMIDA Y BEBIDAS
INGENIERÍA INVERSA
CIENCIAS
DEPORTES
TECNOLOGÍA
TECNOLOGÍA VESTIBLE
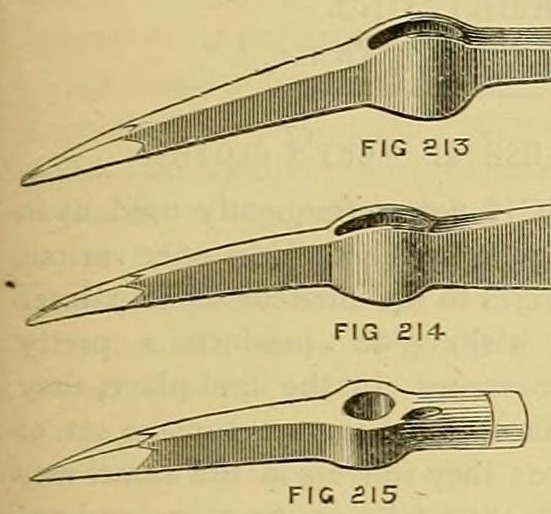


Steeled Picks: Common Pick, Pickaxe and Miner's Pick, Iron Eye with Steel Points Welded In (Edwinson, 1886)
How a village smith made picks in the 1880s, from George Edwinson's smithing series in Amateur Work: an iron head welded round its eye, the ends split hot and steel wedges welded in, then hardened and tempered. Variants: the common pick, the pickaxe with a steel-laid axe blade, and the miner's pick with a steel-faced hammer end.
Avanzado
A day at the forge
Instrucciones
1
1
Read Edwinson
Read Edwinson
"The eye or hole for the shaft is formed by first shaping the two sides ... and then welding the two parts together."
2
2
Form the eye
Form the eye
Forge the two halves of the head with a hollow for the eye in each (his fig. 216), lay them together and weld them into one head round the eye (fig. 217).
Materiales para este paso:
 Barra de hierro forjado1 pieza
Herramientas necesarias:
 Fragua de herrero
 Yunque
 Martillo
 Tenazas de herrero
 Mandril de agrandar
3
3
Draw the ends
Draw the ends
Forge the two ends down to the size you need: a pointed bill and a chisel bill for the common pick, an axe and a point for the pickaxe, a point and a hammer for the miner's pick. For the miner's pick leave the eye massive and oval, tapering from both sides as in a hammer.
Herramientas necesarias:
Fragua de herreroYunqueMartillo Mazo pesado
4
4
Steel the points
Steel the points
Split each bill end with a hot chisel (his hot sett, fig. 218), insert a wedge of steel in the cleft and weld it in under borax, then draw it out to shape. Do not heat cast steel above a cherry red.
Materiales para este paso:
 Acero al crisol1 pieza
 Bórax en polvo1 pieza
Herramientas necesarias:
Fragua de herrero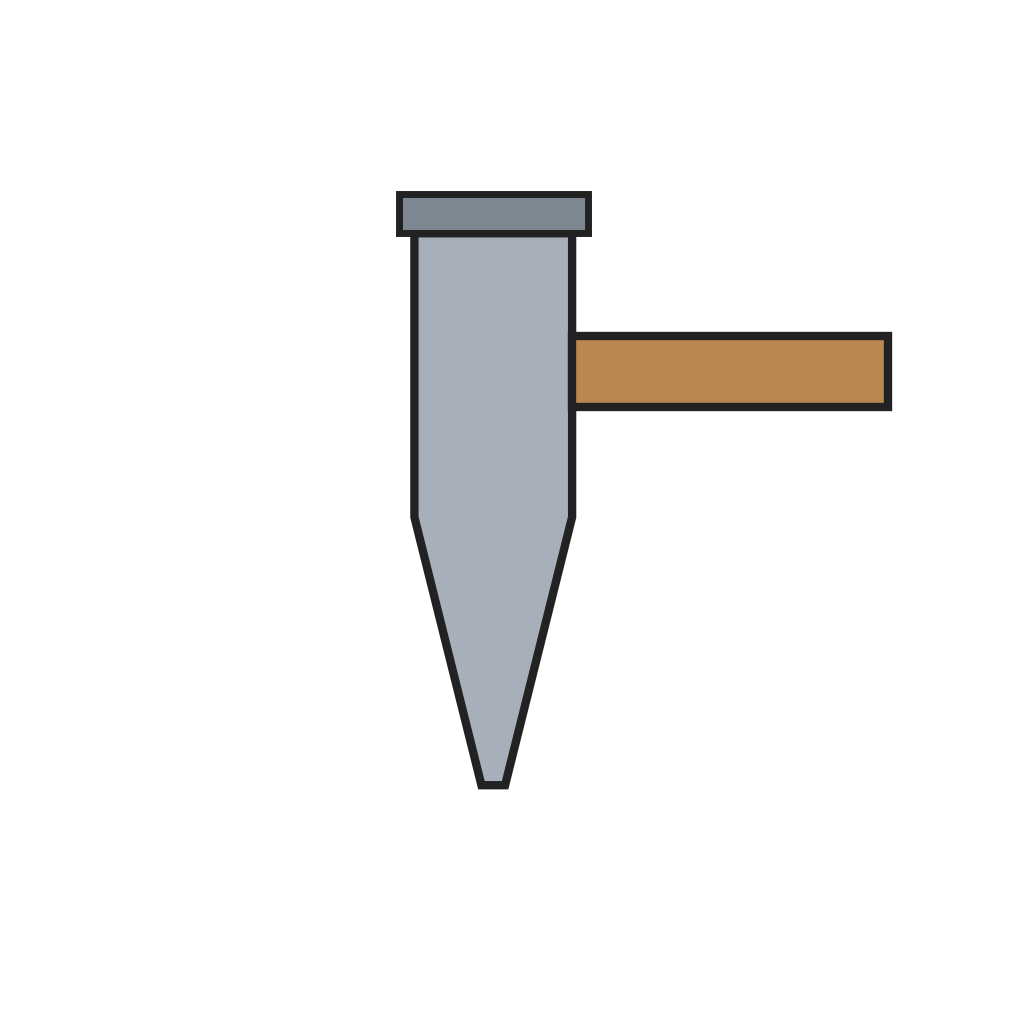 Tajadera en calienteMazo pesadoYunqueTenazas de herrero
5
5
Steel the axe or hammer end
Steel the axe or hammer end
Pickaxe: enclose a slice of shear steel between the folding leaves of iron at the axe end and forge them down together to form the axe. Miner's pick: face the hammer end with steel.
Materiales para este paso:
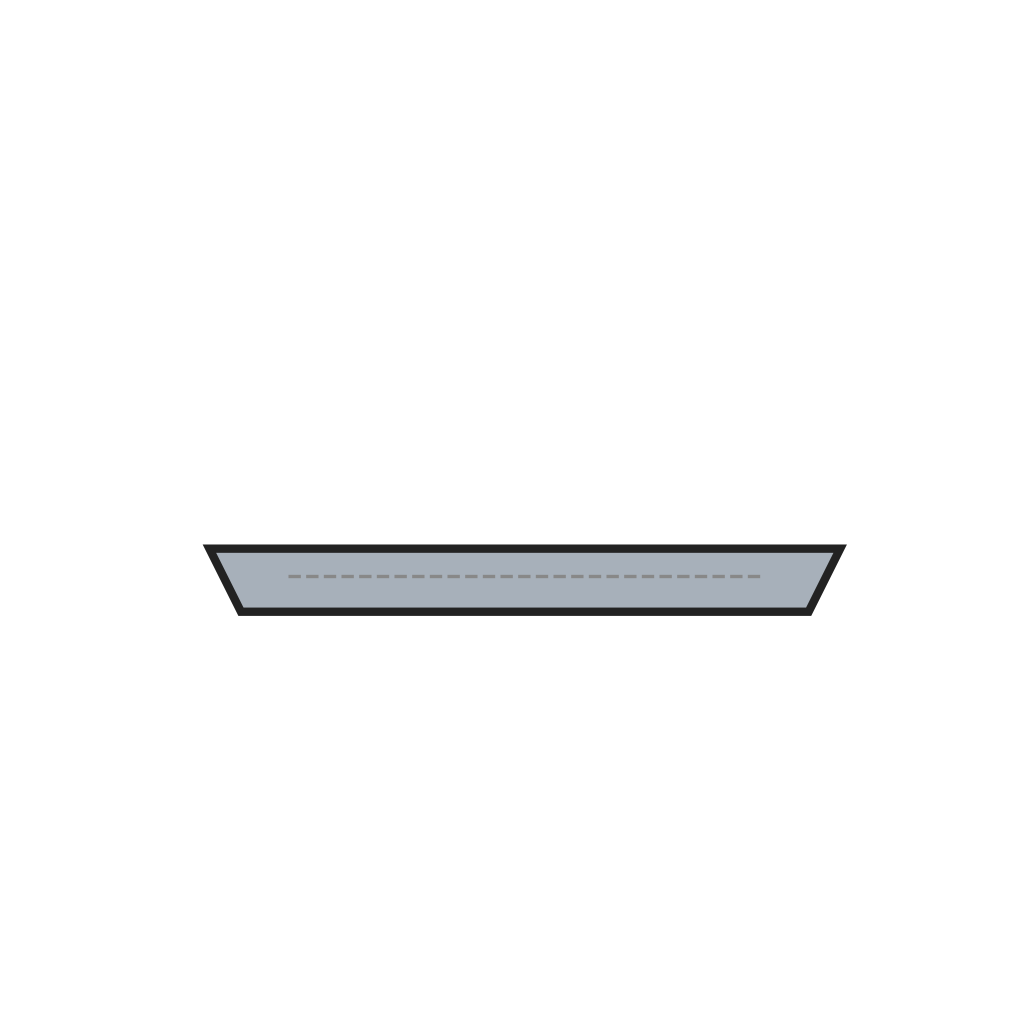 Placa de acero de cizalla1 piezaBórax en polvo1 pieza
Herramientas necesarias:
Fragua de herreroYunqueMartilloTenazas de herrero6
6
Harden and temper
Harden and temper
Harden the points and temper them to a brown tint tending to straw at the very point. Temper the pickaxe blade purple where steel meets iron, running to straw at the edge.
Herramientas necesarias:
Fragua de herrero Cubo de temple
7
7
Handle it (ours)
Handle it (ours)
He does not cover the handle. Ours: shape an ash handle to the eye, drive it in and wedge it.
Materiales para este paso:
 Taco de fresno1 pieza
 Cuñas de madera1 pieza
Herramientas necesarias:
 Cuchilla de dos mangosMartillo
8
8
Troubleshooting
Troubleshooting
Pick troubleshooting.
Flow
Loading...
9
9
History and honest limits
History and honest limits
From George Edwinson, "Smithing and Forging" (part X), **Amateur Work, Illustrated**, vol. VI (Ward, Lock & Co., 1886-87), pp. 211-214 (checked on the archive.org scan amateurworkillus06lond). He gives no dimensions or weights; the sizes, the handle and the tools listed are ours.
Materiales
6- 1 piezaMarcador de posición
- 1 piezaMarcador de posición
- 1 piezaMarcador de posición
- 1 piezaMarcador de posición
- 1 piezaMarcador de posición
- 1 piezaMarcador de posición
Herramientas requeridas
9- Marcador de posición
- Marcador de posición
- Marcador de posición
- Marcador de posición
- Marcador de posición
- Marcador de posición
- Marcador de posición
- Marcador de posición
- Marcador de posición

Blueprints relacionados
Estos blueprints comparten conocimiento — técnicas, materiales o principios
CC0 Dominio público
Este Blueprint se publica bajo CC0. Eres libre de copiar, modificar, distribuir y usar este trabajo para cualquier propósito, sin pedir permiso.
Apoya al Maker comprando productos a través de su Blueprint, donde gana una Comisión del Maker establecida por los vendedores, o crea una nueva iteración de este Blueprint e inclúyela como conexión en tu propio Blueprint para compartir ingresos.