Colaboración
ARTE
BELLEZA Y BIENESTAR
ARTESANÍA
CULTURA E HISTORIA
ENTRETENIMIENTO
MEDIO AMBIENTE
COMIDA Y BEBIDAS
INGENIERÍA INVERSA
CIENCIAS
DEPORTES
TECNOLOGÍA
TECNOLOGÍA VESTIBLE
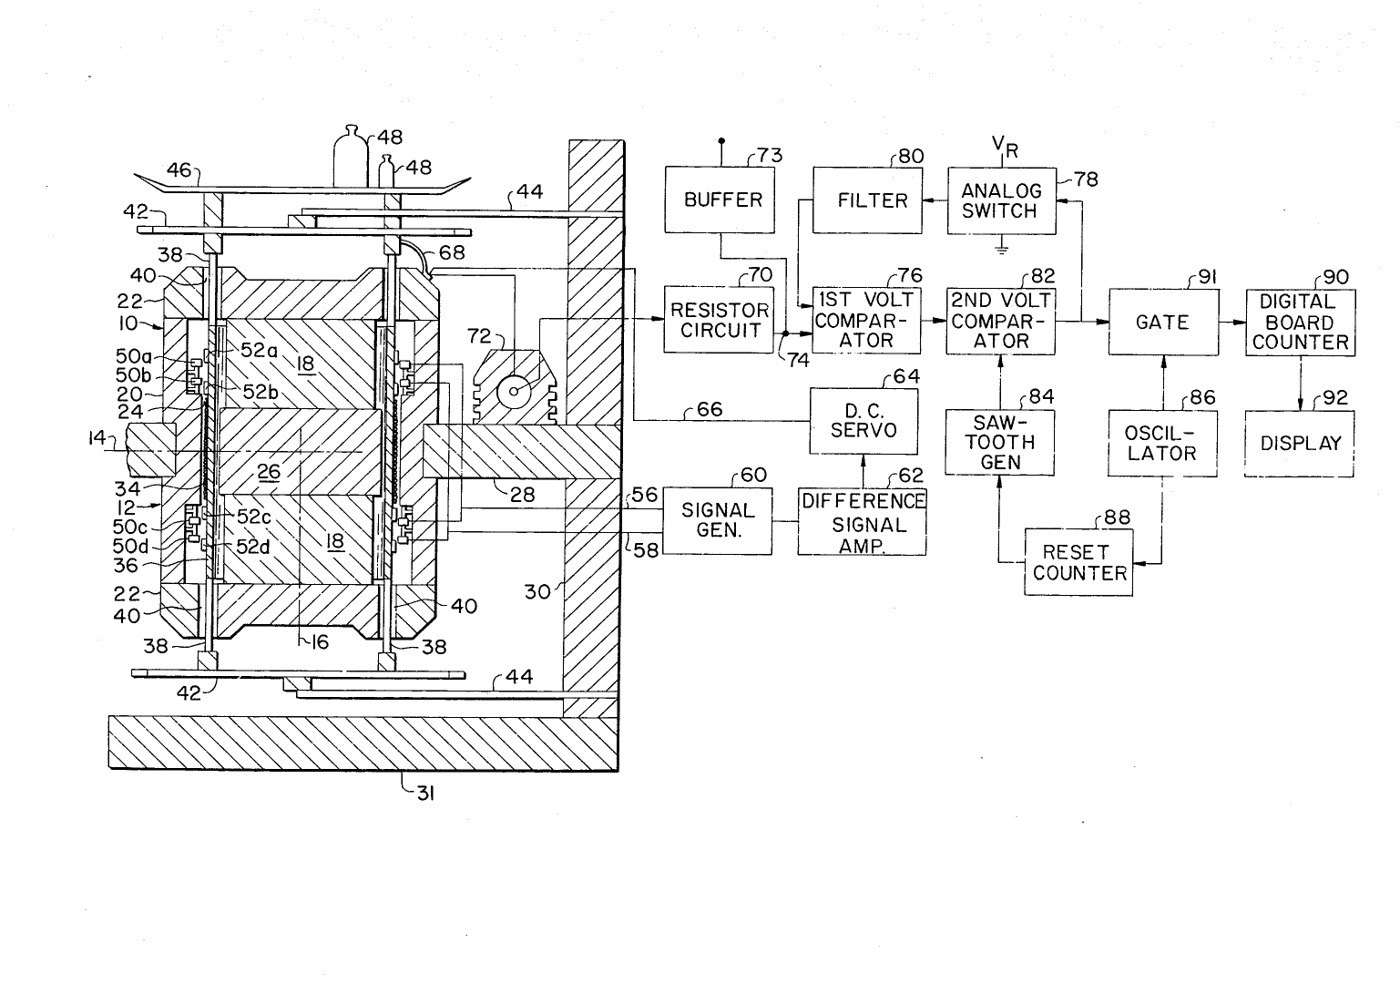


Electronic Analytical Balance: a Coil Current in Place of Weights (Akers et al., 1977)
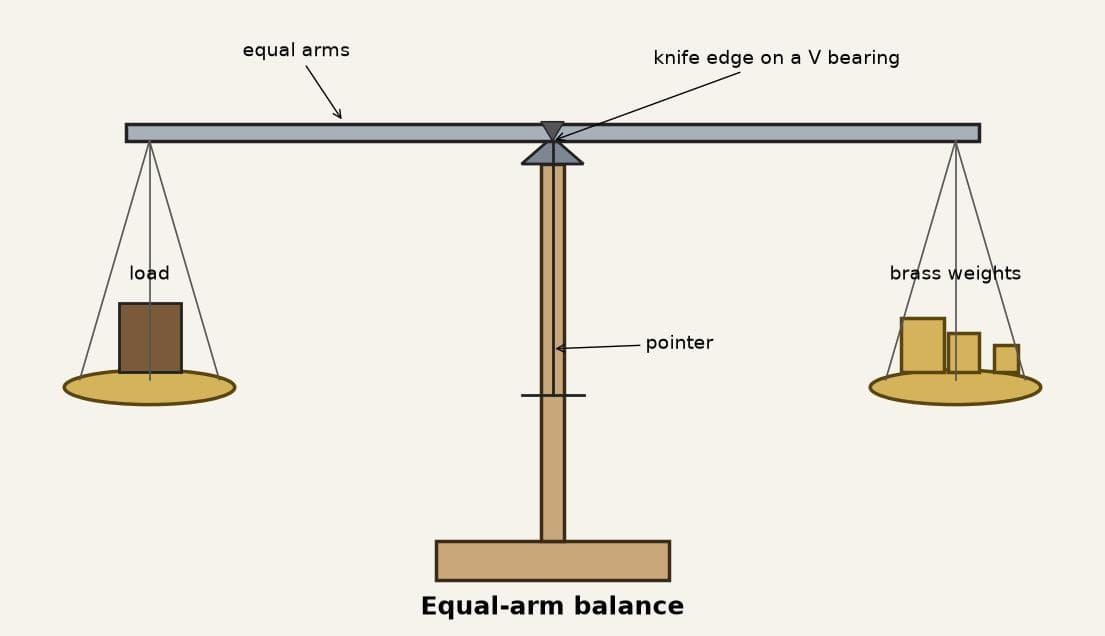
The equal-arm balance with its weights replaced by electricity. The pan sits on a coil in the gap of a permanent magnet. A load pushes it down; capacitor rings sense the smallest movement, and a servo drives just enough current through the coil to lift it back to its rest position. That current is the weight.
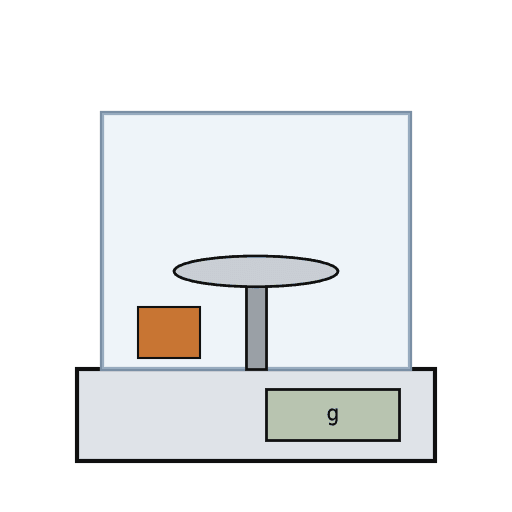
Result: a balance that reads the weight in grams or ounces on a digital display, with no weights to handle, and tare by its circuit.
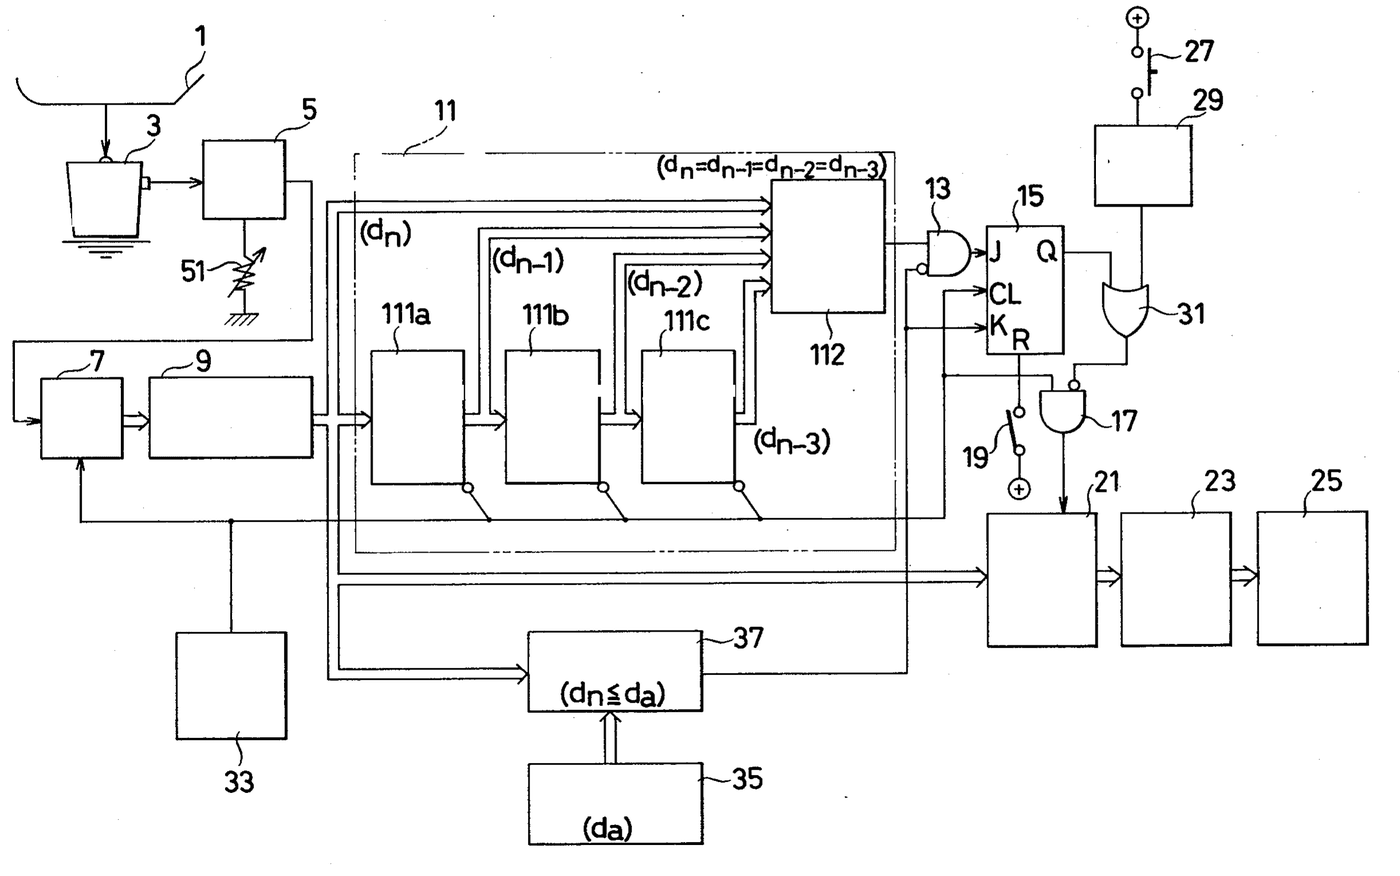
Source: C. B. Akers and others (Arbor Laboratories), US Patent 4,034,819 (1977). Unknown: the resolution, capacity, magnet type, materials and sizes; the circuits are given as blocks only. Picture: patent drawing.
Avanzado
2 weeks
Instrucciones
1
1
Build the magnet circuit
Build the magnet circuit
Stack permanent magnets into a column with a soft iron core. Enclose them in an annular outer housing with end caps, shaped so the field crosses a narrow annular air gap at a constriction. Keep the whole structure symmetrical about its vertical axis. Mount it on a support plate fixed to an upright, such as a housing panel on a base. Not given: the magnet type, materials and sizes.
Materiales para este paso:
 Imán pequeño1 column
 Varilla de hierro1 soft iron core
 Metal desconocido1 housing and end caps
 Material desconocido1 support plate, panel, base
Herramientas necesarias:
 Juego de destornilladores
 Dimensiones desconocidas
2
2
Hang the coil in the gap
Hang the coil in the gap
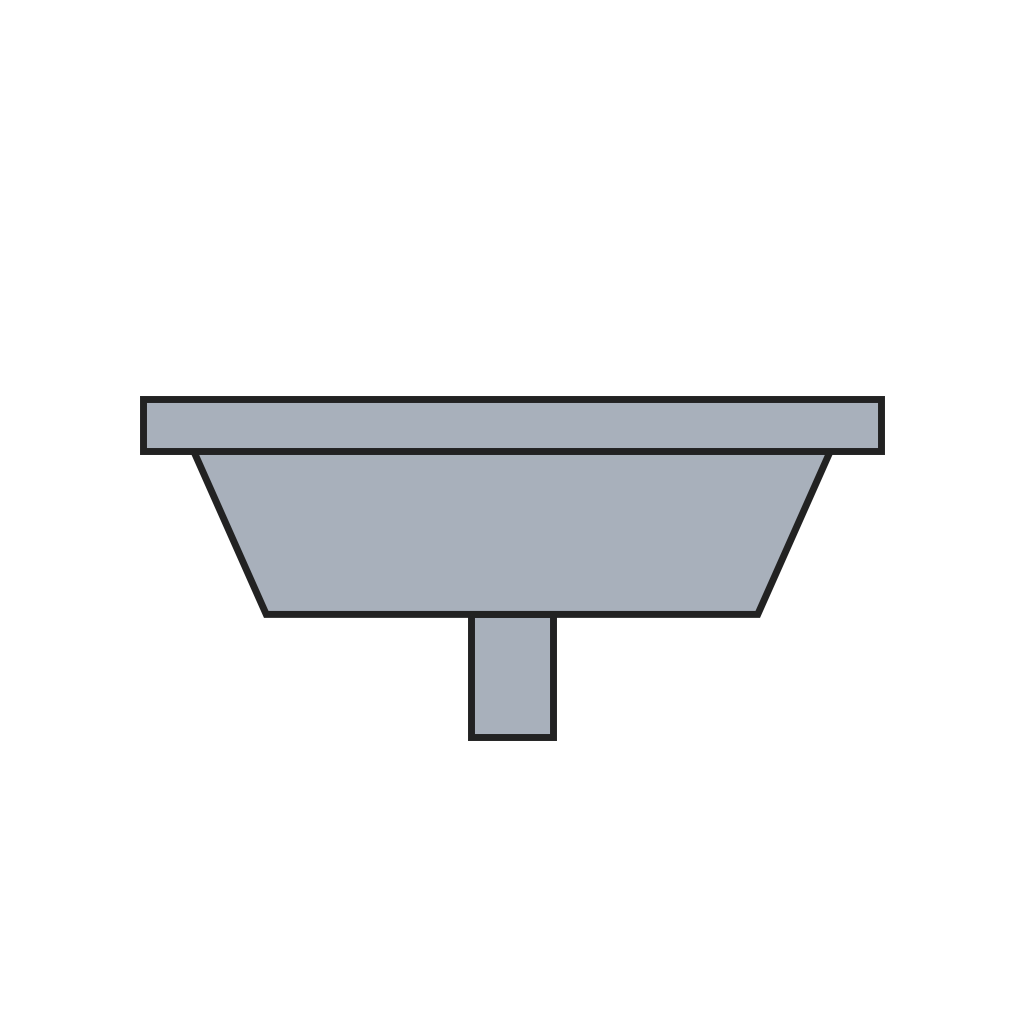
Wind the coil tightly round the middle of a light bobbin that surrounds the core, the coil sitting in the air gap. Tabs at both ends of the bobbin pass out through holes in the end caps to suspension frames. Hang the frames from thin springy cantilevers fixed to the upright, so the bobbin can only move a short way straight up and down. Keep the bobbin and its suspension as light as possible. Put the weighing pan on top. Ours: enamelled wire.
Materiales para este paso:
 Hilo de cobre esmaltado1 coilMaterial desconocido1 bobbin, frames, cantilevers
 Platillo de pesaje1 pieza
Herramientas necesarias:
Dimensiones desconocidas3
3
Fit the capacitor rings
Fit the capacitor rings
Mount four capacitor rings inside the outer housing, two above and two below the air gap, facing matching rings on the bobbin. Cross-connect them so a tilt of the bobbin cancels out and only up-and-down movement shows. Connect them to a signal generator: as the bobbin moves, one set's capacitance rises and the other's falls, and the difference becomes the control voltage.
Materiales para este paso:
Metal desconocido1 rings Circuito integrado1 sensing circuit
 Cable de conexión1 pieza
 Alambre de soldadura1 a little
Herramientas necesarias:
 Soldador de estaño
4
4
Close the servo loop and read the current
Close the servo loop and read the current
Feed the control voltage to a d.c. servo that drives current through the coil, through a flexible lead, until the bobbin is back at its rest position. Pass that current through a large stable resistor, a thermal resistor that corrects for temperature and a calibration potentiometer: the voltage across them stands for the weight. A separate circuit (comparators, saw-tooth generator, oscillator and counter) turns it into a count read out as grams or ounces. Tare is ordinary circuit logic. Ours: a segment LCD; check with calibration weights.
Materiales para este paso:
Circuito integrado1 servo and counting circuits Resistencia2 stable resistor, thermal resistor
 Potenciómetro1 calibration
 Pantalla LCD de segmentos1 displayAlambre de soldadura1 a little
Herramientas necesarias:
Soldador de estaño Juego de pesas de calibración
Materiales
12- 1 columnMarcador de posición
- 1 soft iron coreMarcador de posición
- 1 ringsMarcador de posición
- 1 bobbin, frames, cantileversMarcador de posición
- 1 coilMarcador de posición
- 1 piezaMarcador de posición
- 1 servo and counting circuitsMarcador de posición
- 1 piezaMarcador de posición
- 2 a littleMarcador de posición
- 2 stable resistor, thermal resistorMarcador de posición
- Marcador de posición
- 1 displayMarcador de posición
Herramientas requeridas
4- Marcador de posición
- Marcador de posición
- 2 vendors sell this, none ship to you yetMarcador de posición
- Marcador de posición
Materiales de Blueprints conectados
Este plano hace
Blueprints relacionados
Estos blueprints comparten conocimiento — técnicas, materiales o principios
CC0 Dominio público
Este Blueprint se publica bajo CC0. Eres libre de copiar, modificar, distribuir y usar este trabajo para cualquier propósito, sin pedir permiso.
Apoya al Maker comprando productos a través de su Blueprint, donde gana una Comisión del Maker establecida por los vendedores, o crea una nueva iteración de este Blueprint e inclúyela como conexión en tu propio Blueprint para compartir ingresos.