ARTE
BELLEZA Y BIENESTAR
ARTESANÍA
CULTURA E HISTORIA
ENTRETENIMIENTO
MEDIO AMBIENTE
COMIDA Y BEBIDAS
INGENIERÍA INVERSA
CIENCIAS
DEPORTES
TECNOLOGÍA
TECNOLOGÍA VESTIBLE
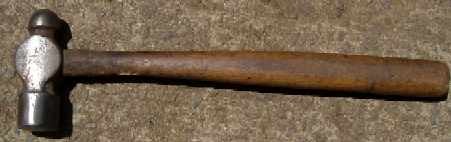


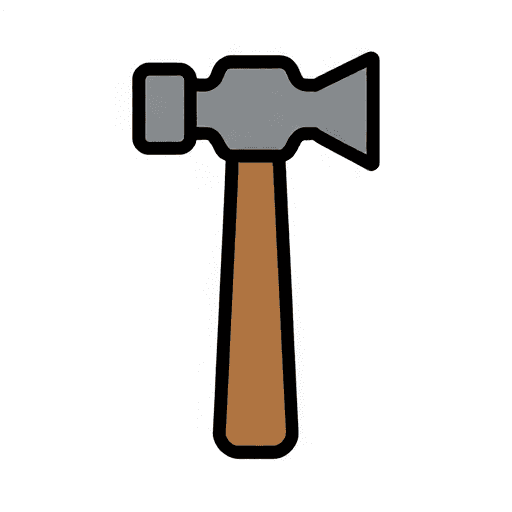
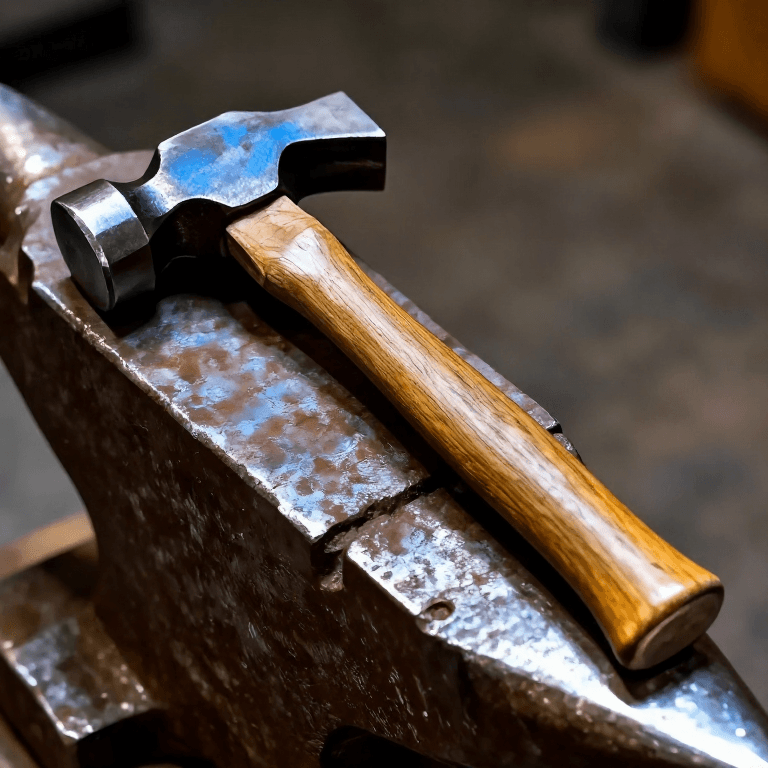
Forged Ball-Peen Hammer
A 2-pound ball-peen hammer forged from 1½-inch square tool steel; a 6½-inch bar gives two heads. The eye is punched and drifted, the body fullered and rounded so it tapers both ways from a thick centre, then the face is drawn out and swaged and the ball peen rounded in a bottom swage. Both ends are hardened by dipping them in turn, with water dripping on the face, and tempered from the heat held around the eye: dark brown for the face, brown or purple for the peen. The eye cools last, which keeps it tough.
Avanzado
4–6 hours
Instrucciones
1
1
Mark and flatten
Mark and flatten
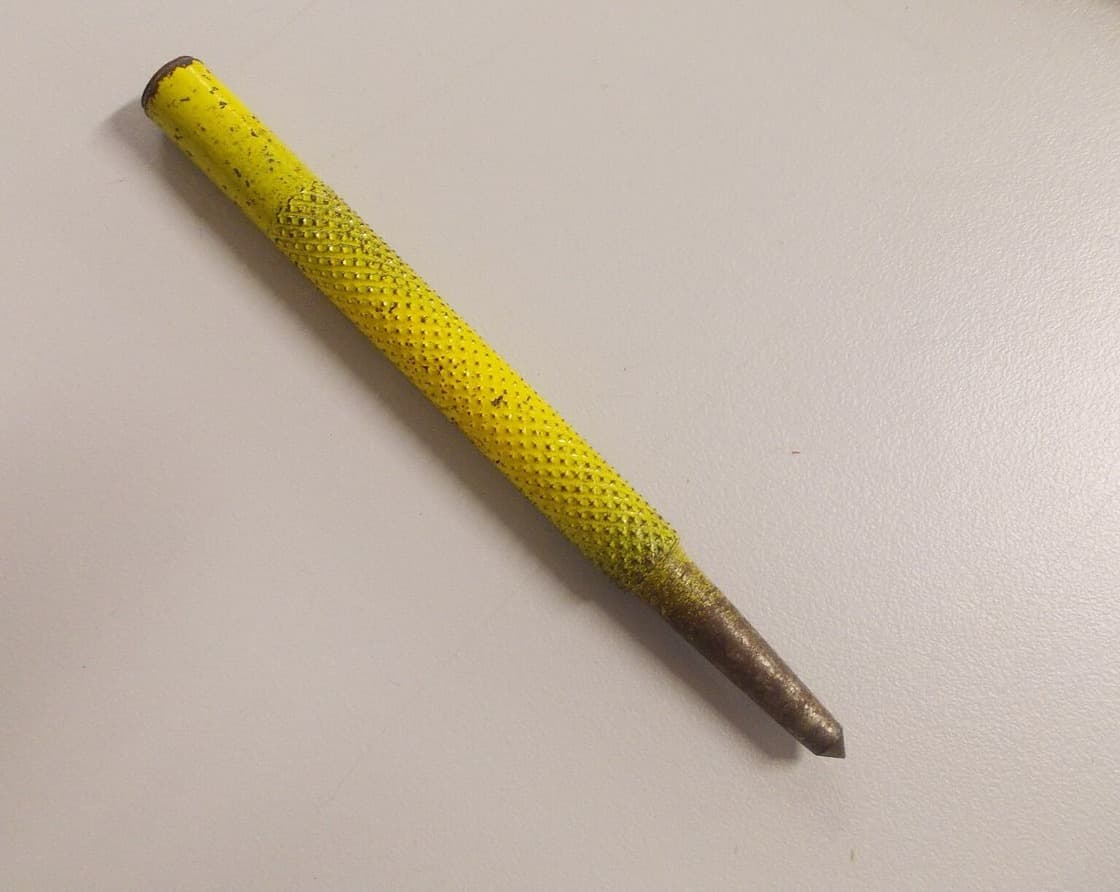
Mark the bar with a chisel and centre punch. Flatten the end before punching, or the hole grows too large.
Materiales para este paso:
 Barra cuadrada de acero para herramientas1 pieza
Herramientas necesarias:
 Granete
 Tajadera en caliente
 Fragua de herrero
 Yunque
 Mazo pesado
 Tenazas de herrero
2
2
Punch and drift the eye
Punch and drift the eye
Punch the eye at the centre-punch mark, drive in a drift and hammer the bulged sides straight.
Herramientas necesarias:
 Punzón en caliente
 Mandril de agrandar
 Martillo de forja
3
3
Shape the body
Shape the body
Rough out the shape with top and bottom fullers, then round the body at the anvil's rounded edge with a top fuller and set hammer, thicker at the centre than at the ends.
Herramientas necesarias:
 Fuller (degolladera)
 Asentador de herrero
4
4
Face and peen
Face and peen
Cut the head from the bar from four sides for a square end. Draw out the face, swage it and trim it with a hot chisel; then cut the peen to length, cut off its corners and round it in a bottom swage. Drive the drift through from both sides to taper the eye.
Herramientas necesarias:
Tajadera en caliente Estampa inferiorMandril de agrandar
5
5
Grind
Grind
Grind both ends, rounding the edges of the face slightly so it does not mark hot work.
Herramientas necesarias:
 Esmeril de banco
6
6
Harden and temper
Harden and temper
Heat the whole head slowly to the hardening heat and hold it by a tong jaw in the eye. Lower about 1½ inches of the face into water, then harden the peen the same way while water drips on the face, keeping the eye hot. Polish the ends; take the face to dark brown and the peen to brown or purple, then dip the ends alternately so the eye cools slowly.
Herramientas necesarias:
Fragua de herrero Cubo de templeTenazas de herrero
 Tela de esmeril
7
7
Handle
Handle
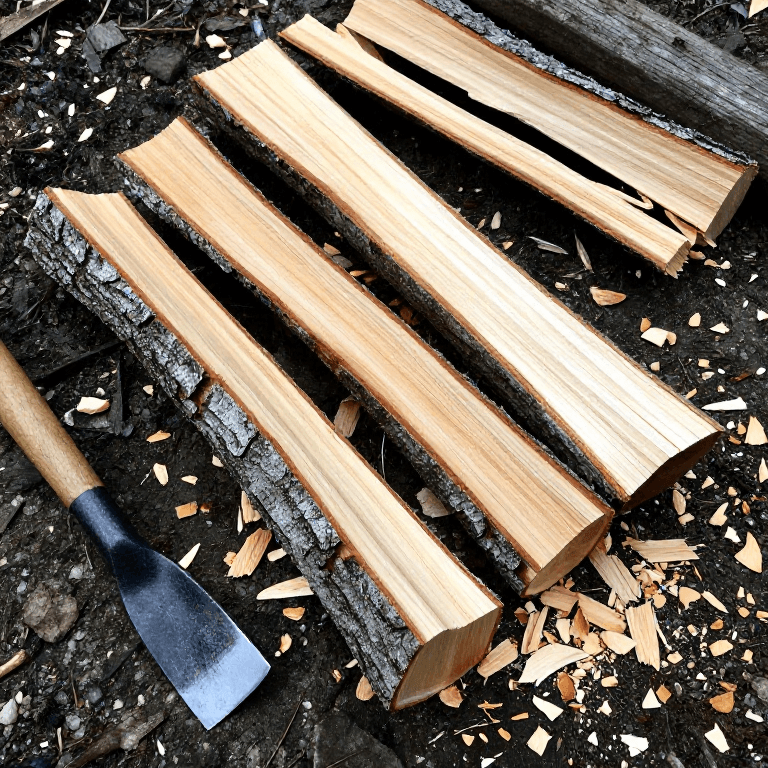
Shave the handle stock to fit the eye tightly, drive the head on, saw a kerf in the handle's top and drive a glued hardwood wedge into it. Trim flush and oil the handle.
Materiales para este paso:
 Listón de madera dura para mangos1 pieza
 Cuña de madera dura1 pieza
 Aceite de linaza10 ml
Herramientas necesarias:
 Cuchilla de dos manos
 Tronzador
 Tornillo de banco
Materiales
4- Marcador de posición
- Marcador de posición
- 1 piezaMarcador de posición
- 10 mlMarcador de posición
Herramientas requeridas
18- Marcador de posición
- Marcador de posición
- Marcador de posición
- Marcador de posición
- Marcador de posición
- Marcador de posición
- Marcador de posición
- Marcador de posición
- Marcador de posición
- Marcador de posición
- Marcador de posición
- Marcador de posición
- Marcador de posición
- Marcador de posición
- Marcador de posición
- Marcador de posición
- Marcador de posición
- Marcador de posición
Este plano hace
Blueprints relacionados
Estos blueprints comparten conocimiento — técnicas, materiales o principios
CC0 Dominio público
Este Blueprint se publica bajo CC0. Eres libre de copiar, modificar, distribuir y usar este trabajo para cualquier propósito, sin pedir permiso.
Apoya al Maker comprando productos a través de su Blueprint, donde gana una Comisión del Maker establecida por los vendedores, o crea una nueva iteración de este Blueprint e inclúyela como conexión en tu propio Blueprint para compartir ingresos.