ARTE
BELLEZA Y BIENESTAR
ARTESANÍA
CULTURA E HISTORIA
ENTRETENIMIENTO
MEDIO AMBIENTE
COMIDA Y BEBIDAS
INGENIERÍA INVERSA
CIENCIAS
DEPORTES
TECNOLOGÍA
TECNOLOGÍA VESTIBLE
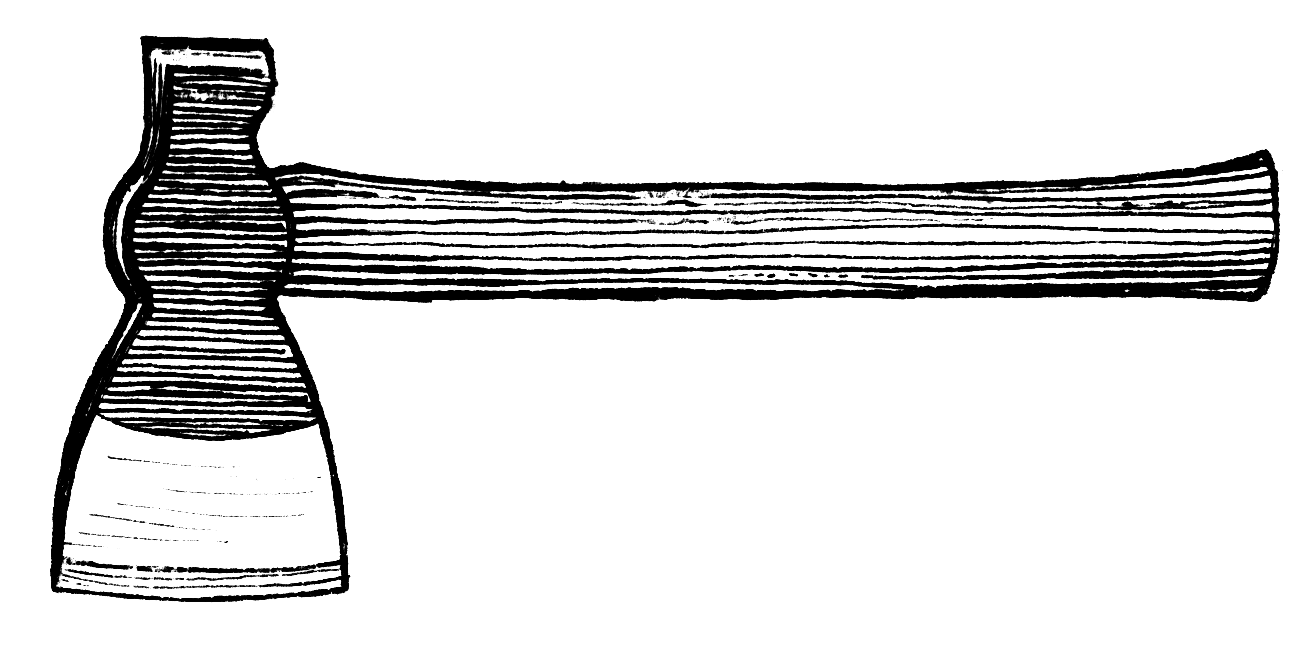


Forged Hunting Axe (Hatchet)
A small one-handed axe forged from a 7/8 × 2-inch bar of good tool steel, best made by two people; a 6¾-inch bar gives two heads. The eye, about 9/16 × 1½ inches, is punched at a yellow heat with an eye punch and opened with drifts, the blade drawn out to a 3-inch edge and the head cut to length. The axe is annealed in lime or ashes, ground and buffed, then hardened from the hardening heat in tepid water and tempered by two hot iron bars laid on either side at the centre: dark purple for the blade, blue for the head.
Avanzado
4–6 hours
Instrucciones
1
1
Mark and punch the eye
Mark and punch the eye
Mark the stock with chisel and centre punch. At a yellow heat, punch the eye with the narrow edge of the punch toward the blade; lift the punch after each blow to check it runs straight and to let it cool; a little fine coal in the hole stops it sticking. Punch nearly through, then finish from the other side.
Materiales para este paso:
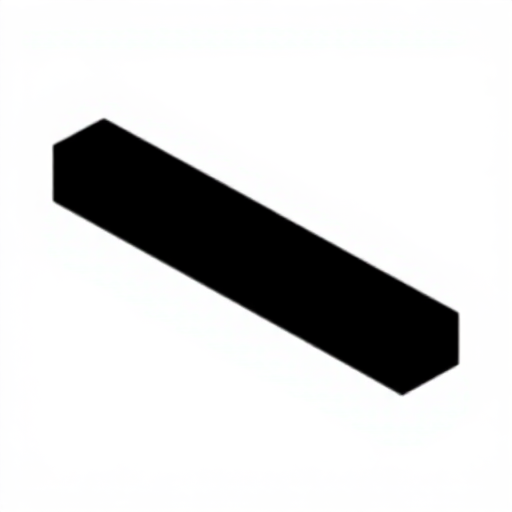 Barra plana de acero para herramientas1 pieza
Herramientas necesarias:
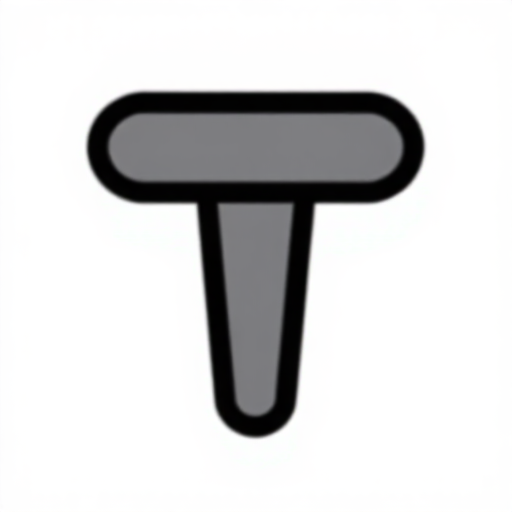 Granete
 Fragua de herrero
 Yunque
 Punzón en caliente
 Mazo pesado
 Tenazas de herrero
2
2
Drift and draw out
Drift and draw out
Drive in a tool-steel drift, hammer the bulges down to the bar's size and smooth with a flatter; take the drift out before each reheat. Use two drifts, the first 3/8 inch narrower. Draw out the blade, driving the drift back in as the eye stretches so no cold shut forms.
Herramientas necesarias:
 Mandril de agrandar
 Aplanador de herrero
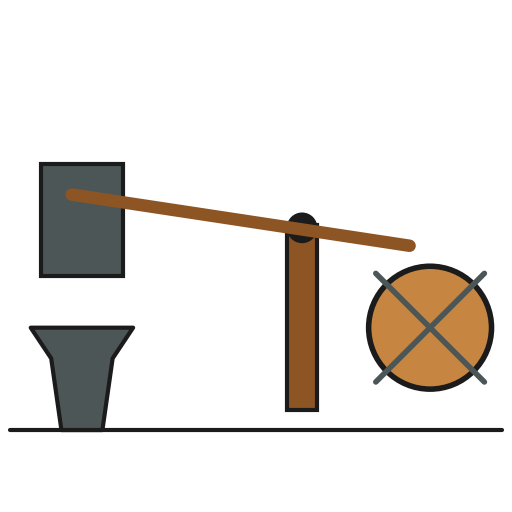 Martinete
3
3
Shape and trim
Shape and trim
Shape the blade with a heavy hammer and flatter and form its edge. Cut the head from the bar, draw it to size, cut it to length, then trim the blade to shape.
Herramientas necesarias:
 Martillo de forjaAplanador de herrero
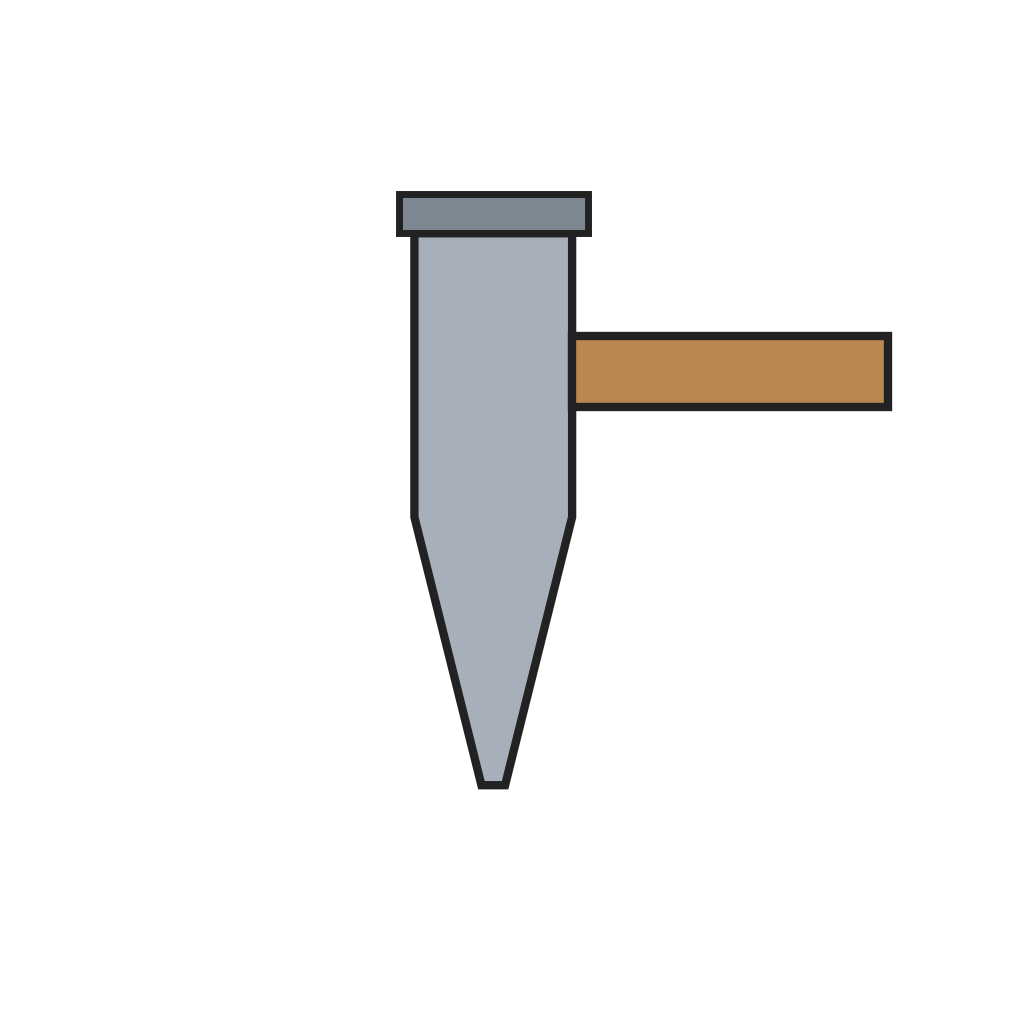 Tajadera en caliente
4
4
Anneal and grind
Anneal and grind
Heat to a full red and anneal in lime or ashes. When cold, grind on an emery wheel and finish on a buffing wheel.
Herramientas necesarias:
Fragua de herrero Esmeril de banco
5
5
Harden and temper
Harden and temper
Heat very slowly to the hardening heat and cool in tepid water. Draw the temper with two hot iron bars laid on either side at the centre; when the blade is dark purple and the head blue, cool quickly in water.
Herramientas necesarias:
Fragua de herrero Cubo de templeTenazas de herrero
6
6
Handle
Handle
Shave the handle stock to fit the eye tightly, drive the head on, saw a kerf in the handle's top and drive a glued hardwood wedge into it. Trim flush and oil the handle.
Materiales para este paso:
 Listón de madera dura para mangos1 pieza
 Cuña de madera dura1 pieza
 Aceite de linaza10 ml
Herramientas necesarias:
 Cuchilla de dos manos
 Tronzador
 Tornillo de banco
Materiales
4- Marcador de posición
- Marcador de posición
- 1 piezaMarcador de posición
- 10 mlMarcador de posición
Herramientas requeridas
16- Marcador de posición
- Marcador de posición
- Marcador de posición
- Marcador de posición
- Marcador de posición
- Marcador de posición
- Marcador de posición
- Marcador de posición
- Marcador de posición
- Marcador de posición
- Marcador de posición
- Marcador de posición
- Marcador de posición
- Marcador de posición
- Marcador de posición
- Marcador de posición
Este plano hace
Blueprints relacionados
Estos blueprints comparten conocimiento — técnicas, materiales o principios
CC0 Dominio público
Este Blueprint se publica bajo CC0. Eres libre de copiar, modificar, distribuir y usar este trabajo para cualquier propósito, sin pedir permiso.
Apoya al Maker comprando productos a través de su Blueprint, donde gana una Comisión del Maker establecida por los vendedores, o crea una nueva iteración de este Blueprint e inclúyela como conexión en tu propio Blueprint para compartir ingresos.