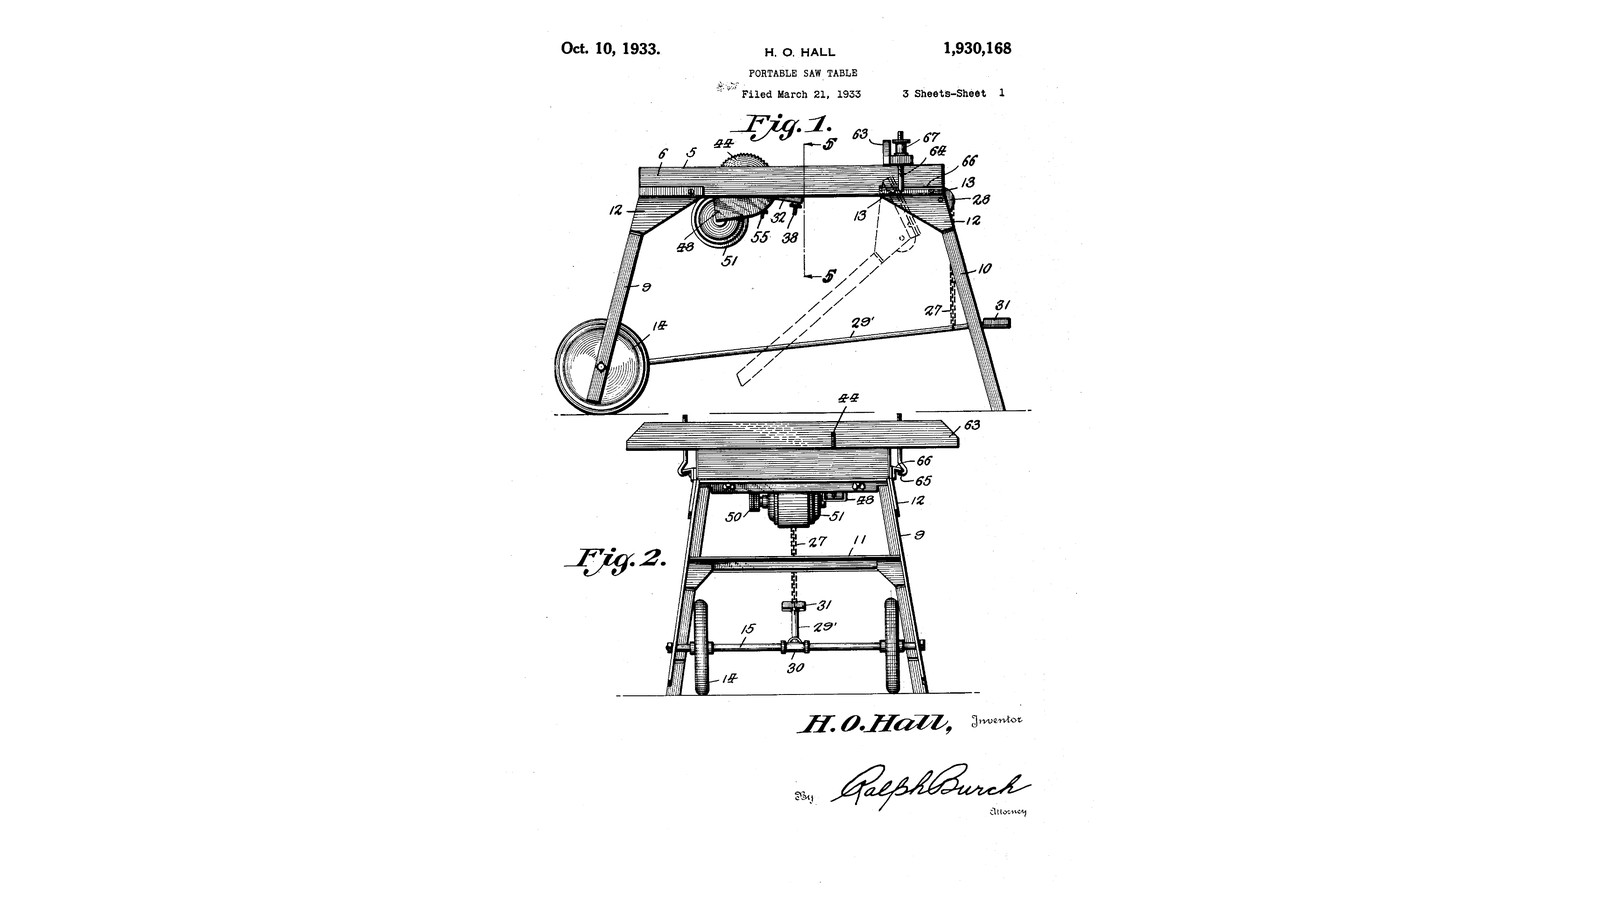

Foot-Fed Carriage Saw Table: The Saw Rides on Balls Under the Table, a Foot Lever Pulls It Through the Work (Hall, 1933)
Instrucciones
The foot lever, the travel and the cut
The foot lever, the travel and the cut
Read US 1,930,168
Read US 1,930,168
Table and legs
Table and legs
Materiales para este paso:
 Tablero contrachapado1 pieza
 Madera de pino6 piezas
 Barra redonda de acero dulce1 pieza
 Juego de ruedas de goma1 pieza
 Tornillo de carruaje8 piezas
 Tornillos para madera40 piezas
 Cola de carpintero1 pieza
Herramientas necesarias:
 Sierra de calar
 Taladro inalámbrico
 Juego de brocas
 Sargento
 Escuadra combinada
 Cinta métrica
Tracks and carriage
Tracks and carriage
Materiales para este paso:
Madera de pino1 pieza Angular de acero dulce2 piezas
 Surtido de tornillos hexagonales12 piezas
 Varilla roscada1 pieza
 Tuerca hexagonal8 piezas
 Pletina de acero dulce1 pieza
 Rodamientos de bolas1 pieza
 Muelle de tracción2 piezasTornillos para madera16 piezas
Herramientas necesarias:
 Sierra para metales
 Amoladora angular
 Taladro de columnaJuego de brocas
 Juego de limas
 Tornillo de banco
 Llave inglesa ajustable
 Gafas de seguridad
Foot lever and chain
Foot lever and chain
Materiales para este paso:
 Tabla de madera dura1 pieza
 Polea1 piezaBarra redonda de acero dulce1 pieza
 Cadena de rodillos1 piezaSurtido de tornillos hexagonales3 piezas
Herramientas necesarias:
Sierra de calarTaladro inalámbricoJuego de brocasSierra para metalesLlave inglesa ajustableSaw frame, arbor and shield
Saw frame, arbor and shield
Materiales para este paso:
Angular de acero dulce1 piezaBarra redonda de acero dulce2 piezas Prisionero de punta cóncava4 piezasVarilla roscada1 piezaTuerca hexagonal4 piezas
 Rodamiento con brida2 piezas
 Circular Saw Blade Set1 pieza
 Polea para correa trapezoidal (sección A)1 pieza
 Chapa de acero dulce1 piezaSurtido de tornillos hexagonales10 piezas
Herramientas necesarias:
Sierra para metalesAmoladora angularTaladro de columnaJuego de brocas Juego de machos y terrajas
 Volvedor de machos
 Torno de metal
 Plato de torno de 3 mordazas
 Herramienta de corte para torno
 Calibre digital de 6 pulgadas
 Tijeras de chapaTornillo de bancoLlave inglesa ajustable
 Juego de llaves Allen
Motor frame
Motor frame
Materiales para este paso:
Angular de acero dulce1 pieza Motor eléctrico1 piezaPolea para correa trapezoidal (sección A)1 pieza
 Correa trapezoidal (sección A)1 piezaBarra redonda de acero dulce1 piezaVarilla roscada1 pieza
 Coil Spring1 pieza
 Arandela plana2 piezasTuerca hexagonal2 piezasSurtido de tornillos hexagonales6 piezas
 Interruptor de encendido y apagado1 pieza
Herramientas necesarias:
Sierra para metalesTaladro de columnaJuego de brocasLlave inglesa ajustableJuego de llaves AllenFence and first cut
Fence and first cut
Materiales para este paso:
Tabla de madera dura1 piezaVarilla roscada1 piezaTuerca hexagonal2 piezasPletina de acero dulce1 piezaTornillos para madera8 piezasHerramientas necesarias:
Sierra de calarTaladro inalámbricoJuego de brocasEscuadra combinadaGafas de seguridad Protección auditiva (orejeras, SNR 30 dB)
Troubleshooting
Troubleshooting
Flow
History and honest limits
History and honest limits
Materiales
27- 1 piezaMarcador de posición
- 6 piezasMarcador de posición
- 2 piezasMarcador de posición
- 1 piezaMarcador de posición
- 8 piezasMarcador de posición
- 64 piezasMarcador de posición
- 1 piezaMarcador de posición
- 2 piezasMarcador de posición
- 31 piezasMarcador de posición
- 1 piezaMarcador de posición
- 16 piezasMarcador de posición
- 1 piezaMarcador de posición
- 1 piezaMarcador de posición
- 2 piezasMarcador de posición
- 1 piezaMarcador de posición
- 1 piezaMarcador de posición
- 1 piezaMarcador de posición
- 4 piezasMarcador de posición
- 2 piezasMarcador de posición
- 1 piezaMarcador de posición
- Marcador de posición
- 1 piezaMarcador de posición
- 1 piezaMarcador de posición
- Marcador de posición
- 1 piezaMarcador de posición
- 2 piezasMarcador de posición
- Marcador de posición
Herramientas requeridas
22- 1 vendor sell this, none ship to you yetMarcador de posición
- 1 vendor sell this, none ship to you yetMarcador de posición
- Marcador de posición
- Marcador de posición
- Marcador de posición
- 1 vendor sell this, none ship to you yetMarcador de posición
- Marcador de posición
- 1 vendor sell this, none ship to you yetMarcador de posición
- Marcador de posición
- Marcador de posición
- Marcador de posición
- Marcador de posición
- Marcador de posición
- Marcador de posición
- Marcador de posición
- Marcador de posición
- Marcador de posición
- Marcador de posición
- Marcador de posición
- Marcador de posición
- Marcador de posición
- Marcador de posición
Este plano hace

Blueprints relacionados
Estos blueprints comparten conocimiento — técnicas, materiales o principios
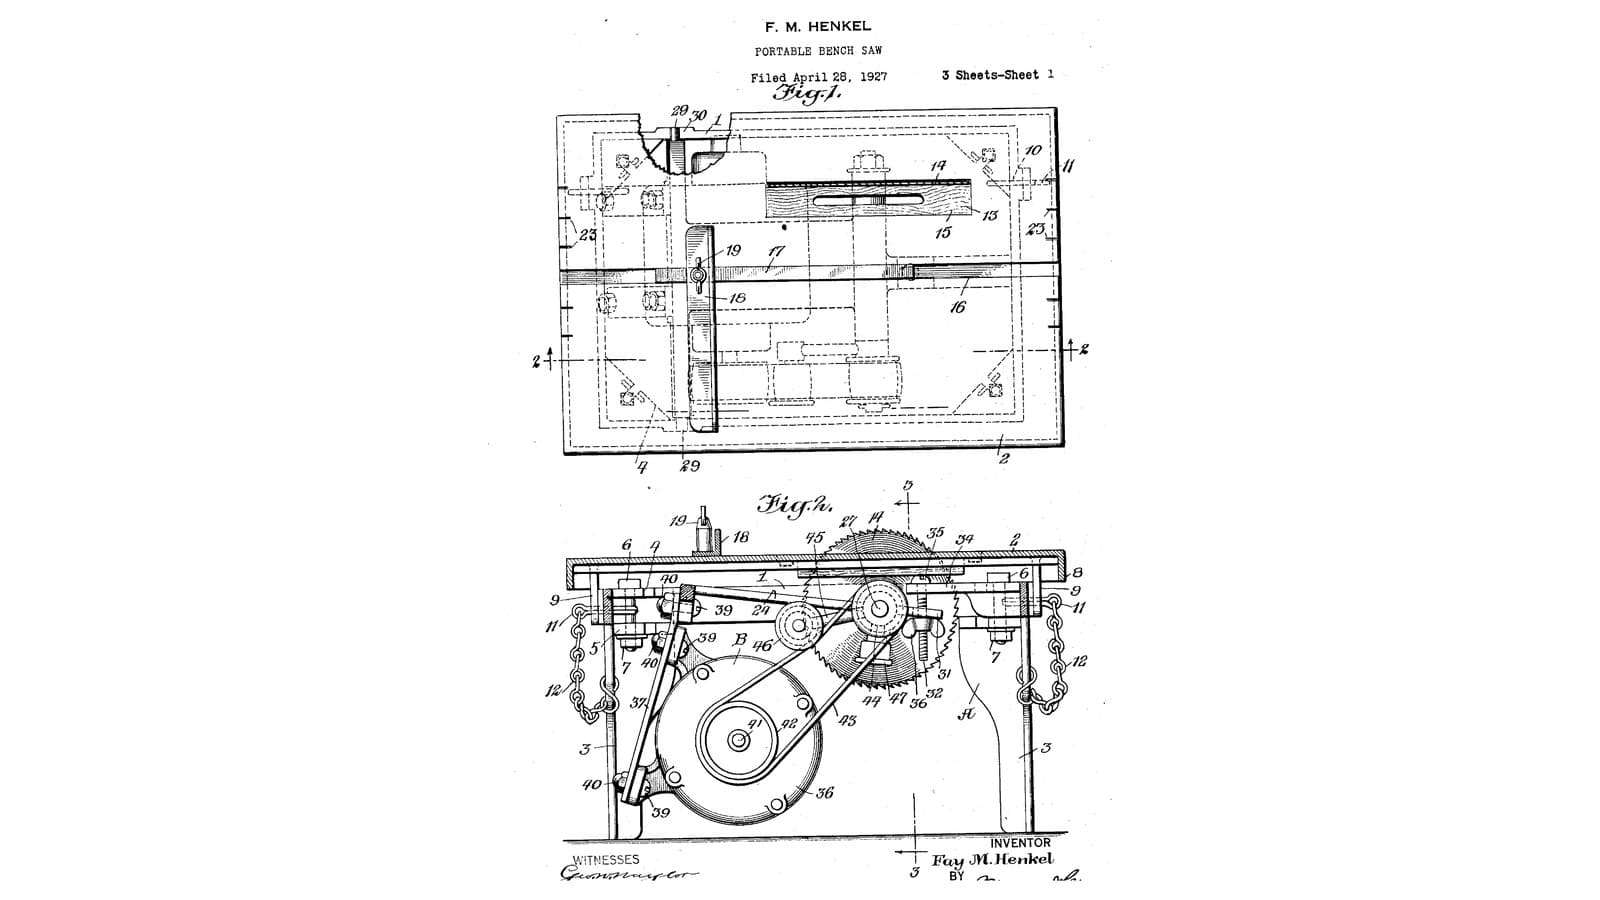
Portable Bench Saw: A Lift-Out Power Unit on Trunnions, Its Motor on Spring Bars, Under a Tilting Platform (Henkel, 1928)
por Forge
Carpintería
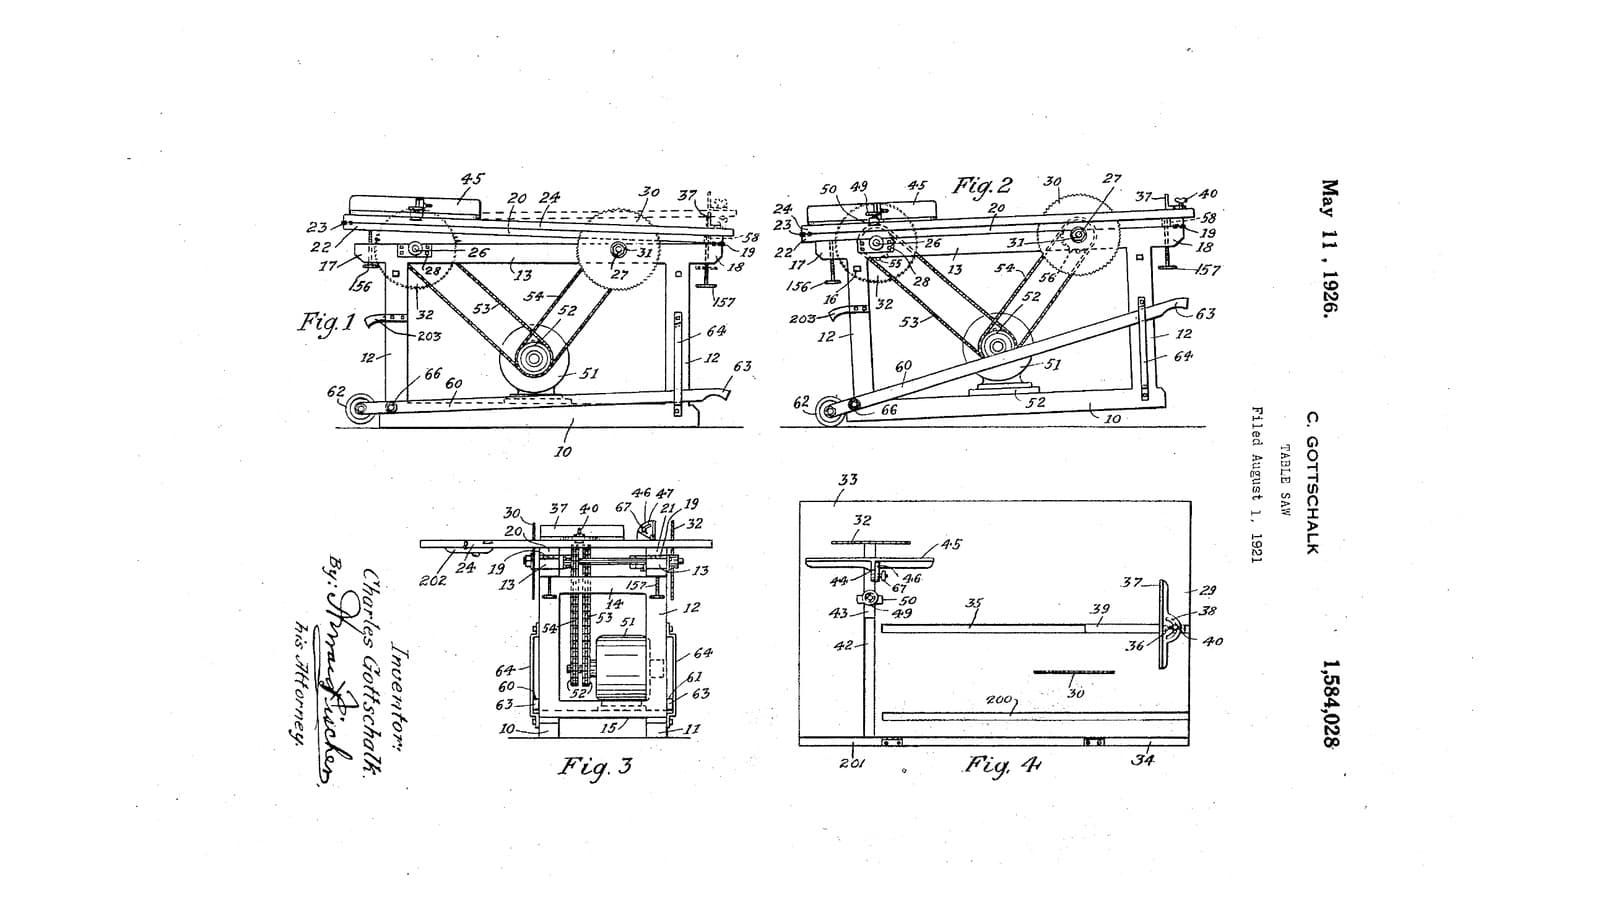
Twin-Saw Table: A Rip Saw and a Crosscut Saw at Opposite Corners, One Motor, Each Depth Set by Tilting the Top (Gottschalk, 1926)
por Forge
Carpintería
CC0 Dominio público
Este Blueprint se publica bajo CC0. Eres libre de copiar, modificar, distribuir y usar este trabajo para cualquier propósito, sin pedir permiso.
Apoya al Maker comprando productos a través de su Blueprint, donde gana una Comisión del Maker establecida por los vendedores, o crea una nueva iteración de este Blueprint e inclúyela como conexión en tu propio Blueprint para compartir ingresos.