ARTE
BELLEZA Y BIENESTAR
ARTESANÍA
CULTURA E HISTORIA
ENTRETENIMIENTO
MEDIO AMBIENTE
COMIDA Y BEBIDAS
INGENIERÍA INVERSA
CIENCIAS
DEPORTES
TECNOLOGÍA
TECNOLOGÍA VESTIBLE
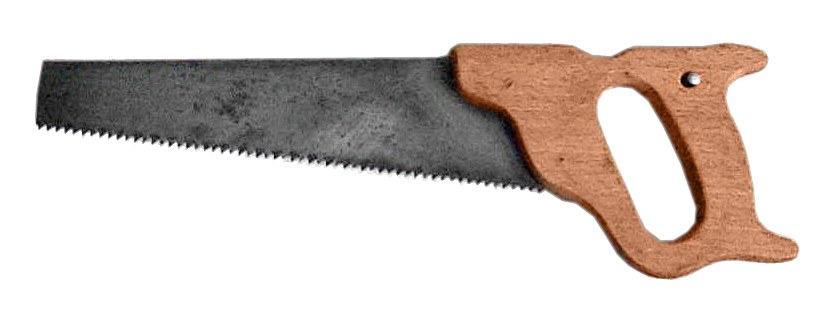


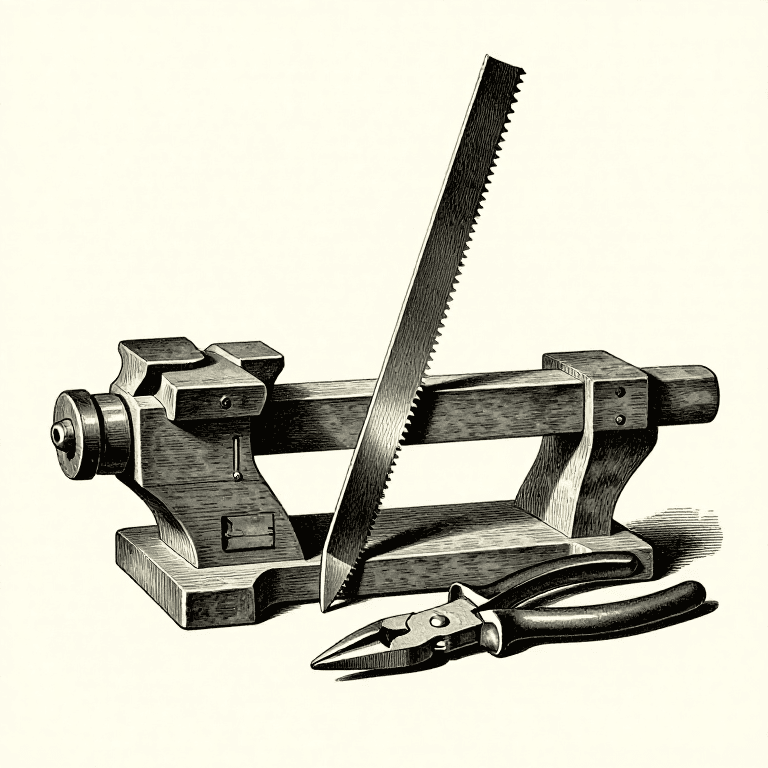
Hand Saw: Plate, Teeth, Temper and Handle
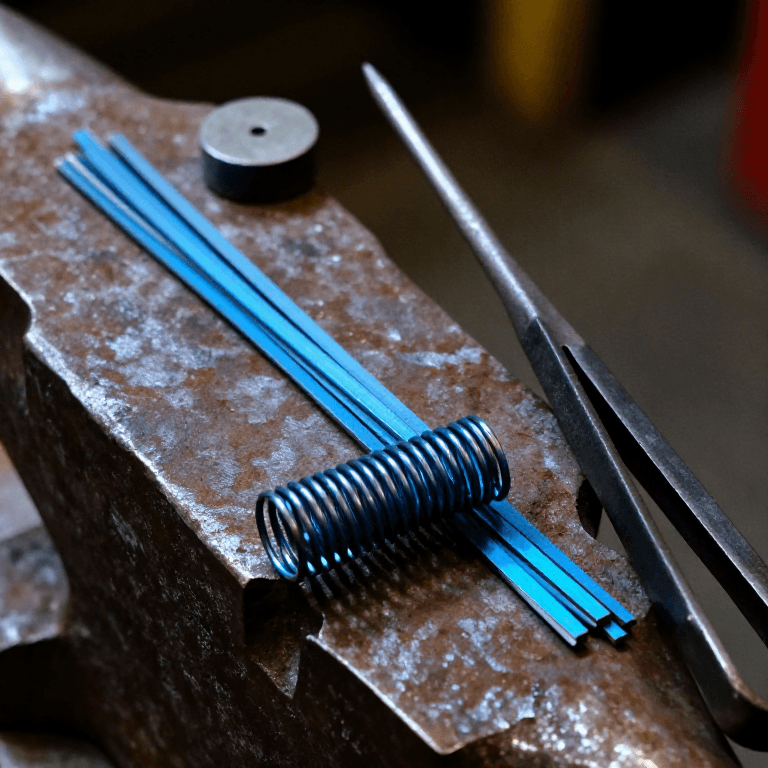
Hand saws were made like this in the saw works of the 1880s. Steel plate is sheared to the outline of the blade and the teeth are punched in a press. The toothed plate is heated to a light cherry red and plunged into a bath of oil, tallow, rosin and beeswax, which leaves it as brittle as glass; it is then flattened between heated dies until it reaches a blue, the colour of spring temper. After smithing and grinding, the teeth are set, bent alternately left and right, and filed sharp, and a wooden handle is riveted on. Today the plate is laser cut and the teeth are ground and flame hardened.
Avanzado
Factory process (1880s)
Instrucciones
1
1
Cut the plate
Cut the plate
Shear the steel plate to the outline of the blade.
Materiales para este paso:
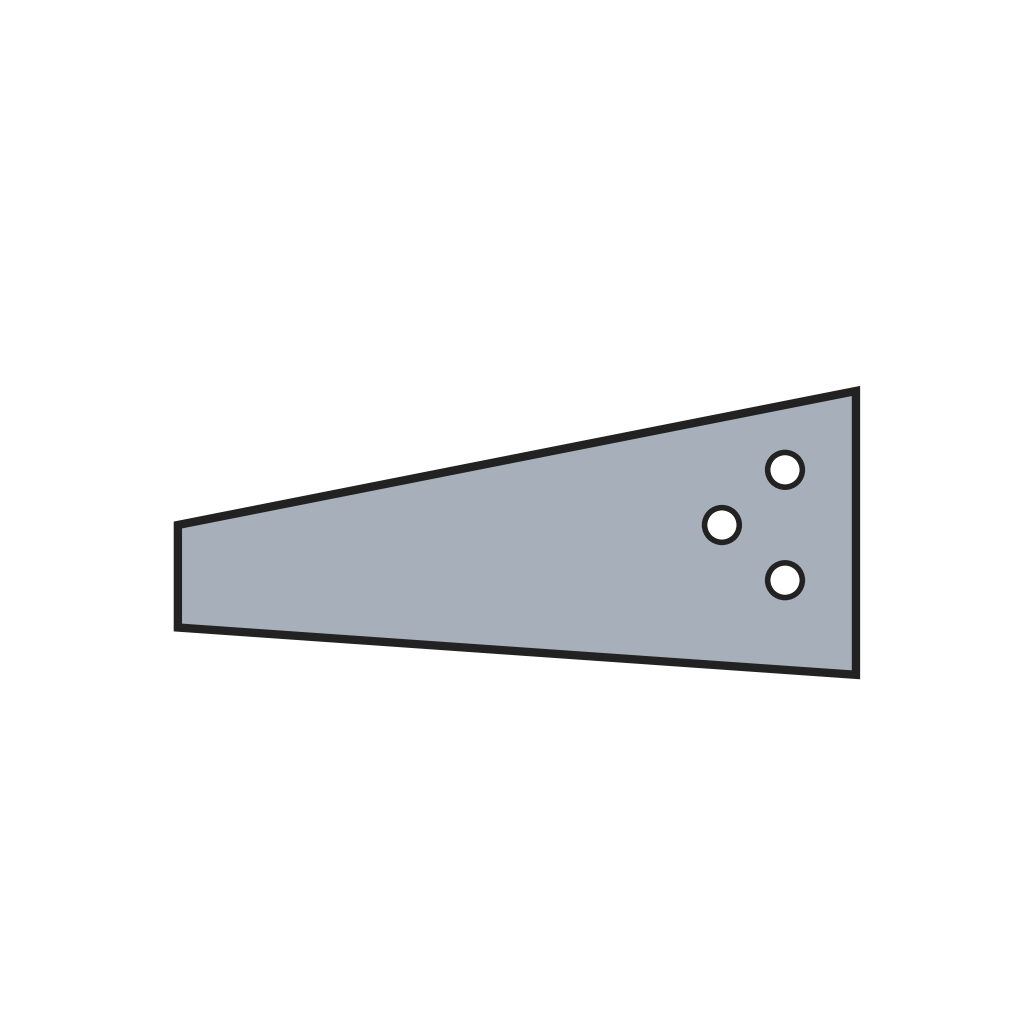 Chapa de acero para hojas de sierra1 pieza
Herramientas necesarias:
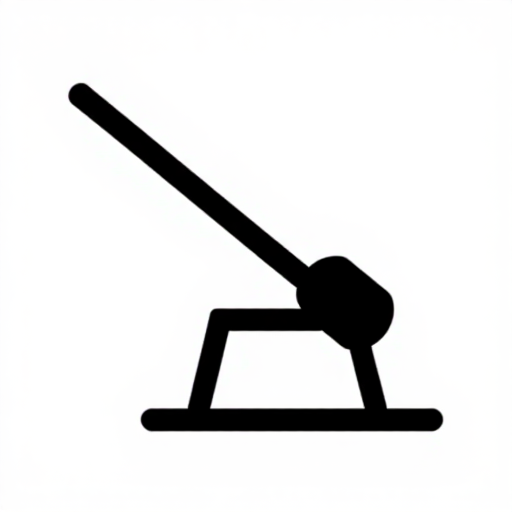 Cizalla para chapa
2
2
Punch the teeth
Punch the teeth
Punch the teeth along the edge with a shaped die in a press.
Herramientas necesarias:
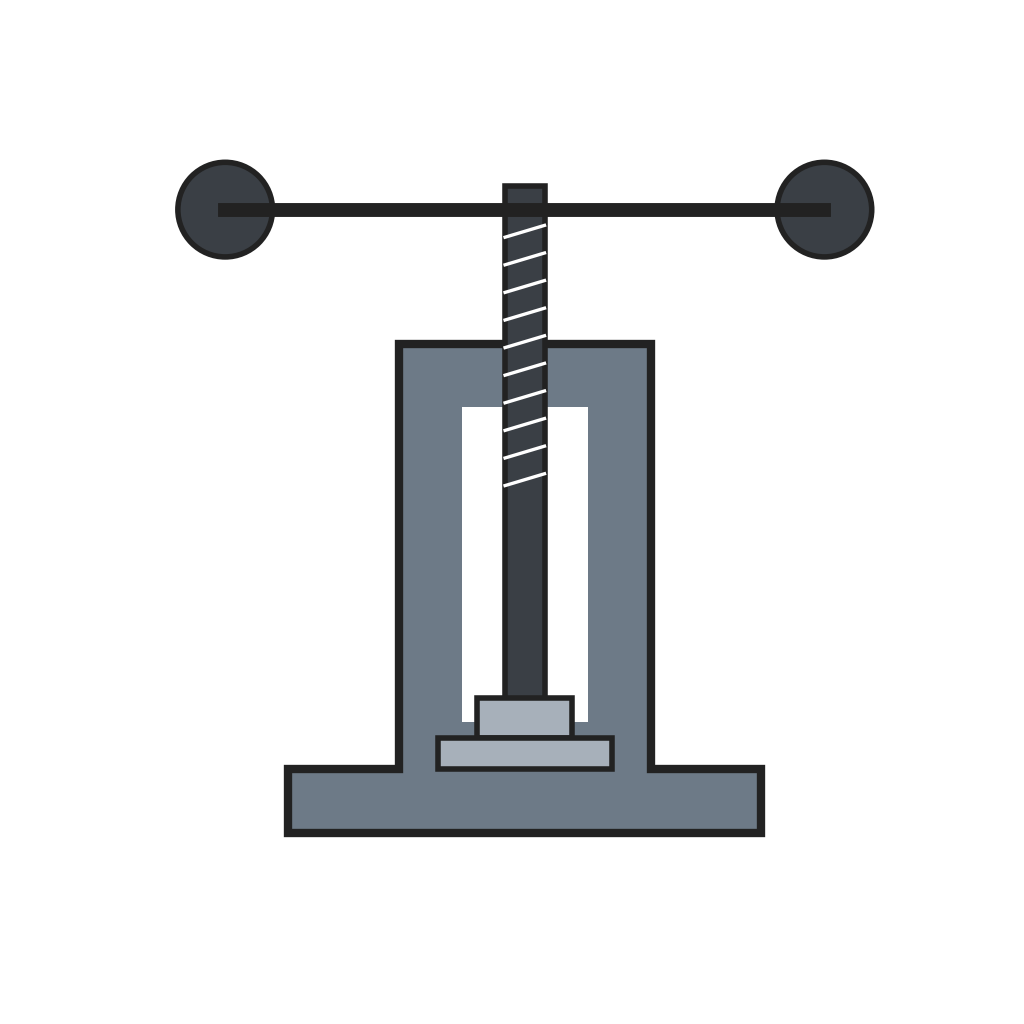 Prensa para punzonar dientes de sierra
3
3
Harden
Harden
Heat the toothed plate to a light cherry red and plunge it into a bath of oil, tallow, rosin and beeswax. It comes out as brittle as glass and buckled.
Materiales para este paso:
 Grasa animal (sebo)1 kg
 Colofonia de pino0.5 kg
 Cera de abeja0.5 kg
4
4
Flatten and temper
Flatten and temper
Clean off the scale and grease and press the plate flat between heated dies until it turns blue, the spring temper. Test it by bending: a good blade springs back straight.
Herramientas necesarias:
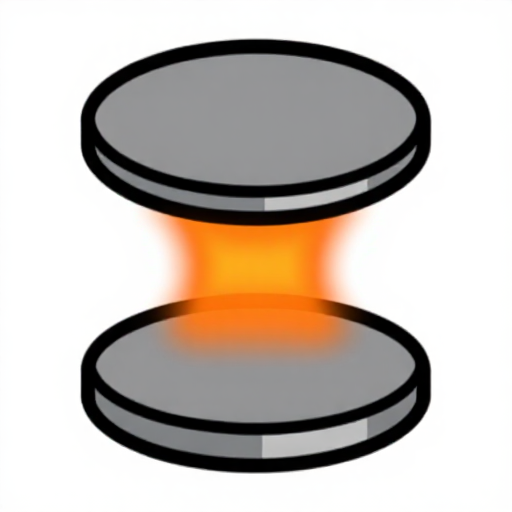 Matrices de aplanar calientes
5
5
Smith and grind
Smith and grind
Hammer out any remaining unevenness on a stake, then grind the blade to its gauge on a grindstone.
Herramientas necesarias:
 Piedra de afilar de rueda
6
6
Set and sharpen
Set and sharpen
Set the teeth alternately left and right with a saw set, joint the points level with a file, and file each tooth sharp with a triangular file.
Herramientas necesarias:
 Triscador
 Lima para metal
7
7
Fit the handle
Fit the handle
Shape a handle from beech and fix the blade in it with rivets.
Materiales para este paso:
 Madera de haya1 pieza
 Remaches para mango de sierra3 piezas
Materiales
6- Marcador de posición
- Marcador de posición
- 0.5 kgMarcador de posición
- 0.5 kgMarcador de posición
- 1 piezaMarcador de posición
- 3 piezasMarcador de posición
Herramientas requeridas
6- Marcador de posición
- Marcador de posición
- Marcador de posición
- Marcador de posición
- Marcador de posición
- Marcador de posición



Blueprints relacionados
Estos blueprints comparten conocimiento — técnicas, materiales o principios
CC0 Dominio público
Este Blueprint se publica bajo CC0. Eres libre de copiar, modificar, distribuir y usar este trabajo para cualquier propósito, sin pedir permiso.
Apoya al Maker comprando productos a través de su Blueprint, donde gana una Comisión del Maker establecida por los vendedores, o crea una nueva iteración de este Blueprint e inclúyela como conexión en tu propio Blueprint para compartir ingresos.