Colaboración
ARTE
BELLEZA Y BIENESTAR
ARTESANÍA
CULTURA E HISTORIA
ENTRETENIMIENTO
MEDIO AMBIENTE
COMIDA Y BEBIDAS
INGENIERÍA INVERSA
CIENCIAS
DEPORTES
TECNOLOGÍA
TECNOLOGÍA VESTIBLE
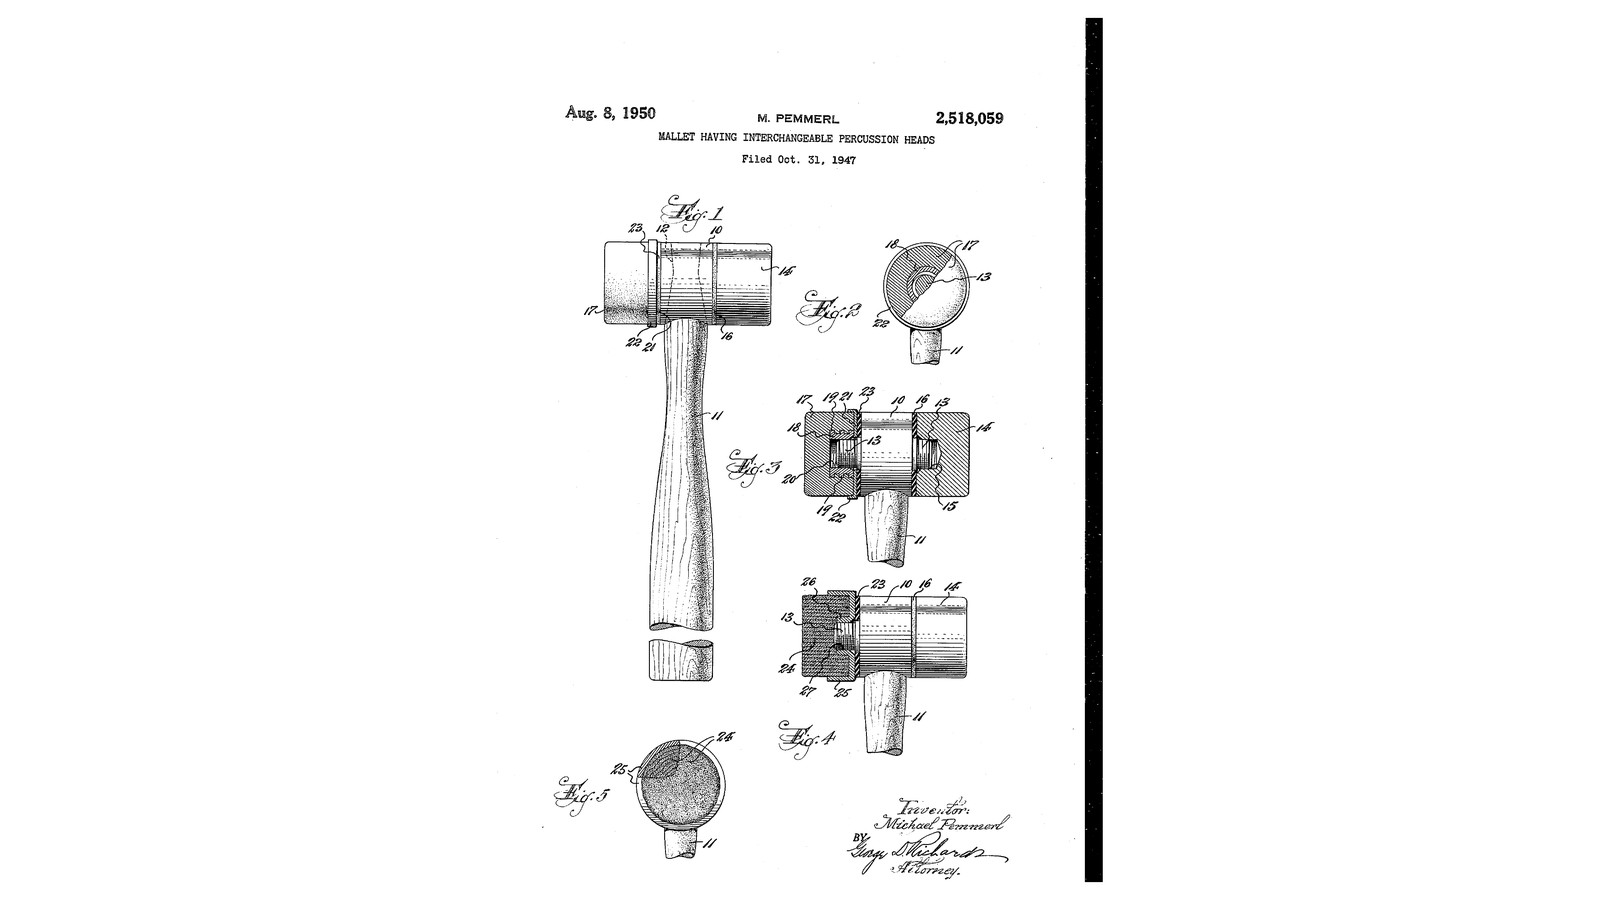


Screw-On Rubber Head Mallet: Rubber Members on Flanged Ferrules, Cupped and Cushioned on Steel Studs (Pemmerl, 1950)
Michael Pemmerl of Chatham, New Jersey, received US 2,518,059, dated 8 August 1950, for an industrial mallet with heads that change. A threaded stud stands out of each end of the steel head, and percussion members of different hardness screw on. A soft member is moulded round a hard ferrule with flanges and a threaded bore, so it cannot pull off. A steel cup holds its inner end from bulging. A thick rubber washer between cup and head stops it working loose and soaks up the shock before it reaches the hand.
We make two rubber members from rubber sheet bonded round a flanged nut. The sizes are ours.
Intermedio
About 2 days
Instrucciones
1
1
Building a rubber member round its ferrule
Building a rubber member round its ferrule
Cargando el cuaderno de Jupyter…
2
2
Read US 2,518,059
Read US 2,518,059
"The frictional and cushioning washers 16 and 23, as interposed between the respective percussion members 14 and 17 and the mallet head 10, serve the two-fold purpose of setting up a strong frictional resistance against tendency of said percussion members to accidentally loosen or turn off the coupling studs 13 when the mallet is in use, while at the same time said washers act as impact shock absorbing means."
3
3
Turn the head 10
Turn the head 10
From 35 mm steel round bar turn a head 90 mm long between its end faces, and at each end a stud 13 12 mm across and 20 mm long; cut an M12 thread on each with the die. Drill a 20 mm eye through the middle, square to the axis, in a V-block, for the handle.
Materiales para este paso:
 Barra redonda de acero dulce1 pieza
 Aceite de corte1 pieza
Herramientas necesarias:
 Torno de metal
 Plato de torno de 3 mordazas
 Herramienta de corte para torno
 Gubia de tronzar
 Juego de machos y terrajas
 Portaterrajas
 Tornillo de banco
 Taladro de columna
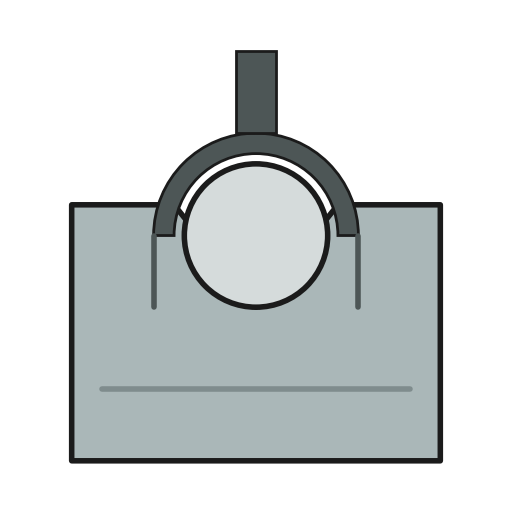 Bloque en V
 Juego de brocas
 Calibre digital de 6 pulgadas
 Gafas de seguridad
4
4
Ferrules 18 and cups 21-22
Ferrules 18 and cups 21-22
For each member, saw an M12 coupling nut to 30 mm and lock a 24 mm washer on it 4 mm from each end with a nut and thread locker: the flanges 19 round the threaded bore 20. Turn two cups from 45 mm bar: a base 3 mm thick with a 13 mm hole, and a skirt 12 mm deep bored 40.5 mm to embrace the member's inner end.
Materiales para este paso:
 Tuerca hexagonal6 piezas
 Arandela plana4 piezas
 Fijador de roscas1 piezaBarra redonda de acero dulce1 pieza
Herramientas necesarias:
 Sierra para metalesTornillo de banco
 Llave inglesa ajustableTorno de metalPlato de torno de 3 mordazasHerramienta de corte para torno
 Barra de mandrinarGubia de tronzarCalibre digital de 6 pulgadas
5
5
Build the rubber members 17
Build the rubber members 17
Scribe and cut 4 mm rubber discs 40 mm across with the knife: for each member, seven holed to the ferrule (24 mm holes level with the two flanges and 22 mm round the nut, so the discs either side trap each flange's rim) and five solid discs for the striking face. Brush contact cement on both faces, let it go touch-dry, and build the member up over its ferrule, the ferrule's end flush with the member's inner end; press it in clamps overnight and trim it round.
Materiales para este paso:
 Plancha de caucho natural1 pieza
 Cemento de contacto1 pieza
Herramientas necesarias:
 Brújula
 Cúter de precisión
 Sargento
6
6
Handle and assembly
Handle and assembly
Turn an ash handle 300 mm long, fit it in the eye with a glued wedge. Cut two 6 mm rubber washers 23, 40 mm across with 13 mm holes. On each stud put a rubber washer, then a cup, skirt outwards, then screw a member on until its end is in the cup and the washer is squeezed; it should take a firm twist to undo.
Materiales para este paso:
 Tabla de madera dura1 pieza
 Cola de carpintero1 piezaPlancha de caucho natural1 pieza
Herramientas necesarias:
 Torno de madera
 Juego de herramientas de torno (HSS)Sierra para metales
 Martillo de bolaCúter de precisión
7
7
Troubleshooting
Troubleshooting
Interchangeable-head mallet troubleshooting.
Flow
Loading...
8
8
History and honest limits
History and honest limits
**Michael Pemmerl** of Chatham, New Jersey, US 2,518,059, dated 8 August 1950, filed 31 October 1947. He claimed a mallet head with a screw-threaded coupling stud at an end, "a percussion member made of relatively soft material such as lead, an internally screw-threaded ferrule made of hard metal imbedded in said percussion member, said ferrule having external annular flanges", "a perforate cupped reenforcing member", and "a perforate rubber washer of substantial thickness" between cup and head. His soft members were moulded, and he names rubber among their materials; ours are rubber discs bonded round the ferrule. He also shows hard metal and rawhide members. He gives no sizes; every size here is ours.
Materiales
9- 1 piezaMarcador de posición
- 1 piezaMarcador de posición
- 6 piezasMarcador de posición
- 4 piezasMarcador de posición
- 1 piezaMarcador de posición
- 1 piezaMarcador de posición
- 1 piezaMarcador de posición
- 1 piezaMarcador de posición
- 1 piezaMarcador de posición
Herramientas requeridas
21- Marcador de posición
- Marcador de posición
- Marcador de posición
- Marcador de posición
- Marcador de posición
- Marcador de posición
- Marcador de posición
- Marcador de posición
- Marcador de posición
- Marcador de posición
- Marcador de posición
- Marcador de posición
- Marcador de posición
- Marcador de posición
- Marcador de posición
- Marcador de posición
- Marcador de posición
- Marcador de posición
- Marcador de posición
- Marcador de posición
- Marcador de posición
Este plano hace

Blueprints relacionados
Estos blueprints comparten conocimiento — técnicas, materiales o principios
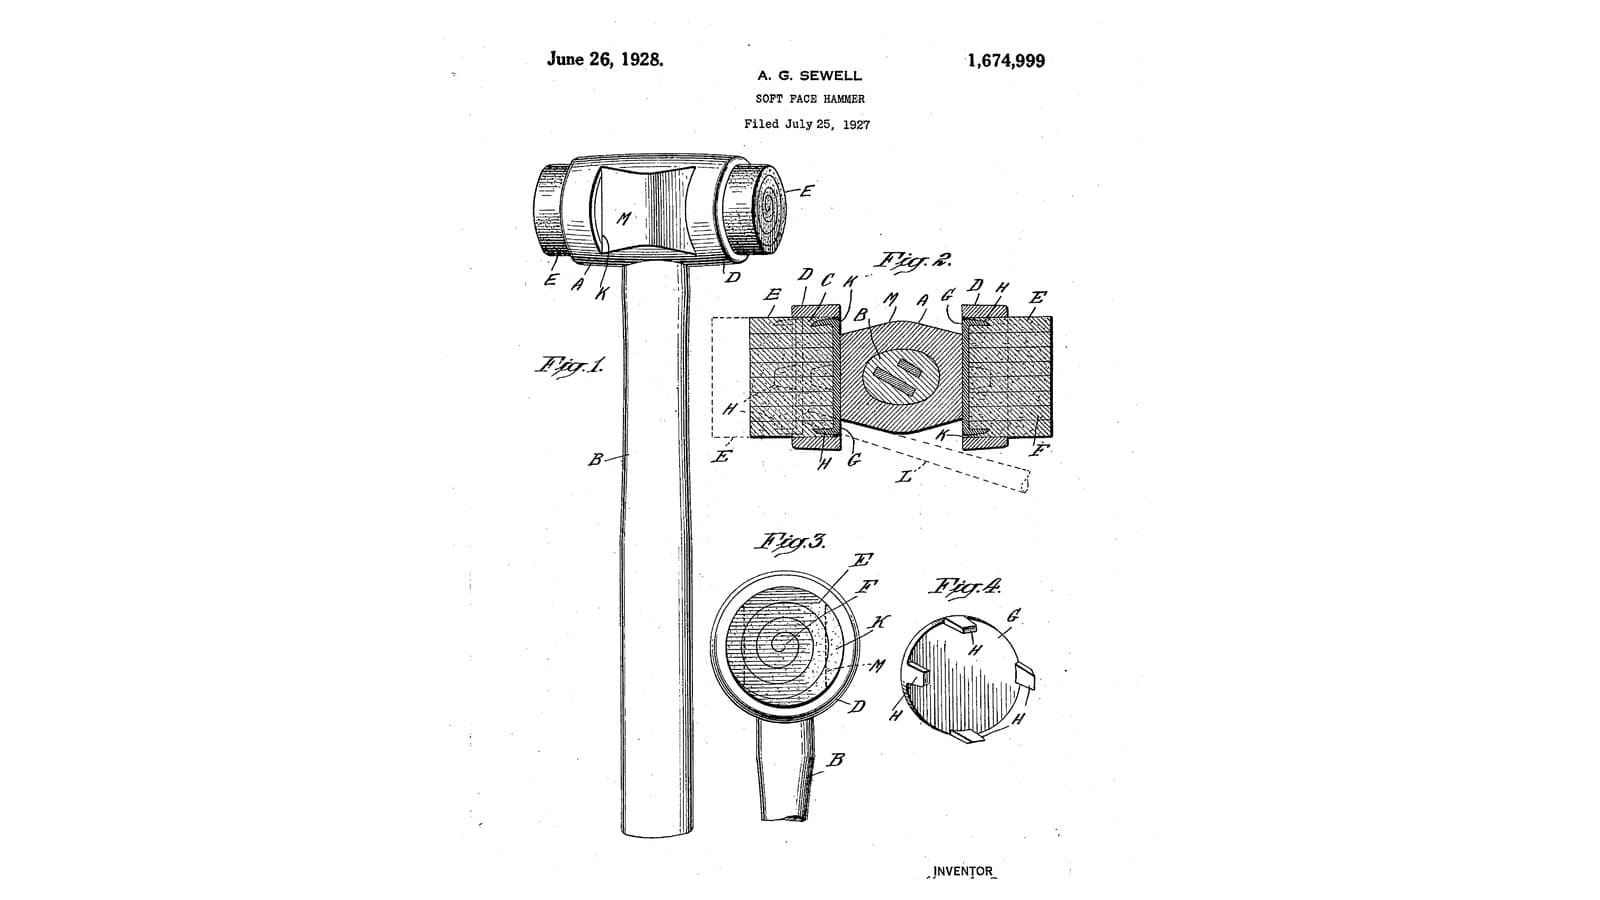
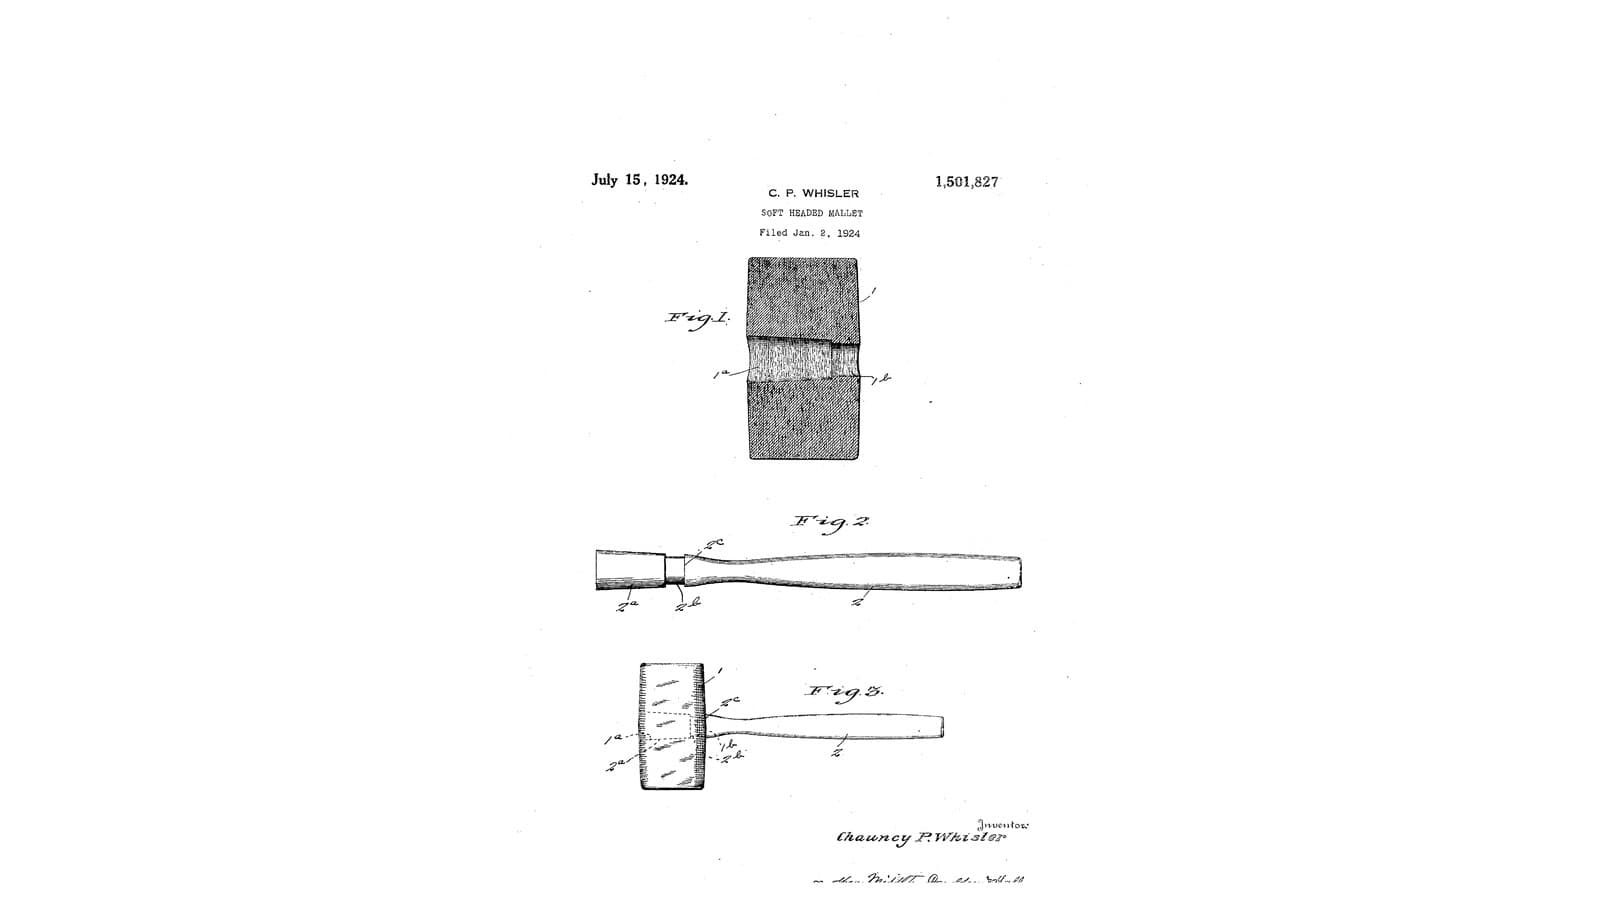
CC0 Dominio público
Este Blueprint se publica bajo CC0. Eres libre de copiar, modificar, distribuir y usar este trabajo para cualquier propósito, sin pedir permiso.
Apoya al Maker comprando productos a través de su Blueprint, donde gana una Comisión del Maker establecida por los vendedores, o crea una nueva iteración de este Blueprint e inclúyela como conexión en tu propio Blueprint para compartir ingresos.