Colaboración
ARTE
BELLEZA Y BIENESTAR
ARTESANÍA
CULTURA E HISTORIA
ENTRETENIMIENTO
MEDIO AMBIENTE
COMIDA Y BEBIDAS
INGENIERÍA INVERSA
CIENCIAS
DEPORTES
TECNOLOGÍA
TECNOLOGÍA VESTIBLE
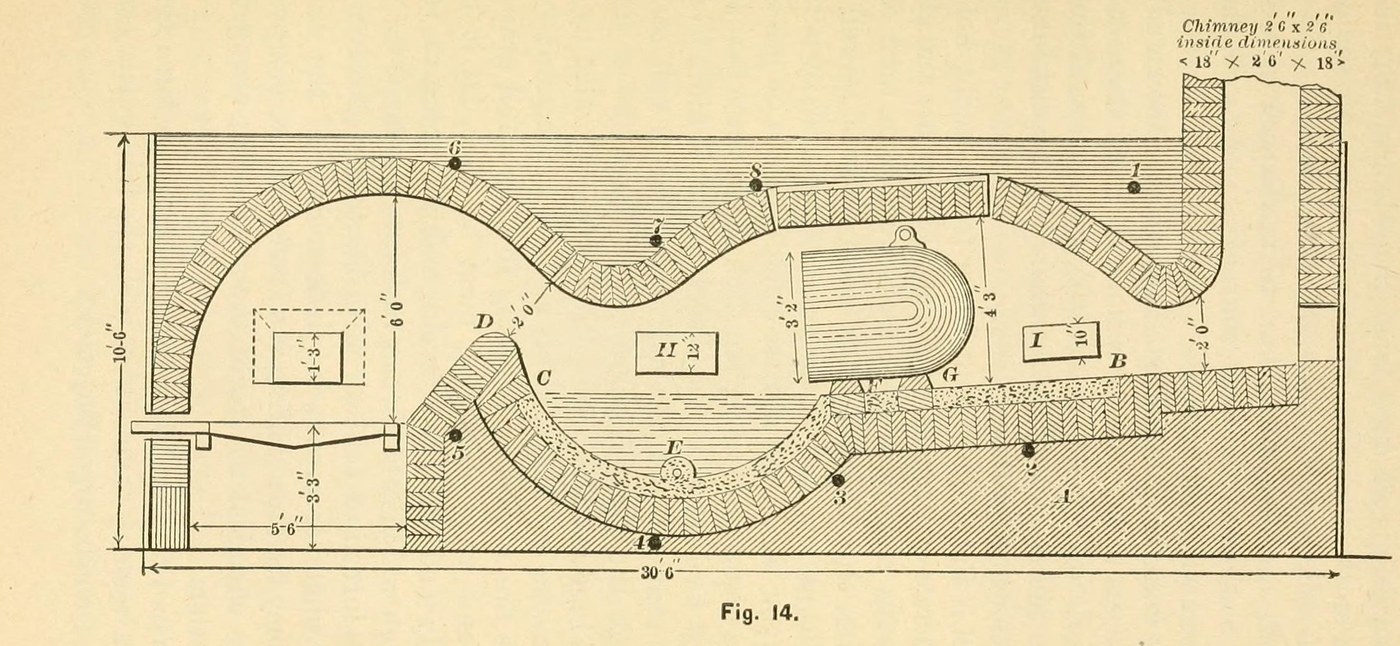

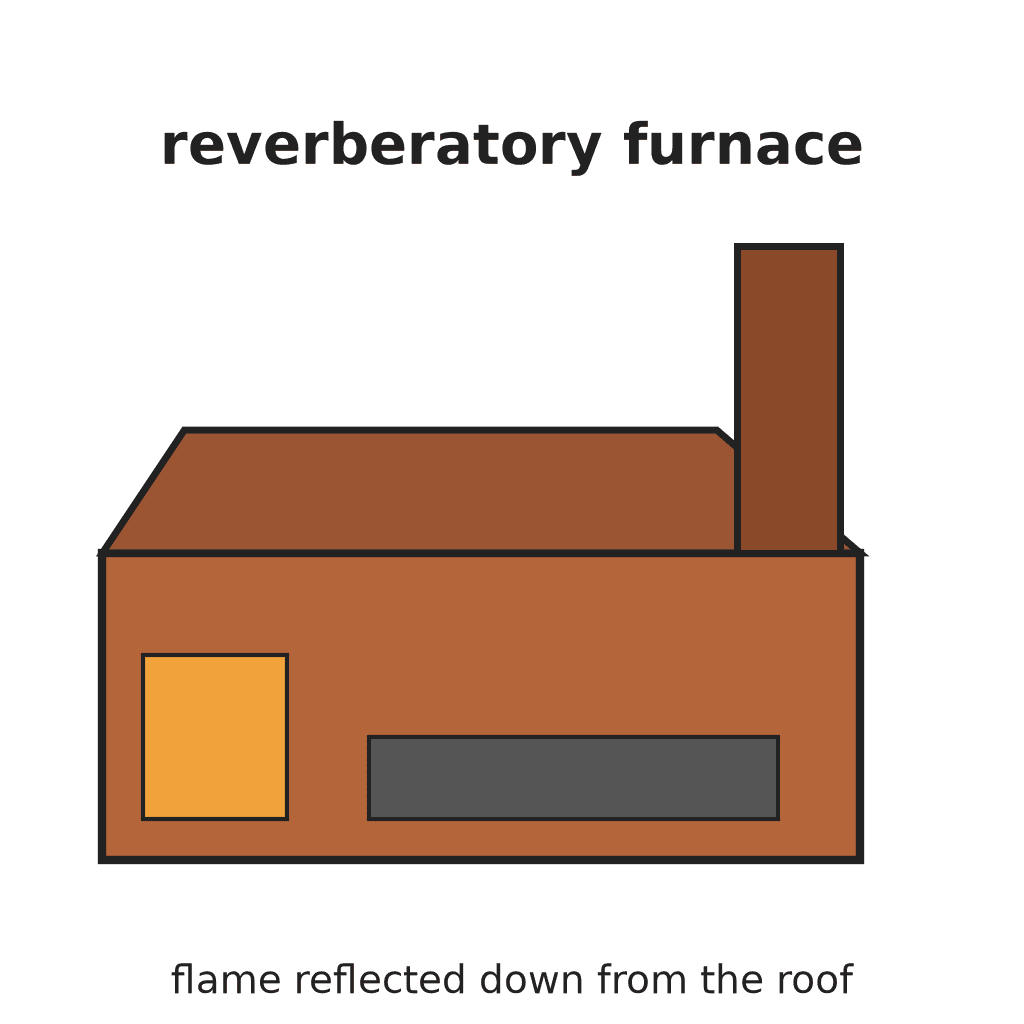
Reverberatory Furnace: the Air Furnace for Melting Cast Iron (Bolland, 1893)
An air furnace melts iron apart from the fuel: coal burns on a grate at one end, and the flame is thrown down from a low arched roof onto the iron on the bed, then leaves by a tall chimney. The iron stays cleaner than in a cupola, so founders used it for guns, rolls, heavy scrap and lumps too big for the cupola.
This furnace is 30 ft 6 in long and 7 ft wide outside, 5 ft wide inside, cased in bolted wrought-iron plates.
Source: S. Bolland, The Iron Founder Supplement (1893), pp. 55-67. Unknown: brick sizes, plate thickness. Picture: Fig. 14 of the book.
Experto
Unknown
Instrucciones
1
1
Lay the foundation
Lay the foundation
Build the foundation solid of common material up to the firebrick, shaped so the firebrick bed slopes down from the chimney end to the reservoir. Keep the bricks from B to C 6 in below the finished bottom, to leave room for the sand bed.
Materiales para este paso:
 Ladrillo1 foundation
Herramientas necesarias:
 Paleta de albañil
 Dimensiones desconocidas
2
2
Build the fireplace, bridge and roof
Build the fireplace, bridge and roof
Build the fireplace the full width of the furnace (5 ft inside, grate 5 ft long). Set the bridge wall at least 2 ft 3 in from the face of the grate bars. Build bridge, sides, roof and fireplace of the most refractory firebrick. Arch the roof the whole length, low, so it throws the flame down onto the bed; fill above the arches with common material. Leave the side charging hole (5 x 4 ft), the top hole (furnace width x 6 ft), the puddling hole over the reservoir, a sight hole and the tap hole.
Materiales para este paso:
 Ladrillos refractarios1 lining, bridge, roof
 Mortero de arcilla refractaria1 settingLadrillo1 filling above the arch
 Metal desconocido1 grate bars
Herramientas necesarias:
Paleta de albañil3
3
Case it in plates and bolt it
Case it in plates and bolt it
Case the whole structure in wrought-iron plates, held at the corners with angle-irons. Run eight chief anchor bolts from side to side, clear of all working parts. Join everything with bolts, not rivets, so any plate can come off for repairs. Line the charging doors with firebrick.
Materiales para este paso:
 Placa de hierro1 casing, doors
 Varilla de hierro forjado8 anchor boltsMetal desconocido1 angle-irons, door framesLadrillos refractarios1 door linings
Herramientas necesarias:
Dimensiones desconocidas4
4
Build the chimney
Build the chimney
Build the chimney square, 30 to 40 ft high, with an inside course of firebrick (Fig. 14: 2 ft 6 in square inside). Make its area a little larger than the fireplace. Put a damper on top that can be worked from the bottom: it alone sets the draught. It can stand apart on a sole plate on four columns.
Materiales para este paso:
Ladrillos refractarios1 inside courseLadrillo1 chimneyMetal desconocido1 damperHerramientas necesarias:
Paleta de albañil5
5
Make the sand bottom
Make the sand bottom
Make the bottom from B round the reservoir to C with 8 parts fire-sand to 1 of clay and 1 of ground coke. Fire it well for one to two hours before the first charge; it should last ten heats. Fill the tap hole with fire-sand and a little coal dust, which will not cake when hot.
Materiales para este paso:
 Arena8 parts
 Arcilla1 part
 Coque metalúrgico1 part, ground
Herramientas necesarias:
 Carbón bituminoso
6
6
Charge and melt
Charge and melt
Fire with soft, non-caking bituminous coal and keep a full grate; clinker quickly and leave no holes for cold air. Charge all the iron at the start: first layer of pigs lengthwise and a little apart, next layers across, open so the flame passes. Set heavy pieces on firebricks so the flame plays all round them. Through the puddling hole, dip test pieces and skim the iron clean. To blend two grades, thrust green saplings into the melt. Close the damper before tapping. Look the furnace over after every heat.
Herramientas necesarias:
Carbón bituminoso Lingotes de arrabio
 Vástago de madera dura
 Espumadera perforada
Materiales
9- 1 chimneyMarcador de posición
- 1 inside courseMarcador de posición
- 1 settingMarcador de posición
- 1 damperMarcador de posición
- 1 casing, doorsMarcador de posición
- 8 anchor boltsMarcador de posición
- 8 partsMarcador de posición
- 1 partMarcador de posición
- 1 part, groundMarcador de posición
Herramientas requeridas
6- Marcador de posición
- Marcador de posición
- Marcador de posición
- Marcador de posición
- Marcador de posición
- Marcador de posición
Materiales de Blueprints conectados
10% de atribución
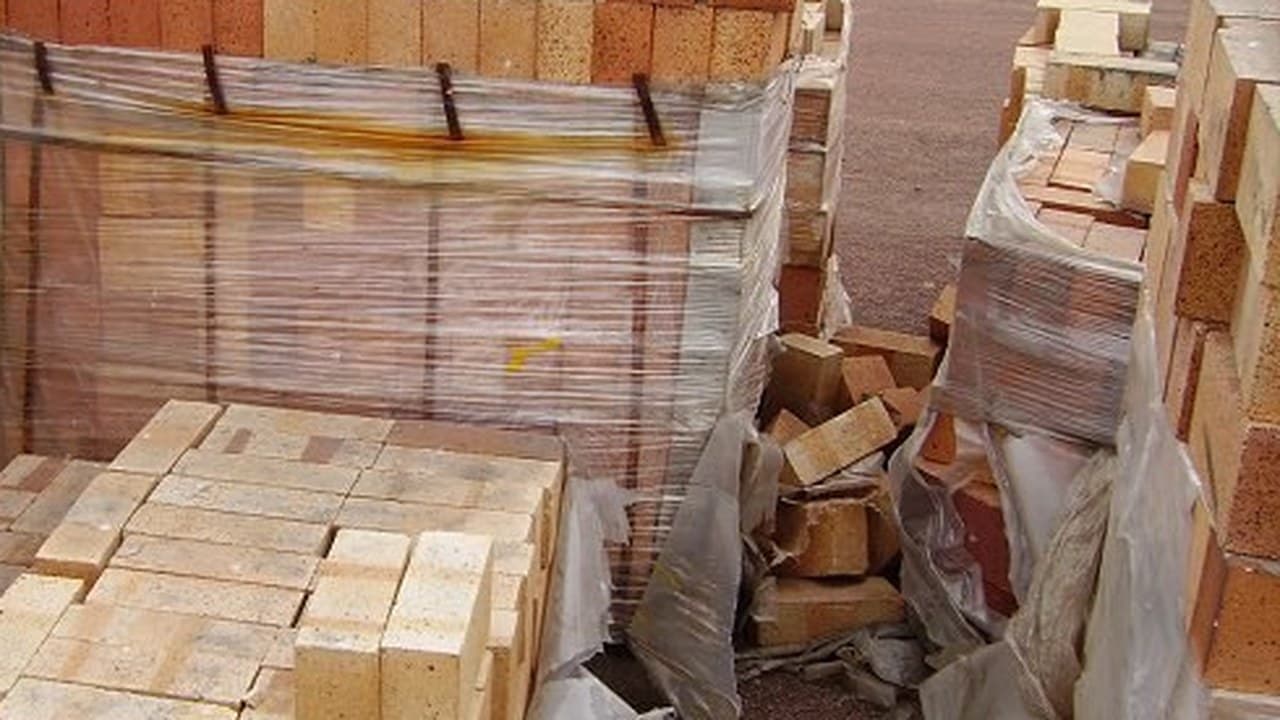
Fireclay Firebricks
por Clay
Cerámica y Arcilla
39
0
0
0
4
0

10% de atribución
Cupola Furnace: the Common Foundry Cupola with a Drop Bottom (Bolland, 1893)
por Forge
Horno
9
0
0
0
1
0
10% de atribución
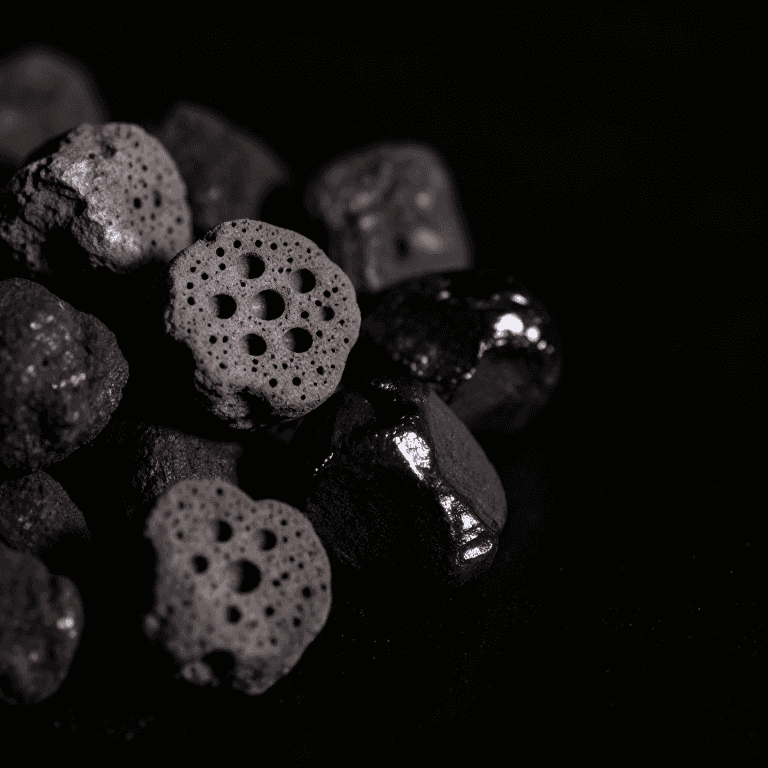
Making Coke from Coal — The Smokeless Fuel That Forged the Industrial Revolution
por Gimli
Trabajo en Metal
73
0
0
0
4
0
Este plano hace
CC0 Dominio público
Este Blueprint se publica bajo CC0. Eres libre de copiar, modificar, distribuir y usar este trabajo para cualquier propósito, sin pedir permiso.
Apoya al Maker comprando productos a través de su Blueprint, donde gana una Comisión del Maker establecida por los vendedores, o crea una nueva iteración de este Blueprint e inclúyela como conexión en tu propio Blueprint para compartir ingresos.