Colaboración
ARTE
BELLEZA Y BIENESTAR
ARTESANÍA
CULTURA E HISTORIA
ENTRETENIMIENTO
MEDIO AMBIENTE
COMIDA Y BEBIDAS
INGENIERÍA INVERSA
CIENCIAS
DEPORTES
TECNOLOGÍA
TECNOLOGÍA VESTIBLE
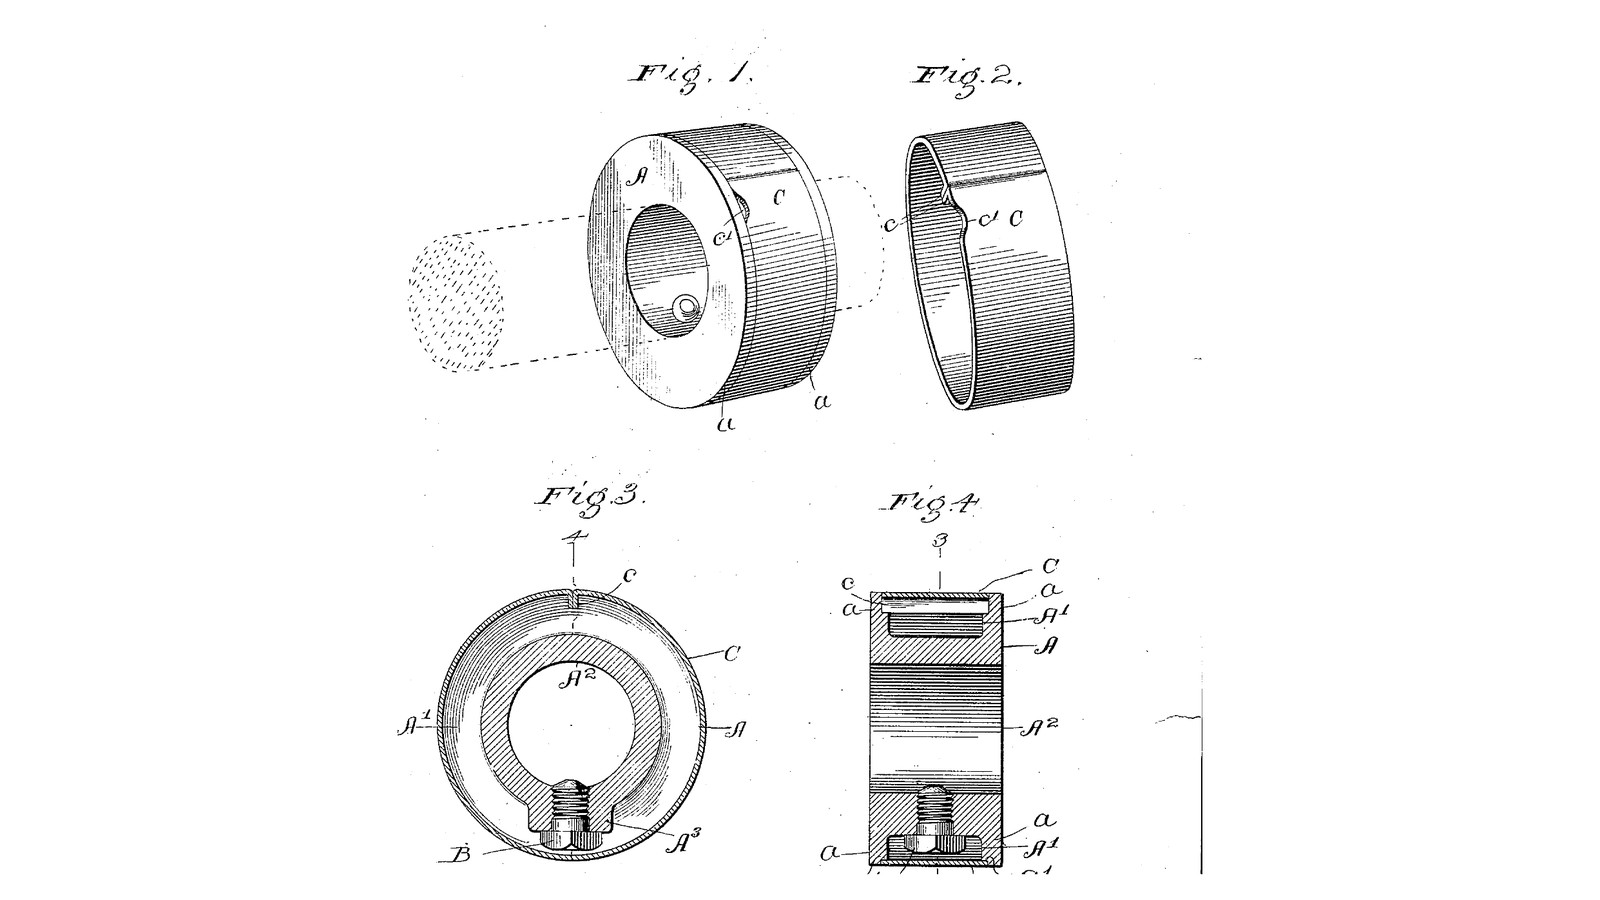


Shielded Set-Screw Shaft Collar: The Screw Head Sunk in a Groove, a Sprung Brass Band Snapped Over It (Rich, 1904)
George H. and Robert C. Rich of Chicago received US 774,199, dated 8 November 1904, for making the ordinary set-screw collar safe. A groove round the collar leaves a hub between two flanges. The set screw goes through the hub and its head sits low in the groove. A band of springy sheet metal snaps over the groove into seats on the flanges, so the outside is smooth and "it is impossible for the clothing of a workman to be caught". Its turned-in ends sit in a notch, and a screwdriver in a nick at the edge springs it off.
The patent gives no sizes; every size here is ours.
Intermedio
About 4 hours
Instrucciones
1
1
Will the shield clear the screw?
Will the shield clear the screw?
Cargando el cuaderno de Jupyter…
2
2
Read US 774,199
Read US 774,199
"The collar is used in the ordinary way on the shaft, and when locked in place the spring-shield is snapped over it, as illustrated, and covers the projecting set-screw and furnishes a smooth outer surface, upon which it is impossible for the clothing of a workman to be caught."
3
3
Turn the body A
Turn the body A
Grip 55 mm round bar in the 3-jaw chuck. Face it, turn it to 52 mm for 30 mm, centre-drill, drill through 15 mm and ream 16 mm. With the parting tool, cut the groove A1 18 mm wide between two 4 mm flanges, down to a 30 mm hub A2. Turn a seat 2 mm wide and 0.6 mm deep on the inner rim of each flange, at the outside, for the shield. Chamfer the bore and part off 26 mm long; face the parted side.
Materiales para este paso:
 Barra redonda de acero dulce1 pieza
 Aceite de corte1 pieza
Herramientas necesarias:
 Torno de metal
 Plato de torno de 3 mordazas
 Herramienta de corte para torno
 Gubia de tronzar
 Juego de brocas de centrar
 Juego de brocas
 Escariador
 Calibre digital de 6 pulgadas
 Gafas de seguridad
4
4
Tap the hole for the set screw B
Tap the hole for the set screw B
Centre-punch the hub in the middle of the groove. In the machine vice on the drill press, drill through the hub into the bore with 6.8 mm and tap M8 with cutting oil. Opposite the hole, file a notch 3 mm wide through the seat and 4 mm deep in each flange, in line, for the shield's ends. Deburr the bore where the drill came through.
Materiales para este paso:
Aceite de corte1 piezaHerramientas necesarias:
 Granete
 Taladro de columna
 Mordaza de máquinaJuego de brocas
 Juego de machos y terrajas
 Volvedor de machos
 Tornillo de banco
 Mordazas blandas para tornillo de banco
 Juego de limas de aguja
 Desbarbador
5
5
Make the spring shield C
Make the spring shield C
Cut a strip of 0.5 mm brass 22 mm wide and 169 mm long with the snips. Bend 4 mm at each end square to the strip with the pliers, the same way. Roll it by hand round the collar itself until the ends meet, the bent ends pointing in. File a small nick in one edge of the band beside the ends, for a screwdriver. Spring it open over the collar: it must snap into the seats with the ends down the notch and stay put.
Materiales para este paso:
 Fleje de latón1 pieza
Herramientas necesarias:
 Tijeras de chapa
 Alicates de boca planaTornillo de banco
 Juego de limasCalibre digital de 6 pulgadas
6
6
The collar in 3D
The collar in 3D
FreeCAD model, our sizes: the grooved body on a 16 mm shaft, the M8 hex set screw with its head in the groove, and the 0.5 mm shield in its seats with both ends turned in down the notch.
7
7
Fit it on the shaft
Fit it on the shaft
Run an M8 x 10 hex screw into the hub until it just shows in the bore. Slide the collar along the shaft to its place, turn it so the screw is easy to reach, and tighten the screw onto the shaft with the spanner. Spring the shield over the groove with its ends into the notch. To move the collar, put a screwdriver in the nick, spring the shield off and slacken the screw.
Materiales para este paso:
 Surtido de tornillos hexagonales1 pieza
Herramientas necesarias:
 Llave inglesa ajustable
 Destornillador plano
8
8
Troubleshooting
Troubleshooting
Shielded collar troubleshooting.
Flow
Loading...
9
9
History and honest limits
History and honest limits
**George H. Rich and Robert C. Rich** of Chicago, Illinois, US 774,199, dated 8 November 1904, filed 14 March 1904. They claimed a collar with a peripheral depression, a set screw whose head lies in it, and a cylindrical shield outside the screw in continuous contact with the collar; the flanges countersunk for it; and a single strip of spring sheet metal with its ends turned in and abutting, in notches in the flanges. Their hub has a boss A3 for the screw; a lathe cannot leave a boss in a turned groove, so our hub is thick all round. They say spring steel or brass; ours is brass. The patent gives no sizes; every size here is ours.
Materiales
4- 1 piezaMarcador de posición
- 1 piezaMarcador de posición
- 1 piezaMarcador de posición
- Marcador de posición
Herramientas requeridas
23- Marcador de posición
- Marcador de posición
- Marcador de posición
- Marcador de posición
- Marcador de posición
- Marcador de posición
- Marcador de posición
- Marcador de posición
- Marcador de posición
- Marcador de posición
- Marcador de posición
- Marcador de posición
- Marcador de posición
- Marcador de posición
- Marcador de posición
- Marcador de posición
- Marcador de posición
- Marcador de posición
- Marcador de posición
- Marcador de posición
- Marcador de posición
- Marcador de posición
- Marcador de posición
Archivos de diseño
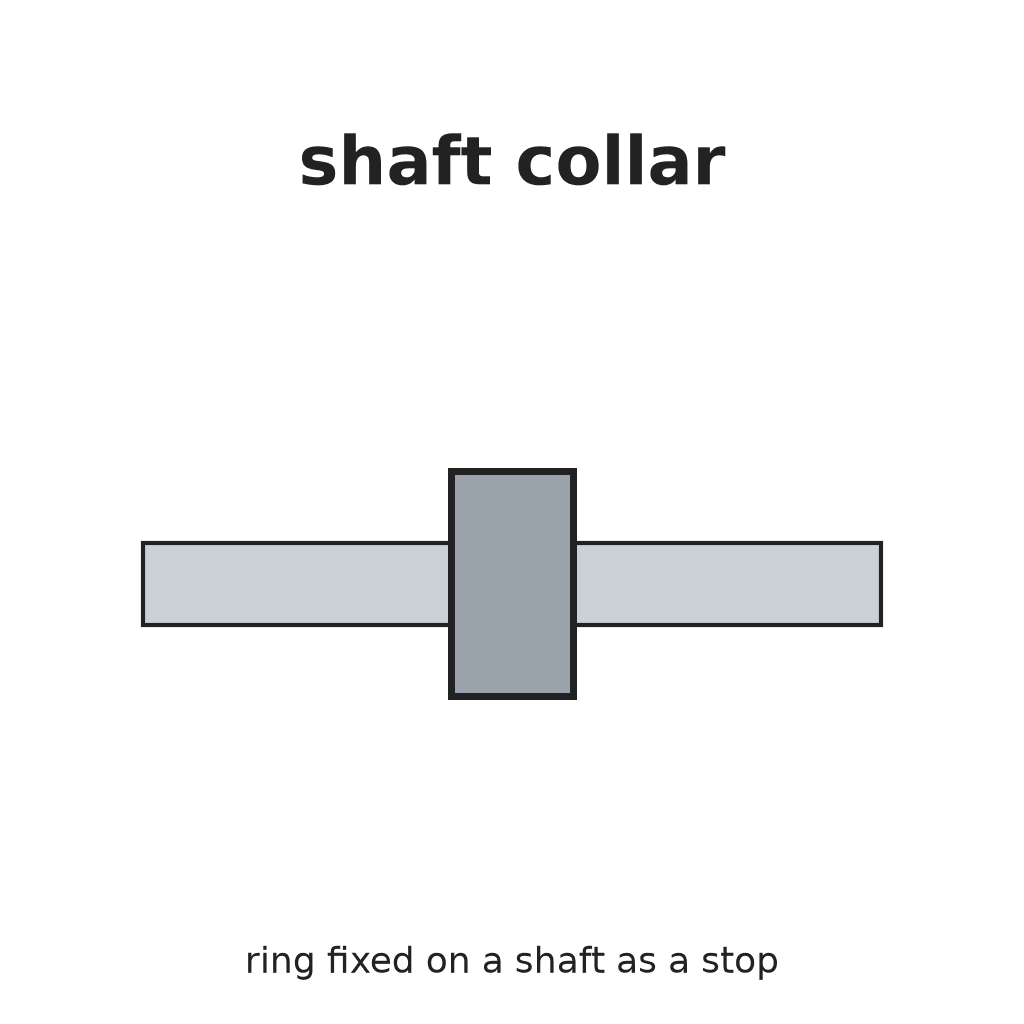
1Este plano hace
Blueprints relacionados
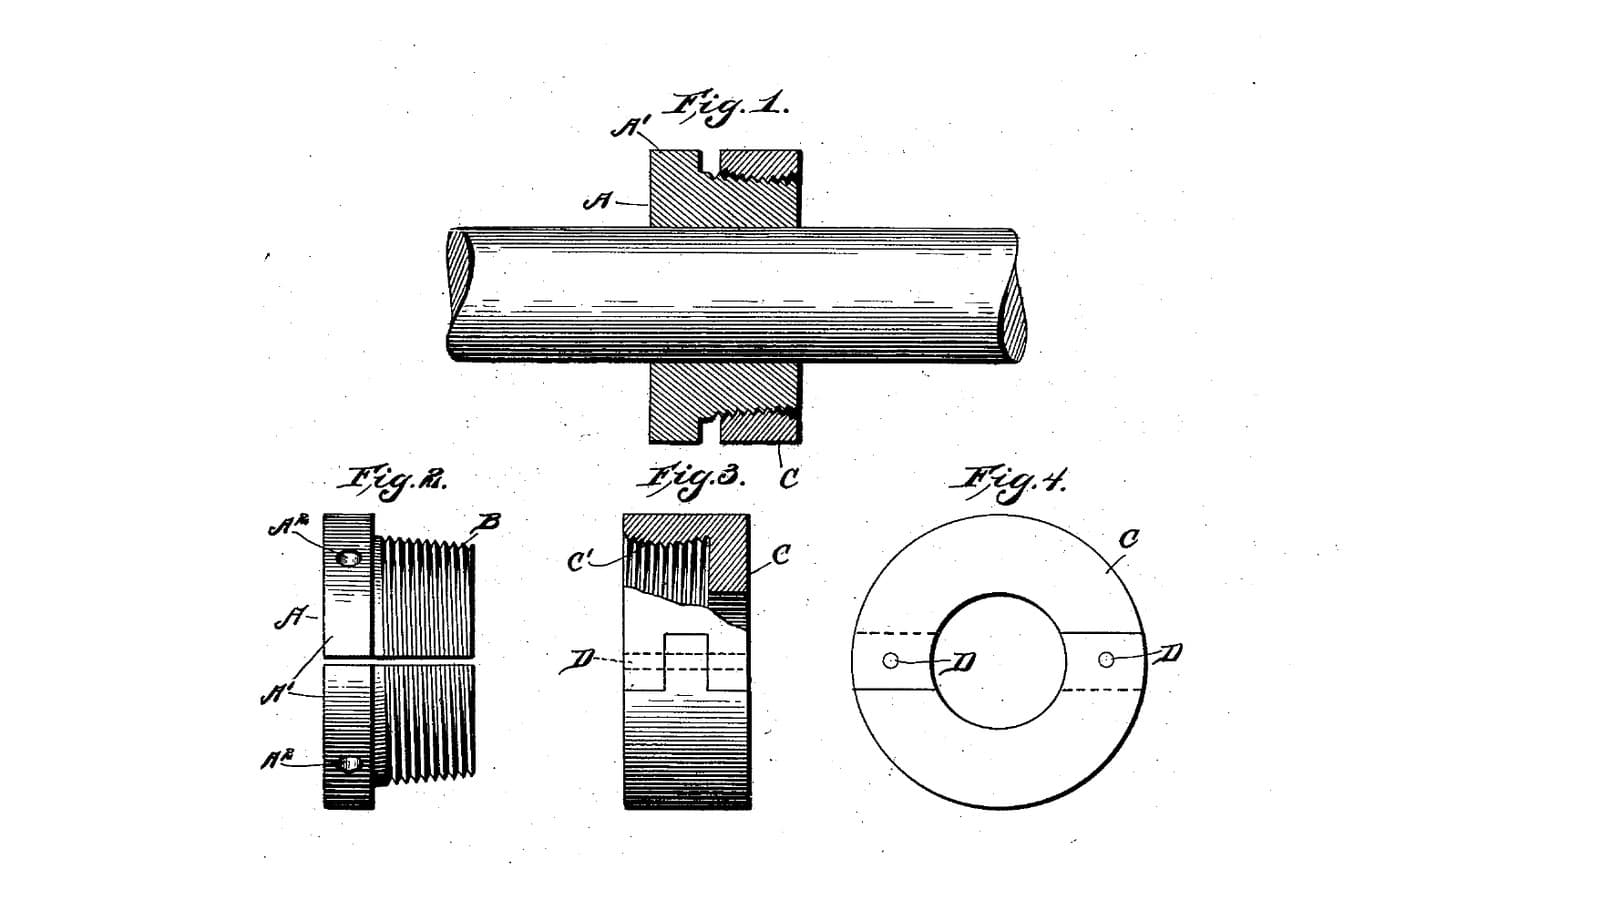
Estos blueprints comparten conocimiento — técnicas, materiales o principios
CC0 Dominio público
Este Blueprint se publica bajo CC0. Eres libre de copiar, modificar, distribuir y usar este trabajo para cualquier propósito, sin pedir permiso.
Apoya al Maker comprando productos a través de su Blueprint, donde gana una Comisión del Maker establecida por los vendedores, o crea una nueva iteración de este Blueprint e inclúyela como conexión en tu propio Blueprint para compartir ingresos.