ARTE
BELLEZA Y BIENESTAR
ARTESANÍA
CULTURA E HISTORIA
ENTRETENIMIENTO
MEDIO AMBIENTE
COMIDA Y BEBIDAS
INGENIERÍA INVERSA
CIENCIAS
DEPORTES
TECNOLOGÍA
TECNOLOGÍA VESTIBLE
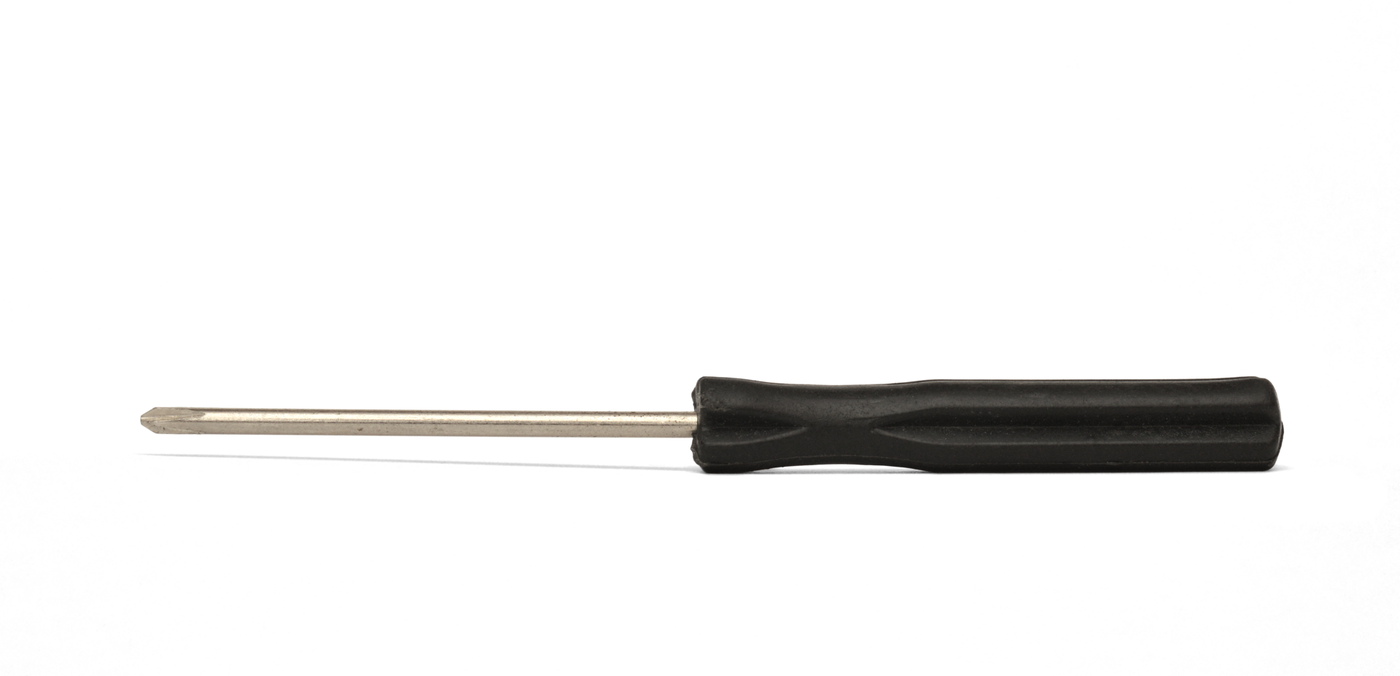


Screwdrivers: Drawn Wire, Cold-Formed Tips and Turned Handles
A screwdriver's shaft, or bar, starts as coiled steel wire drawn to size and annealed, about 1,350 °F (732 °C) for 12 hours. It is straightened and fed to a cold-forming press that cuts it to length and forms the tip and the "wings" that lock into the handle; Phillips tips have their four grooves cut in a separate operation. The bars are hardened in an in-line furnace at about 1,555 °F (846 °C), dropped into an oil quench and tempered at 450–500 °F (about 230–260 °C), then nickel-plated. Handles are usually cellulose acetate, extruded into bars, turned to shape and drilled, and the bar is pressed hydraulically into the handle.
Avanzado
Factory process
Instrucciones
1
1
Draw and anneal the wire
Draw and anneal the wire
Draw the coiled wire to the shaft diameter and anneal it at about 1,350 °F (732 °C) for 12 hours.
Materiales para este paso:
 Rollo de alambrón de acero1 as required
Herramientas necesarias:
 Trefiladora continua
 Horno de recocido
2
2
Cold-form
Cold-form
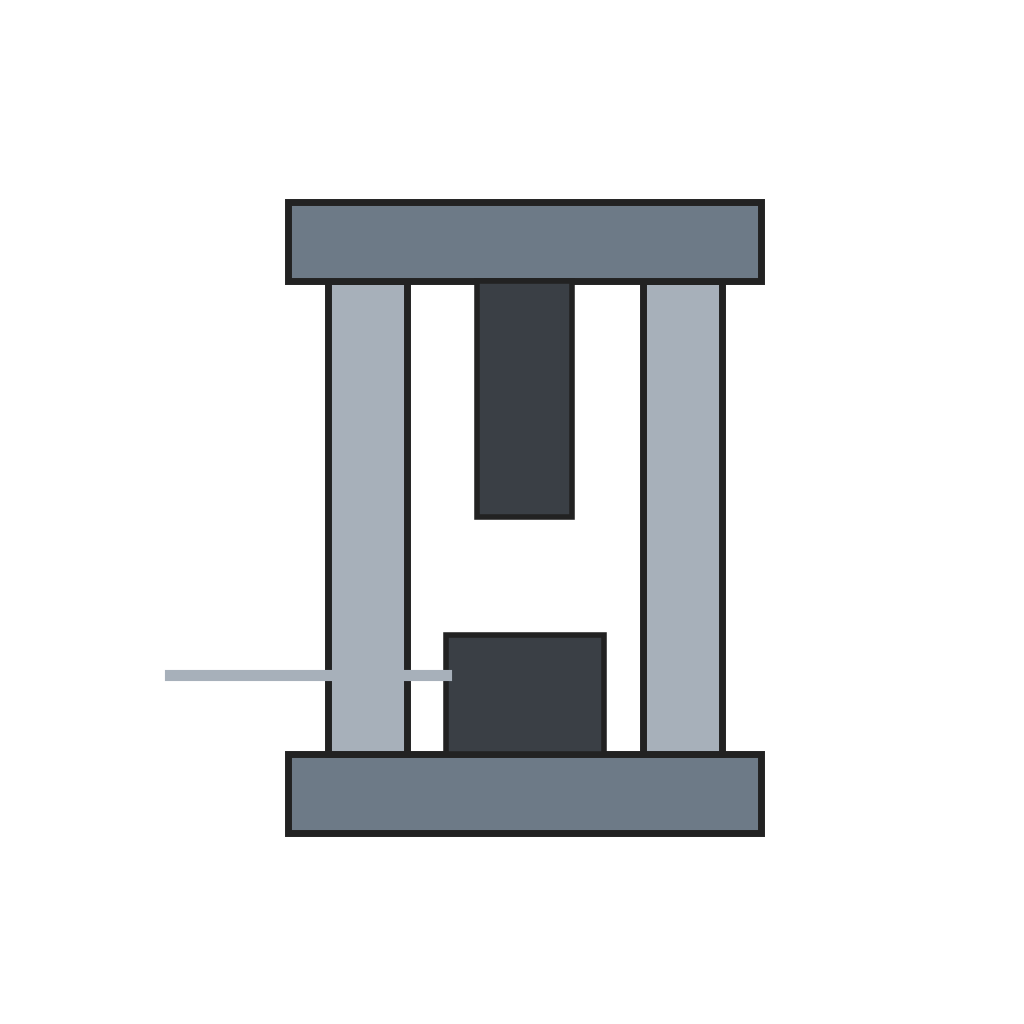
Straighten the wire and cold-form each bar: cut to length, form the tip and the wings that key into the handle.
Herramientas necesarias:
 Prensa de conformado en frío
3
3
Harden and temper
Harden and temper
Heat the bars in an in-line furnace at about 1,555 °F (846 °C), drop them into oil, then temper them at 450–500 °F.
Herramientas necesarias:
 Horno de temple continuo con baño de aceite
 Horno de revenido
4
4
Plate
Plate
Nickel-plate the bars against rust.
Materiales para este paso:
 Níquel1 as required
5
5
Make the handles
Make the handles
Extrude cellulose acetate into bars, turn the handles to shape and drill them.
Materiales para este paso:
 Granza de acetato de celulosa1 as required
Herramientas necesarias:
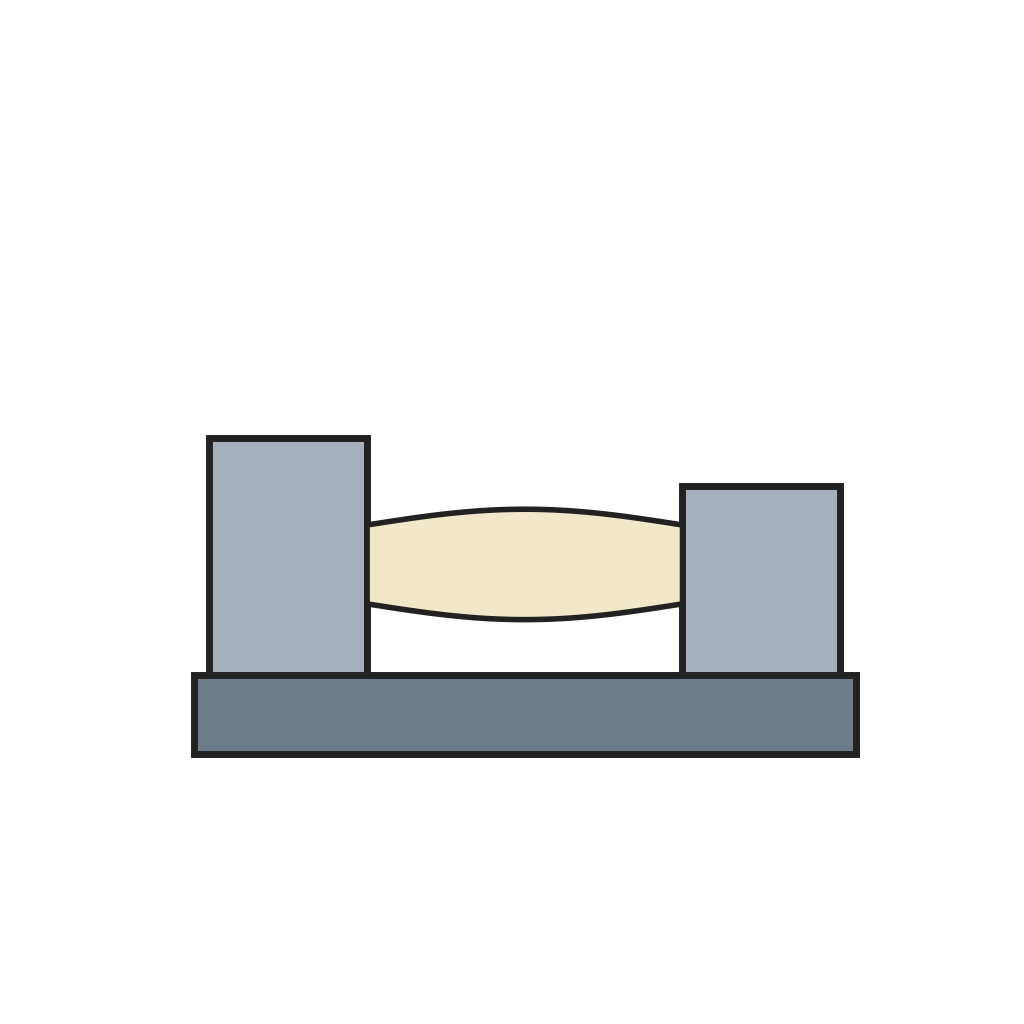 Torno automático
6
6
Assemble
Assemble
Press each bar hydraulically into its handle.
Herramientas necesarias:
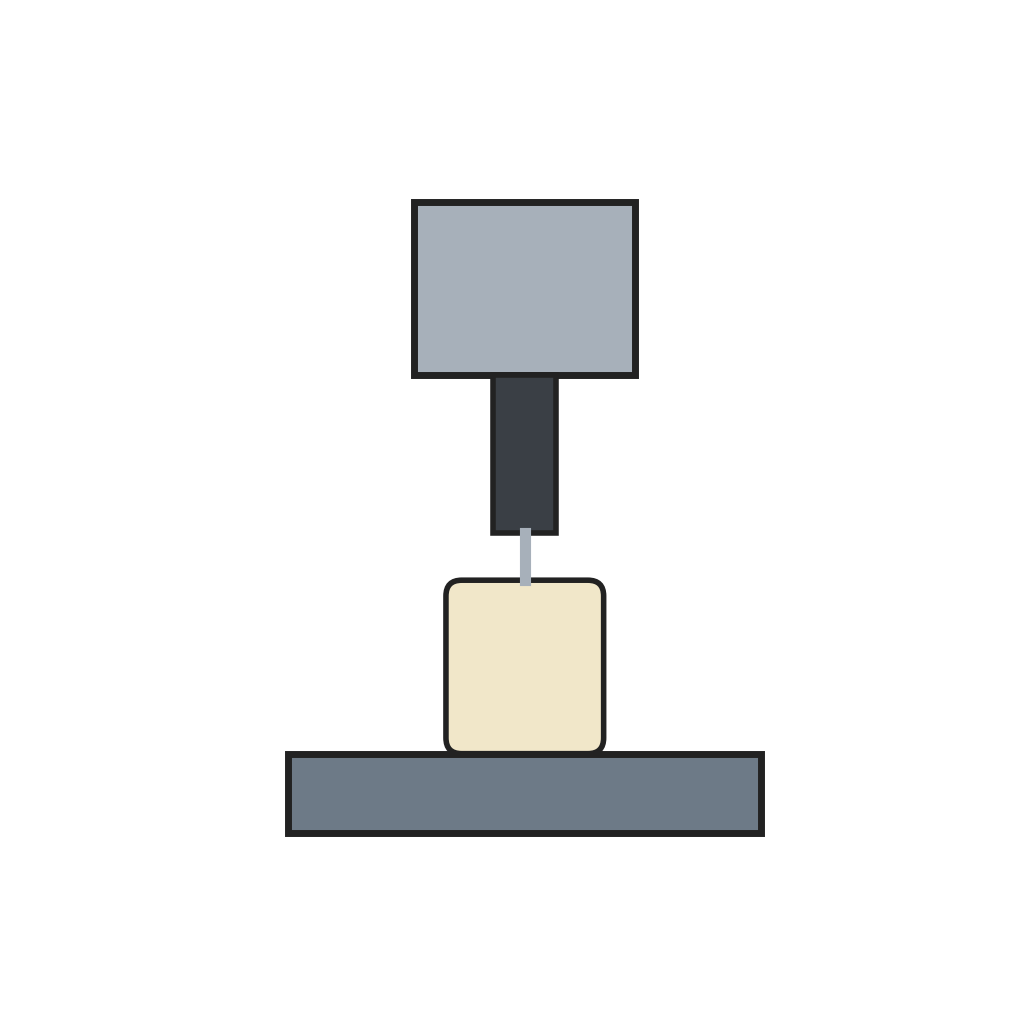 Prensa hidráulica de montaje
Materiales
3- 1 as requiredMarcador de posición
- 1 as requiredMarcador de posición
- 1 as requiredMarcador de posición
Herramientas requeridas
7- Marcador de posición
- Marcador de posición
- Marcador de posición
- Marcador de posición
- Marcador de posición
- Marcador de posición
- Marcador de posición
Este plano hace

Blueprints relacionados
Estos blueprints comparten conocimiento — técnicas, materiales o principios
CC0 Dominio público
Este Blueprint se publica bajo CC0. Eres libre de copiar, modificar, distribuir y usar este trabajo para cualquier propósito, sin pedir permiso.
Apoya al Maker comprando productos a través de su Blueprint, donde gana una Comisión del Maker establecida por los vendedores, o crea una nueva iteración de este Blueprint e inclúyela como conexión en tu propio Blueprint para compartir ingresos.