ARTE
BELLEZA Y BIENESTAR
ARTESANÍA
CULTURA E HISTORIA
ENTRETENIMIENTO
MEDIO AMBIENTE
COMIDA Y BEBIDAS
INGENIERÍA INVERSA
CIENCIAS
DEPORTES
TECNOLOGÍA
TECNOLOGÍA VESTIBLE
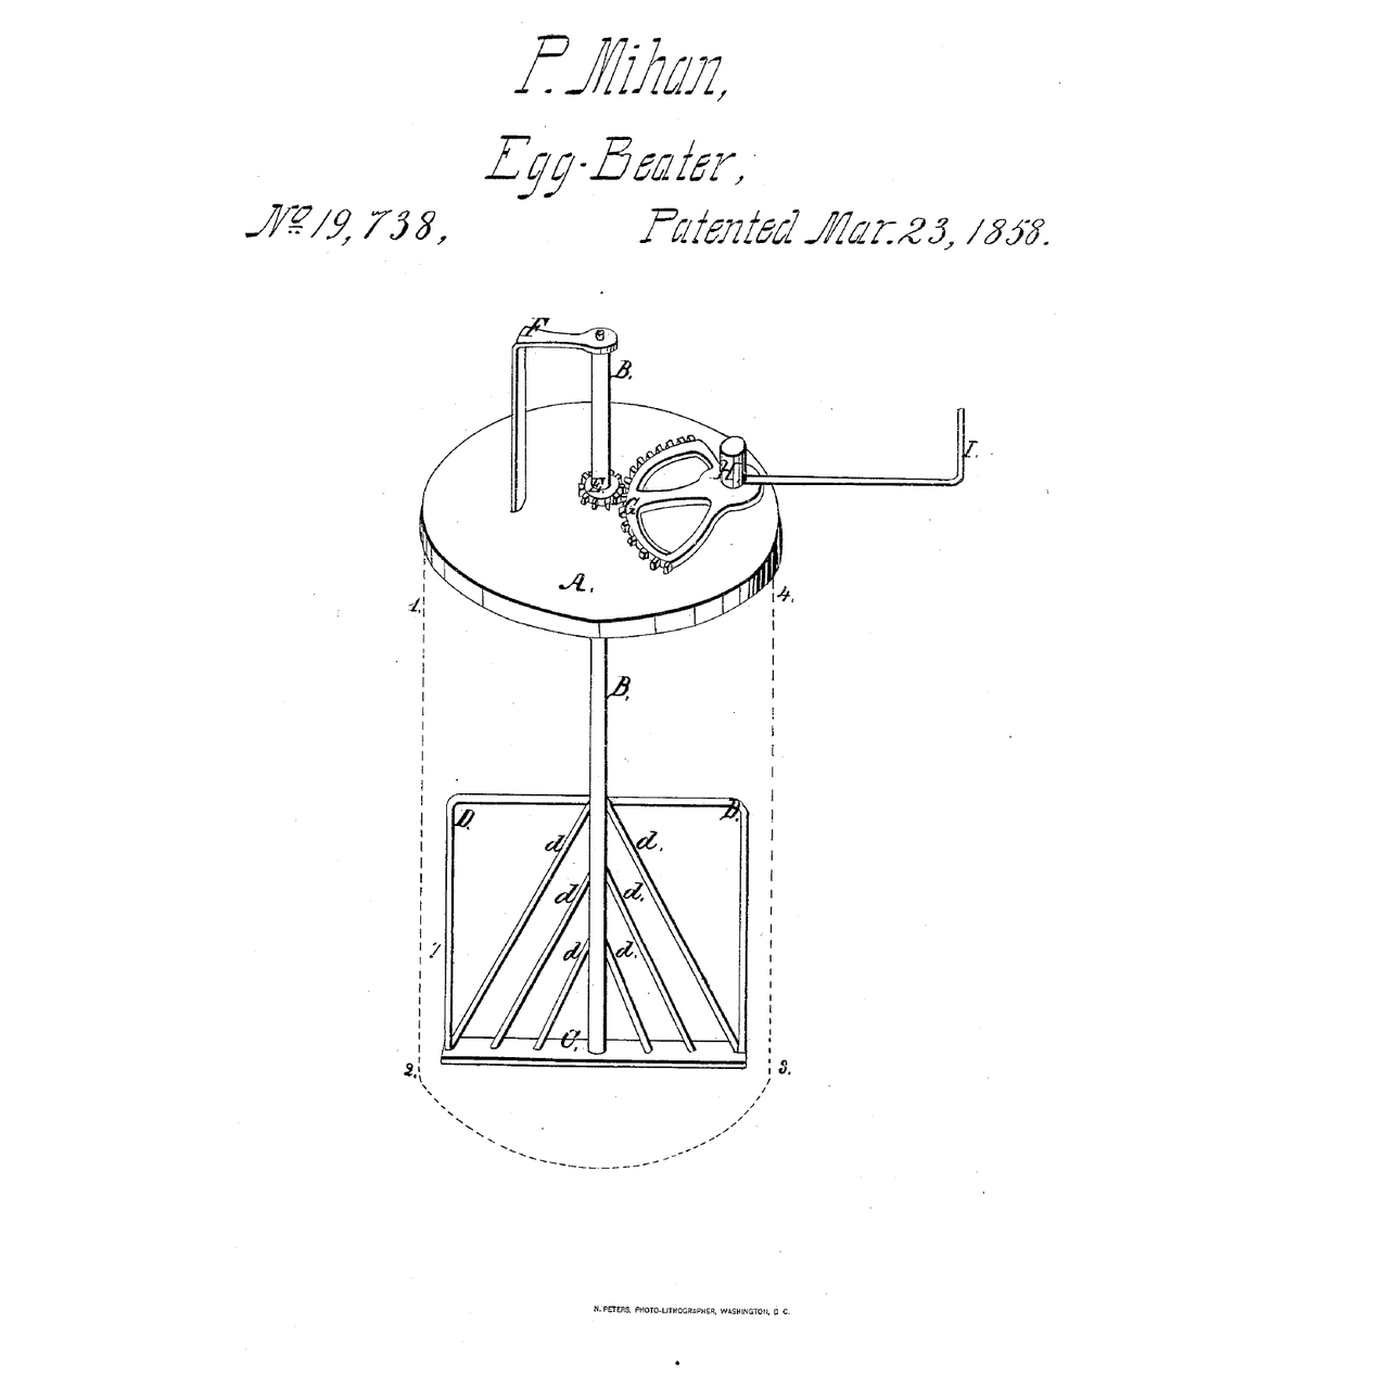


Sector-Pinion Egg Beater: A Short Swing of the Handle Whirls the Beaters Each Way
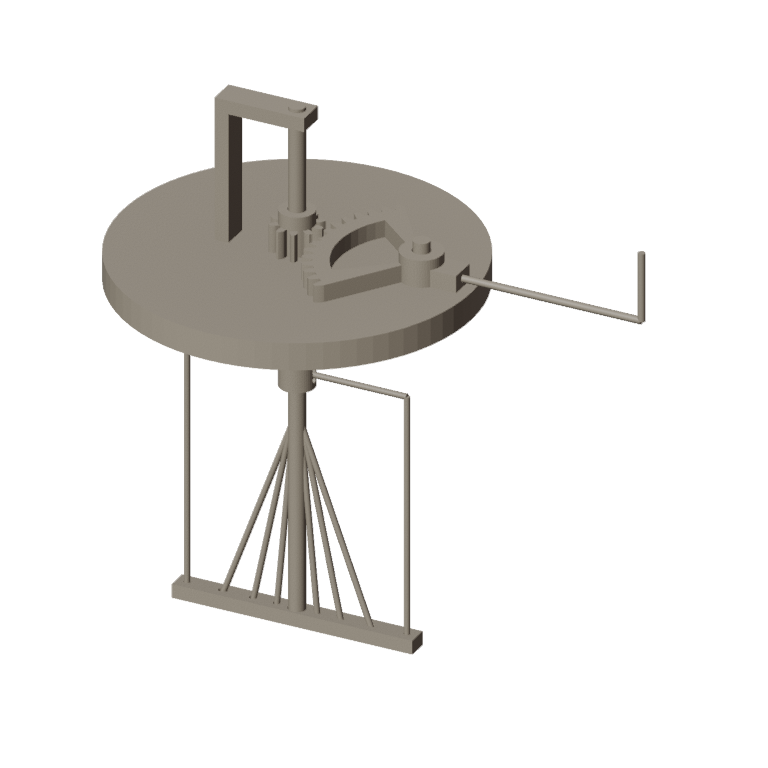
Patrick Mihan of Boston received US 19,738, dated 23 March 1858, for an egg beater on a round plate that rests on the vessel like a cover: a wire shaft with beaters below, turned by a pinion and a much larger sector swung by a wire handle.
This rung prints the plate, pinion, sector, foot and hub at his sizes and beats egg whites.
Intermedio
About 3 hours, plus printing
Instrucciones
1
1
A short swing, a fast shaft
A short swing, a fast shaft
Cargando el cuaderno de Jupyter…
2
2
Both ways, before it
Both ways, before it
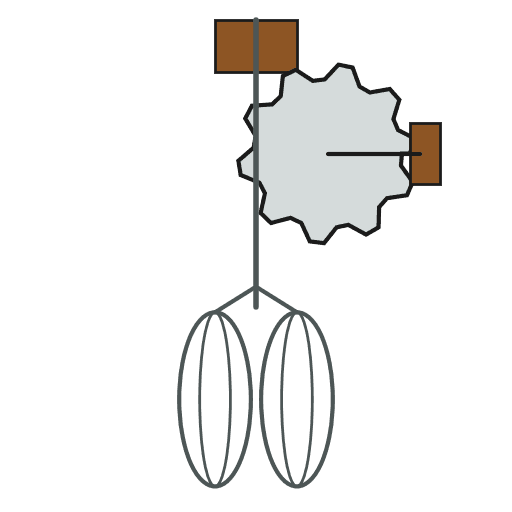
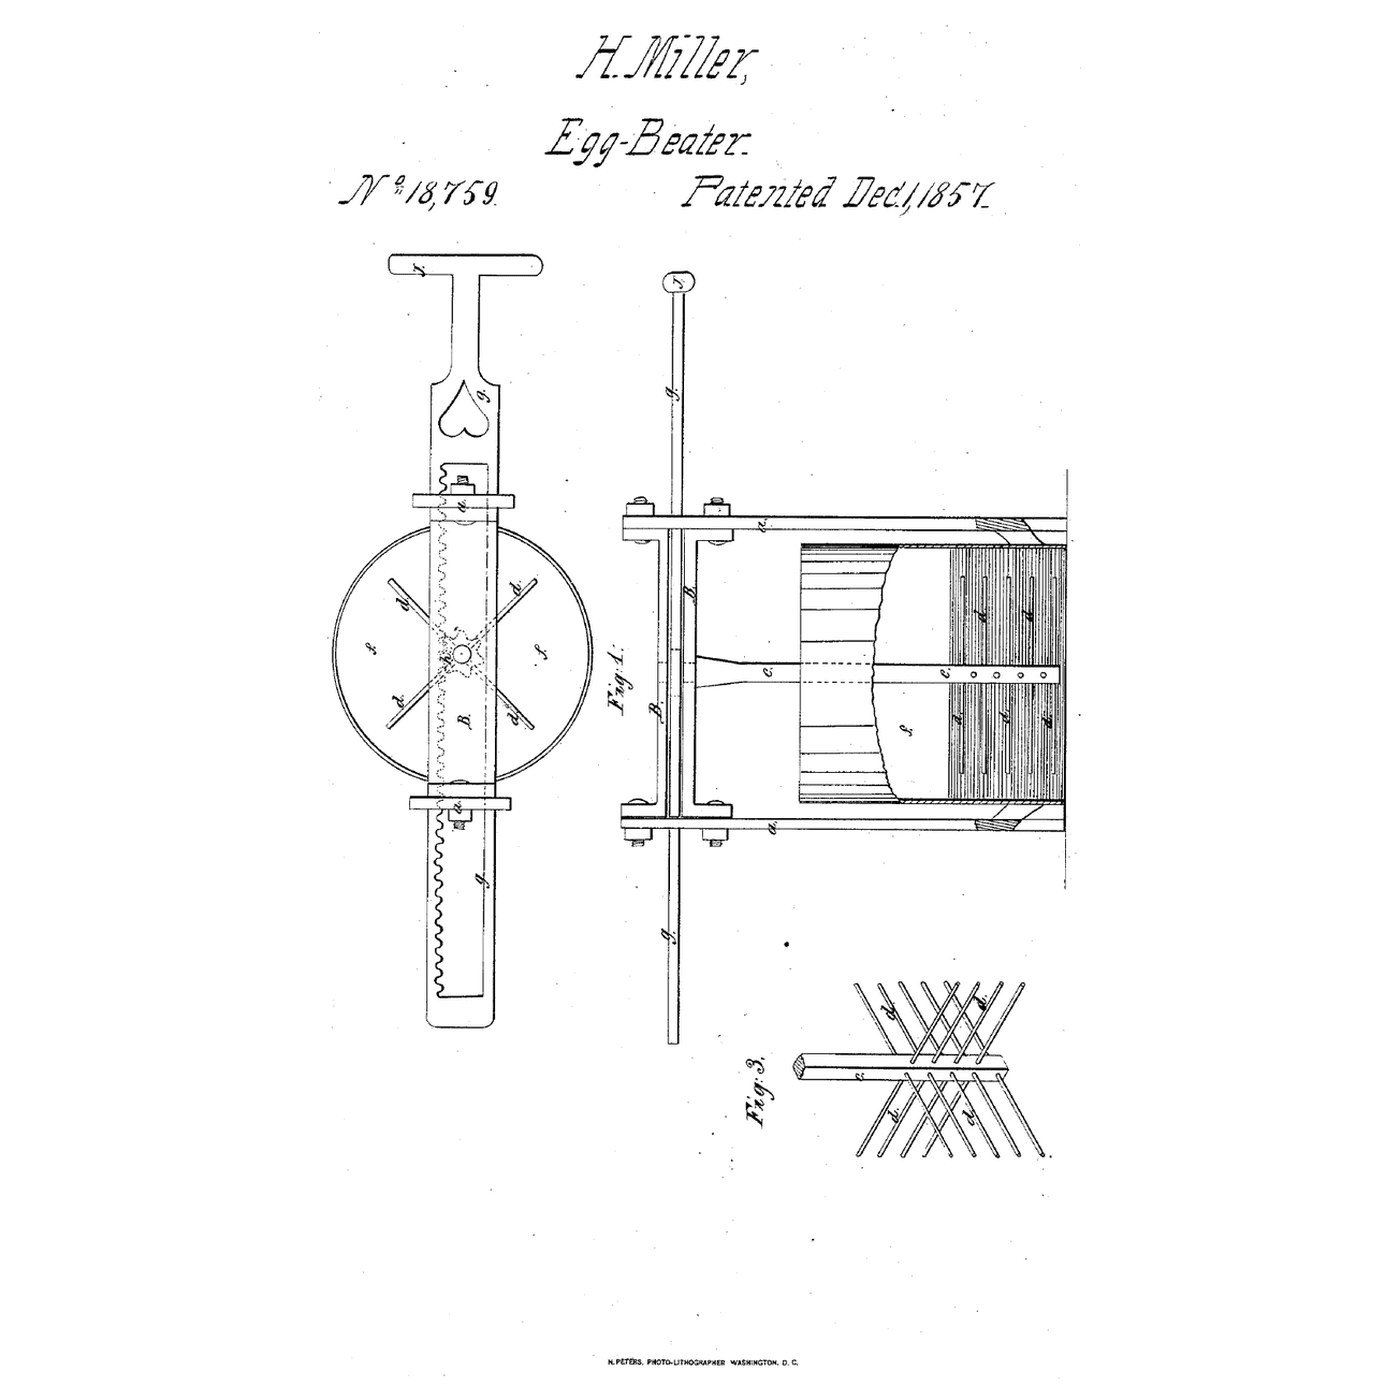
That beater spins its floats both ways by a rack; Mihan swings a sector.
3
3
Read US 19,738
Read US 19,738
"As the sector pinion, G, is so much larger than E, it is obvious that by vibrating the handle, I, a little distance, a rapid motion will be given to the shaft, B; and that by means of the beaters, D, d, striking the egg so rapidly first in one direction and then in the opposite, the whole mass will be completely cut and beaten, in a comparatively trifling period of time."
4
4
Print the parts
Print the parts
Print the plate with its bracket and axle, the pinion, the sector, the foot-piece and the hub. Print in PETG at 0.2 mm layers, 30 % infill, 4 walls; wash before first use.
Materiales para este paso:
 Filamento PETG1 pieza
Herramientas necesarias:
 Impresora 3D de filamento (FDM)
5
5
Print the plate
Print the plate
The plate, printed as step 4 describes.
6
6
Print the pinion
Print the pinion
The pinion, printed as step 4 describes.
7
7
Print the sector
Print the sector
The sector, printed as step 4 describes.
8
8
Print the foot
9
9
Print the hub
10
10
Shaft and beaters
Shaft and beaters
Cut a 6 in (152 mm) shaft of 3/16 in stainless rod and file its top end down a little to make a shoulder. Glue the foot-piece on its lower end and the hub 70 mm above. Bend stainless wire into the frame D and three V-shaped pairs d; thread their feet through the foot-piece and their tops through the hub; fix with epoxy.
Materiales para este paso:
 Varilla de acero inoxidable1 pieza
 Alambre de acero inoxidable1 pieza
 Epoxi de dos componentes1 pieza
Herramientas necesarias:
 Sierra para metales
 Lima para metal
 Alicates de punta redonda
 Alicates de boca plana
11
11
Plate, pinion and sector
Plate, pinion and sector
Pass the shaft up through the plate's centre hole into the bracket's hole and glue the pinion on it just above the plate. Set the sector on the axle with its teeth in the pinion, and fix a bent stainless wire handle in its boss.
Materiales para este paso:
Alambre de acero inoxidable1 piezaEpoxi de dos componentes1 piezaHerramientas necesarias:
Alicates de punta redondaAlicates de boca plana12
12
The build in 3D
The build in 3D
FreeCAD model of this build at his sizes: the 4 in plate with its bracket, the pinion and sector with the wire handle, and the shaft carrying the beater wires D and d on the foot-piece.
13
13
Beat egg whites
Beat egg whites
Separate two egg whites into a glass jar about 4 in across. Rest the plate on it, hold it in one hand and swing the handle to and fro with the other. Time until they hold stiff peaks.
Materiales para este paso:
 Huevo2 piezas
Herramientas necesarias:
 Tarro de vidrio
 Cronómetro
14
14
Troubleshooting
Troubleshooting
Sector-pinion egg beater troubleshooting.
Flow
Loading...
15
15
History and honest limits
History and honest limits
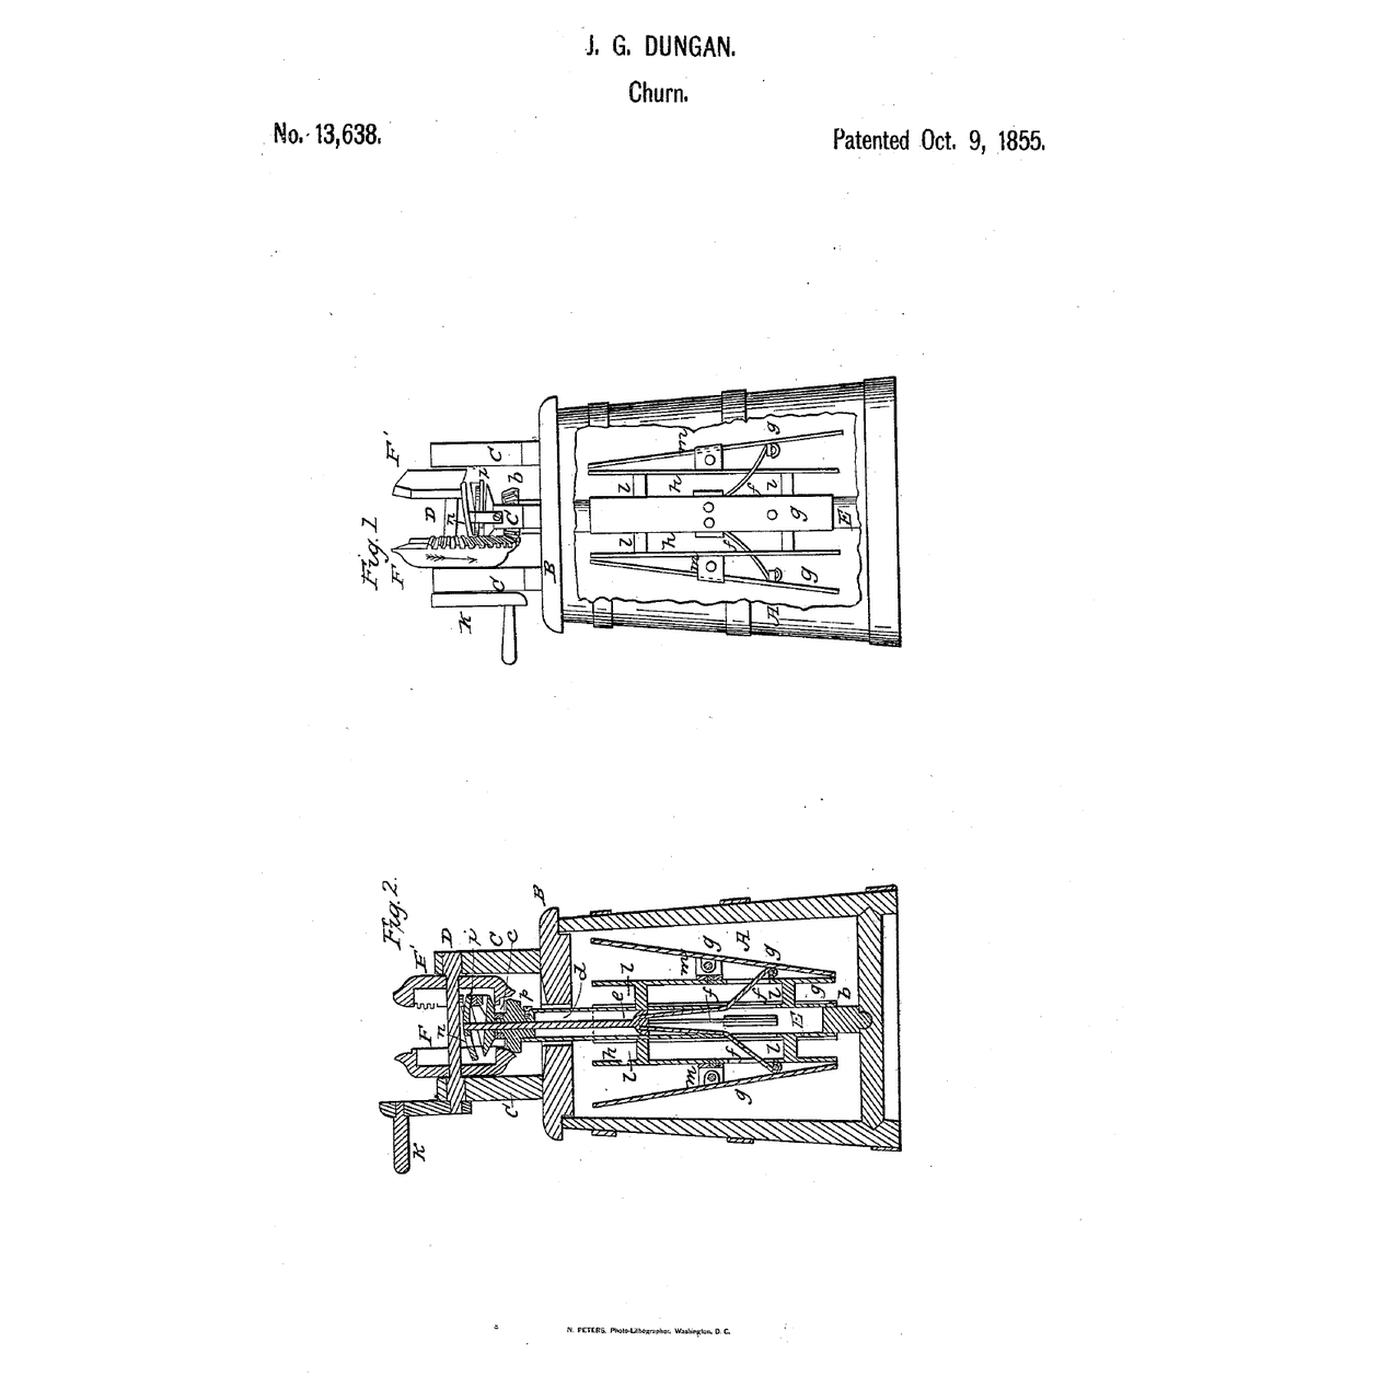
**Patrick Mihan** of Boston, Massachusetts, US 19,738, 23 March 1858, assignor to P. Mihan & G. Davis. He made the plate of tin with its edge turned down, and soldered the beaters and handle. He claimed the beating apparatus with the portable plate, held in the hand or set on a vessel, and wrote that, large enough, it would work well as a churn. The plate and shaft are his sizes; the tooth counts are ours. FDM prints hold food in their layer lines, so wash well and replace when worn.
Materiales
5- 1 piezaMarcador de posición
- 1 piezaMarcador de posición
- 2 piezasMarcador de posición
- 2 piezasMarcador de posición
- 2 piezasMarcador de posición
Herramientas requeridas
7- Marcador de posición
- Marcador de posición
- Marcador de posición
- Marcador de posición
- Marcador de posición
- Marcador de posición
- Marcador de posición
Archivos de diseño
6Este plano hace
Blueprints relacionados
Estos blueprints comparten conocimiento — técnicas, materiales o principios


CC0 Dominio público
Este Blueprint se publica bajo CC0. Eres libre de copiar, modificar, distribuir y usar este trabajo para cualquier propósito, sin pedir permiso.
Apoya al Maker comprando productos a través de su Blueprint, donde gana una Comisión del Maker establecida por los vendedores, o crea una nueva iteración de este Blueprint e inclúyela como conexión en tu propio Blueprint para compartir ingresos.