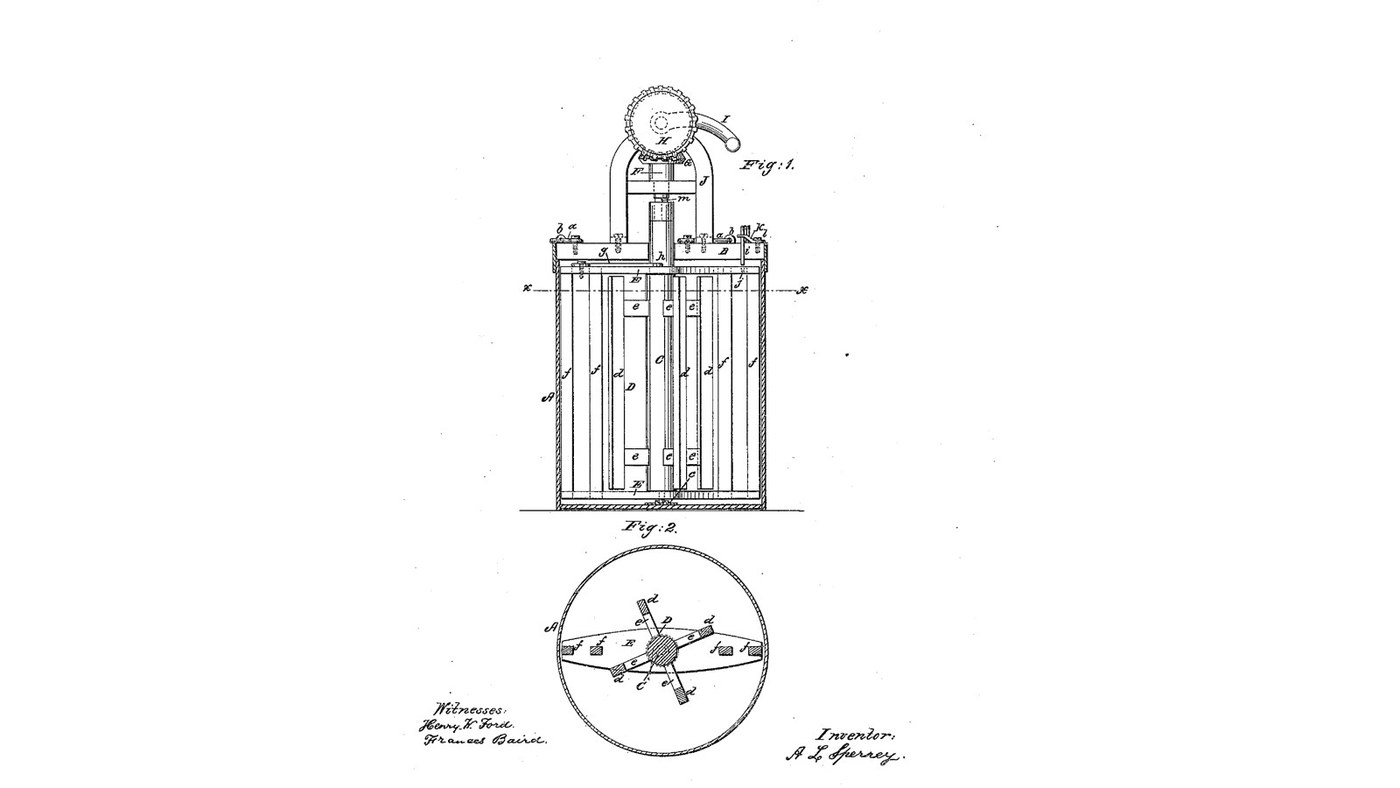

Hooked Breaker-Frame Churn: Breakers Held Still From the Lid, Then Hooked to the Dasher to Gather
Instrucciones
Paddles past the breakers
Paddles past the breakers
Dickinson's churn, which Sperry names
Dickinson's churn, which Sperry names
Read US 25,285
Read US 25,285
Print the socket c
Print the socket c
Print the wheel G
Print the wheel G
Print the wheel H
Print the wheel H
Socket c in the tub's floor
Socket c in the tub's floor
Materiales para este paso:
 Cubo de 20 litros1 pieza
 Surtido de tornillos hexagonales1 pieza
 Tuerca hexagonal1 pieza
 Arandela plana1 pieza
 Junta tórica1 pieza
 Filamento PETG1 pieza
Herramientas necesarias:
 Impresora 3D de filamento (FDM)
 Taladro inalámbrico
 Juego de brocas
 Llave inglesa ajustable
 Agua
Shaft C and dasher D
Shaft C and dasher D
Materiales para este paso:
 Espigas de madera dura1 pieza
 Tabla de madera dura1 pieza
 Cola de carpintero1 pieza
 Tornillos para madera16 piezas
Herramientas necesarias:
 Serrucho
 FormonesTaladro inalámbrico
 Juego de brocas de palaJuego de brocas
 Escuadra fija
 Cinta métrica
Breaker frame E and hook g
Breaker frame E and hook g
Materiales para este paso:
Tabla de madera dura1 piezaCola de carpintero1 piezaTornillos para madera8 piezas Varilla de acero inoxidable1 piezaSurtido de tornillos hexagonales1 pieza
 Tuerca autoblocante con inserto de nailon1 pieza
Herramientas necesarias:
Serrucho Sierra de calarTaladro inalámbricoJuego de brocas de palaJuego de brocas
 Tornillo de banco
 Sierra para metales
 Limas (lima de mano)
Lid B, framing J, gearing and spring hook i
Lid B, framing J, gearing and spring hook i
Materiales para este paso:
 Tablero contrachapado1 piezaTabla de madera dura1 piezaVarilla de acero inoxidable1 pieza
 Fleje de acero para muelles1 pieza
 Alambre de acero inoxidable1 pieza
 Corchete (macho y hembra)4 piezasSurtido de tornillos hexagonales2 piezasTornillos para madera12 piezasFilamento PETG1 pieza
Herramientas necesarias:
Impresora 3D de filamento (FDM)Sierra de calarTaladro inalámbricoJuego de brocas de palaJuego de brocasSierra para metalesLimas (lima de mano) Tijeras de chapa
 Alicates de punta redonda
 Juego de destornilladoresLlave inglesa ajustable
The build in 3D
The build in 3D
Churn, then gather
Churn, then gather
Materiales para este paso:
 Crema de leche espesa8 l
 Sal marina gruesa1 piezaAgua1 pieza
Herramientas necesarias:
 Termómetro de sonda permanente
 Cronómetro
 Báscula digital de cocina
 Bol grande de acero inoxidable
Troubleshooting
Troubleshooting
Flow
History and honest limits
History and honest limits
Materiales
19- 1 piezaMarcador de posición
- 4 piezasMarcador de posición
- 1 piezaMarcador de posición
- 1 piezaMarcador de posición
- 1 piezaMarcador de posición
- 2 piezasMarcador de posición
- 1 piezaMarcador de posición
- 1 piezaMarcador de posición
- 2 piezasMarcador de posición
- 36 piezasMarcador de posición
- 1 piezaMarcador de posición
- Marcador de posición
- 1 piezaMarcador de posición
- 1 piezaMarcador de posición
- 1 piezaMarcador de posición
- 4 piezasMarcador de posición
- Marcador de posición
- 1 piezaMarcador de posición
- 1 piezaMarcador de posición
Herramientas requeridas
21- Marcador de posición
- 1 vendor sell this, none ship to you yetMarcador de posición
- Marcador de posición
- Marcador de posición
- Marcador de posición
- Marcador de posición
- Marcador de posición
- Marcador de posición
- Marcador de posición
- 1 vendor sell this, none ship to you yetMarcador de posición
- 1 vendor sell this, none ship to you yetMarcador de posición
- Marcador de posición
- Marcador de posición
- Marcador de posición
- Marcador de posición
- Marcador de posición
- Marcador de posición
- Marcador de posición
- Marcador de posición
- Marcador de posición
- Marcador de posición
Archivos de diseño
4

Blueprints relacionados
Estos blueprints comparten conocimiento — técnicas, materiales o principios
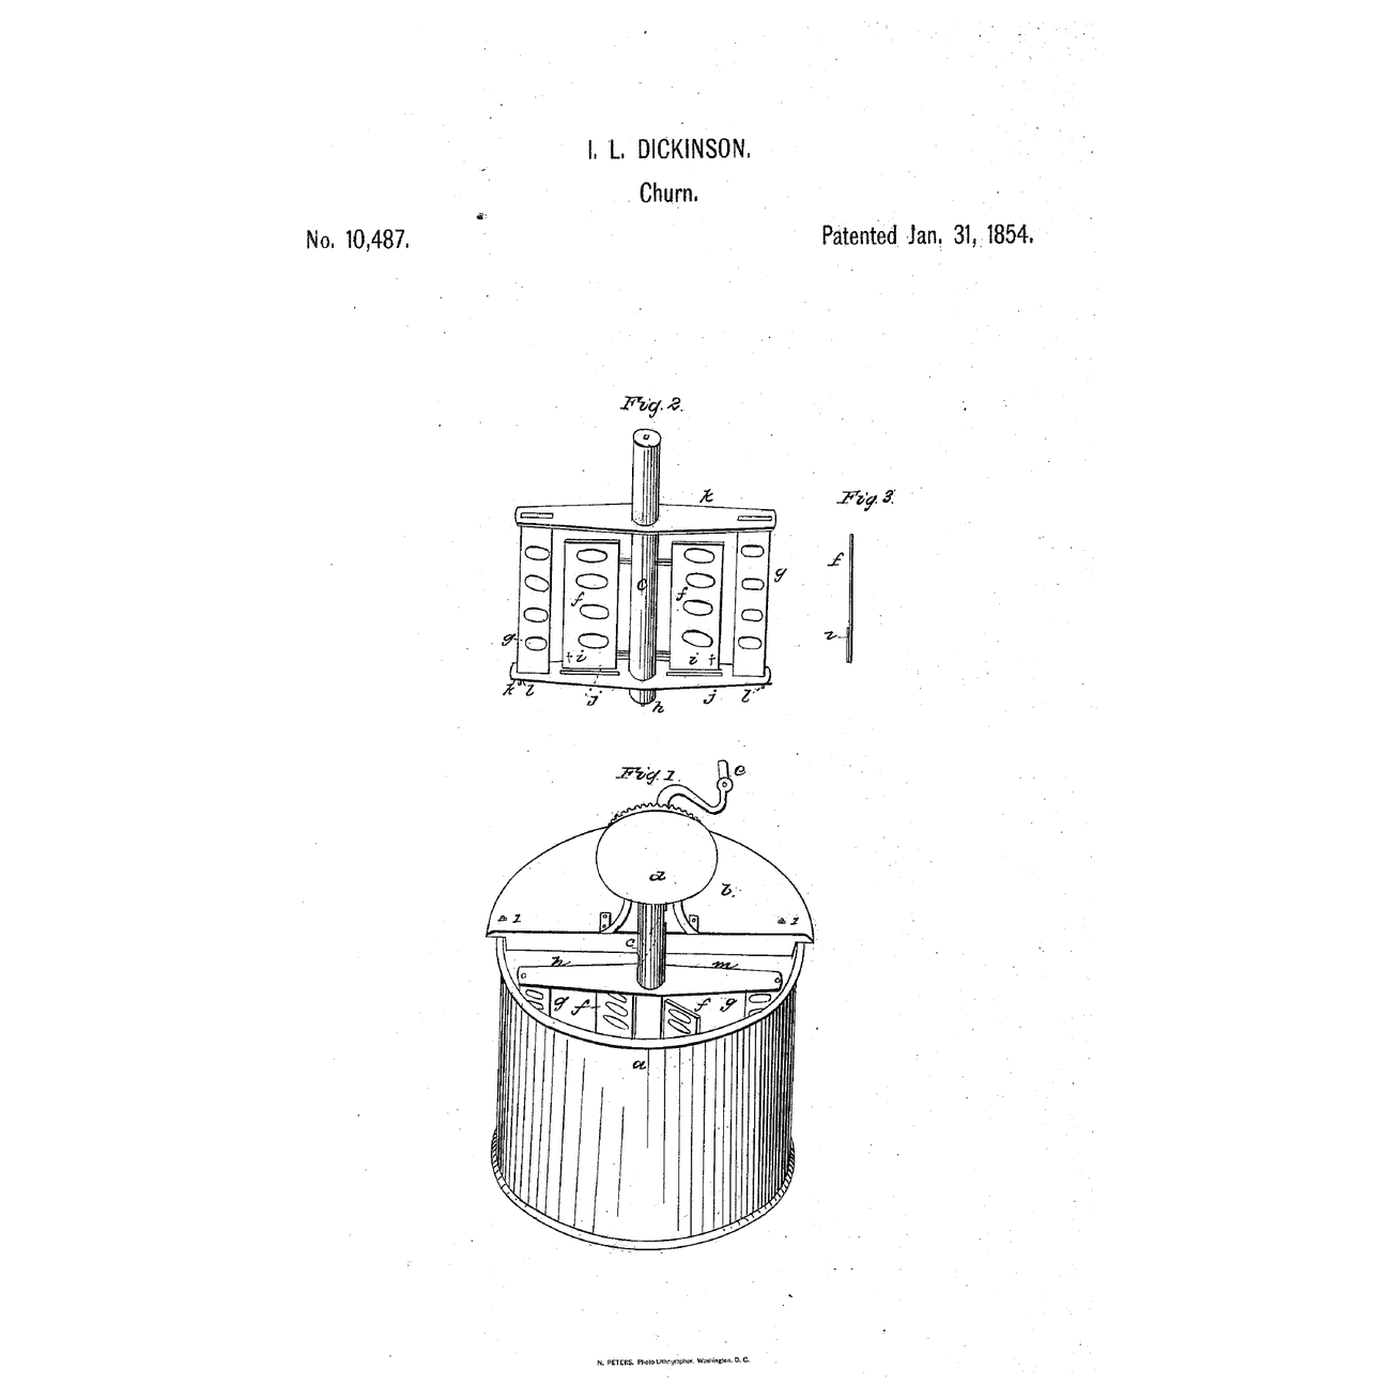
Liftable-Breaker Dasher Churn: Breakers Stand Still to Churn, Then Lift and Turn to Gather
por Emma
COMIDA Y BEBIDAS
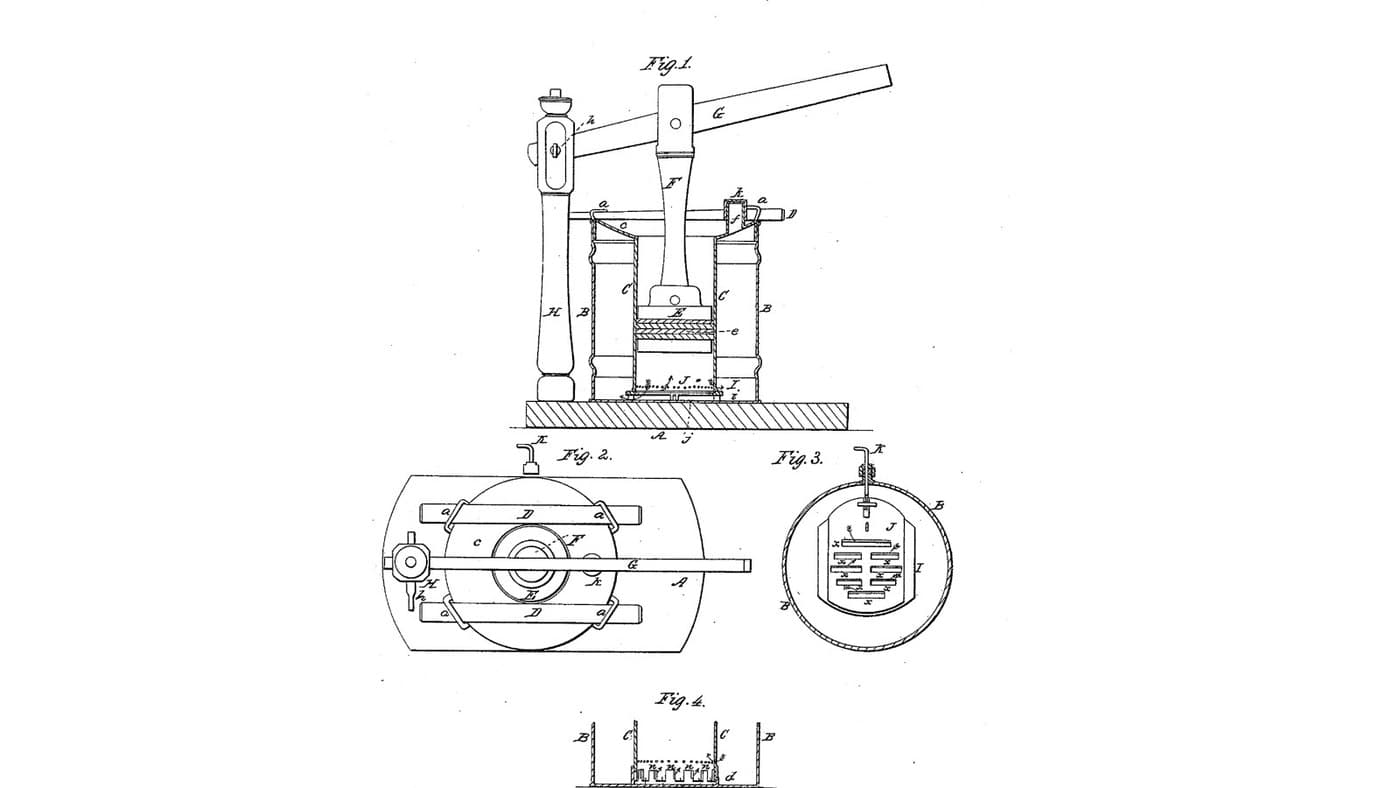
Friction Plunger Churn: Cream Pumped Through Openings You Close a Little More as It Thickens
por Buttercup
COMIDA Y BEBIDAS
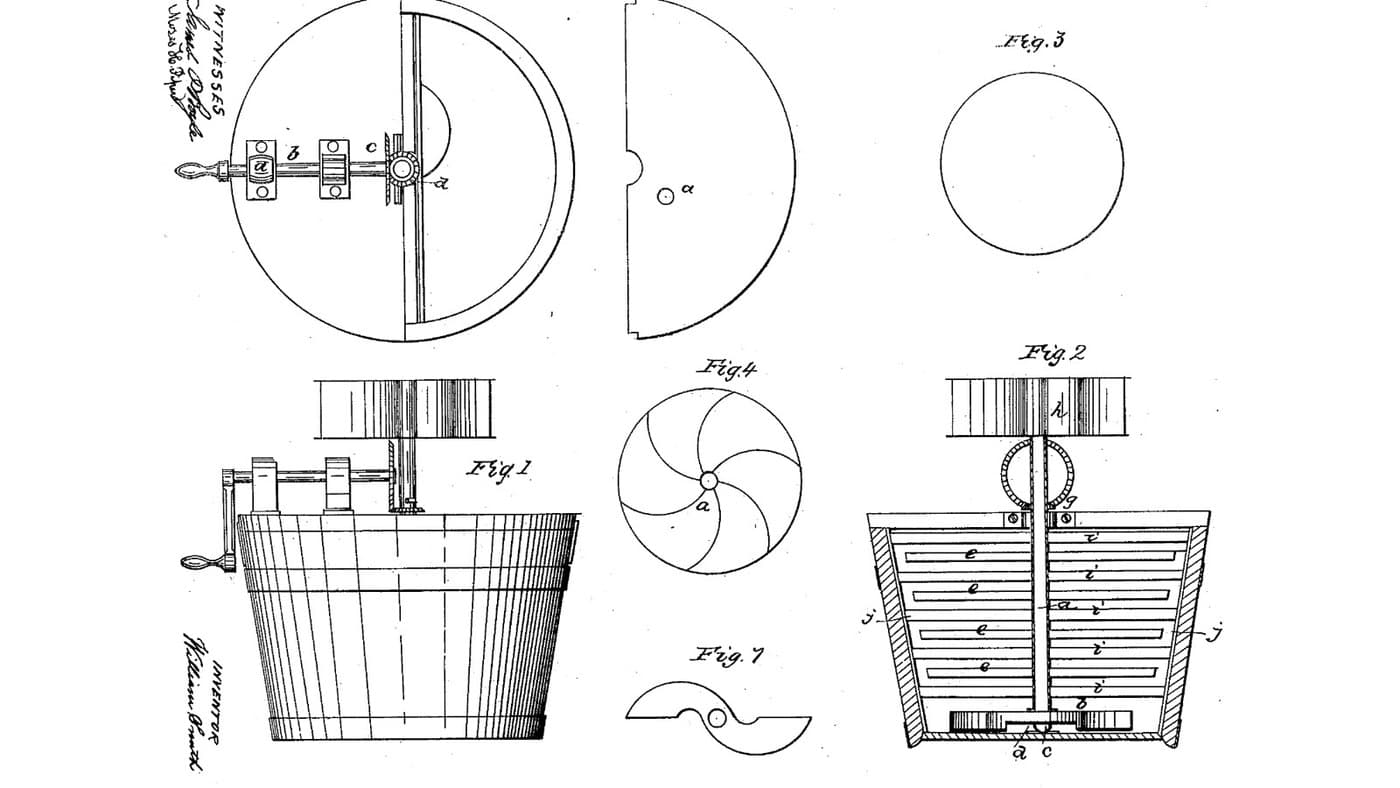
Atmospheric Combination Churn: A Fan Sends Air Down a Hollow Shaft and Out Through the Turning Arm
por Buttercup
COMIDA Y BEBIDAS

Churning Butter from Cream — The 5,000-Year-Old Fat Separation
por TheChef
ARTESANÍA
CC0 Dominio público
Este Blueprint se publica bajo CC0. Eres libre de copiar, modificar, distribuir y usar este trabajo para cualquier propósito, sin pedir permiso.
Apoya al Maker comprando productos a través de su Blueprint, donde gana una Comisión del Maker establecida por los vendedores, o crea una nueva iteración de este Blueprint e inclúyela como conexión en tu propio Blueprint para compartir ingresos.