
Spiral-Slide Egg Beater: Push a Slide, Two Scrolls Turn Opposite Ways
Instrucciones
Turns per stroke
Turns per stroke
Two opposite beaters from one motion before it
Two opposite beaters from one motion before it
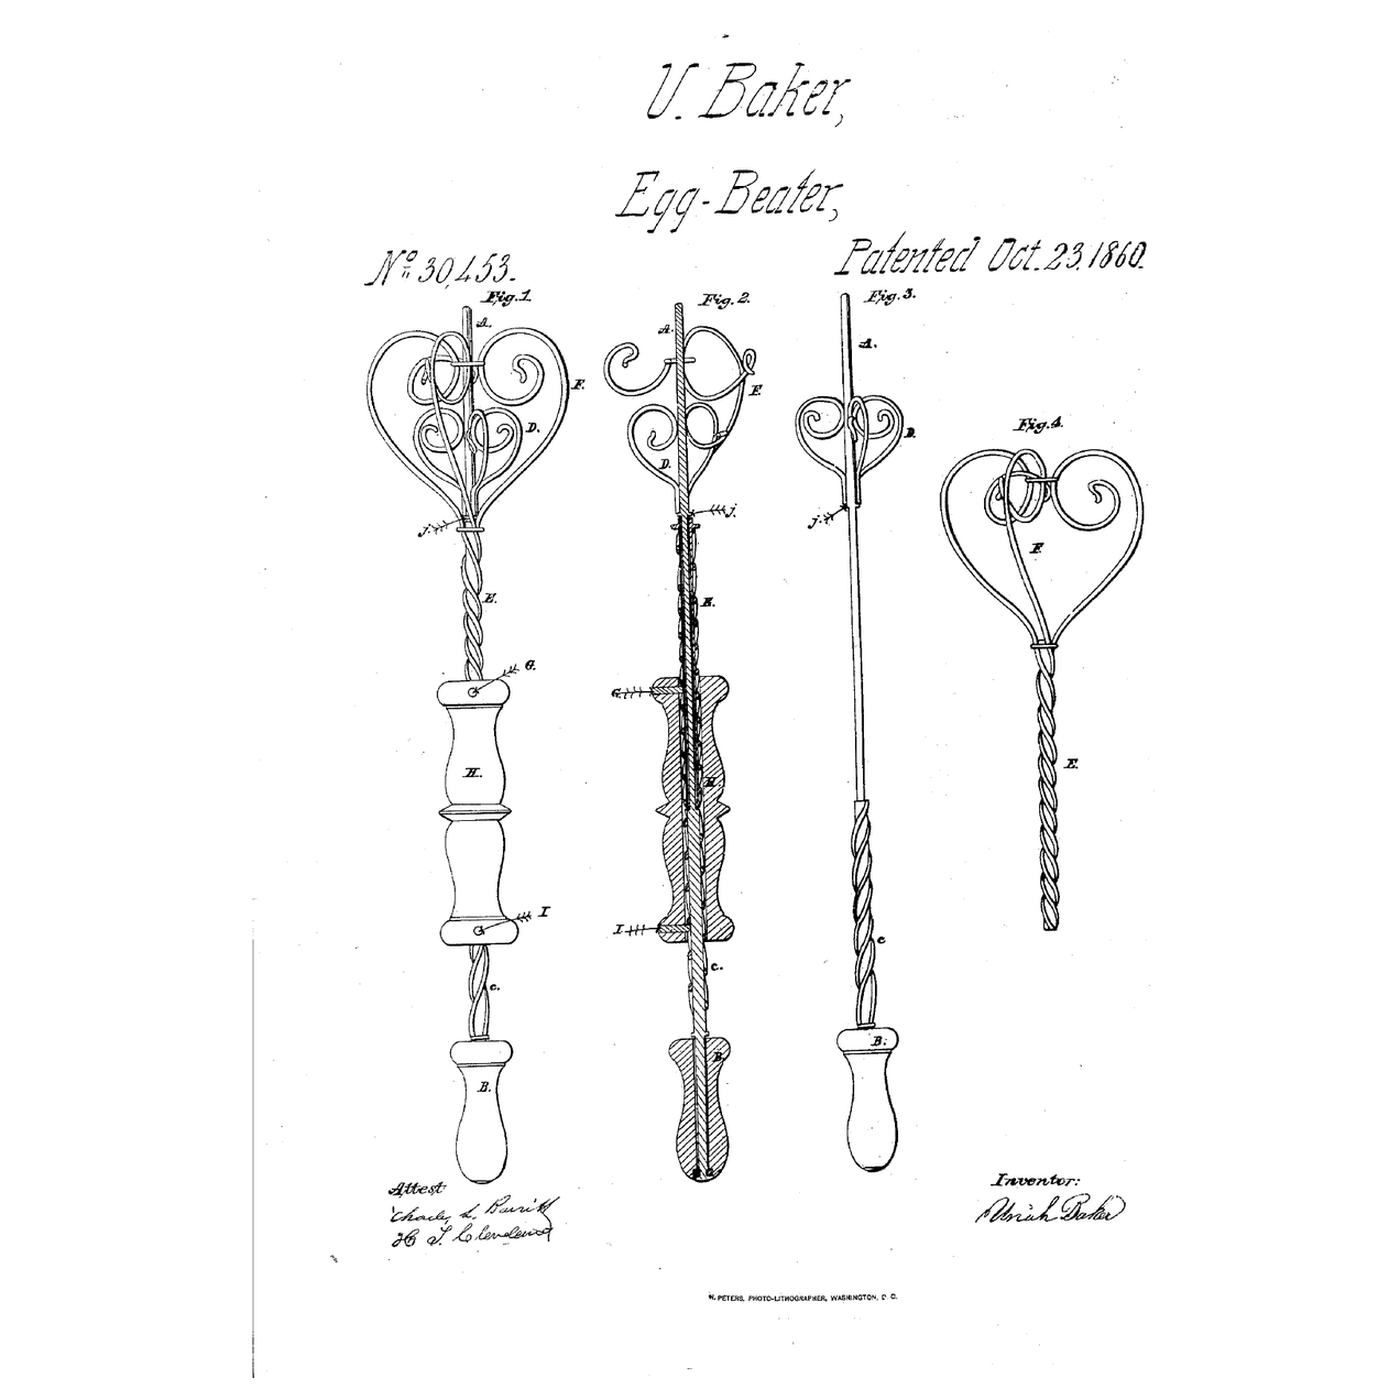
Read US 30,453
Read US 30,453
Print the spirals and nuts
Print the spirals and nuts
Materiales para este paso:
 Filamento PETG1 pieza
Herramientas necesarias:
 Impresora 3D de filamento (FDM)
Print the right-hand twisted bar
Print the right-hand twisted bar
Print the left-hand twisted bar
Print the left-hand twisted bar
Print the nut
Spindle and inner scroll
Spindle and inner scroll
Materiales para este paso:
 Redondo de acero dulce1 pieza
 Alambre de acero inoxidable1 pieza
 Epoxi de dos componentes1 pieza
Herramientas necesarias:
 Sierra para metales
 Tornillo de banco
 Alicates de punta redonda
 Alicates de boca plana
Upper spiral and outer scroll
Upper spiral and outer scroll
Materiales para este paso:
Alambre de acero inoxidable1 piezaEpoxi de dos componentes1 pieza Arandela plana1 pieza
Herramientas necesarias:
Alicates de punta redondaAlicates de boca plana Calibre digital de 6 pulgadas
The slide
The slide
Materiales para este paso:
 Espigas de madera dura1 piezaEpoxi de dos componentes1 pieza
Herramientas necesarias:
 Limas (lima de mano)
 Taladro inalámbrico
 Juego de brocas
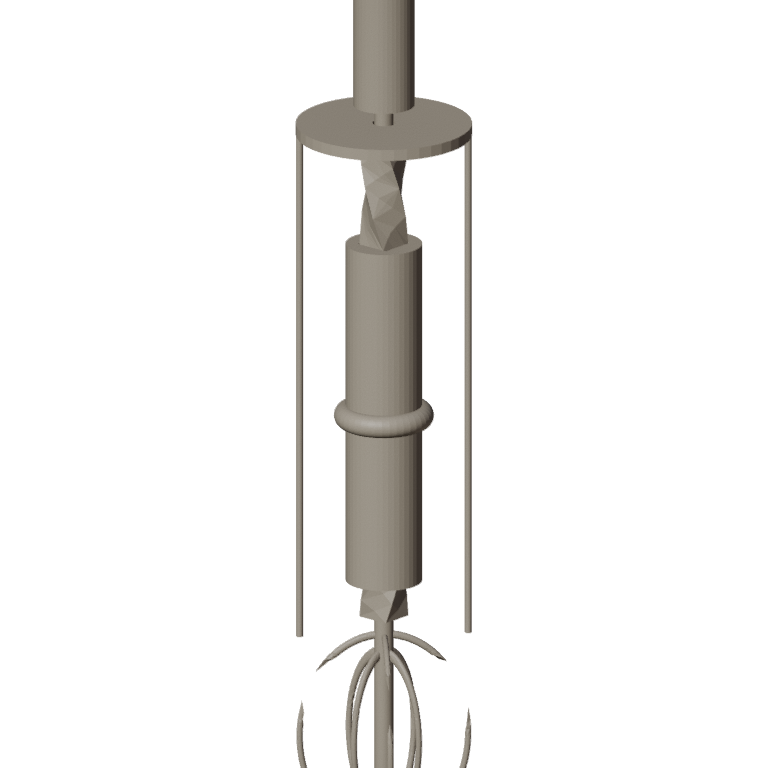
The build in 3D
The build in 3D
Beat egg whites
Beat egg whites
Materiales para este paso:
 Huevo2 piezas
Herramientas necesarias:
 Bol grande de acero inoxidable
 Cronómetro
A slide that jams, scrolls that turn together
A slide that jams, scrolls that turn together
Flow
History and honest limits
History and honest limits
Materiales
7- 1 piezaMarcador de posición
- 1 piezaMarcador de posición
- 2 piezasMarcador de posición
- 3 piezasMarcador de posición
- 1 piezaMarcador de posición
- 1 piezaMarcador de posición
- 2 piezasMarcador de posición
Herramientas requeridas
11- Marcador de posición
- Marcador de posición
- Marcador de posición
- Marcador de posición
- Marcador de posición
- Marcador de posición
- Marcador de posición
- 1 vendor sell this, none ship to you yetMarcador de posición
- Marcador de posición
- Marcador de posición
- Marcador de posición
Archivos de diseño
4Este plano hace
Blueprints relacionados
Estos blueprints comparten conocimiento — técnicas, materiales o principios
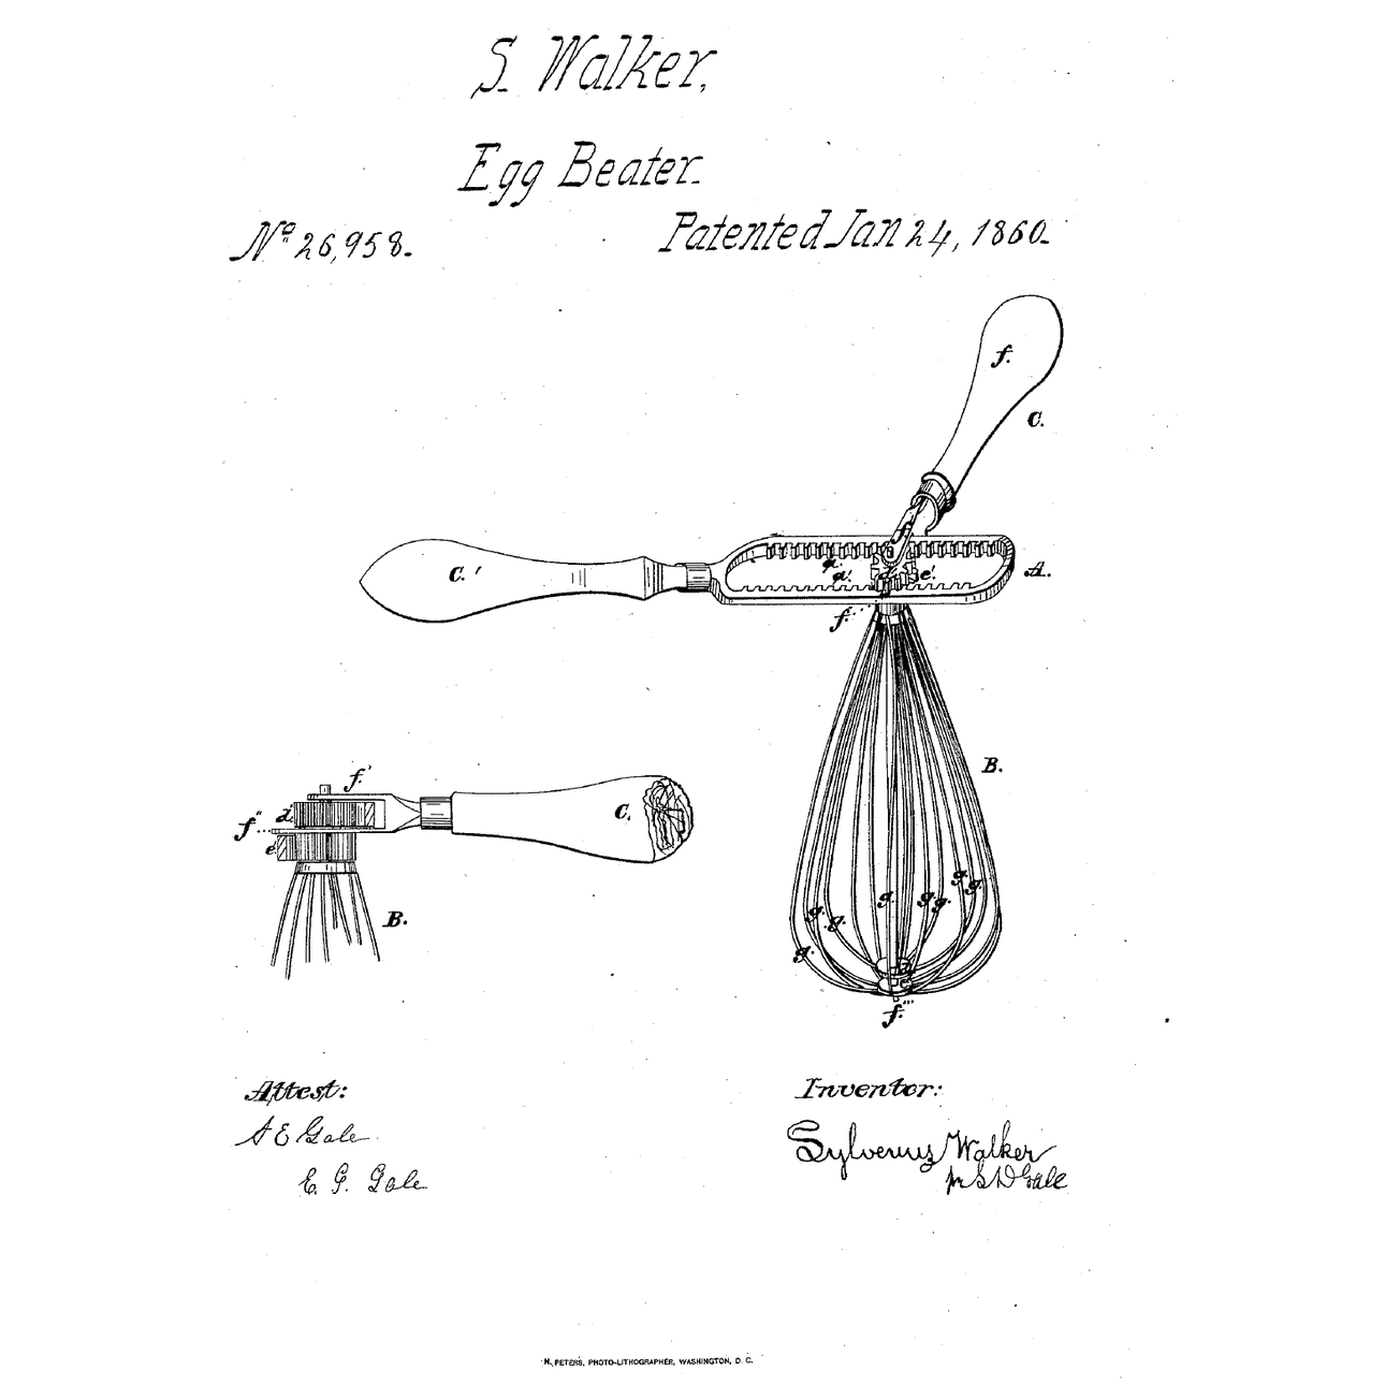
Oblique-Rack Egg Beater: One Rack Turns Two Beaters Opposite Ways
por Emma
COMIDA Y BEBIDAS
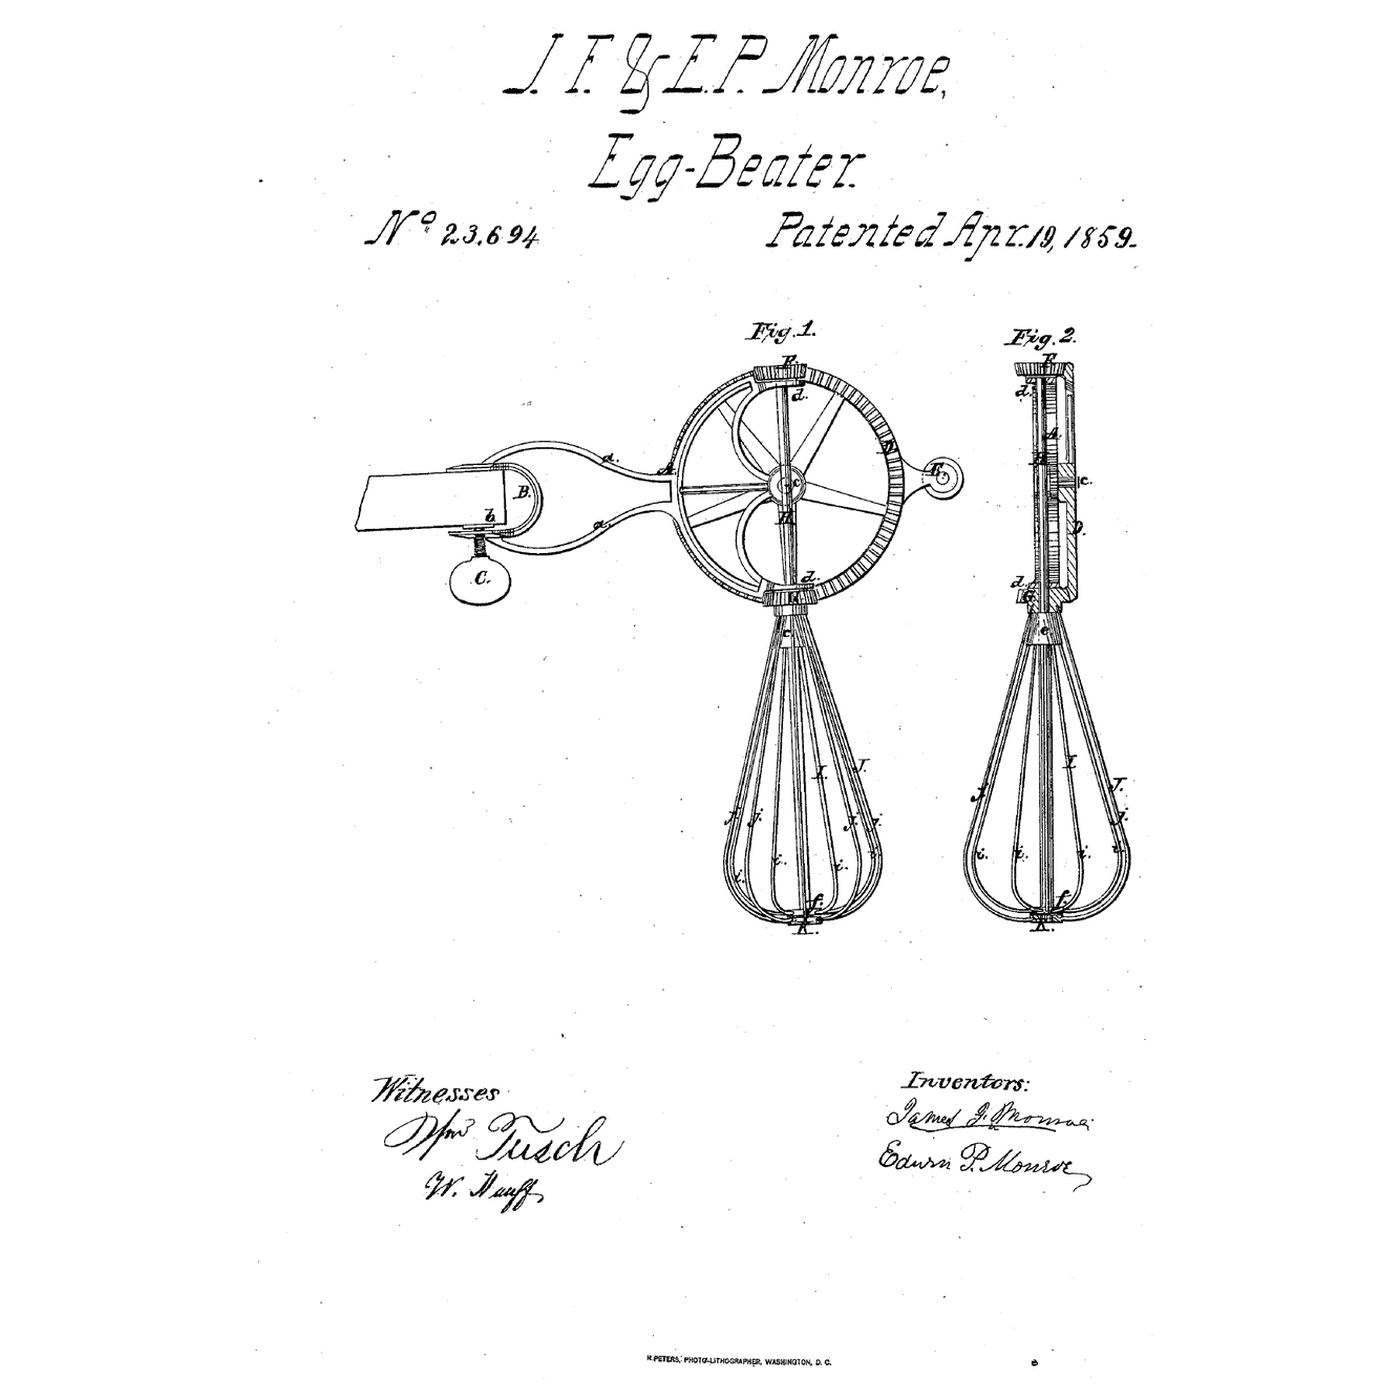
Counter-Rotating Egg Beater: One Wheel, Two Beaters Turning Opposite Ways
por Martin
COMIDA Y BEBIDAS
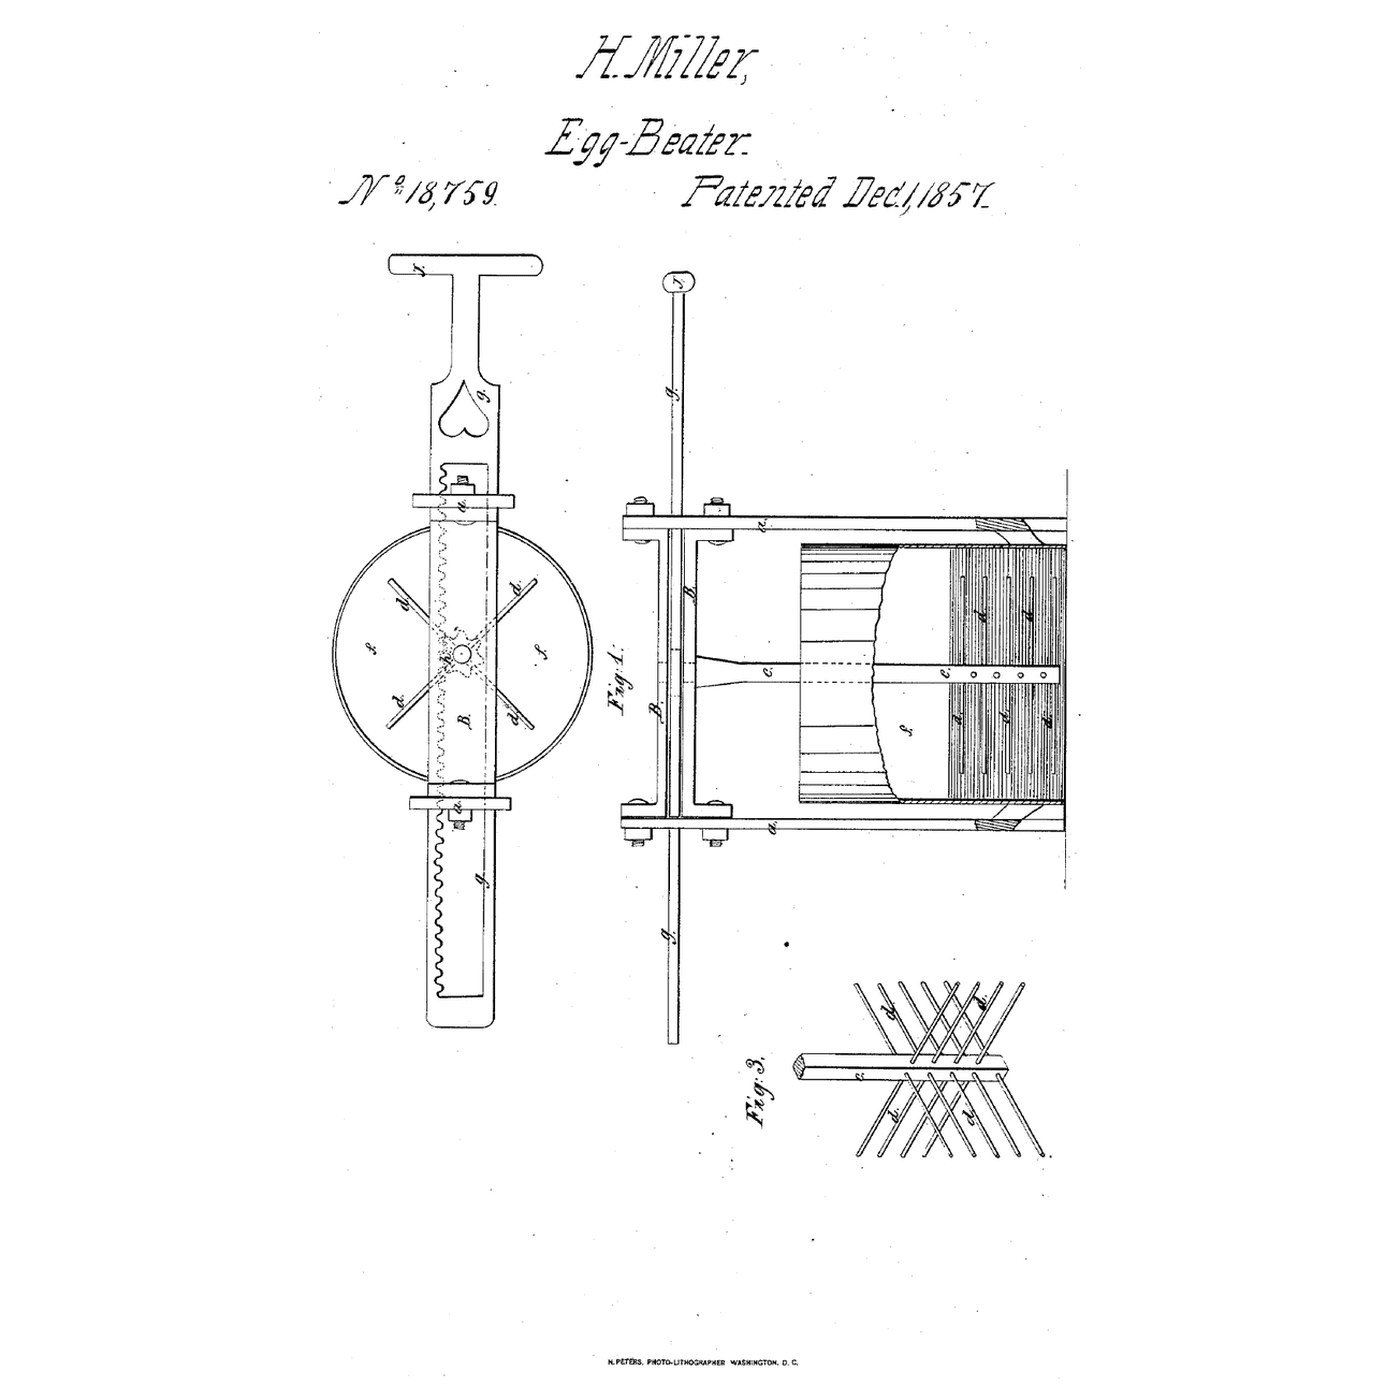
Ratchet-Bar Egg Beater: Push a Rack, the Floats Spin Both Ways
por YourGrandma
COMIDA Y BEBIDAS
CC0 Dominio público
Este Blueprint se publica bajo CC0. Eres libre de copiar, modificar, distribuir y usar este trabajo para cualquier propósito, sin pedir permiso.
Apoya al Maker comprando productos a través de su Blueprint, donde gana una Comisión del Maker establecida por los vendedores, o crea una nueva iteración de este Blueprint e inclúyela como conexión en tu propio Blueprint para compartir ingresos.