
Colaboración
ARTE
BELLEZA Y BIENESTAR
ARTESANÍA
CULTURA E HISTORIA
ENTRETENIMIENTO
MEDIO AMBIENTE
COMIDA Y BEBIDAS
INGENIERÍA INVERSA
CIENCIAS
DEPORTES
TECNOLOGÍA
TECNOLOGÍA VESTIBLE
Stamp Mill: California Five-Stamp Battery (Richards, Ore Dressing 1903)
Forge

Creado por

Forge

3. noviembre 2026NO
9
0
0
0
0

Stamp Mill: California Five-Stamp Battery (Richards, Ore Dressing 1903)

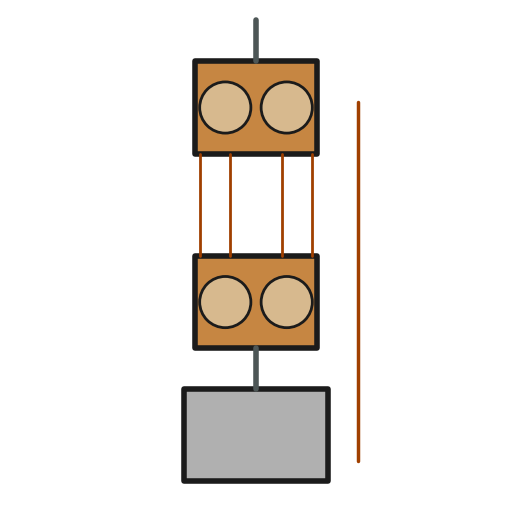
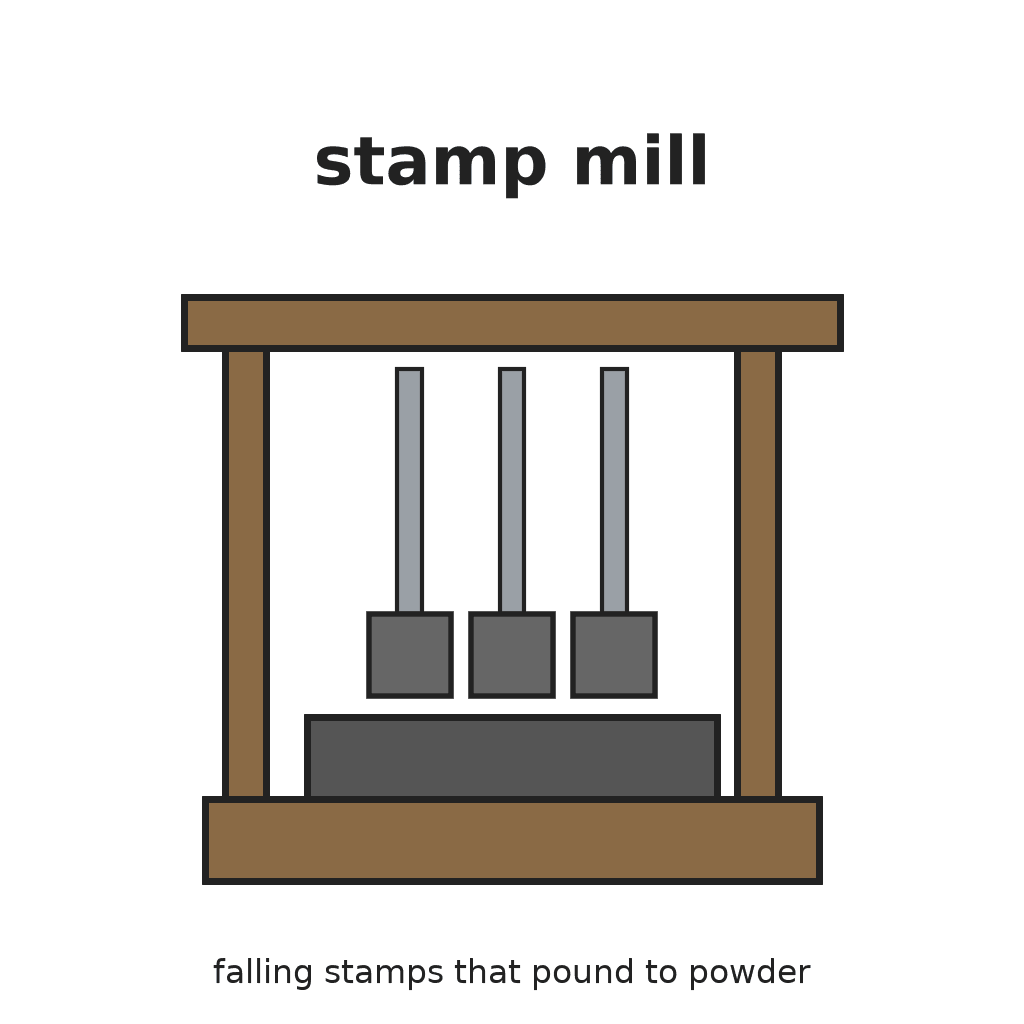
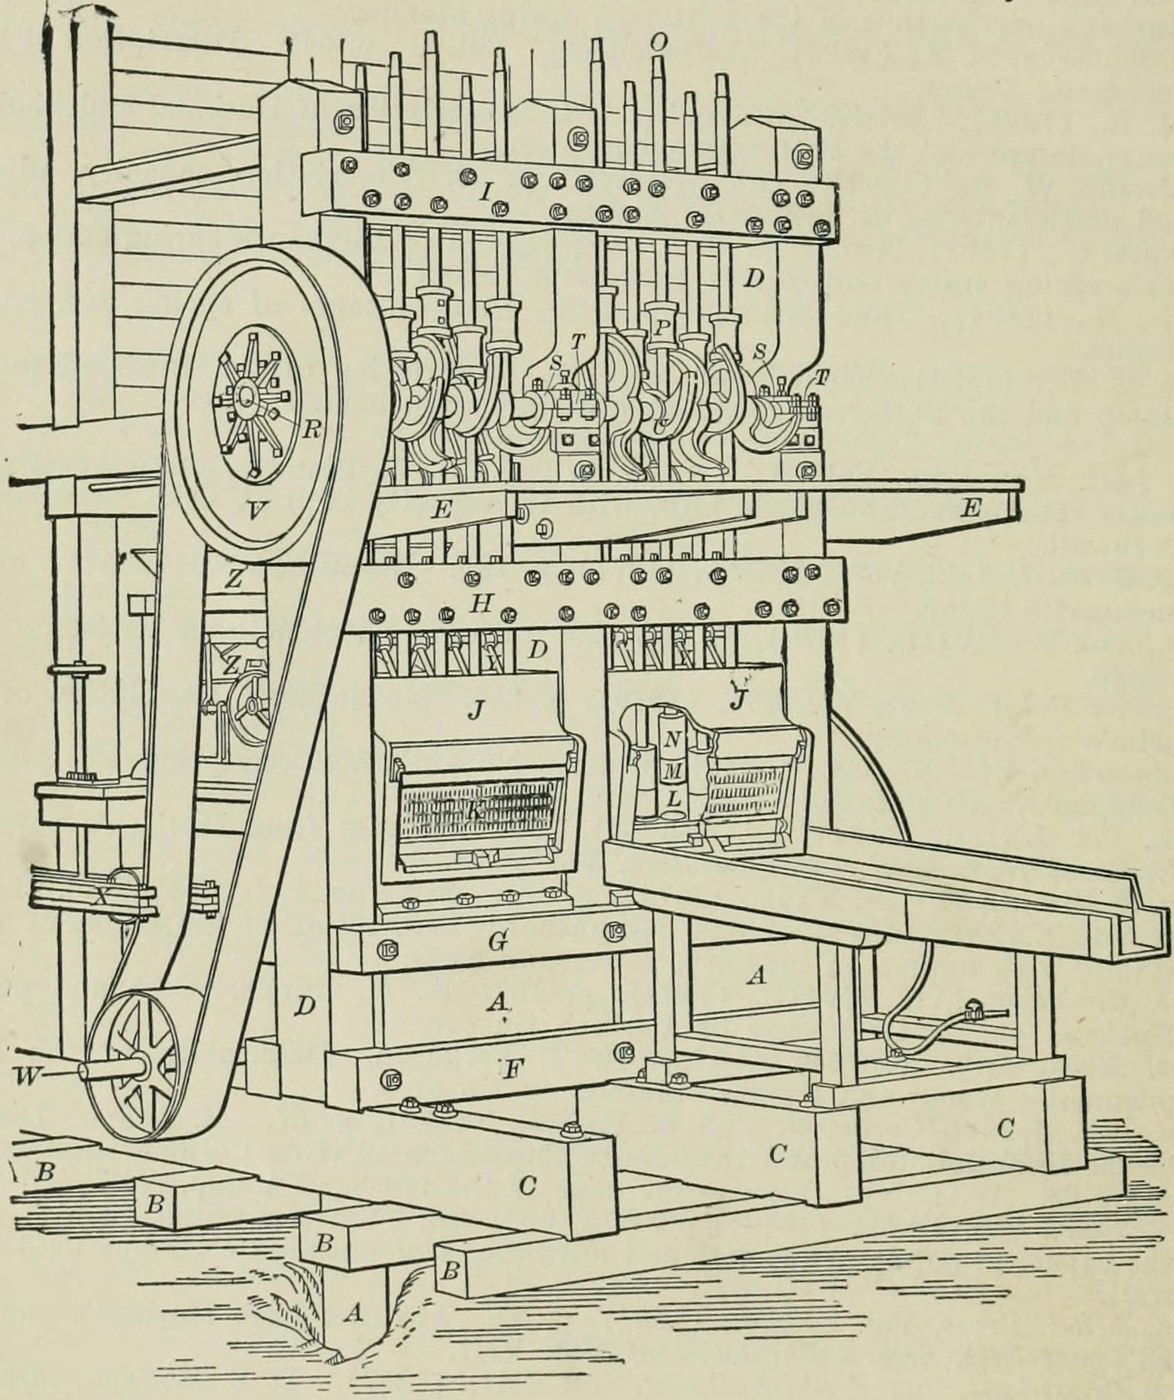
The gravity stamp mill: five heavy iron stamps stand in a cast-iron mortar on a timber block. Cams on a turning shaft lift each stamp by its tappet and let it fall by its own weight onto the ore on a die. Water washes the crushed ore out through a screen. Result: a stamp battery that pounds ore to sand, at 80 to 110 drops a minute. Source: R. H. Richards, Ore Dressing, vol. I (1903), Chapter V, Gravity Stamps. Unknown: one complete set of sizes; Richards gives the range found in the mills. Picture: Fig. 90 of the book.
Avanzado
Unknown

Instrucciones

1

Dig and level the foundation

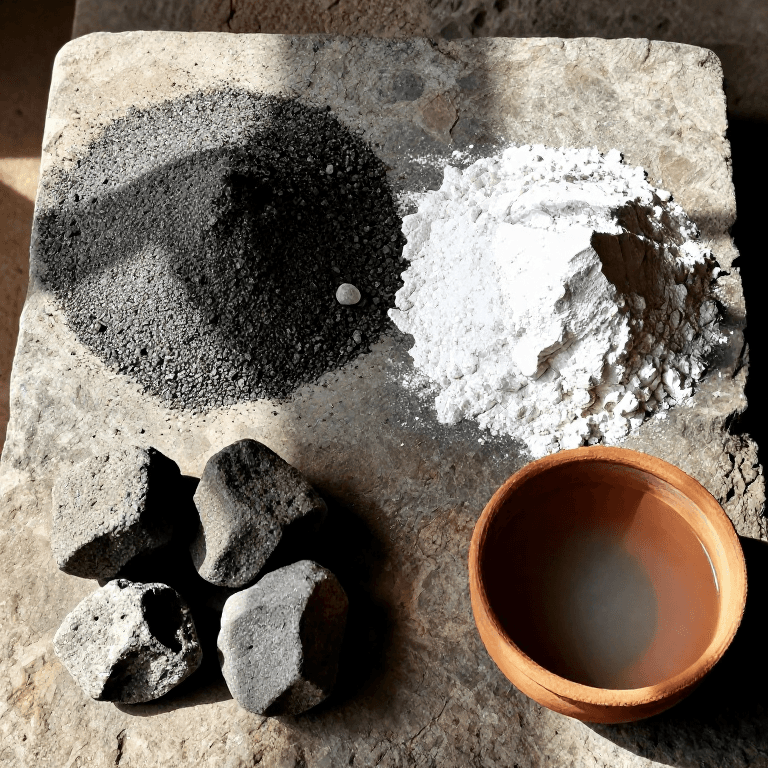
Dig a trench in gravel, or blast one in rock, about 2 feet longer than the mortar block at each end and about 2 feet wider at each side. Level the bottom with tamped concrete, sand or clay. Concrete should be at least 30 inches thick, or it may crumble. Two layers of 2-inch plank spiked together may go on top.

Materiales para este paso:

HormigónHormigón1 levelling layer
Tablón de maderaTablón de madera1 two layers of 2-inch plank

Herramientas necesarias:

PalaPala
MartilloMartillo
2

Stand the mortar block

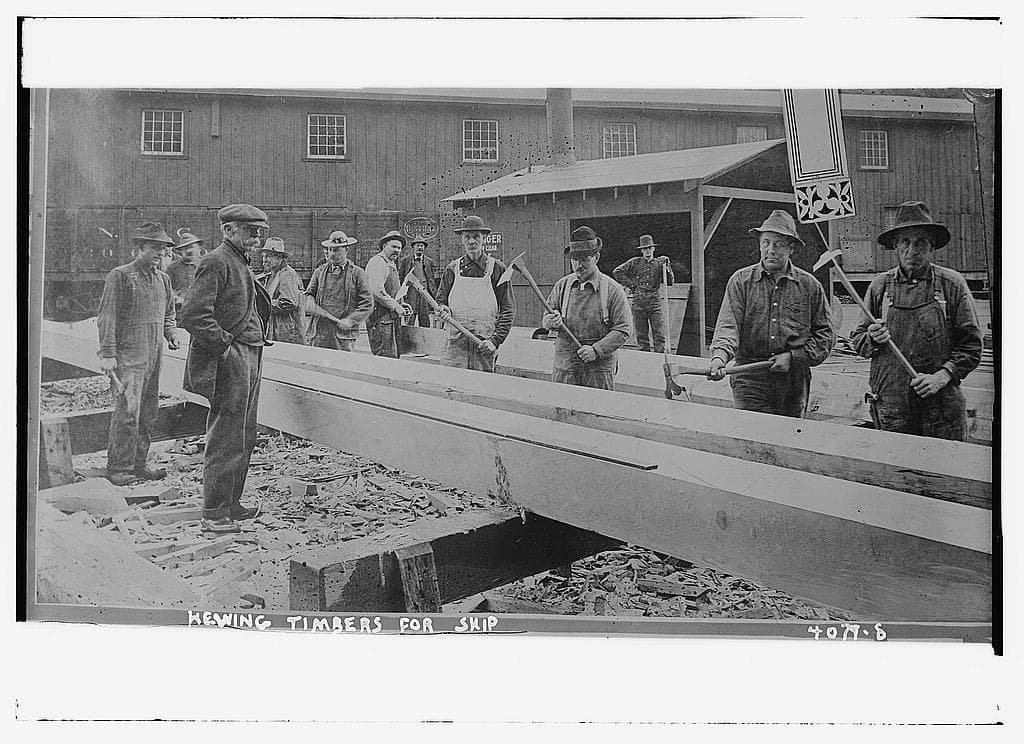
Stand timbers or planks on end in the trench as the mortar block, sized for one five-stamp mortar. The mills used everything from 30 x 30 inch squared timbers to 2 x 12 inch planks bolted together. Set vertical bolts 3 to 4 feet long into the block to hold the mortar down. Not given: the bolts' metal.

Materiales para este paso:

Madera escuadradaMadera escuadrada1 mortar block
Metal desconocidoMetal desconocido1 hold-down bolts

Herramientas necesarias:
Juego de llaves fijasJuego de llaves fijas
Dimensiones desconocidasDimensiones desconocidas
3

Build the frame

On mud sills and cross sills, stand the posts (end posts 12 x 24 inches in most mills) with buckstaves, a platform, and lower and upper guide timbers. The guides keep the stamp stems vertical. Fit finger bars on a jack shaft between the posts, so each stamp can be propped up under its tappet. The frame carries the cam shaft and the drive.

Materiales para este paso:

Madera escuadradaMadera escuadrada1 sills, posts, guide timbers, platform
Metal desconocidoMetal desconocido1 bolts and jack shaft

Herramientas necesarias:

Juego de llaves fijasJuego de llaves fijas
Dimensiones desconocidasDimensiones desconocidas
4

Set the mortar, dies and screen

Bed the cast-iron mortar on tarred blankets or sheet rubber on the mortar block, for an even bearing, and bolt it down. Put the dies in its bottom: cylinders on square foot plates that fill the floor of the mortar. Mount a screen of punched Russia sheet iron in a wooden frame over the opening in front.

Materiales para este paso:

Piezas de fundición de hierroPiezas de fundición de hierro1 mortar and five dies

Plancha de caucho naturalPlancha de caucho natural1 packing
Chapa de hierro rusoChapa de hierro ruso1 screen

Herramientas necesarias:

Juego de llaves fijasJuego de llaves fijas
5

Make the five stamps

Each stamp has four parts. The shoe is chilled cast iron, its butt cast in heavy chills and its shank in sand. The boss is tough cast iron, the shoe's diameter and often 18 inches long, with sockets for the shoe shank and the stem and two keyways for knock-out wedges. The stem is solid wrought iron or mild steel, turned true and tapered at both ends so it can be reversed. The tappet is cast iron, with a flange above and below, locked on the stem by a gib and keys. Put the extra weight in the boss. Louis designs for 11 to 14 pounds of stamp per square inch of die; the mills used stamps of 650 to 1,100 pounds.

Materiales para este paso:

Piezas de fundición de hierroPiezas de fundición de hierro1 shoes, bosses, tappets
Barra de hierro forjadoBarra de hierro forjado1 stems, gibs, keys

Herramientas necesarias:

Torno de metalTorno de metal
Dimensiones desconocidasDimensiones desconocidas
6

Fit the cam shaft and drive

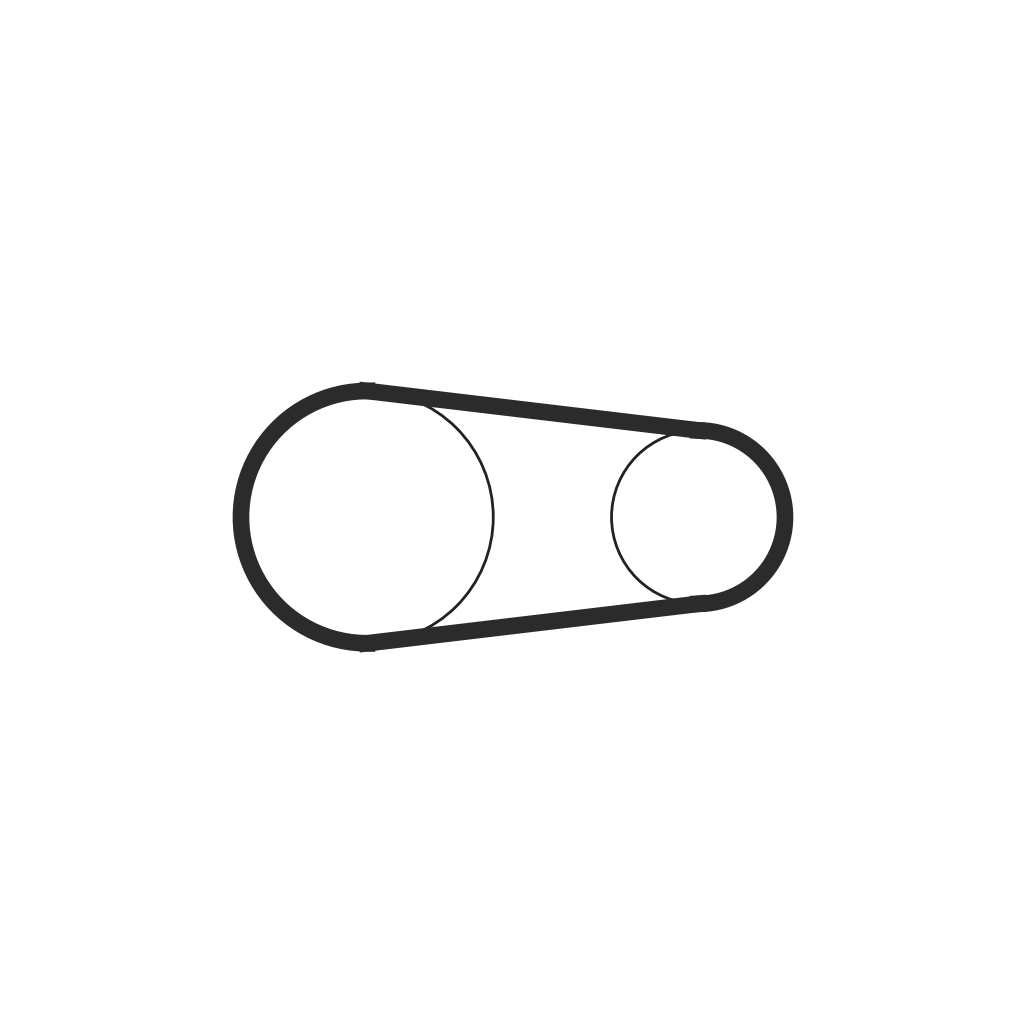
Turn a wrought-iron or steel cam shaft true, with a key seat, and key on five cams. Each cam usually has two arms with spiral lifting faces, cast iron with chilled faces or cast steel. Drive the shaft by a rubber belt from the main shaft, over a pulley of wood built on a cast-iron hub and flanges, with a tightener. Not given: the engine or wheel that turns the main shaft.

Materiales para este paso:

Barra de hierro forjadoBarra de hierro forjado1 cam shaft
Piezas de fundición de hierroPiezas de fundición de hierro1 cams, pulley hub and flanges
Tablón de maderaTablón de madera1 pulley rim
Correa de transmisiónCorrea de transmisión1 rubber belt

Herramientas necesarias:

Torno de metalTorno de metal
Juego de llaves fijasJuego de llaves fijas
7

Add the water and the feed

Run one or two 1-inch water pipes into the back of the mortar, each with a plug cock that stays where it is set. Feed ore from the bin by a chute to an automatic feeder. One stamp trips the feeder when the ore layer on its die gets too thin, and a hand screw adjusts the point where it trips. Ore can also be fed by hand with a shovel.

Materiales para este paso:

Tubería de aguaTubería de agua1 water pipes
Válvula desconocidaVálvula desconocida1 plug cocks
Metal desconocidoMetal desconocido1 feeder and chute

Herramientas necesarias:

Juego de llaves fijasJuego de llaves fijas
PalaPala
8

Set up each stamp

Lay a 3-inch plank on the dies and set the bosses on it. Lower the stems into them and tap each stem down with a hammer, a board guarding its top, then drop it a few times at a very low drop. Hoist the stamp, put the shoe in place with wooden staves around its shank, and drop it on the plank to drive the shoe home; the staves swell when wet and hold it. Swap the plank for a block as high as the drop. Slip the tappet on, turn the cam until the tappet rests on its point, drive the keys home and drop the stamp gently a few times.

Materiales para este paso:

Cuñas de maderaCuñas de madera1 staves

Herramientas necesarias:

Tablón de maderaTablón de madera
MartilloMartillo
PolipastoPolipasto
9

Run the battery

Drop the stamps in order 1, 3, 5, 2, 4 (numbered from the left, standing behind the battery), so no two neighbours fall one after the other. The California practice is 80 to 110 drops a minute with a 5 to 9 inch drop. The cams turn the stamps as they lift, which evens out wear on shoes and dies. Lubricate the cams; soft soap with graphite is best. As shoes and dies wear, reset the tappets to restore the drop, and keep the height of discharge, from die to screen, the same.

Herramientas necesarias:

Polvo de grafitoPolvo de grafito
Material desconocidoMaterial desconocido
Juego de llaves fijasJuego de llaves fijas

Materiales

12

Herramientas requeridas

10

Blueprints relacionados

Estos blueprints comparten conocimiento — técnicas, materiales o principios
CC0 Dominio público

Este Blueprint se publica bajo CC0. Eres libre de copiar, modificar, distribuir y usar este trabajo para cualquier propósito, sin pedir permiso.

Apoya al Maker comprando productos a través de su Blueprint, donde gana una Comisión del Maker establecida por los vendedores, o crea una nueva iteración de este Blueprint e inclúyela como conexión en tu propio Blueprint para compartir ingresos.

Discusión

(0)

Iniciar sesión para unirte a la discusión

Cargando comentarios...